FIX: Brown Screen of Death on Windows 10/11
![]() 6 min. read
6 min. read
![]() Updated on
Updated on
Share this article

Improve this guide
Read our disclosure page to find out how can you help Windows Report sustain the editorial team Read more

A screen of death occurrence is traceable to a Kernel Panic otherwise known as Stop Error for Windows OS. A kernel panic (KP) is regarded as a safety measure taken by the kernel of an operating system upon detecting a fatal error which will either result in a major loss or damage of data if the system continues or makes it impossible for the system to recover safely.
Most SODs are displayed on colored backgrounds with bug check codes, and an advice demanding that the user restarts the computer.
The most common screen of death error include Brown, Blue, Black, Green, Purple, Red, White, Yellow screen of death. Each of these SODs has technical significance and are associated with various platforms and operating systems.
This guide exclusively treats the Brown Screen of Death experienced by Windows 10 users and also provide ways to resolve the issue.
What is the Windows 10 Brown Screen of Death (BrownSOD)?
The Microsoft Windows 10 Operating System Brown Screen of Death is an on-screen fatal error notification with bug check codes which is seen when a computer crashes due to graphics hardware or software related problems (failing graphics drivers).
Causes of Brown Screen of Death in Windows 10
It is now known that the Brown Screen of Death encountered on Win10 OS is GPU related. This SOD can occur for any of the following reasons:
- A machine running on corrupted or outdated graphics drivers
- Missing or Faulty Graphics Card
- GPU and CPU overclocking
- Driver Conflict
- Security Software Conflict
- Thermal Overheat
- Inadequate Voltage to perform tasks
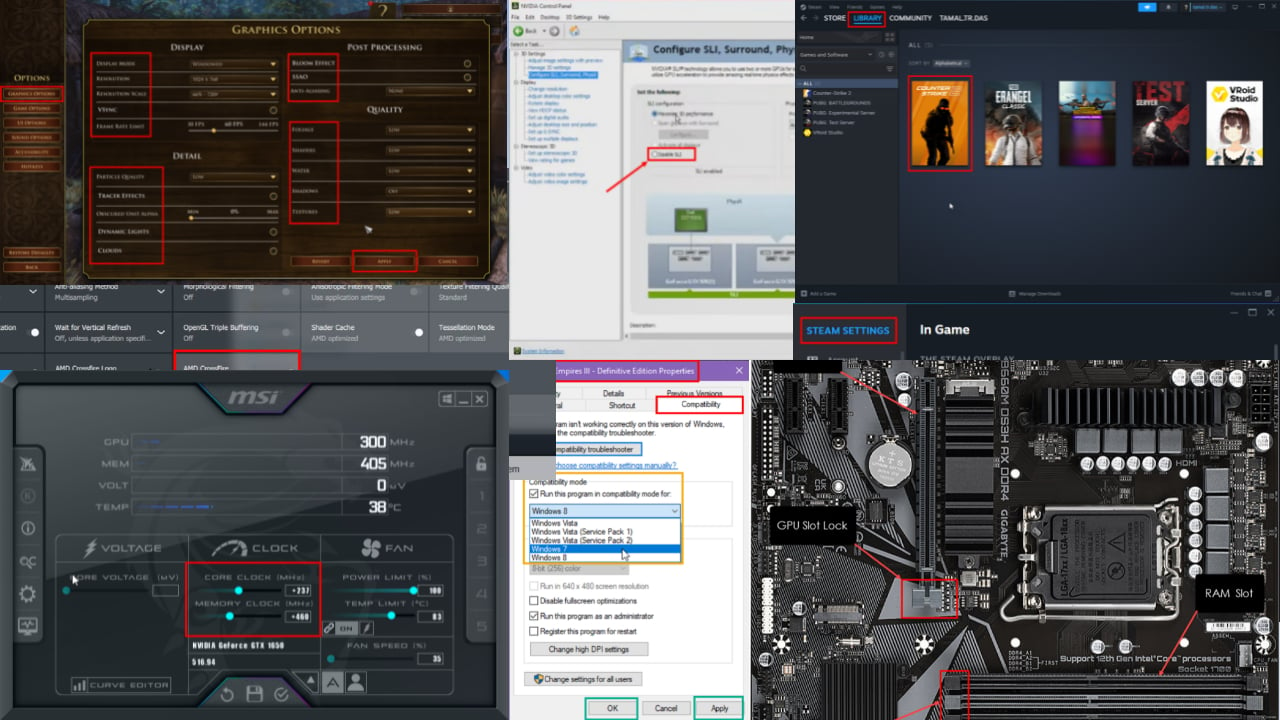
In most cases, the Brown Screen of Death may come up when you are trying to play a video game on your computer or when your GPU or CPU experiences overclocking while trying to achieve a better gaming/3D performance. Newer graphics cards have also been reported to be susceptible to the Brown Screen of Death while running games.
How to Fix Brown Screen of Death errors
- Perform a Graphics Driver Uninstall/Rollback or Upgrade
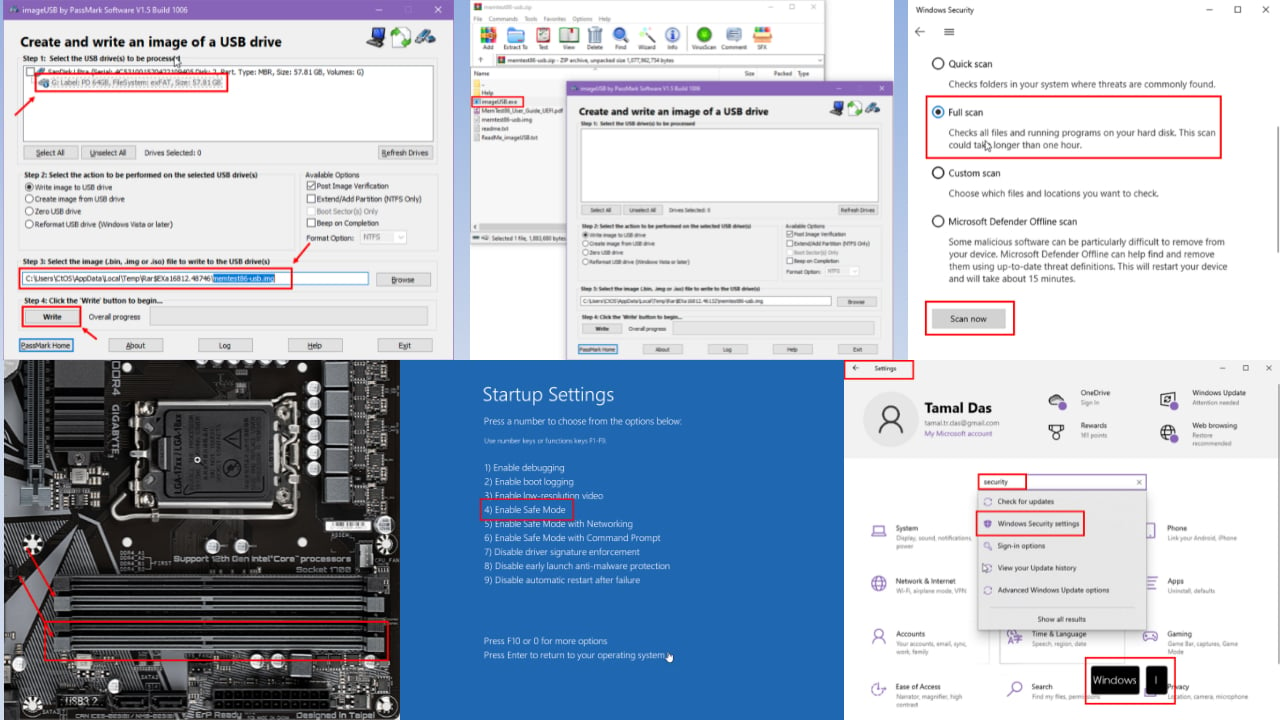
- Use a Driver Management Troubleshooter
- Ensure safe CPU/GPU overclocking
- Resolve Security Software Conflicts
Step 1: Perform a Graphics Driver Uninstall/Rollback or Upgrade
Performing a graphics driver rollback, uninstallation/re-installation or upgrade might just be sufficient to resolve the Brown Screen of Death issues. To perform a graphics driver rollback, re-installation or upgrade, follow these procedures:
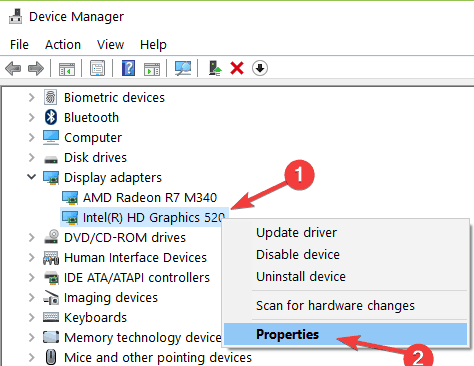
- Go to Search > type ‘device manager’ > select the first result to launch Device Manager
- Double-click on Display Adapters to open the device drop down
- Right-click on the suspected graphics driver > select Properties

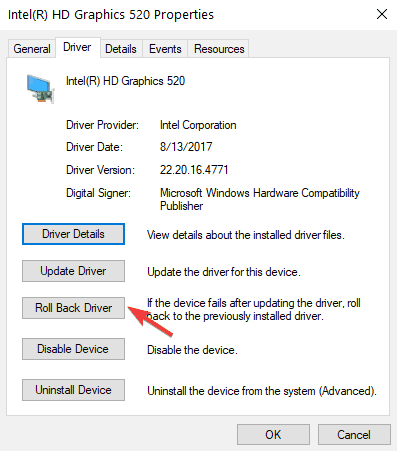
- Click on the Driver tab
- To restore the graphics driver to its previous version, click on Roll Back Driver and then OK.

- To update the graphics driver, select Update Driver and the OK. Follow the on-screen instructions to complete the procedure.
- To remove the driver and perform a reinstall, select Uninstall Device and then follow the on-screen instructions to complete the uninstall procedure. Then visit the graphics driver’s official website to download a compatible version for your windows 10.
After performing a rollback, update, removal and reinstallation of the graphics driver, restart your computer. Now launch your games or GPU intensive software and the BrownSOD should be gone.
Step 2: Use a Driver Management Troubleshooter
Sometimes, manually resolving driver issues using Device Manager becomes stressful and might require some level of proficiency with Windows operating system to successfully complete the task.
Driver management/update tools are a better way to resolve driver issues without hassles. In very easy steps, a driver management/update tool will:
- Scan your machine
- Identify all installed hardware devices
- Detect the outdated conflicting, missing or corrupt driver
- Updates the identified driver where necessary.
In order to prevent PC damage by installing the wrong driver versions, we suggest to do it automatically by using an automatic tool that will help you not damaging your PC by downloading and installing the wrong driver versions. After several tests, our team concluded that this is the best automatized solution.
- Download and install Outbyte Driver Updater.
- Launch the software.
- Wait for the app to detect all faulty drivers.

- Now, it will show you all the malfunctioning drivers listed to select the ones to Update or Ignore.
- Click on Update & Apply Selected to download and install the newest versions.
- Restart your PC to ensure the applied changes.


Outbyte Driver Updater
Secure your Windows PC with Outbyte from various errors caused by problematic drivers.Step 3: Ensure safe CPU/GPU overclocking
First, it is essential to give a brief description of overclocking. The term overclocking describes the ability of a machine to increase the clock speed of one or more of its components (GPU, CPU, motherboard or RAM) above the manufacturer’s rating. These machine components would include the Graphics Processing Units (GPUs) and the Central Processing Units (CPUs).
In the case of a CPU, overclocking means jacking up the core multiplier while for GPUs, it could mean boosting the clock speed, increasing the memory or core to achieve better graphics (3D) performance while gaming or using GPU intensive software.
There are many tools that you can use to overclock your Windows 10 computer.
Despite the advantages of CPU/GPU overclocking, it also has its downsides which may include:
- System instability or complete damage to precious components
- System crash or boot failure which indicates that you should only make slight adjustments to your machines core clocks
- A significant reduction in the overall service life of your machine’s graphics drivers and other components
- Very high-temperature levels (overheating: sometimes >70oC)
Before overclocking your computer, ensure that you follow safe and proven procedures to avoid damaging or crashing it. An unsafe or unproven overclocking procedure may result in the Brown Screen of Death and subsequently, irreparable damage to the components of your machine.
We recommend installing one of these dedicated programs to test overclocking and make sure that your machine can handle the stress.
Step 4: Resolve Security Software Conflicts
Security software conflicts are known to have been responsible for a few reported cases of computer instability and screens of death. If the action of an installed program that requires the Graphics Processing Unit of your computer to function properly is infringed on by security software, a Brown Screen of Death might be inevitable at this point.
The first thing you should do is to identify possible security software conflicts. Secondly, you must take necessary actions by keeping one and uninstalling the others. For instance, if you have ESET Security and Avast Antivirus installed on your machine, you must decide on which one you want to keep. Sometimes, it might be necessary that you update your security software to the most recent build.
After removing the other security software, restart your computer, and try launching your game or high-end software and you should be good to go.