ChatGPT gets multi-factor authentication for additional security
Setting up multi-factor authentication is easy and free
Using generative AI models like ChatGPT is fun. However, a concern around data security and unauthorized access is always there. Keeping that in mind, OpenAI has recently released a new multi-factor authentication feature for ChatGPT and API accounts.
On March 8, OpenAI announced the new feature via a tweet from the official X (formerly Twitter) account. According to the tweet, every user can enable the multi-factor authentication, aka 2FA, option. Enabling this feature will prevent any unauthorized access to your user account.
Here’s how to enable multi-factor authentication in ChatGPT
Note: You’ll have to first log into your ChatGPT account to set up this security feature.
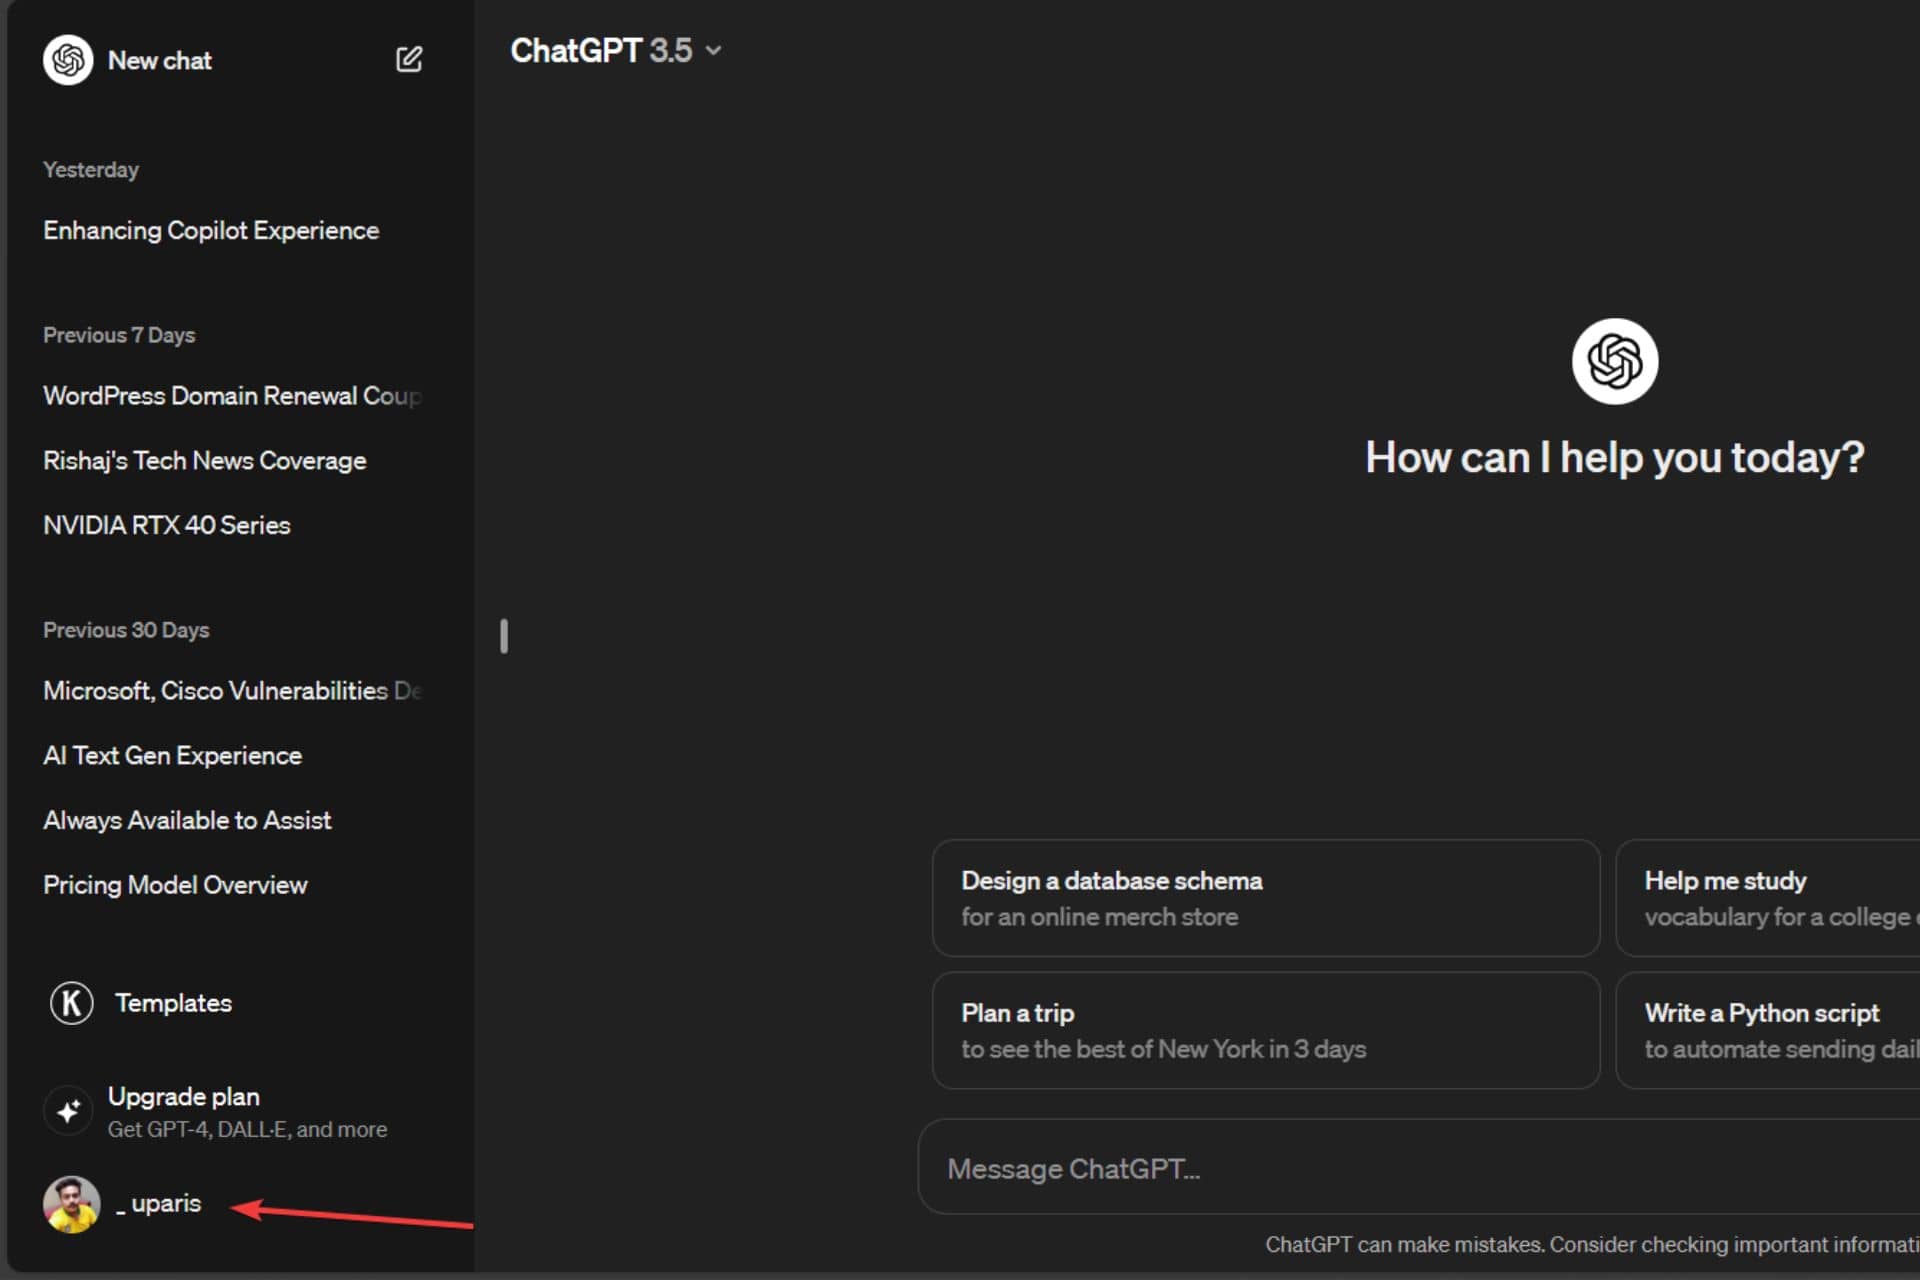
1. First, click on your name, as seen in the bottom left-hand corner of the screen.
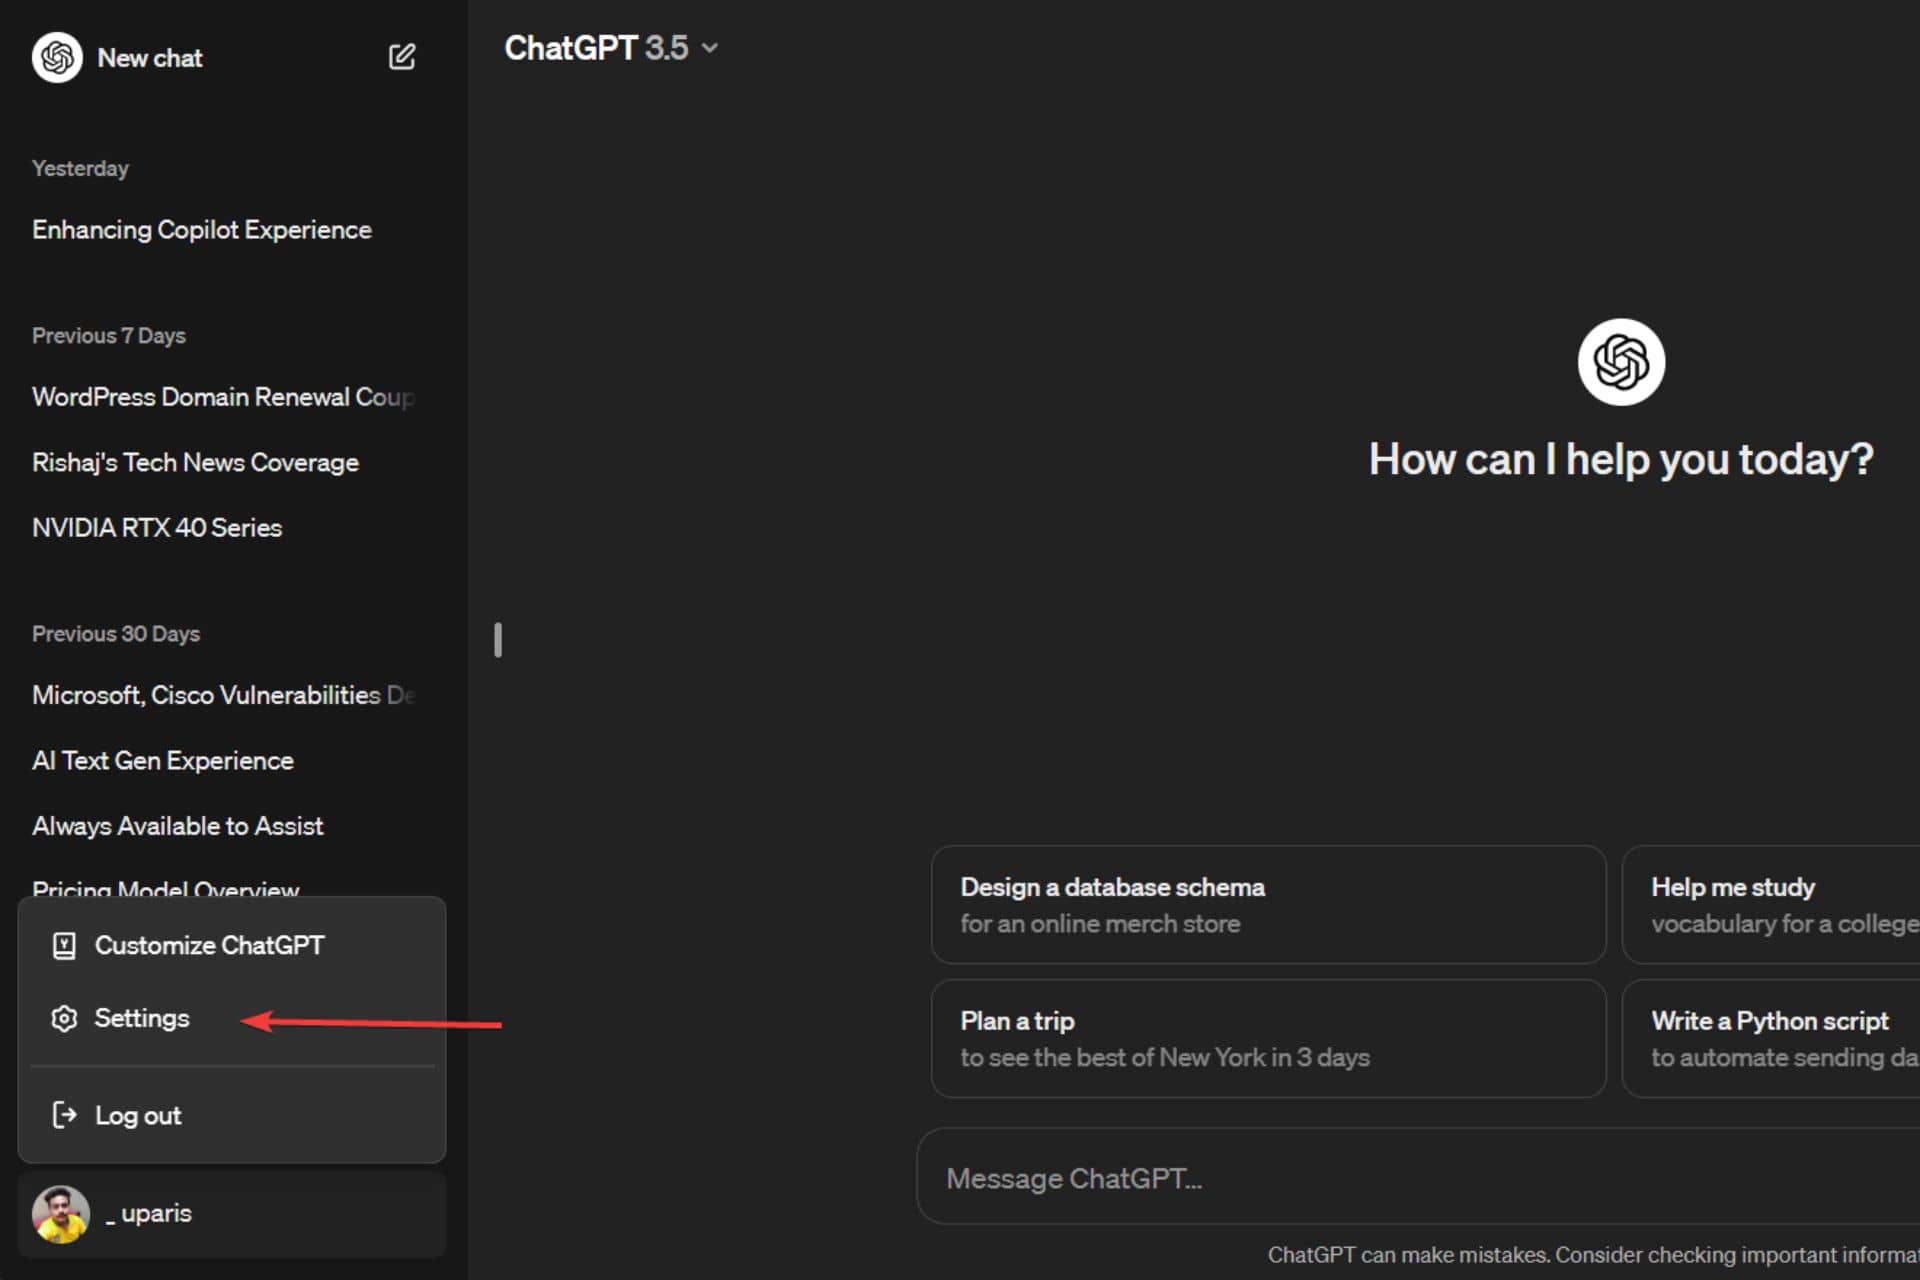
2. Next, click on Settings.
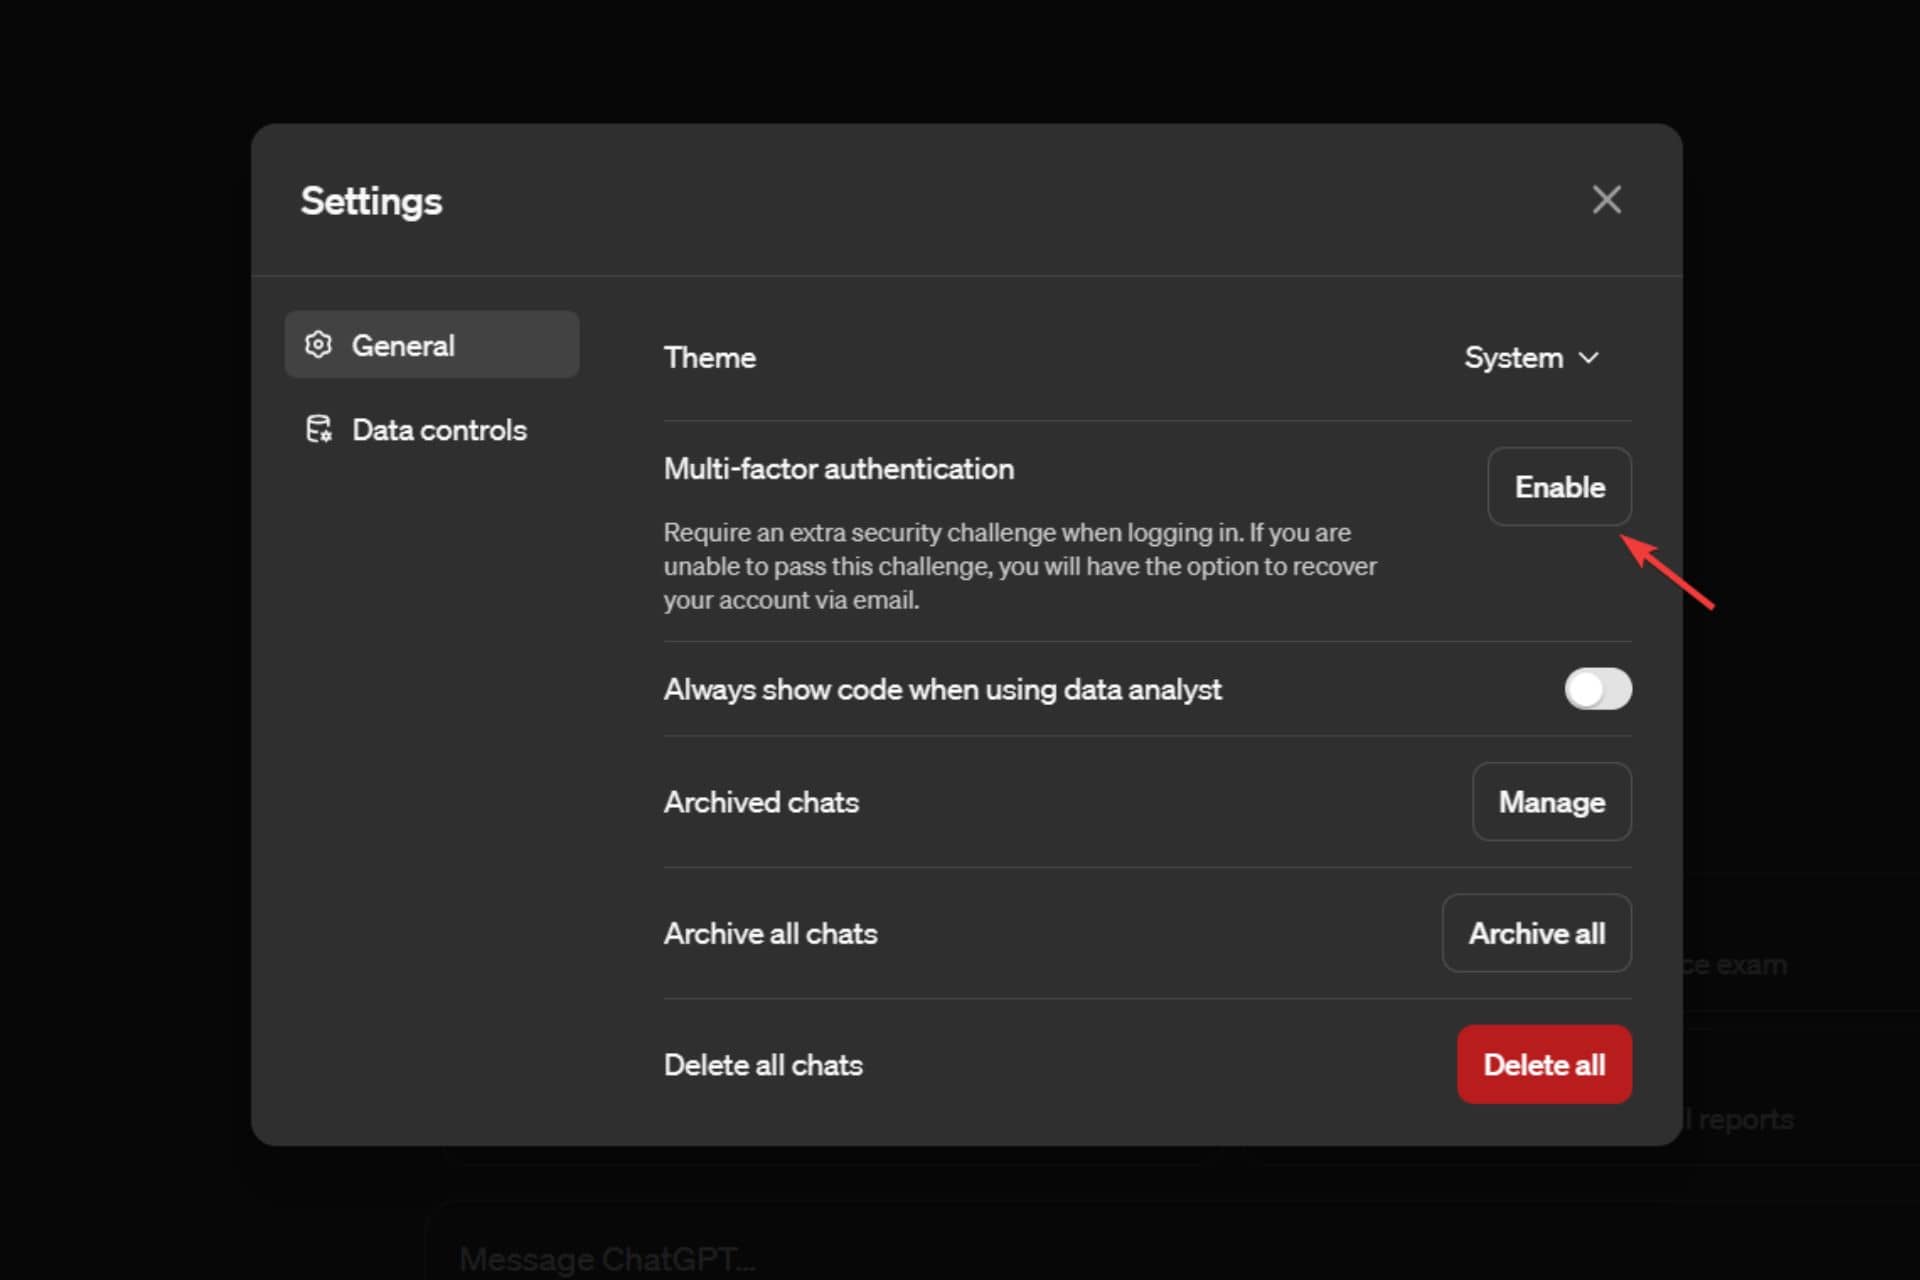
3. Then click on Enable beside the Multi-factor authentication.
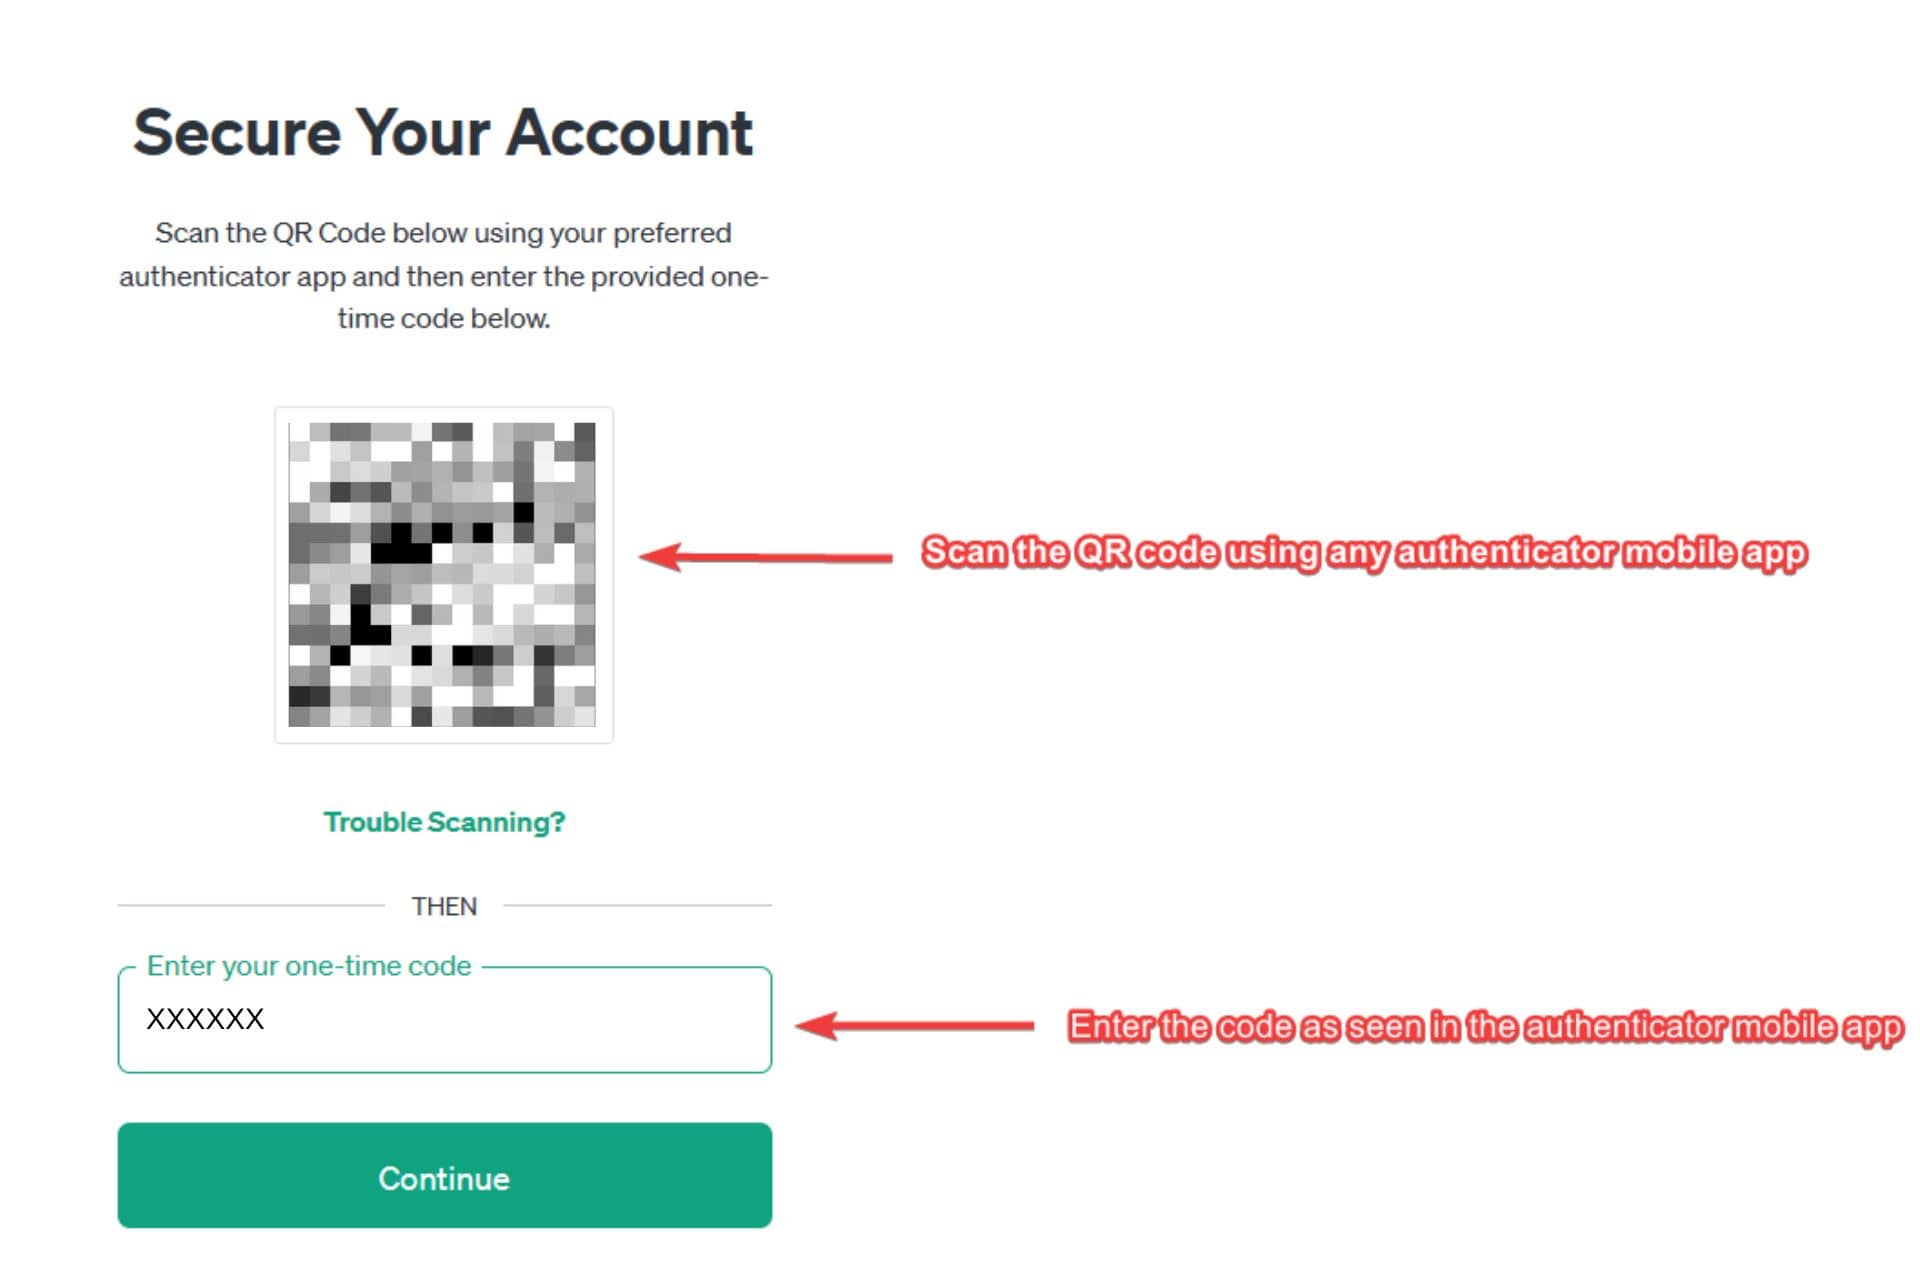
4. Now, you’ll see a secure your account page with the option to scan the QR code and enter the code from an authenticator app.
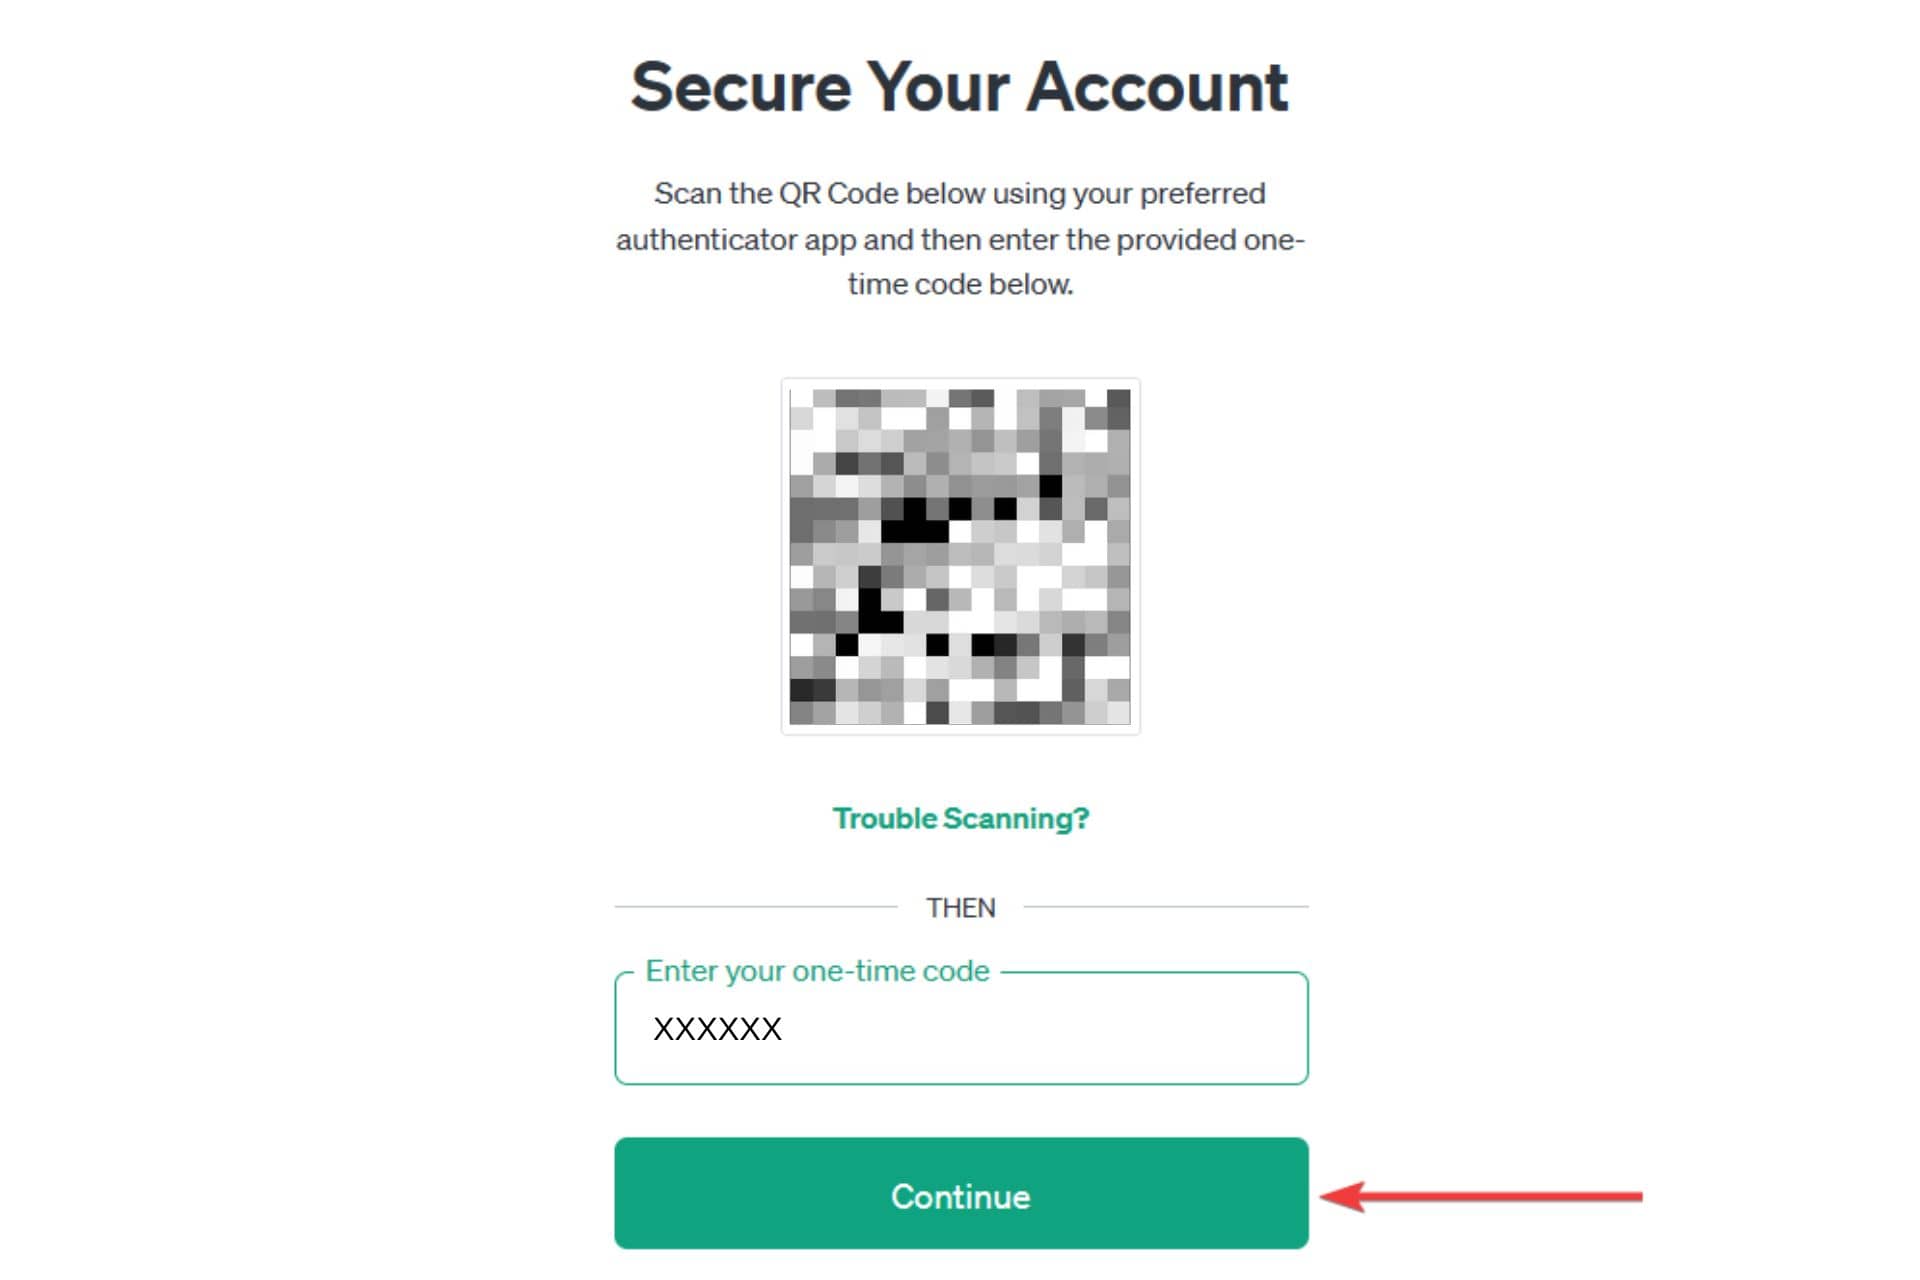
5. Then, scan the QR code using an authenticator app and enter the code seen in the authenticator app. You can use different authenticator apps like Google Authenticator, Microsoft Authenticator, etc.
5. Then, click on Continue.
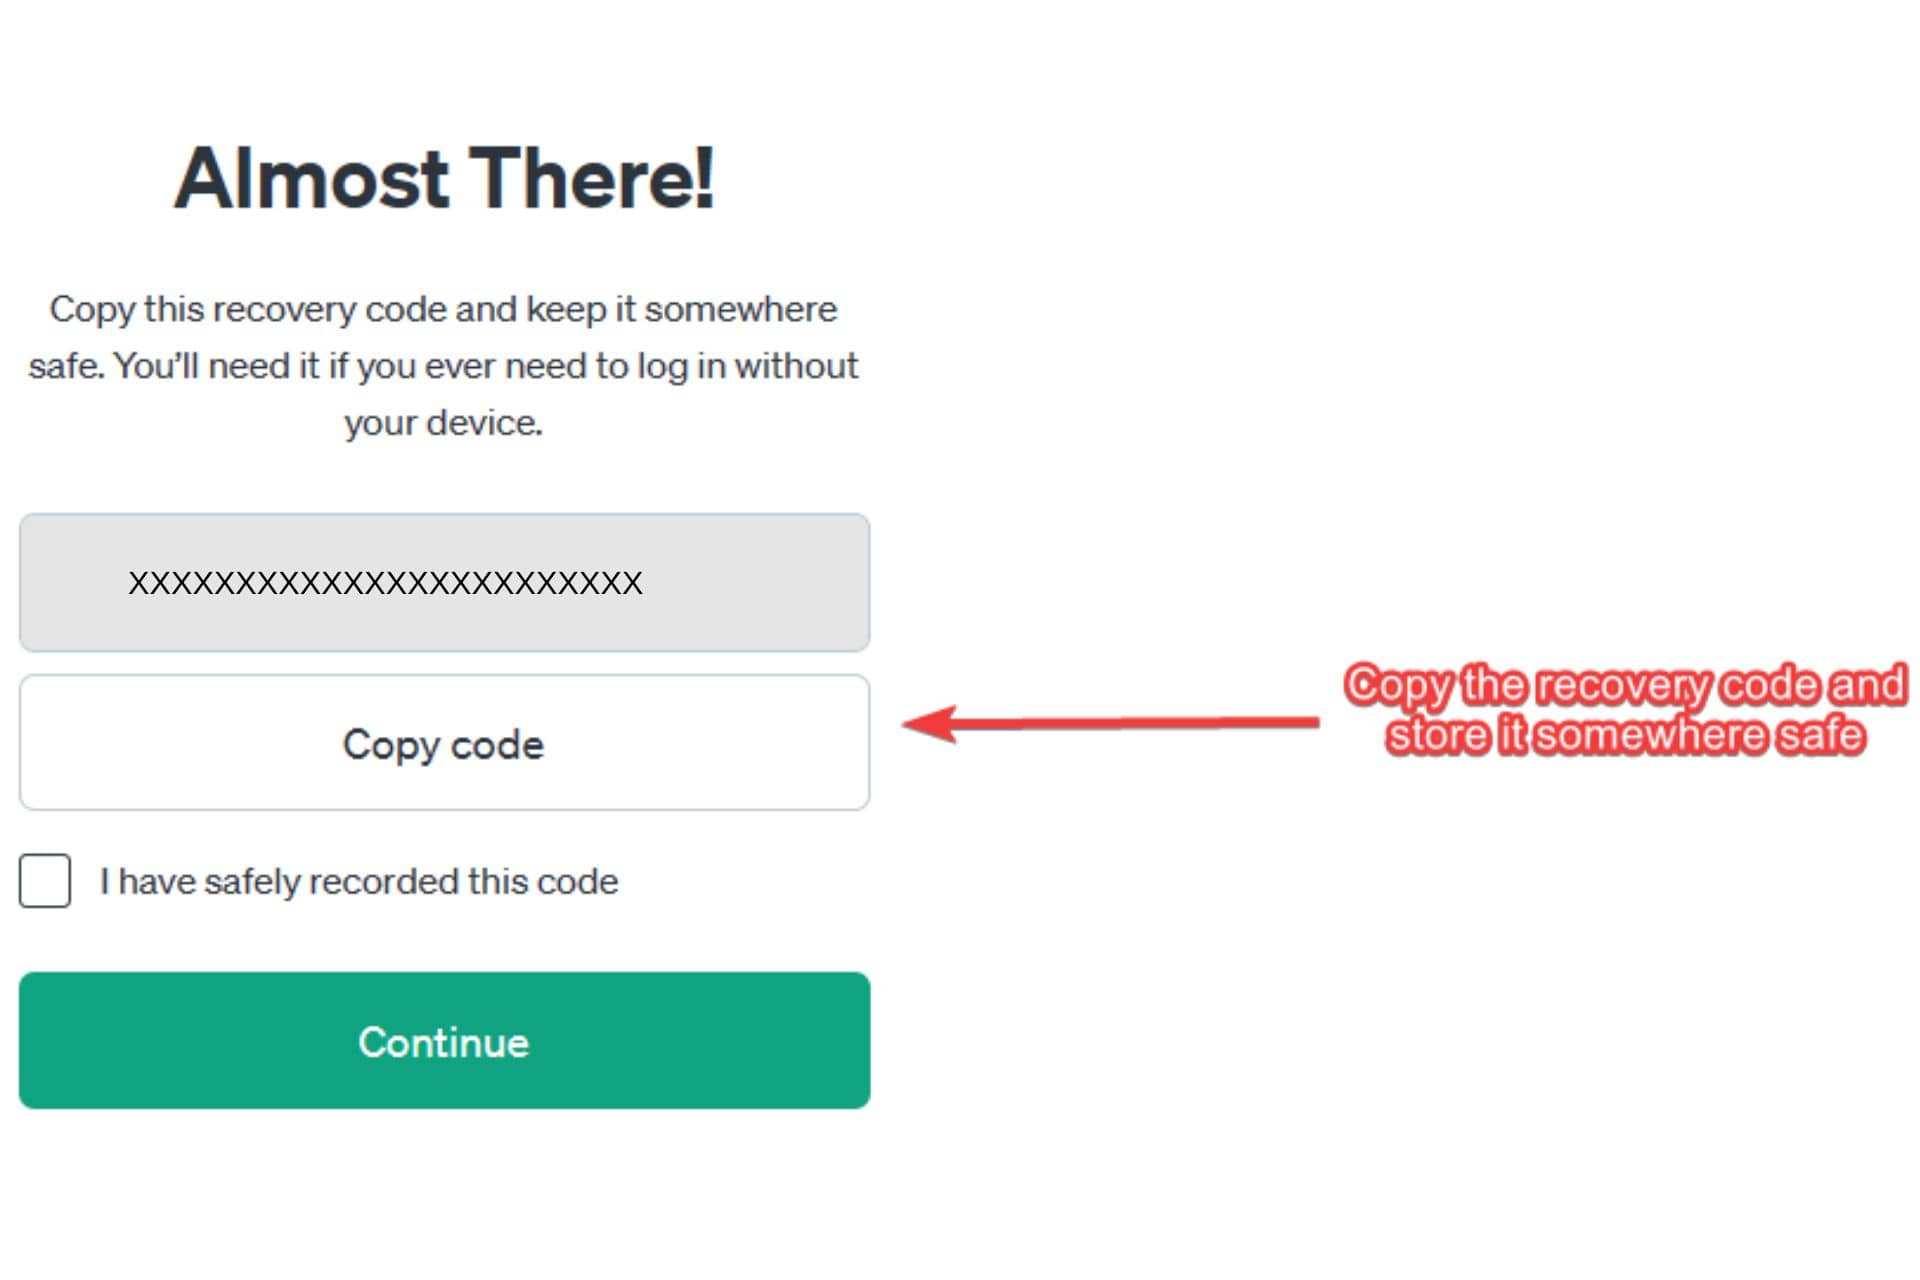
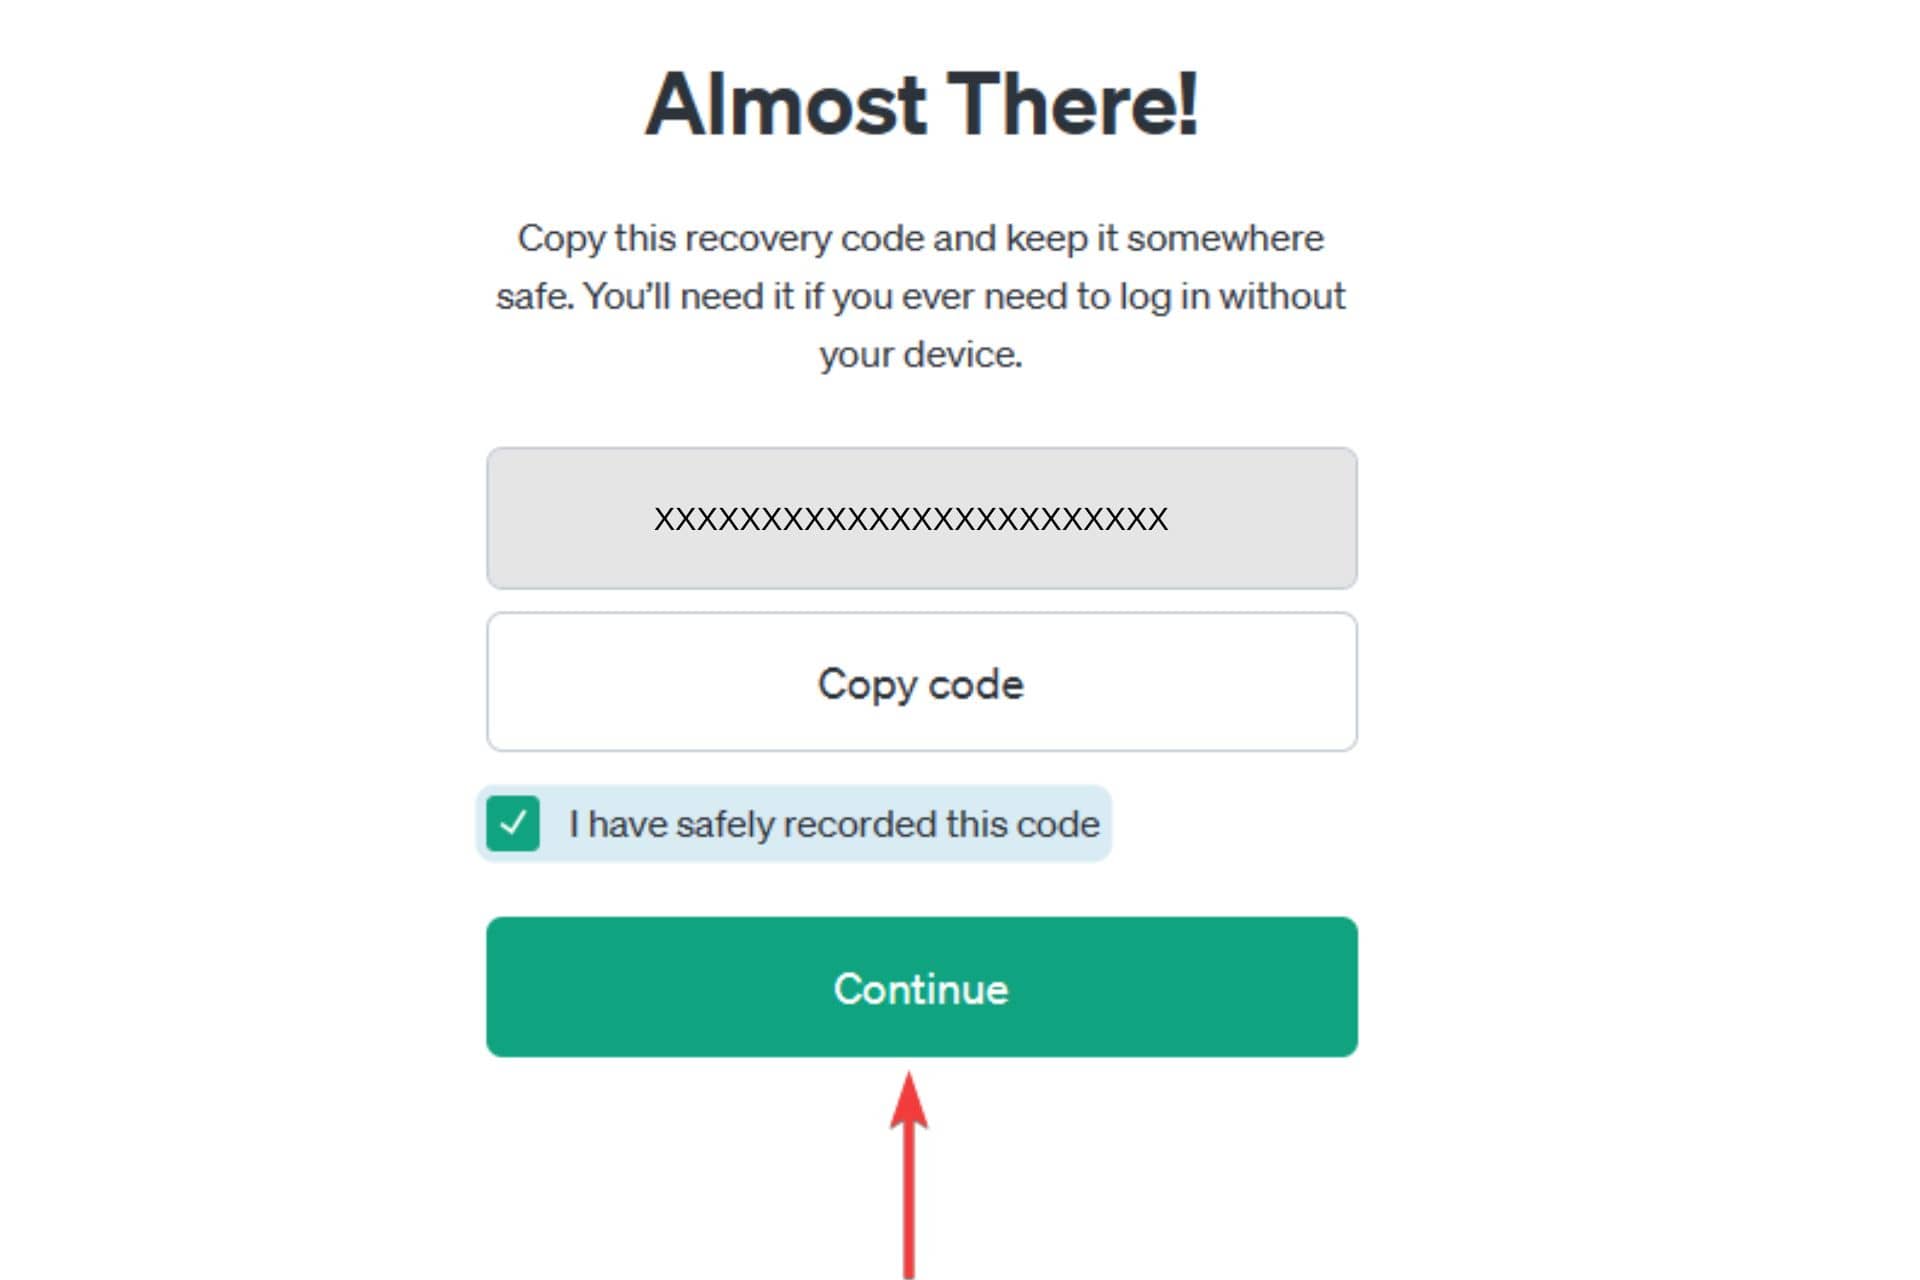
6. On the next screen, you’ll see a recovery code that you can use to log into your account when your device isn’t with you. Now copy the code and keep it safe somewhere.
7. Now tick the checkbox beside I have safely recorded this code option.
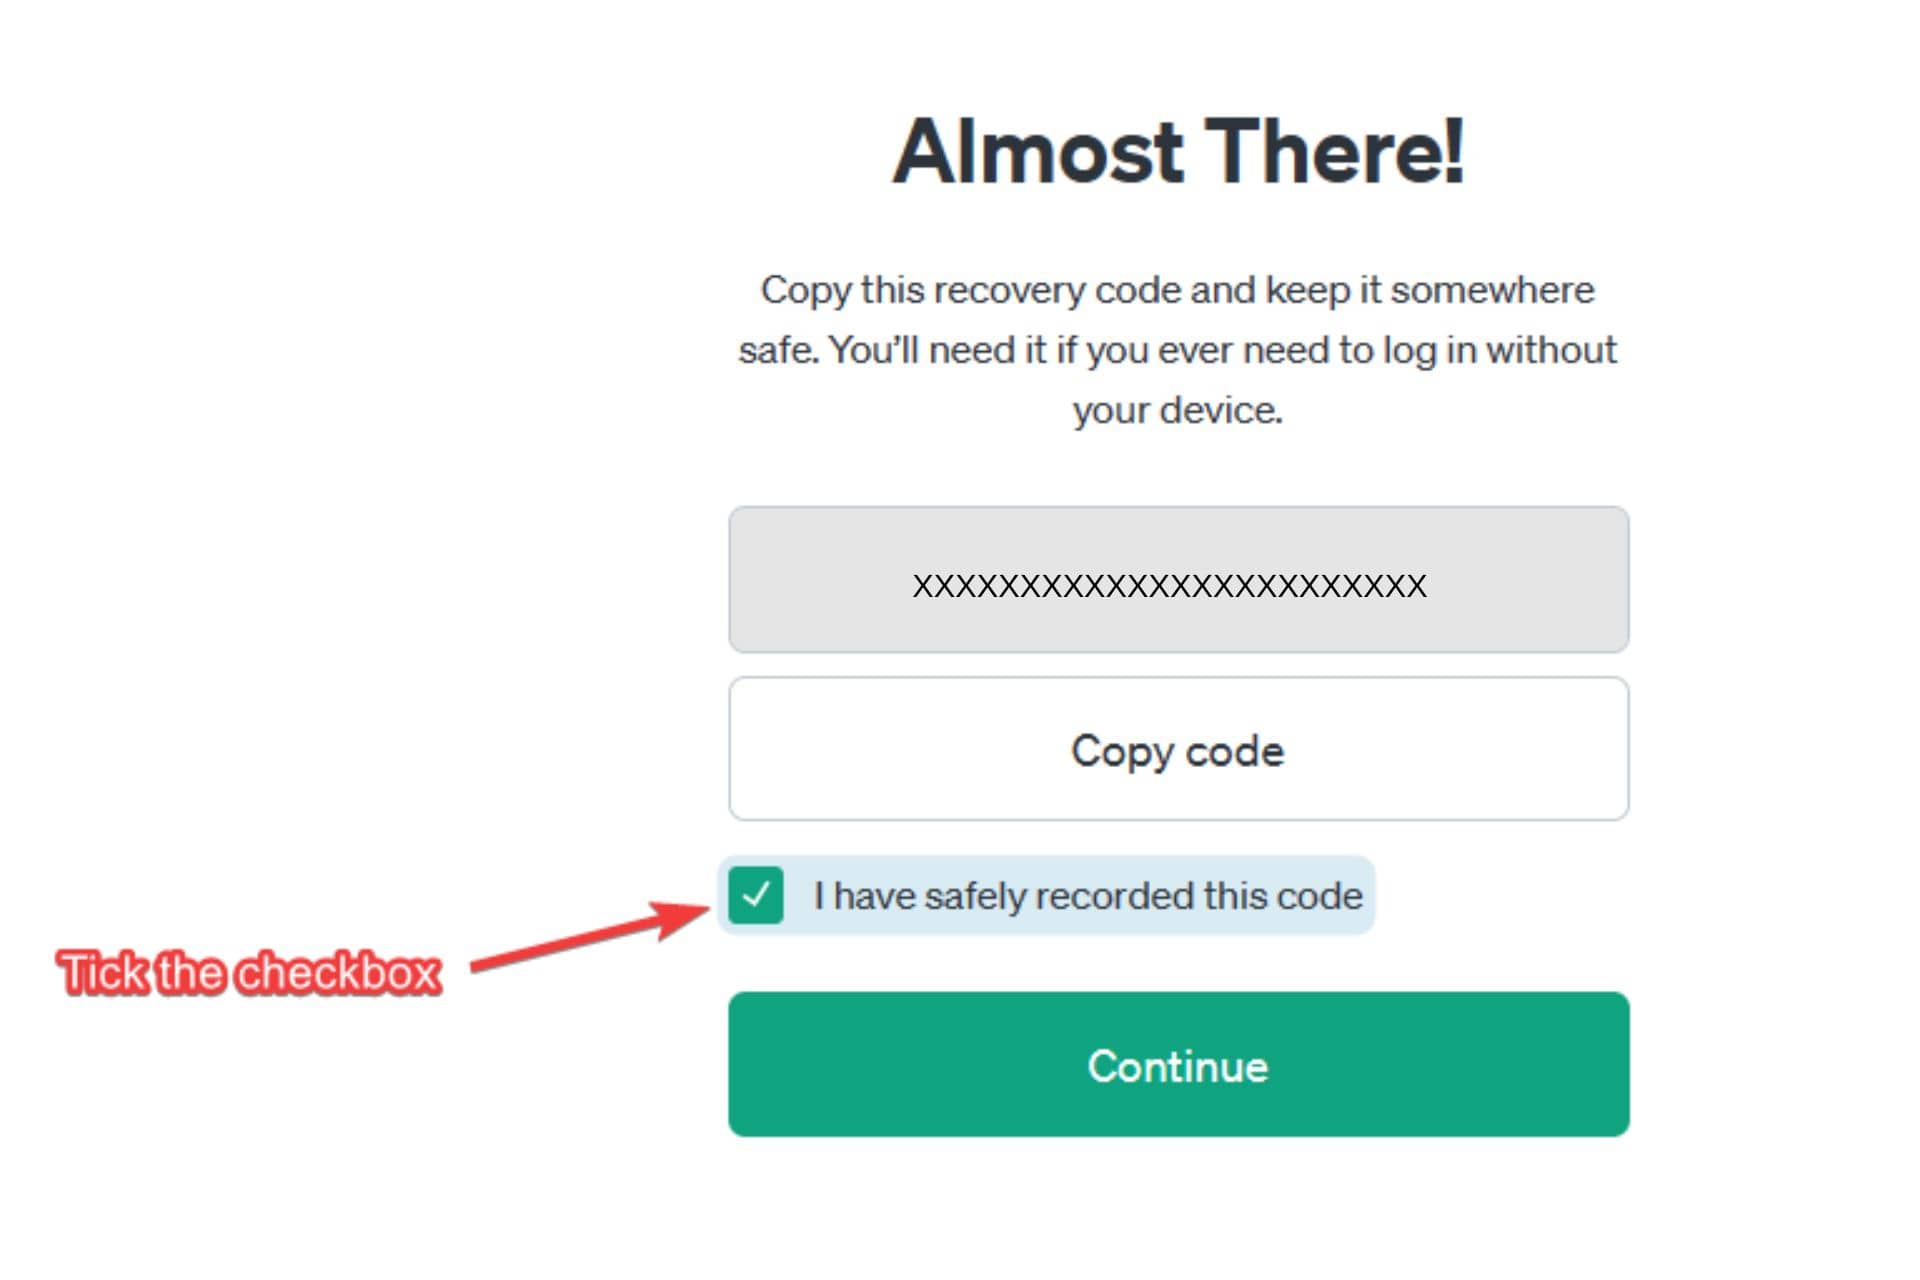
8. Then, click on Continue.
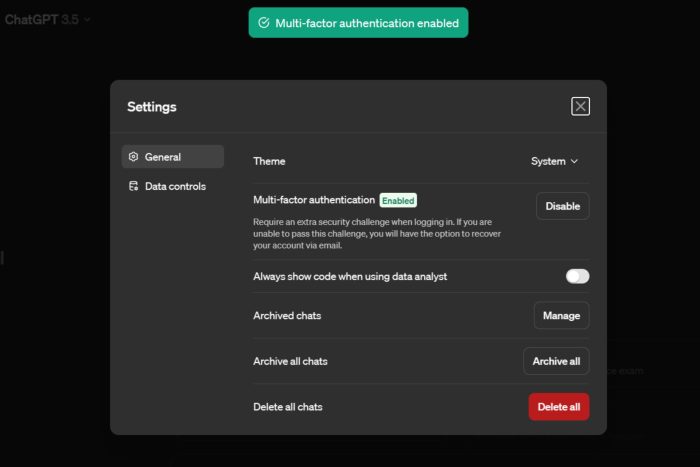
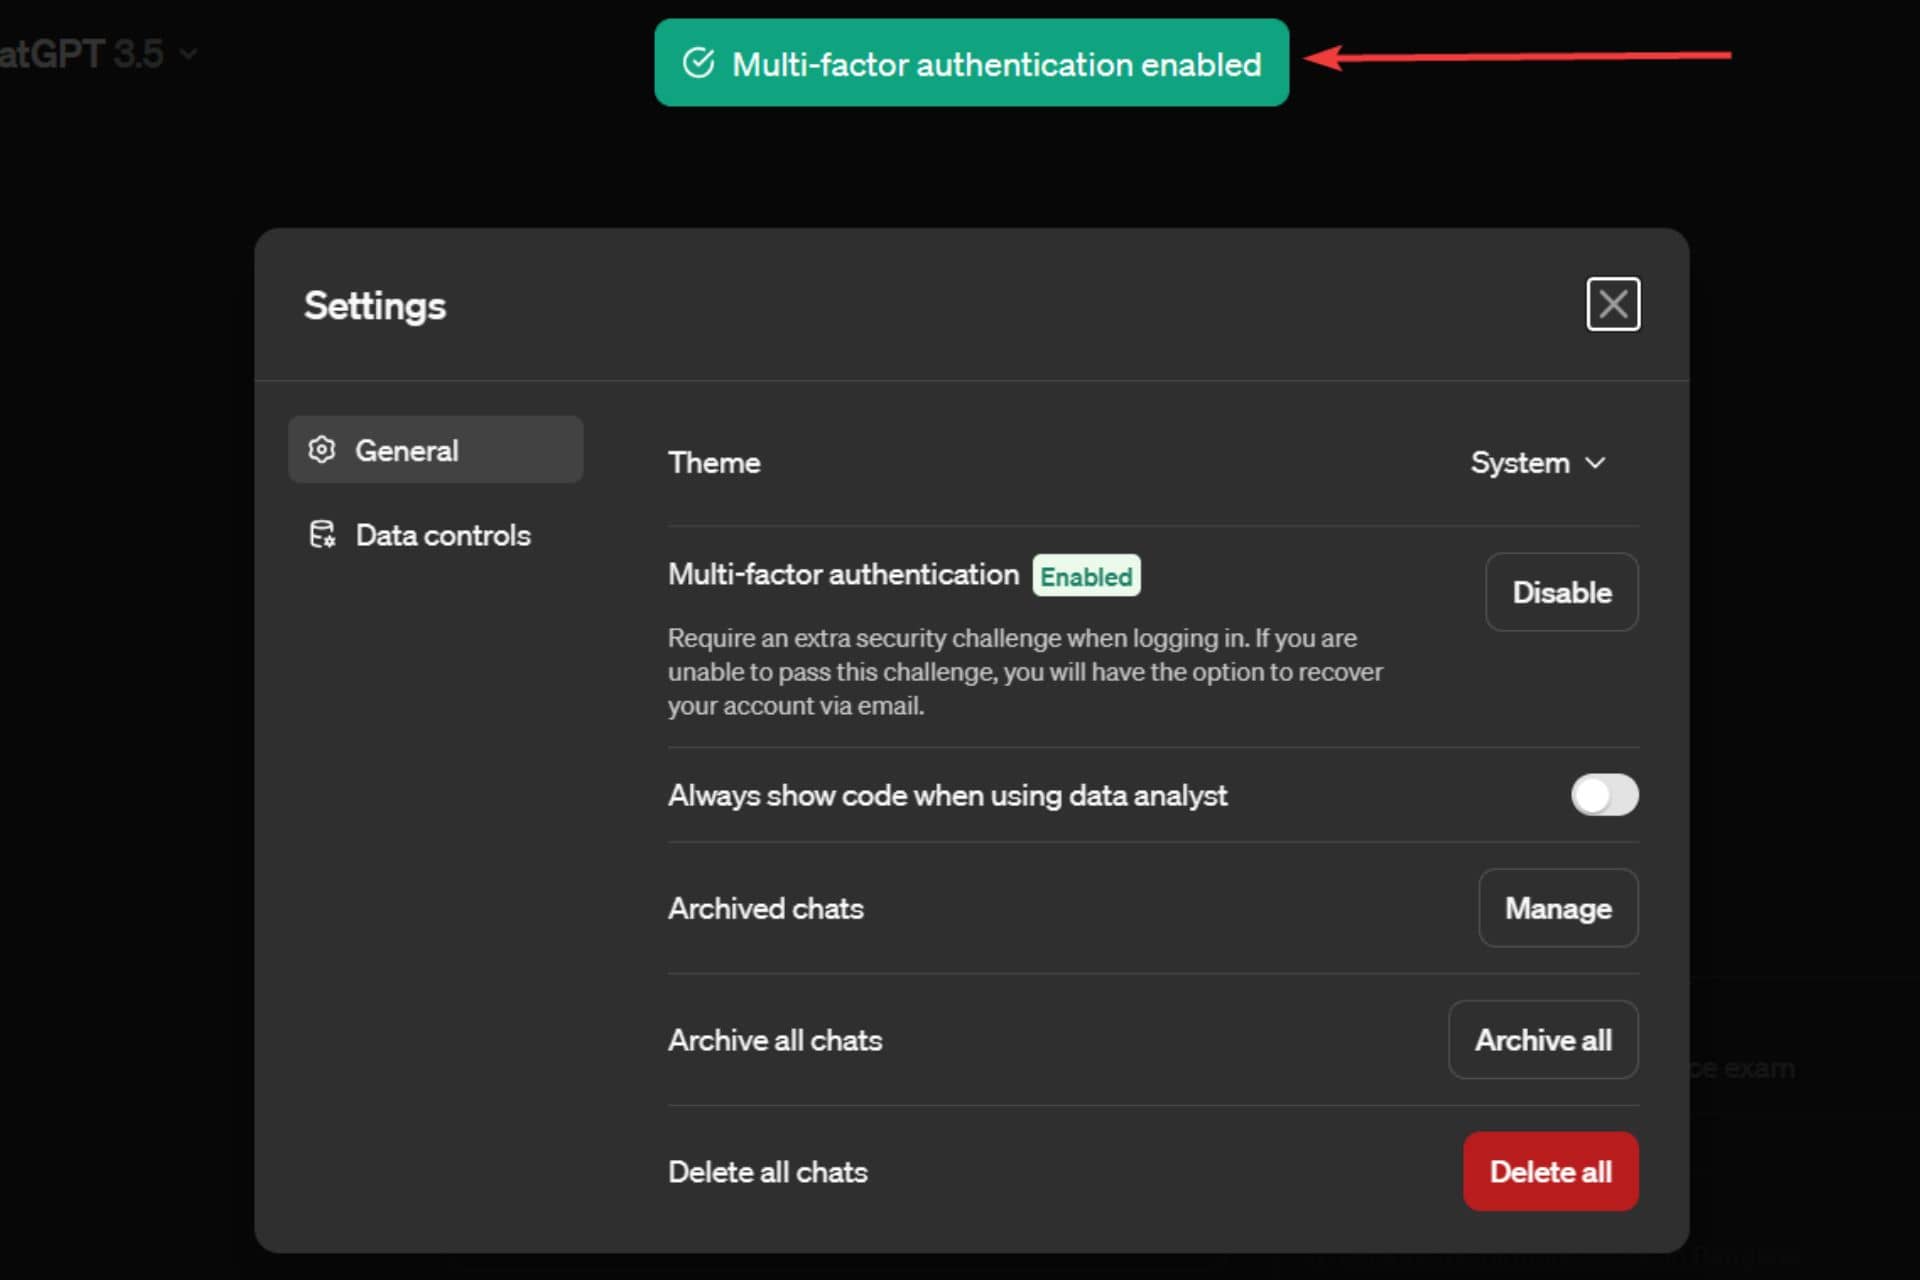
9. On the next screen, a confirmation message – Multi-factor authentication enabled will be seen.
Once you enable the feature, you might have to log back in or land on the Settings page inside ChatGPT. If you don’t want to enable ChatGPT’s multi-factor authentication feature, think again as it could help you secure your account and ensure peace of mind.
Read our disclosure page to find out how can you help Windows Report sustain the editorial team. Read more


Improve this guide


User forum
0 messages