DHCP Error 0x79: How to Fix It in 5 Steps
We recommend trying a DHCP reset to fix the error promptly
4 min. read
Updated on
Read our disclosure page to find out how can you help Windows Report sustain the editorial team Read more
Key notes
- The DHCP error 0x79 indicates that your PC has a preassigned IP address already given out to another device.
- It's also possible that the DHCP server is currently offline or experiencing issues, and cannot fulfill the request for the device's IP address.
Did you encounter the DHCP error 0x79? It means an error indicates that the computer has a preassigned IP address, which has been allocated to another device. The error is similar to DHCP unavailability for ethernet connections.
In the guide, we walk you through the most practical solutions and introduce you to likely causes so that you may avoid a repeat occurrence.
What causes the DHCP error 0x79?
If you encounter the DHCP error 0x79, which is commonly referred to as the DHCP server could not be contacted error, it is usually attributed to one of the following reasons:
- Network connectivity issues – It’s possible that the device’s network connection isn’t stable, which could be why it can’t reach the DHCP server.
- DHCP server unavailable – The DHCP server may be offline or facing problems, which could be why it cannot respond to the request for the device’s IP address.
- IP address conflicts – The device may be having trouble obtaining its desired IP address because another device on the network may have already been assigned that address.
- Misconfigured DHCP client settings – It’s possible that the device’s DHCP client settings are not configured correctly, which can cause issues when requesting an IP address.
- Firewall or security software interference – The communication with the DHCP server may be blocked by firewalls or security software installed on the device, which can result in an error.
How do I fix DHCP error 0x79?
We encourage you to start with the following preliminary solutions:
- Check your network connection – You may need to switch ISP or try a wired connection to rule out the possibility of the error due to a bad network.
- Verify DHCP server availability – Verify if the DHCP server is online and operational. It is recommended to contact your network administrator or service provider for assistance.
- Disable your firewall – You may temporarily turn off the firewall or antivirus program or check if a firewall is blocking a connection.
At the same time, it’s advisable to solve the DHCP server error using efficient VPN software that can help you fix this protocol by changing the IP address and accessing the web from different locations.
Now you may proceed to the more complex solutions below.
1. Reset the TCP/IP values
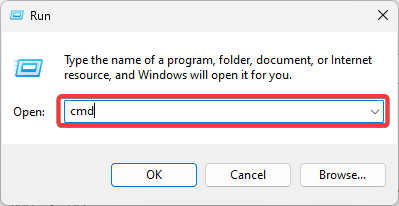
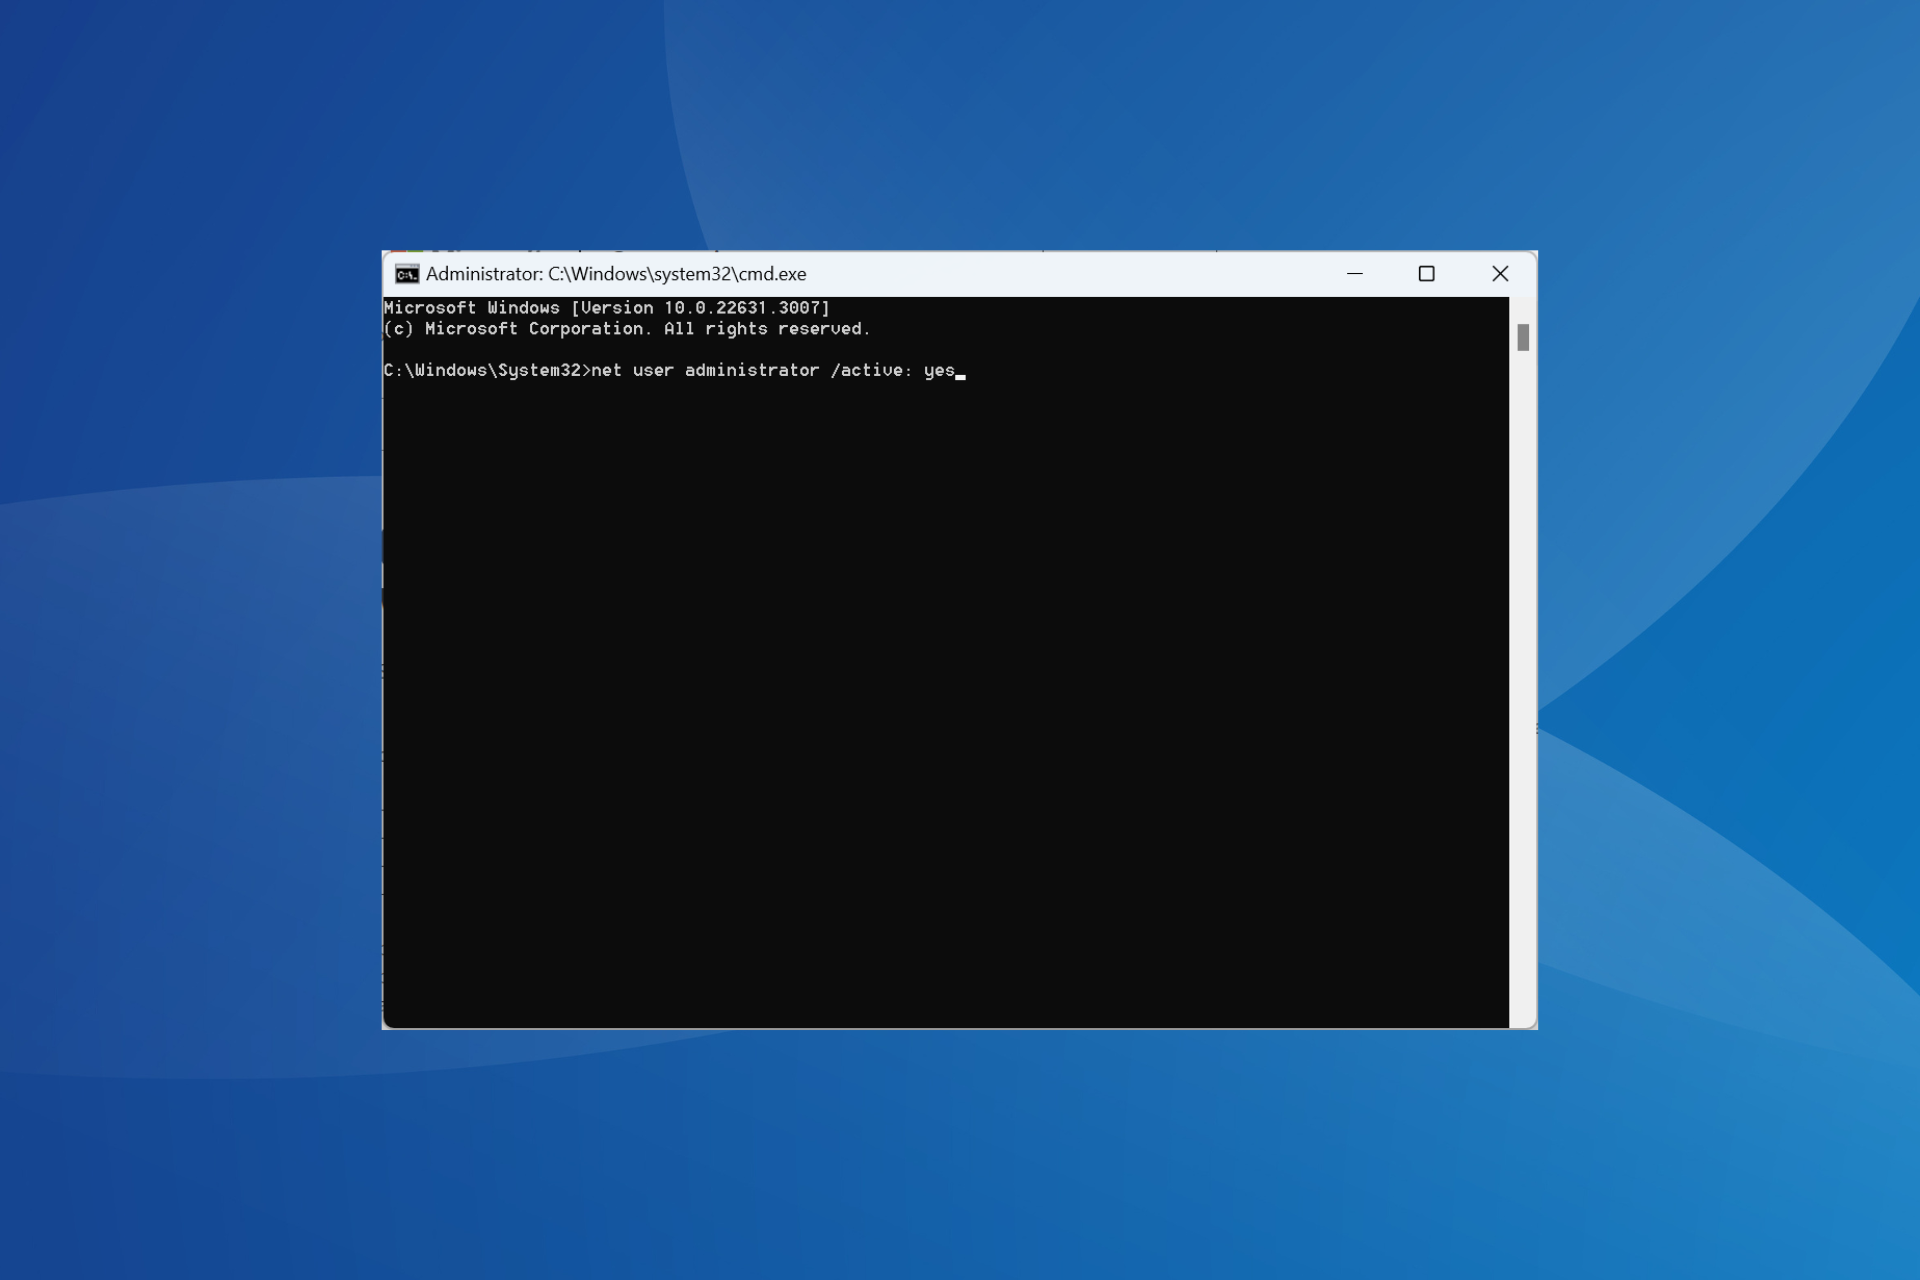
- Press Windows + R, type cmd, then hit Ctrl + Shift + Enter to open an elevated Command Prompt.
- Type the script below and hit Enter to reset the WINSOCK values:
netsh winsock reset catalog - Reset your IPv4 TCP/IP stack by running the script below:
netsh int ipv4 reset reset.log - Lastly, type the script below and hit Enter to reset the IPv6 TCP/IP stack:
netsh int ipv6 reset reset.log - Reboot the computer.
2. Reconfigure the DHCP Client service
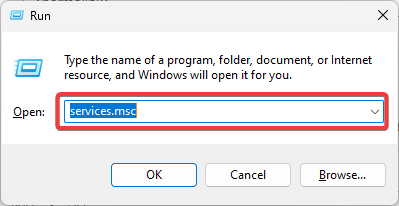
- Press Windows + R.
- Type services.msc and hit Enter.
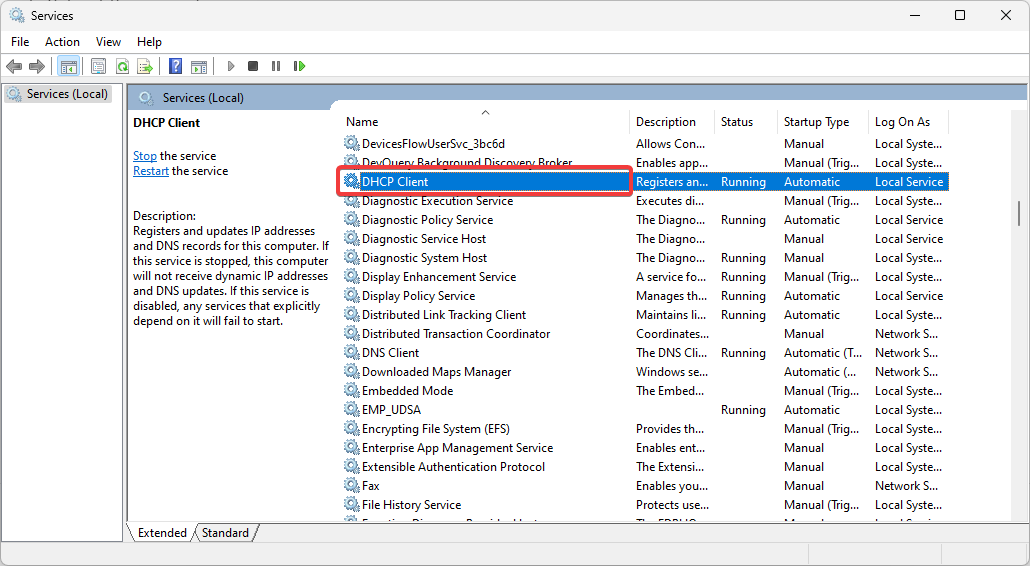
- Double-click the DHCP Client service.
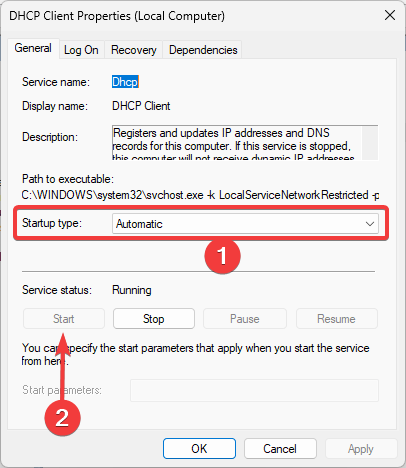
- Set the Startup type value to Automatic and click on the Start button.
- Finally, click Apply and OK, then verify if it fixes the DHCP error 0x79.
3. Disable static IP configurations
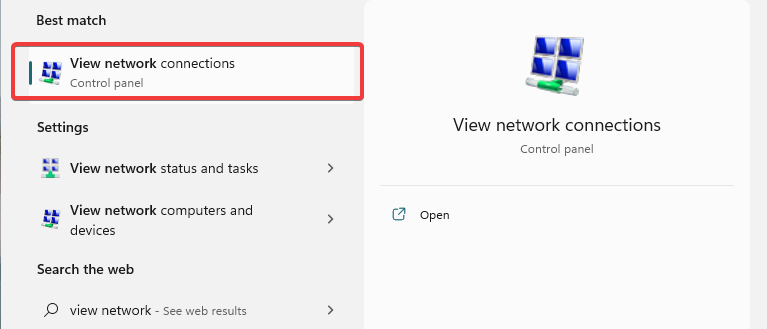
- Click on the Start menu, type view network, and select the View network connections option.
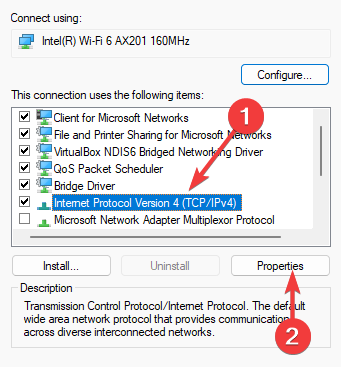
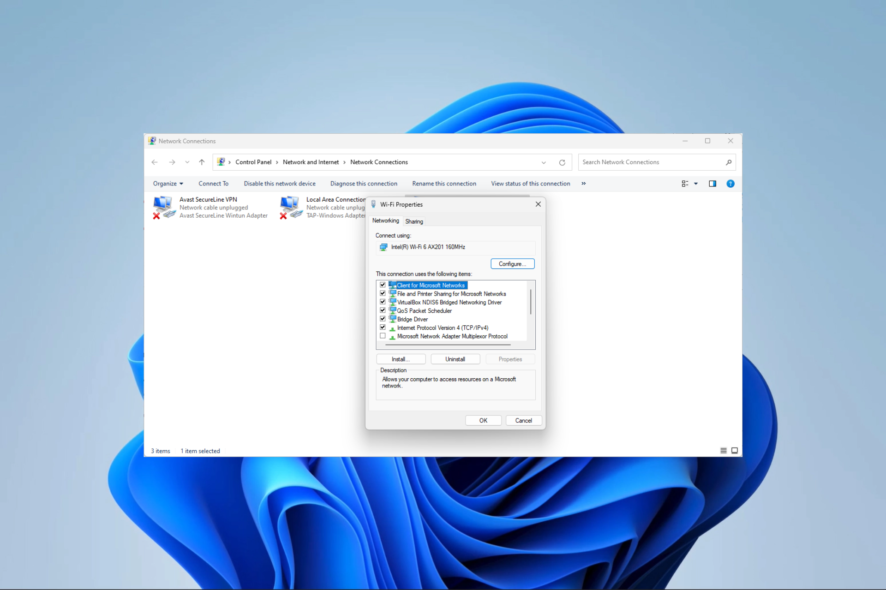
- Right-click on your network connection and select Properties.
- Click on Internet Protocol Version 4 (TCP/IPv4) and hit the Properties button.
- Pick the options for Obtain an IP address automatically and Obtain DNS server address automatically, then hit the OK button.
4. Disable IPV6
- Click on the Start menu, type view network, and select the View network connections option.
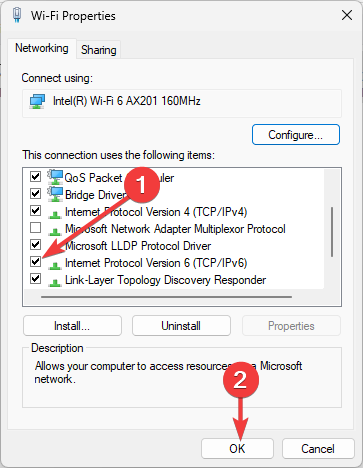
- Right-click on your network connection and select Properties.
- Uncheck the Internet Protocol Version 6 (TCP/IPv6) option, hit the OK button, then verify if it fixes the DHCP error 0x79.
5. Run the Network Adapter troubleshooter
- Press Windows + I to open the Settings app.
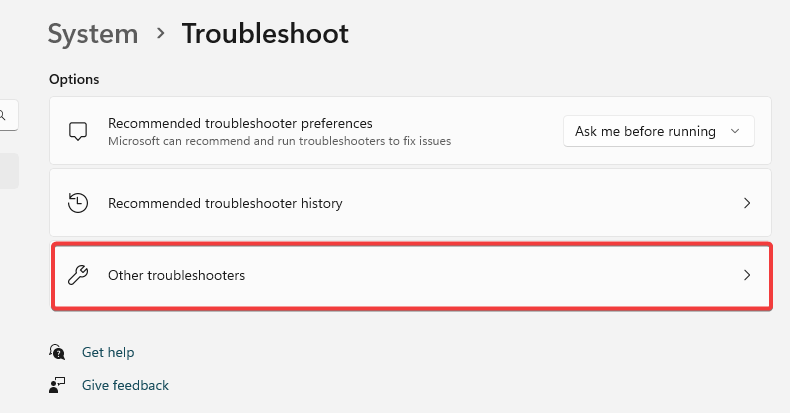
- On the right pane, click on Troubleshoot.
- Select Other troubleshooters.
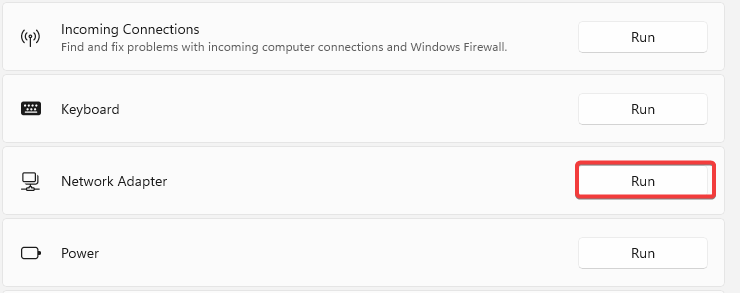
- Scroll down to Network Adapter and click on its Run button.
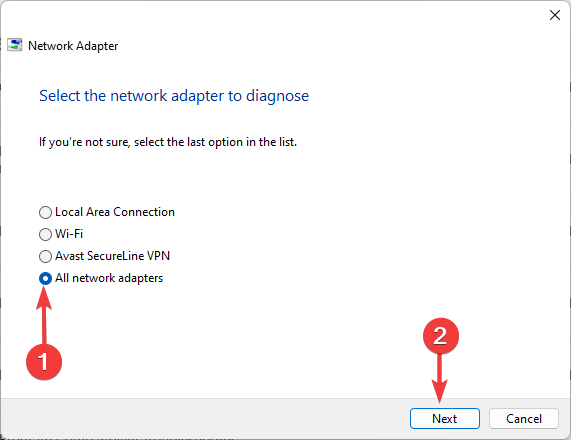
- Select All network adapters and click the Next button.
- Follow the wizard and apply the recommended fixes.
That is as much as we explore in this guide. We recommend you start with the easy workarounds and then follow through, starting with any of the more complex solutions that feel the most applicable.
Please reach out to us in the comments section below and let us know what worked for you.


