Windows 11 DHCP Not Working? How to Properly Enable

DHCP, or Dynamic Host Configuration Protocol, is a protocol that is used to automatically assign IP addresses to your computer. It can also be used to configure other aspects as well such as the subnet mask, default gateway, and DNS server information.
A computer or device must connect to a DHCP server to get a unique IP address and configure its other network information. The majority of the time, a network router serves as the DHCP server, but a computer can do this job as well.
It’s not just computers that use DHCP, but also switches, video game consoles, and smartphones. The process starts as the device requests an IP address from the DHCP server which then assigns an IP address so that the device can communicate with the network.
What is DHCP used for?
Internet service providers (ISP) use DHCP to provide IP addresses to their customers and there are multiple reasons for which they do this. Dynamic IP addresses are more flexible than static addresses and are easier to set up and administer.
A dynamic IP address will change after a set period, usually a few months. If static addresses were the norm, you would have to sign in every time to use a network rather than just automatically connecting.
And if they were assigned manually, ISPs would have to manually give out the address to a new device and other devices in that network must then change over to the new one.
This would make connecting a device to a router very time-consuming and having to manually change everything would increase the likelihood of errors occurring.
With that said, this guide will show you how to multiple ways connect to a DHCP server. The guide will also show how to disable DHCP if you wish to create a static IP address instead.
How can I connect my computer to a DHCP server?
1. Enable DHCP using the Control Panel
- Click on the magnifying glasses icon on the bottom bar to bring up the Search bar.

- In the Search bar, type in Control Panel.

- Click Control Panel when it appears. You will be taken to the Windows 11 Control Panel.
- In the upper right-hand corner, you see a selection called View By. Click it and select Large Icons.

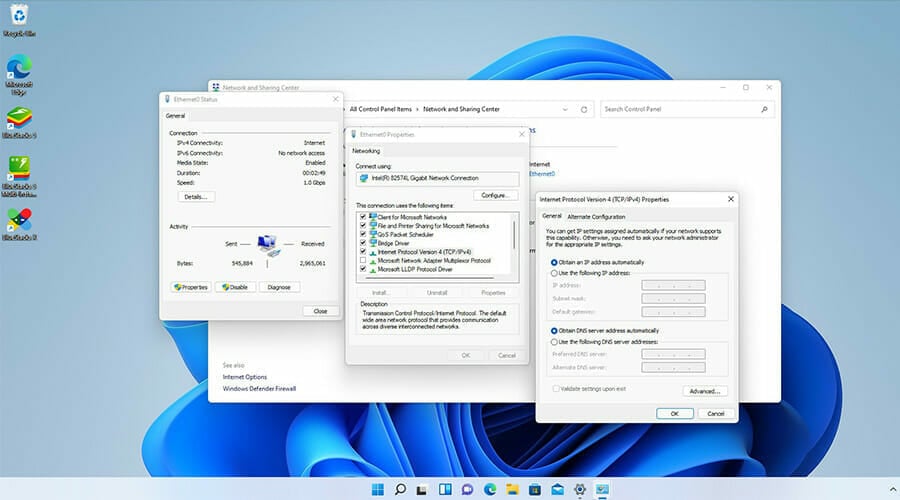
- Locate and select Network and Sharing Center.

- In the middle of the new window, locate the Network section.
- Click on the Ethernet0 connections option.

- A small window will appear. Select the Properties button located near the bottom of the window.

- In the new Properties window, select Internet Protocol Version 4 (TCP/IPv4).
- While Internet Protocol Version 4 is highlighted, select Properties and you will be taken to another window.

- Check and make sure Obtain an IP address automatically and Obtain DNS server address automatically are both selected.

- If they are already active, you don’t have to do anything else. If no, click on them to activate them.
- One done, click Ok at the bottom to save everything and exit after.
This options should help if you get errors like DHCP not enabled for Ethernet or DHCP not enabled for WiFi.
2. Disable DHCP Using the Control Panel
- On the same Internet Protocol Version 4 Properties windows, select the Use the following IP address option to disable DHCP.
- Then select Use the following DNS server addresses option below to disable access to a provided DNS server.

- From here, you can type in your own IP address, subnet mask, and default gateway for your network.
- Below that you can connect to your preferred DNS server.

- After you’re done, click the Ok button at the bottom to save.
3. Enable via the Settings menu
- Open the Start menu by either clicking on the Microsoft logo on the bottom of the screen or hit the Windows key on your keyboard.
- In the Start menu, click the Settings icon to open the Settings menu.

- Click on the Network and Internet tab.

- Click on the Ethernet tab. In other Windows 11 computers, it may say Wi-fi network.

- Scroll down until you see DNS server assignment.
- Click the Edit button next to IPv4 DNS servers.

- A small window will appear with the words Edit DNS settings above. If the tab in the middle states Automatic (DHCP) then you have nothing else to do.

- However, if it states Manual instead, disable the IPv4 tab by switching it over to off.

- Then click on Manual to open the drop-down menu and select Automatic.

- Hit Save when you’re done.
- Once done, click on the Edit button above DNS server assignment next to IP assignment.

- A small window appears called Edit IP settings. If it says Automatic (DHCP) you have nothing to do.

- If it states Manual, do the same as before and disable Ipv4.

- Then select Automatic in the drop-down menu and hit save.
4. Troubleshooting DHCP issues
- Open the Start menu again and type in Settings.

- Go to the Network and Internet tab and scroll down to Advanced network settings.

- In Advanced network settings, scroll down to Network reset.

- Select the Network reset tab and go to the next window.
- Press the Reset now button.

- A window will appear asking if you want to reset the settings. Select Yes.

- A window appears stating that you will restart in a few minutes.

- Close the window and manually restart by opening the Start menu and click on the Power button.
- Select Restart on the menu.

- After restarting, any issues with a DHCP should be resolved.
What if I want to use a static IP?
As the name suggests, a static IP address does not change. It consistently stays that way. Once a computer has a specific address tied to it, a DHCP server can be set up to forward inbound requests to that computer.
These types of IP addresses are useful if you host a website from home, have a file server on your network, and many other situations.
Outside of these situations, it’s recommended that you stick to a dynamic IP address and DHCP. A static IP can be difficult to use because there is a lot of upkeep that goes along with it and a lot of things could go wrong if you’re not an expert.
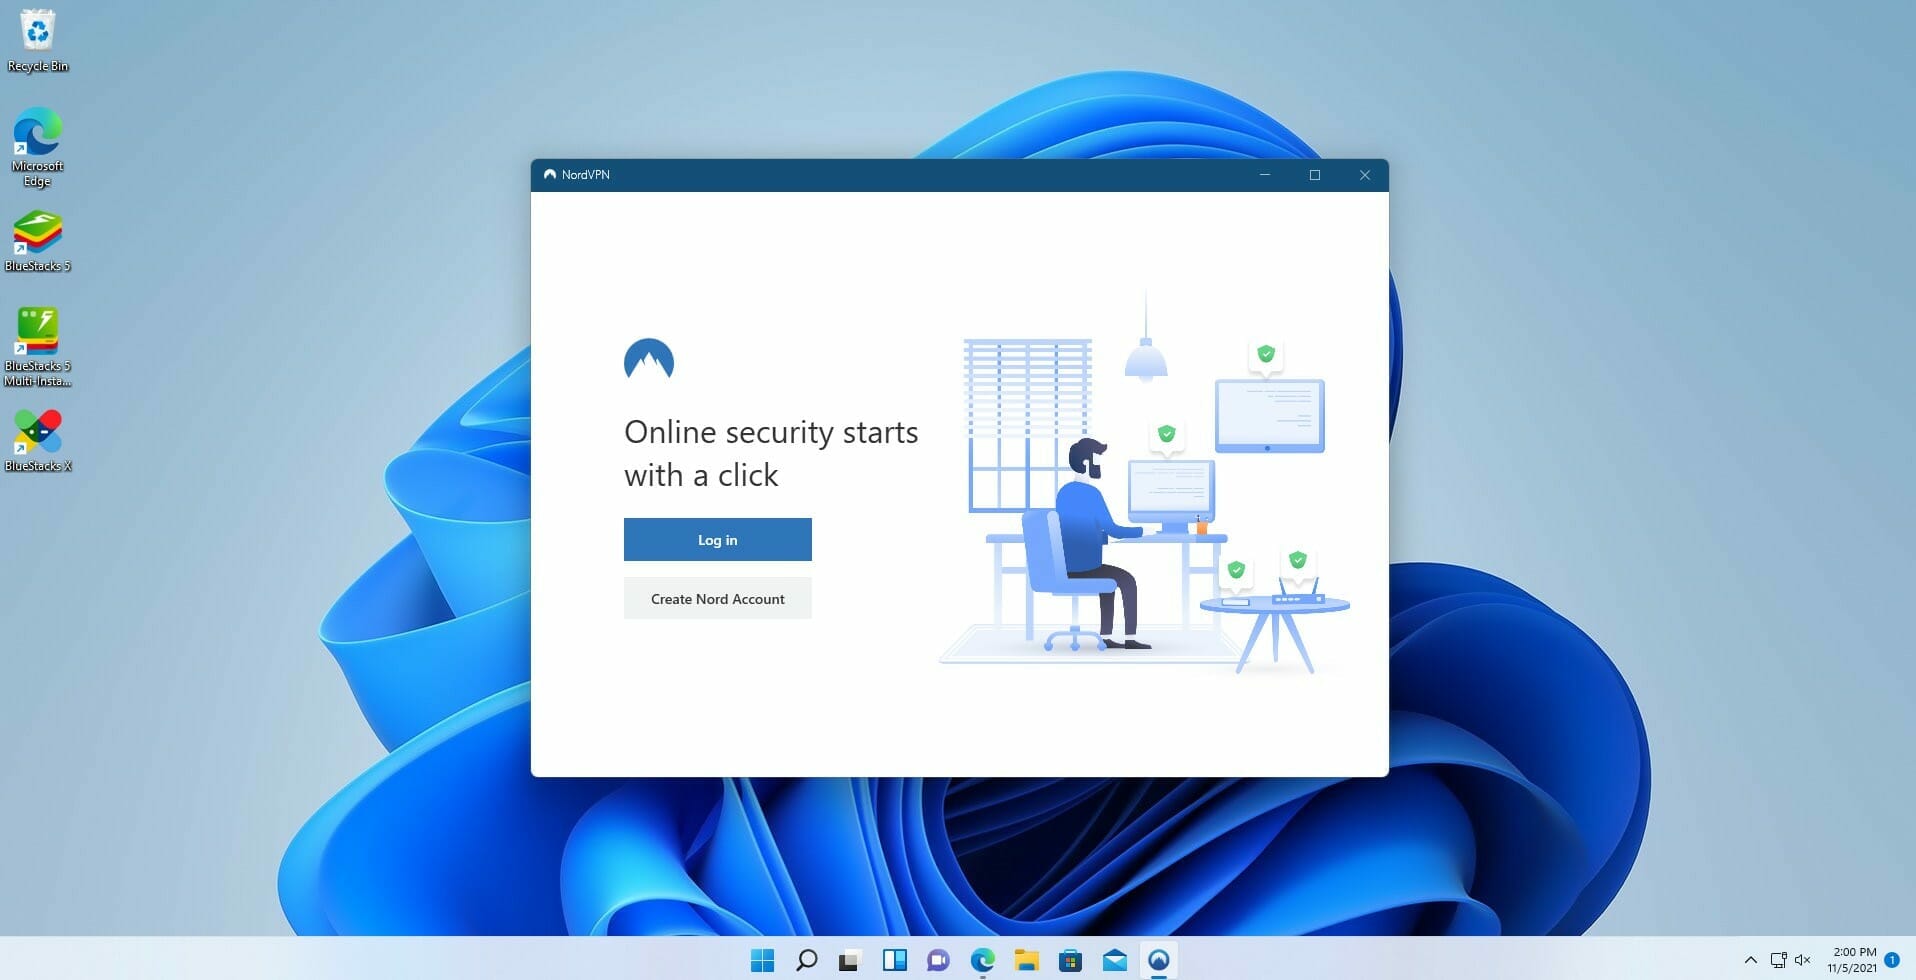
An IP address is something incredibly important to protect and hide. If a bad actor somehow gets access to yours, that could spell a lot of trouble for you and your devices. Using a VPN is a great way to protect your IP address while you surf the internet.
It’s also recommended that you hide your IP address while on a LAN. There are multiple ways of doing like a VPN as mentioned or you could use a proxy server instead.
Before leaving, find out what to do when DHCP is not enabled for Wi-Fi. We also have a guide on what to do if you can’t react DHCP server, so don’t miss it.
Feel free to leave a comment below if you have any questions on other DHCP, IP addresses, or other issues. Feel free to leave comments about guides that you’d like to see or information on other Windows 11 features.
Read our disclosure page to find out how can you help Windows Report sustain the editorial team. Read more


Improve this guide


User forum
0 messages