How to set up a Dropbox slideshow
3 min. read
Updated on
Read our disclosure page to find out how can you help Windows Report sustain the editorial team Read more
Key notes
- Dropbox has plenty of built-in tools besides the fact of being a cloud storage tool.
- For example, the guide below will show you how to create a slideshow using the files of your Dropbox.
- For more great tutorials like the one below, check out our dedicated Dropbox Guides hub.
- If cloud apps are what interest you, then why not visit our Storage page as well?

Dropbox is one of the world’s foremost cloud storage services. Paper is a Dropbox feature that enables users to set up and edit documents within the web app.
The Paper editor includes a Present option with which you can display basic image slideshows with captions within Dropbox. Then you can flick through your picture slides within the presentation.
How do I create a Slideshow on Dropbox?
- To set up a slideshow, first open Dropbox within a browser.
- Next, click Paper on the left side of the Dropbox tab.
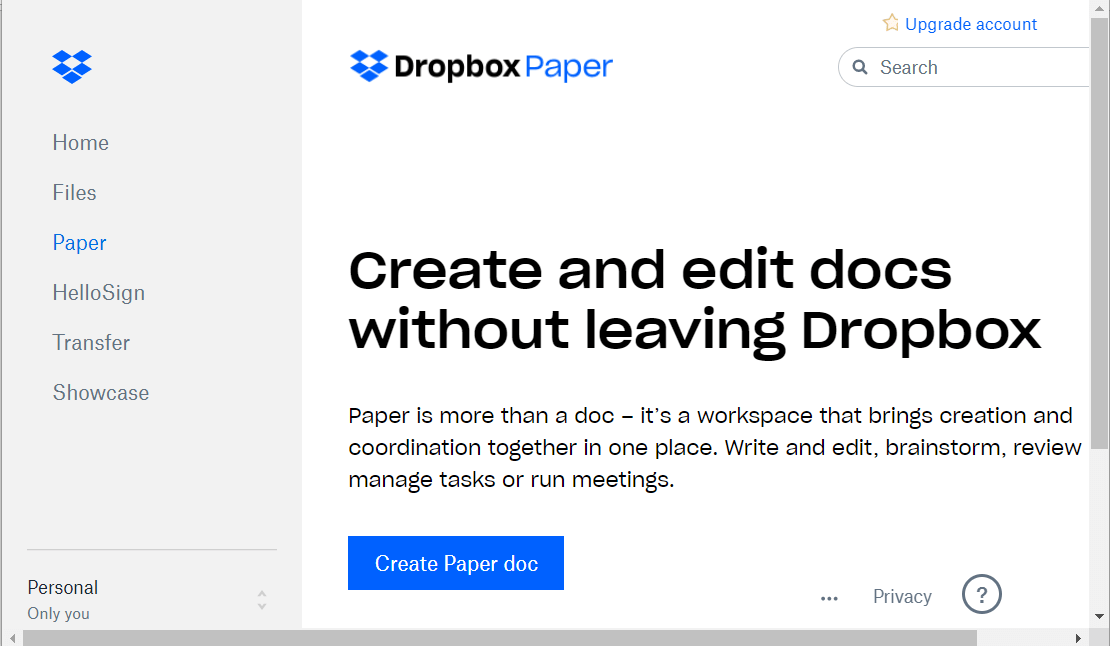
- Click the Create Paper doc button.
- Then enter a title for the slideshow document, and press the Return key.
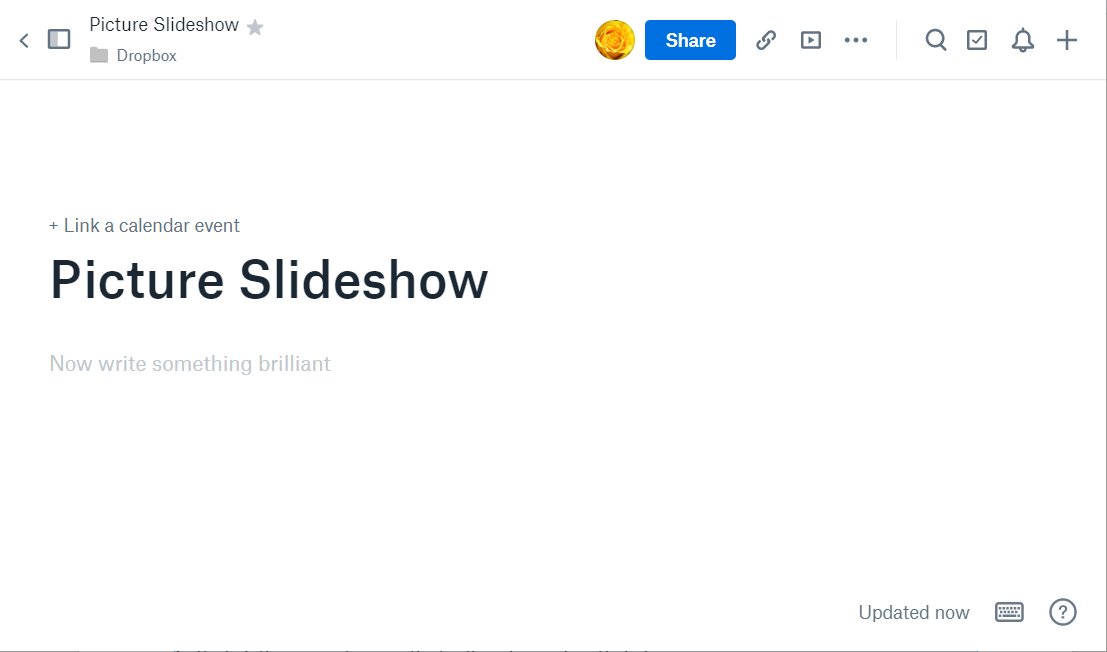
- Left-click the mouse to open the toolbar shown directly below.

- Press the Add images button.
- Select an image to add to the document.
- Click the Open button to add the image to document.
- Click under the image to add a caption to it.
- Repeat the previous four steps to add multiple images to the document with captions.
- To add images from Unsplash, click Add media on the Paper toolbar.

- Click Unsplash on the media window.
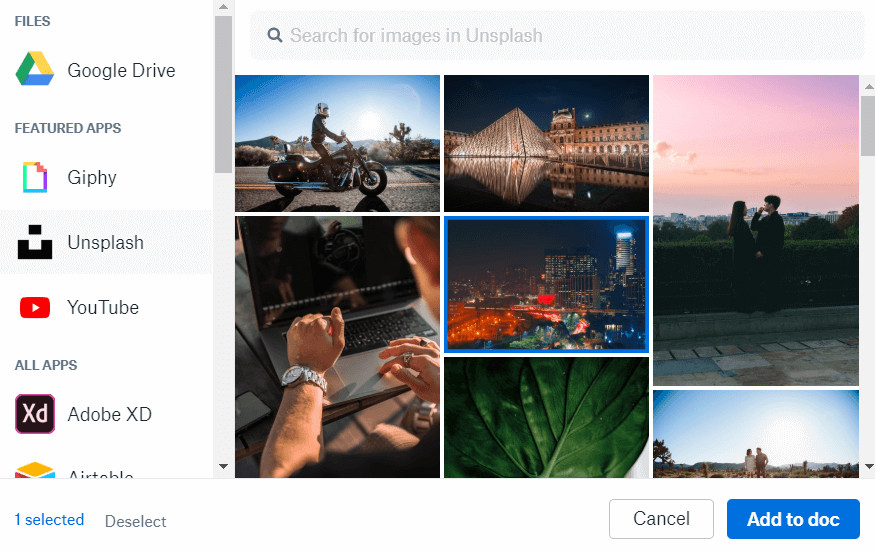
- Enter a keyword to search for images with.
- Select an Unsplash image to add to the presentation.
- Click the Add to doc button.
- To adjust image alignment, right-click a picture within the document to open the toolbar in the shot directly below.
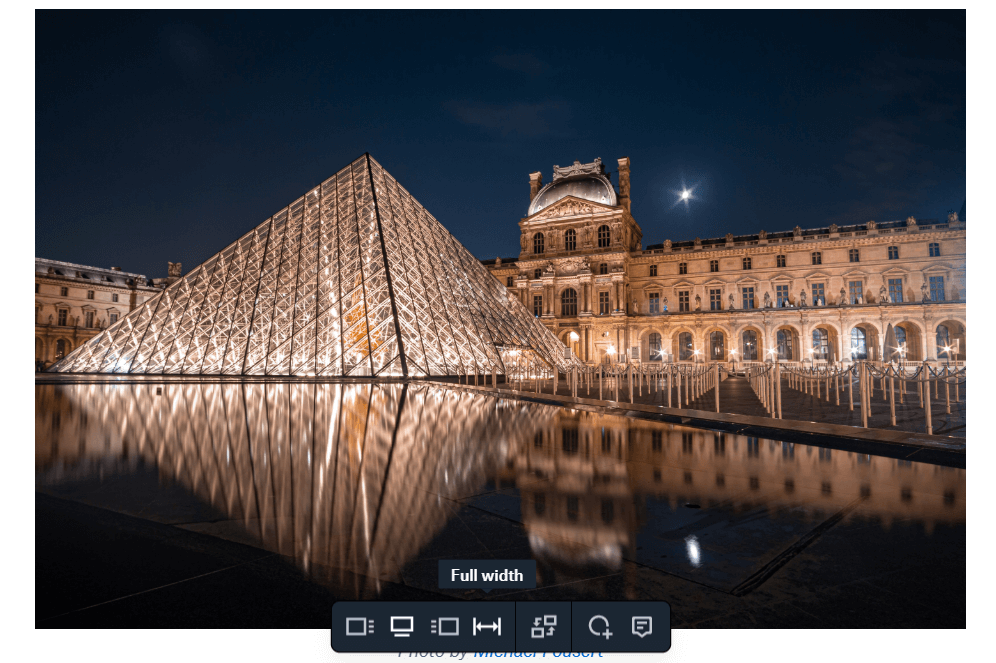
- Then you can select Full Width, Left align, Right align, and Center options for an image.
- You can add horizontal rules between pictures by typing — in the document for each slidebreak position.
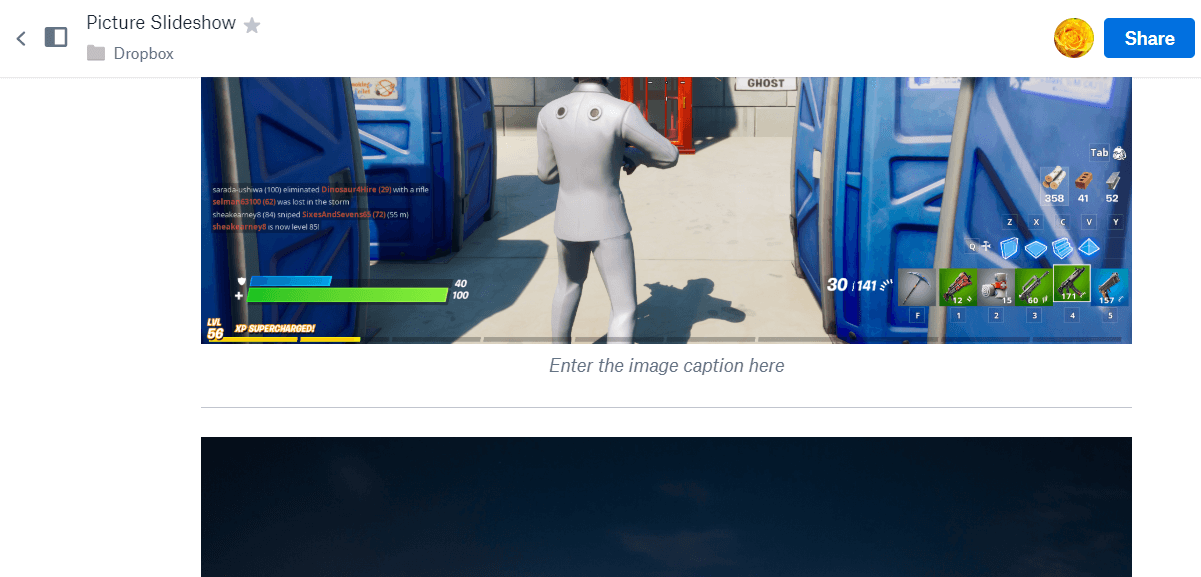
- When you’ve finished adding pictures, click the More button to open the menu shown directly below.
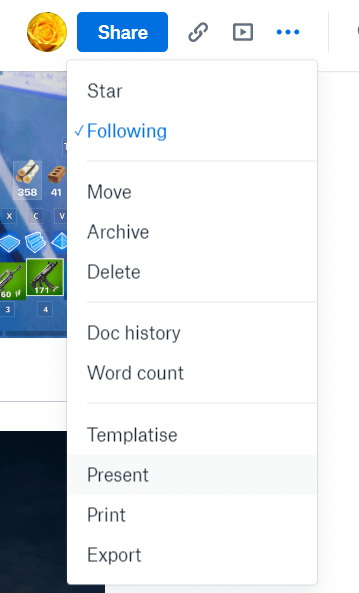
- Click Present to open a new tab that displays document.
- Click the Enter fullscreen mode button shown directly below to expand the display.
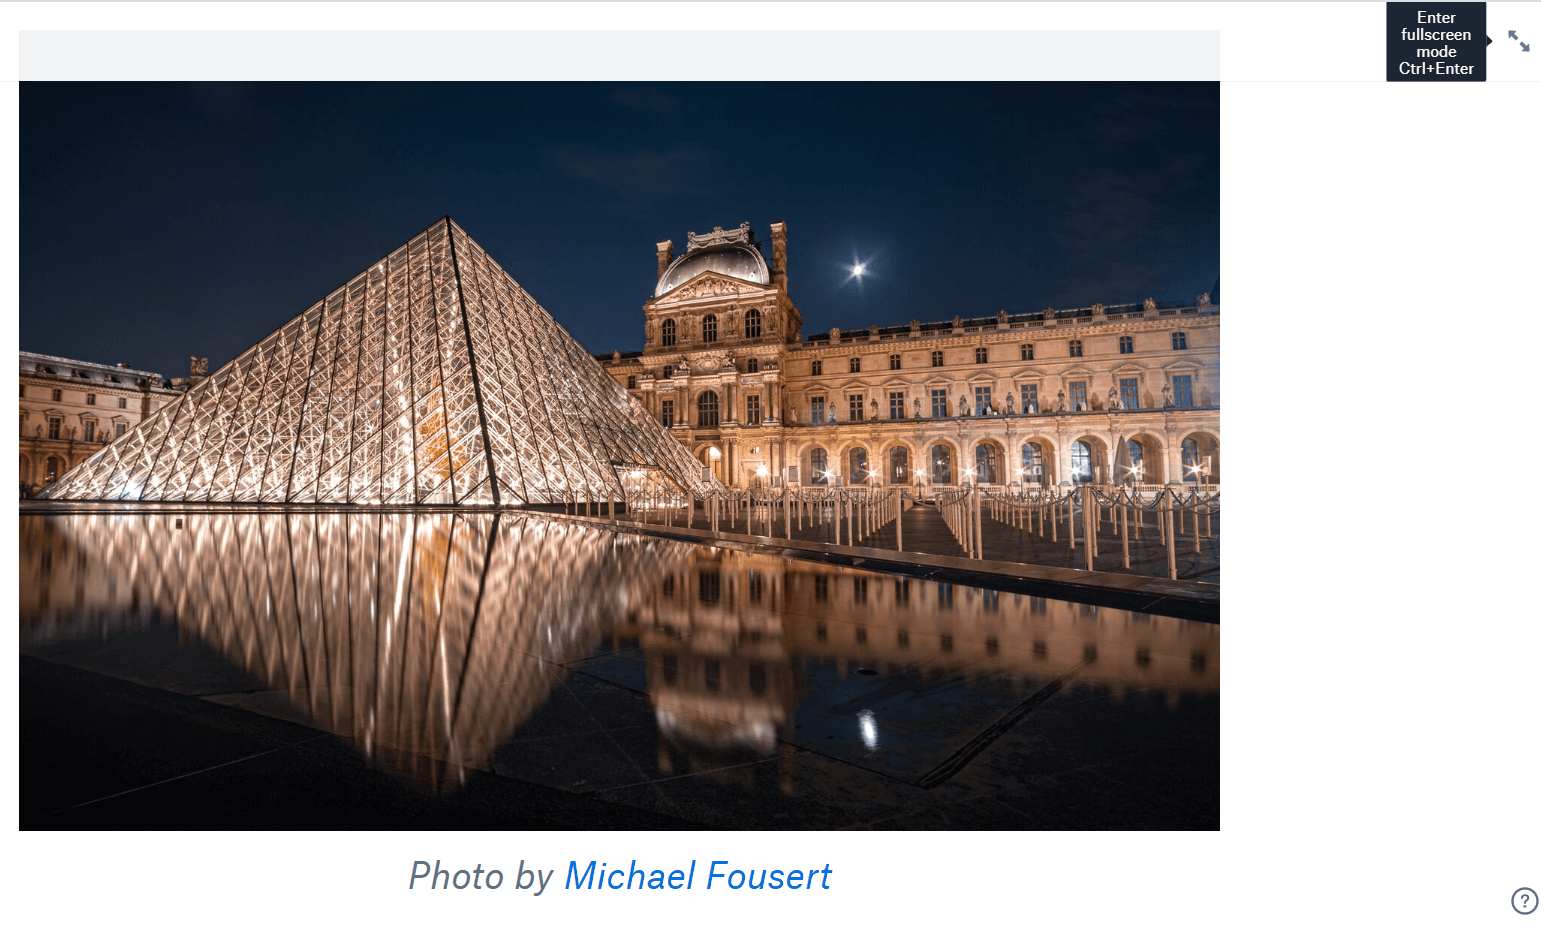
- Then press the Space keyboard key to flick through the document’s pictures in slideshow fashion.
- You can also switch the slideshow to dark mode by clicking the Enable dark mode button at the top right of the window.
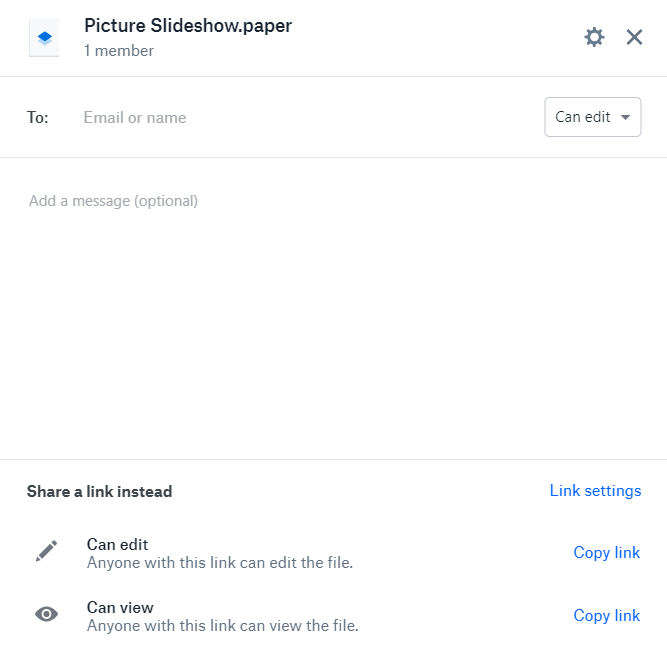
- You can share the slideshow presentation when it’s done.
- Enter an email address to share the presentation with in the To box.
- Select the Can view option.
- You can enter an optional message in the Add a message box.
- Press the Share button.
So, that’s how you can set up a picture slideshow with Dropbox’s presentation mode. Dropbox only includes very basic options for slideshows. However, setting up presentations within DB Paper documents is still a quick and straightforward way to showcase your favorite photos.
[wl_navigator]

