Epson Event Manager: How to Download And Use it to Scan
Epson Event Manager makes tweaking of the scanners easier
3 min. read
Updated on
Read our disclosure page to find out how can you help Windows Report sustain the editorial team. Read more

We will show you the best ways to download, install an use the Epson Event Manager. This software lets you access various features, including:
- The software brings various scanner features.
- It allows you to manage scanning right from the Control Panel.
- Thanks to the preset support, you can make scanning faster and simpler than ever.
Sound good? Keep reading to learn more.
How do I download & install Epson Event Manager?
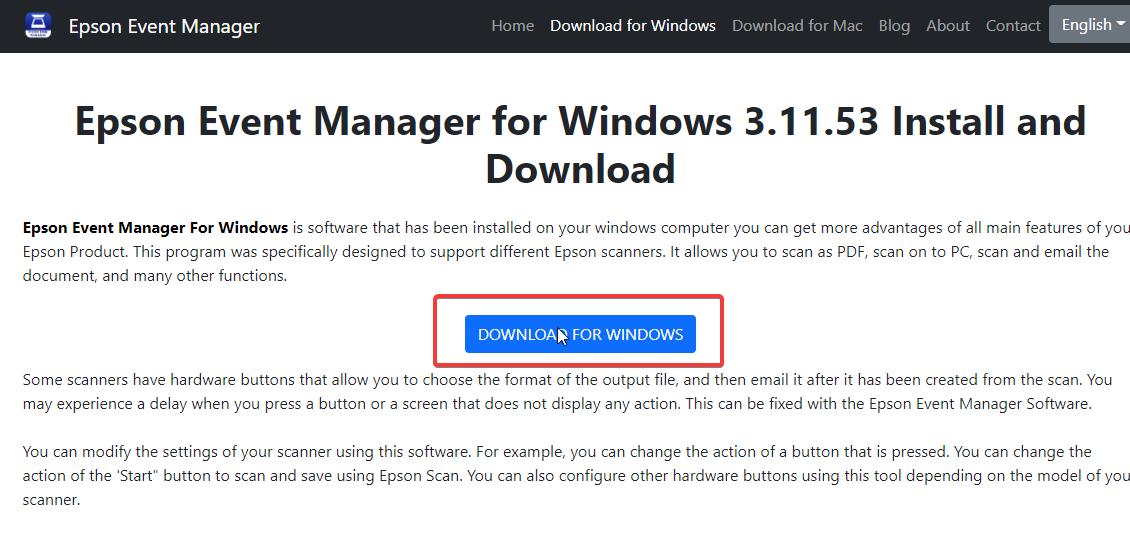
Use the official download page
- Launch a browser on your computer and go to Epson Event Manager’s download page.
- Scroll down and click on the Download for Windows button.
- Choose a location for the software download and wait while the .exe file downloads.
- After the file is downloaded, click on Open file.
- On the prompt, click OK and extract the files setup.
- Accept the License Agreement, then click Next.
- Click on Install and follow the prompts that follow.
- After the installation process is complete, click on Finish.
The Epson Event Manager will automatically start running. Sometimes, it will also create a shortcut menu on the Desktop.
How do I scan to my computer with Epson Event Manager?
1. Configure the Event Manager
- Click Start on your computer and select Programs.
- Select Epson software, then click on Event Manager.
- Click on Button settings and allow all buttons to use Epson Scan.
- Click on Close to save the changes.
- On your Home Screen, click on Start, and select the Control Panel.
- Select Scanners and Cameras or Devices and Printers.
- Right-click on the product and select Properties.
- Go to Events, and select the Scan button for the Select an event option.
- Then, choose Epson Event Manager for the Start this program option.
- Click OK.
2. Perform the scanning process
- Place the original copy you want to scan on the product for scanning.
- Click on the Home button, then select Scan.
- Select a computer and choose your preferred option.
- Press the Scan button on your scanner.
Do I need an Epson Event Manager at startup?
No, you don’t need to have this application in startup. However, if you’re scanning documents daily, then you might need to add this application to startup.
Do I need the Epson Event Manager to scan?
This depends on the model of your scanner. Some models won’t work without this software, while others don’t require it to scan documents.
Is an Epson Event Manager necessary?
The Epson Event Manager is useful but not essential for everyone. It’s designed to help you scan documents, create PDFs, and manage scan settings. If you regularly use your Epson scanner for these tasks, having Event Manager can streamline your workflow.
Can I delete the Epson Event Manager?
Yes, you can delete the Epson Event Manager if you you don’t need it. This won’t affect your printer or scanner’s core functionality, but you’ll lose the convenience of quick scan management features.
Wrapping up
After reading this guide, We hope you understand how Epson Event Manager works. users can also read through our article about Epson scanner software. It will give you more insight into Epson scanner software and how to download it for Windows devices.
Moreover, not properly downloading and installing the Epson Event Manager on Windows can result in some difficulties. Hence, it is essential to know what to do if the Epson scan is not working on Windows 11.
Lastly, to ensure that your device is properly working, check our guide on how to install the Epson scanner driver on your PC.
Have you ever used this tool? Share your experience with us in the comments section.


User forum
2 messages