Error Code 0x0: 4 Easy Solutions to Permanently Fix it
A damaged Windows installation is the chief cause of this issue
Key notes
- If you're getting error code 0x0 during Windows 10 upgrade, check if certain software isn't interfering with the process.
- A damaged Windows installation can cause this problem, so you might have to repair it.
- Sometimes, the only way to deal with this issue is to perform an in-place upgrade.

There are all sorts of errors that you can encounter when upgrading, but today we’re going to focus on Windows 10 upgrade error code 0x0.
This error will prevent you from upgrading, and you’ll also miss new and exciting features. Luckily, there are ways to fix this error, and in today’s guide, we will show you the best methods you can use to fix this issue.
What does error code 0x0 mean?
In most cases, these errors appear because your installation is damaged. However, there are multiple reasons for this issue to occur. Below are some of the notable causes:
- Antivirus interference: Sometimes, the Windows could not update the installation files error code 0x0 because your antivirus software is blocking it. You need to disable or uninstall the security software to solve the problem.
- Faulty graphics driver: Another potential cause of this issue is an outdated or broken display driver. Reinstalling or updating your driver to the latest version should do the trick.
- Corrupt system files: In some cases, this error code can show up because of broken or missing system files. The best thing to do here is to repair these files.
How can I fix error code 0x0 in Windows 10?
1. Remove your antivirus software
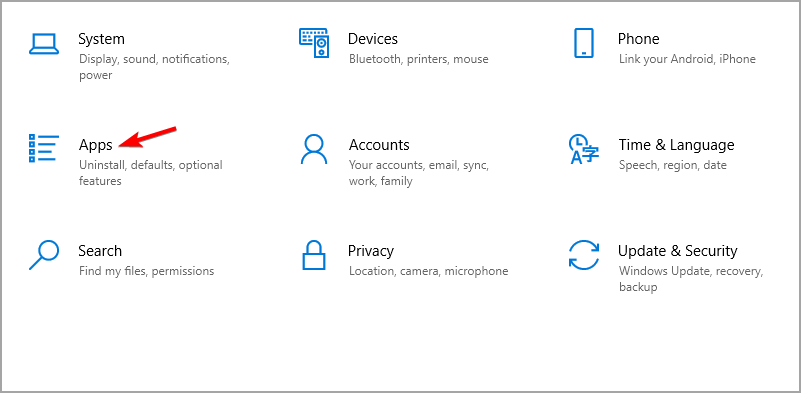
- Press the Windows key + I to open the Settings app.
- Navigate to the Apps section.
- Select your antivirus software and click on Uninstall.
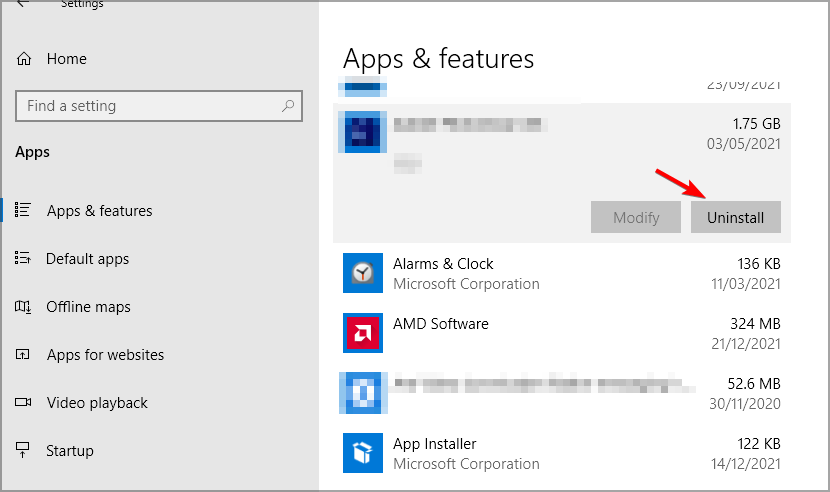
- Follow the instructions on the screen to complete the process.
- Once the software is removed, try to perform the upgrade again.
Users reported issues with McAfee and Avast, so be sure to remove them. Speaking of which, we have a helpful guide on how to completely remove McAfee, so be sure to check it out.
2. Use the DISM command
- Press Windows key + X and select Windows PowerShell (Admin).
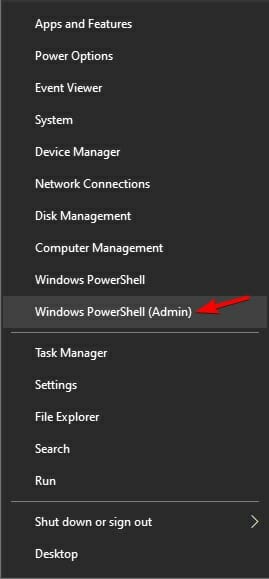
- When the PowerShell opens, run the following commands:
DISM /Online /Cleanup-Image /CheckHealth
DISM /Online /Cleanup-Image /ScanHealth
DISM /Online /Cleanup-Image /RestoreHealth
The first two commands will scan your installation for any damage, and the last will perform the repair. Running all three commands is unnecessary, so you can only run the last one.
If you’re unfamiliar with it, you should read our guide on how to use DISM to repair your installation.
3. Remove your graphics card drivers and restart the Function Discovery Resource Publication service
- Press Windows key + X and choose Device Manager from the list.
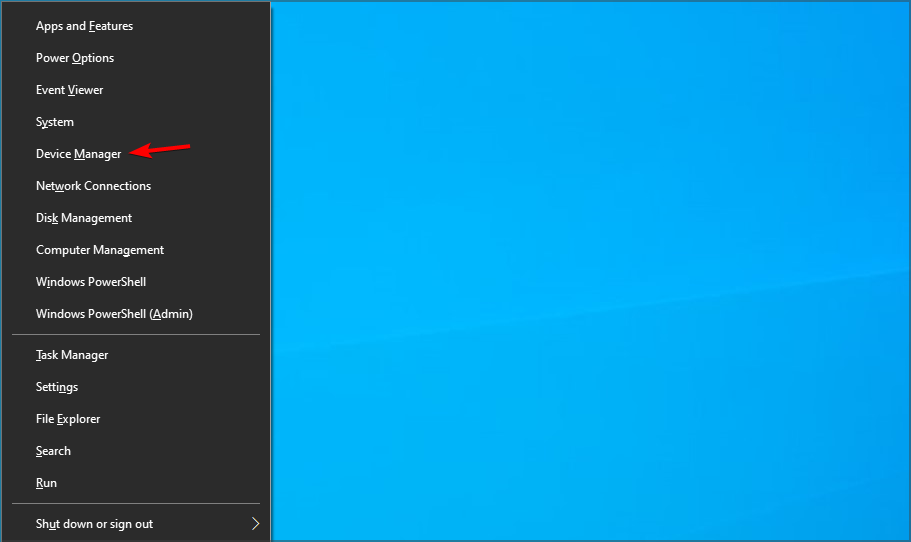
- Locate your graphics card driver on the list, right-click it, and choose Uninstall device.

- Check Delete the driver software for this device and click on Uninstall.

If you want to uninstall your drivers completely, you might want to use specialized software such as DDU. To learn more, read our guide on how to use Display Driver Uninstaller.
Outdated or corrupted drivers can cause issues such as this one. Therefore, you must update them regularly. However, doing this manually can be tedious, especially if you need to update multiple drivers.
However, tools such as Outbyte Driver Updater can make this process much faster by scanning your system and automatically updating all your drivers.
Now let’s disable the required service by doing the following:
- Press Windows key + R and enter services.msc. Press Enter.

- Locate Function Discovery Resource Publication and double-click it.

- If the service is running, click the Stop button.

- Now wait for a couple of moments and enable the service again.
After doing that, try to upgrade once again. You can also try keeping the Function Discovery Resource Publication disabled or enabled and check if that helps.
4. Perform an in-place upgrade
- Go to the Windows 10 download page.
- In the Create Windows 10 installation media section, click on the Download tool now.
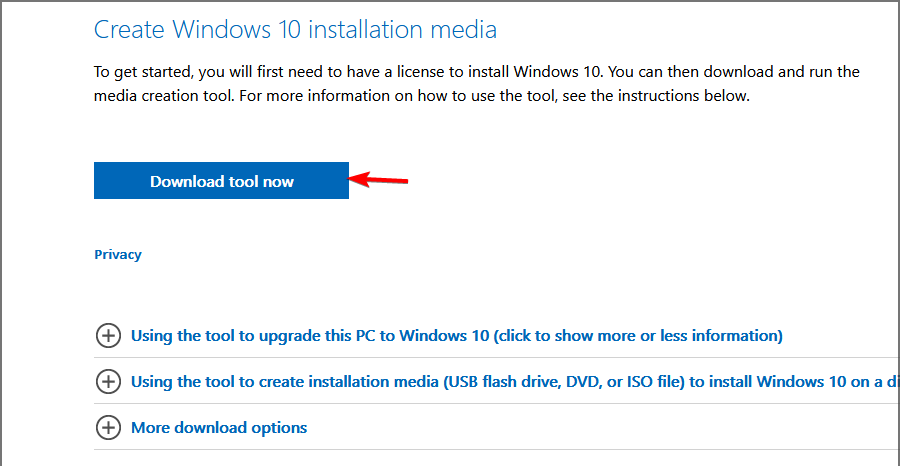
- After the download is finished, run the program.
- Accept the terms of service and follow the instructions on the screen.
- Be sure to select Upgrade this PC now.

- When your reach the Ready to install screen, make sure that the option to Keep files is selected. If not, click on Change what to keep and change it.

- Start the process and wait for it to finish. Keep in mind that the process can last more than an hour.
After completing the process, you must try to perform the upgrade again. By doing an in-place upgrade, you’ll repair your installation, and hopefully, you’ll be able to upgrade as well.
Error code 0x0 during Windows 10 upgrade can be problematic and usually occurs if a particular service or software interferes with the upgrade process.
In case the problem is still there, you might want to read our guide on what to do if you can’t upgrade to the latest Windows 10 version.
Did you find an alternative solution to this problem? If so, share it with us in the comments section below.
Read our disclosure page to find out how can you help Windows Report sustain the editorial team. Read more


Improve this guide


User forum
0 messages