[Fixed] Fatal Error: Failed to Connect With Local Steam Client
4 min. read
Updated on
Read our disclosure page to find out how can you help Windows Report sustain the editorial team. Read more
Key notes
- The error message Fatal error failed to connect with local Steam Client process might appear due to corrupted or missing game files.
- Sometimes, while launching CS:GO, the failed to connect with local steam client message pops up.
- To fix this Steam fatal error, verify the integrity of game files for those games that aren’t launching.
- Force-closing Steam or using a beta account are also handy solutions to get you back in the game.
The Fatal error failed to connect error message pops up for some Steam users when they try to launch games.
The error message states: Fatal error failed to connect with local Steam Client process. Please make sure that you are running the latest version of Steam.
That error usually occurs for Valve games, such as Counter-Strike and Team Fortress 2. Those games don’t launch when the Fatal error failed to connect error message pops up.
So let’s explore how to easily fix this error that blocks your access to your favorite games.
How can I fix failed to connect with local steam client process?
1. Verify game files
- Open the Steam client software.
- Select the Library tab in Steam.
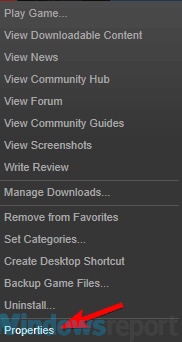
- Right-click the game that doesn’t launch and select Properties.
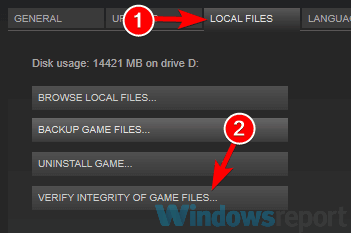
- Click the Local Files tab.
- Then select the Verify Integrity of Game Files option.
2. Log out and back in to Steam
- Open the Steam window.
- Click the Steam menu at the top left of the software’s window.
- Select the Change user option.
- Press the Logout button to provide further confirmation.
- A Steam Login window will then open from which users can enter their account details to log back in.
If the error pertains to a user’s Steam account, logging out of Steam and then back in might just fix it.
And this is a surprisingly straightforward resolution that some users have said fixes the Failed to connect with local Steam client process error.
3. Close Steam via Task Manager
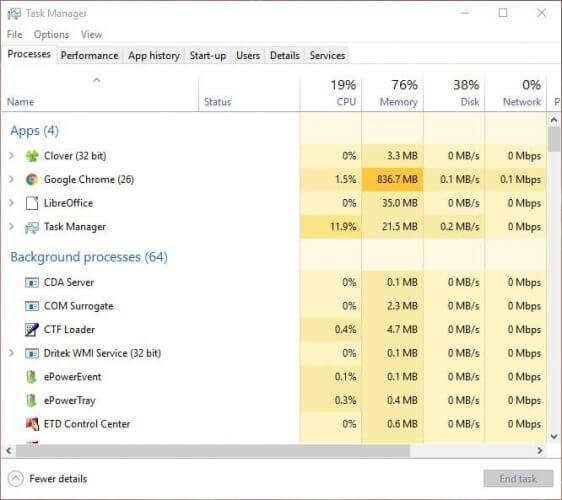
- Right-click the Taskbar and select Task Manager.
- Then select Steam Client on the Processes tab.
- Press the End task button to terminate Steam.
- In addition, select all other Steam processes listed on the Processes tab (if any) and click End task.
- Thereafter, restart the Steam software.
- Some users might also need to restart Steam with admin rights by right-clicking the software’s shortcut icon and selecting Run as administrator on the context menu.
Note that users who successfully used this solution also closed the gaming client, and all other Steam processes, with Task Manager.
4. Switch to a Steam Beta account
- Launch the Steam client.
- Click the Steam menu, and select the Settings option from there.
- Click Account on the left of the Settings window.
- Press the Change button.
- Select the Steam Beta Update option on the Beta participation drop-down menu.
- Select the OK option.
- Then restart Steam as prompted.
Don’t worry! A beta account gets all the latest updates before it rolls out to non-beta users.
5. Check for Steam updates
The error message states, Please make sure that you are running the latest version of Steam. Thus, the error message drops a hint for users to update Steam.
You can check for updates by clicking Steam and File. Then select the Check for Steam Client Update option.
Reinstalling Steam is another way users can update the software. Then users can get the most update Steam version from the software’s website before reinstalling.
However, you will need to copy the Steamapps folder to another directory to preserve their game data when uninstalling.
- Press the Windows key + E keyboard shortcut to open File Explorer.
- Open the Steam game folder in File Explorer. The default path for that folder is C:Program FilesSteam.
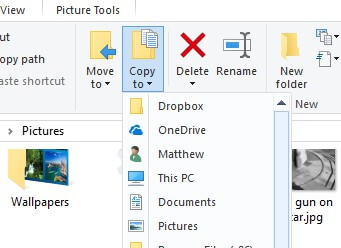
- Then select the Steamapps subfolder, and press the Copy to button.
- Select a folder to copy Steamapps to.
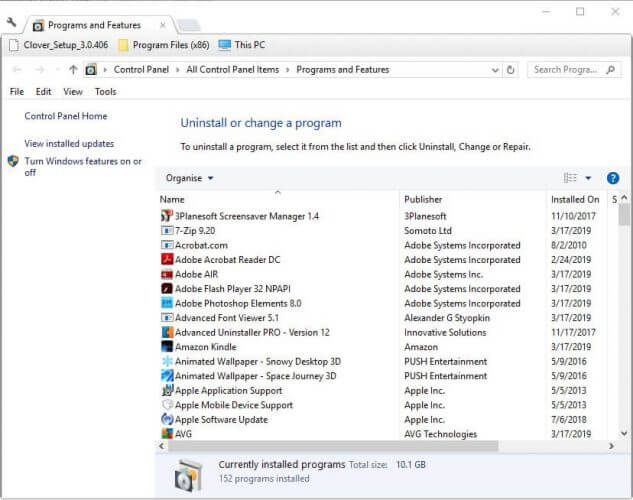
- Thereafter, uninstall Steam by pressing the Windows key + R, entering appwiz.cpl, in Run, and clicking OK.
- Then select Steam, and click the Uninstall or Change/Remove button.
- Restart Windows after removing Steam.
- Thereafter, click Install Steam on the software’s website to download the installer for the latest version. Open the setup wizard to add Steam to Windows.
- Move the copied Steamapps subfolder back into the Steam folder after reinstalling the gaming client.
Those are some of the resolutions that players have confirmed to fix the Fatal error failed to connect error.
As such, the above resolutions will probably fix the error for most users so that they can play Valve games on Steam again.
Before you leave, don’t forget to check our guide on lowLevelFatalError since it can offer more insight on this issue.





User forum
0 messages