Jedi Survivor Crashing on Startup: 7 Ways to Fix it
Make sure the latest graphics drivers are installed
5 min. read
Published on
Read our disclosure page to find out how can you help Windows Report sustain the editorial team. Read more
Key notes
- To fix Star Wars Jedi: Survivor crashing on startup, set the priority to high, disable Steam overlay, or move the game to a non-system drive.
- Keep reading to find out more solutions to the problem!
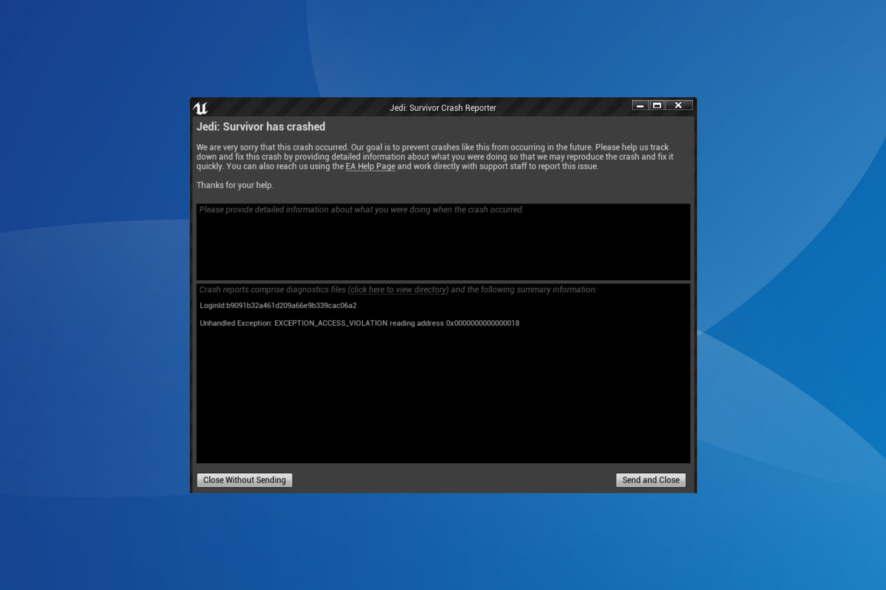
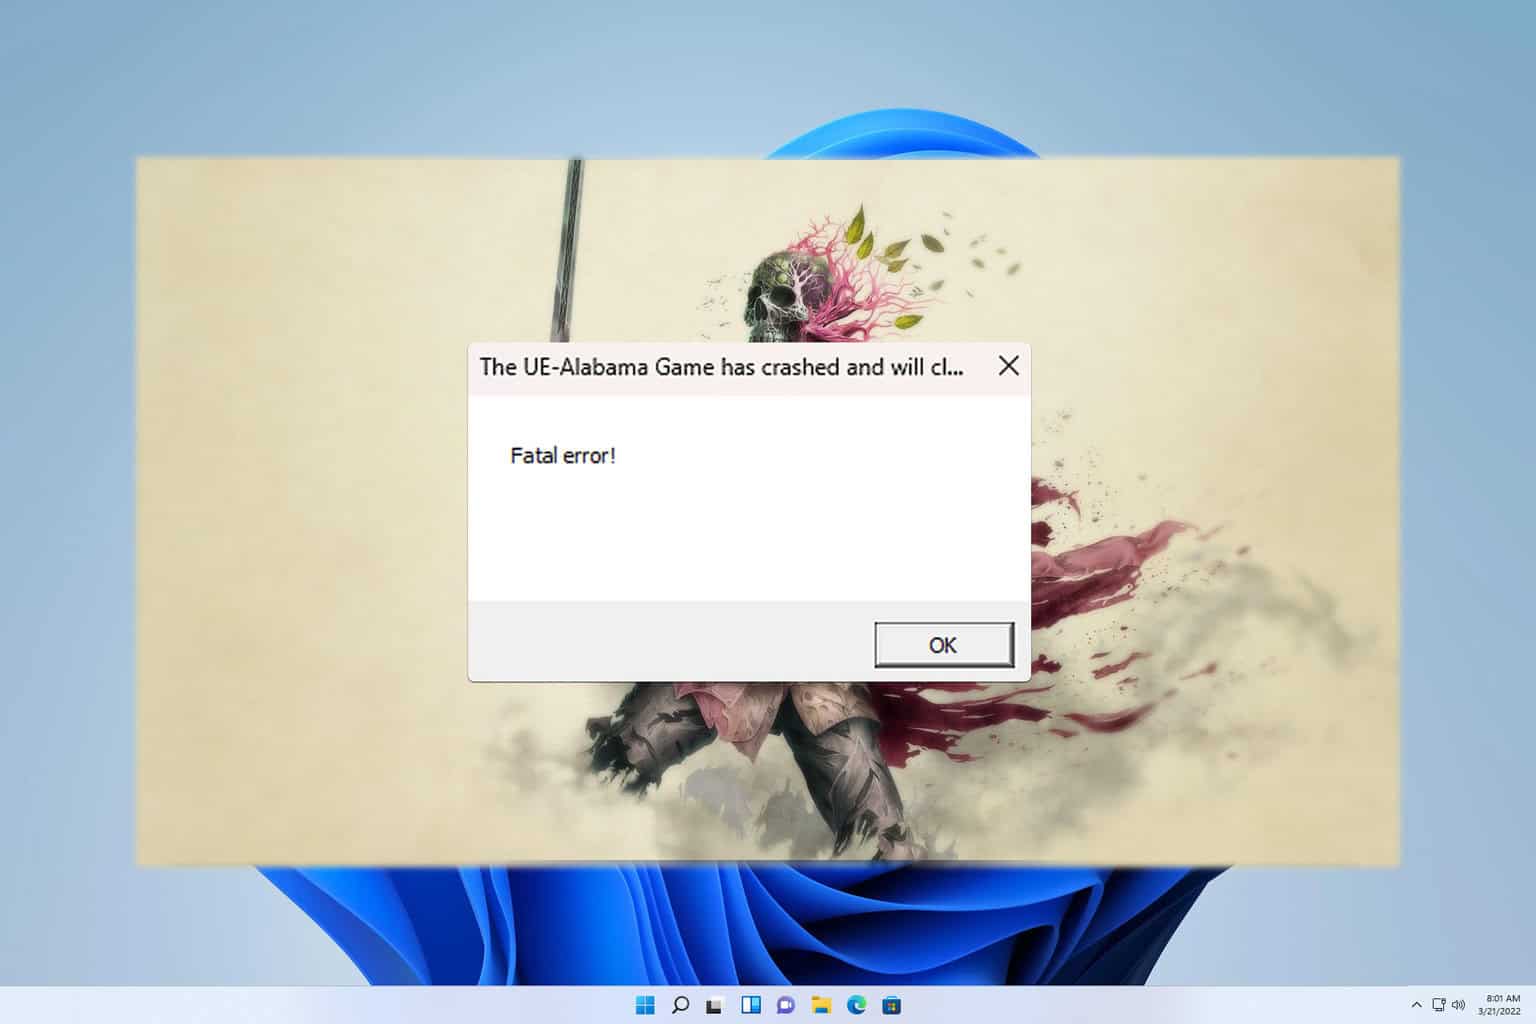
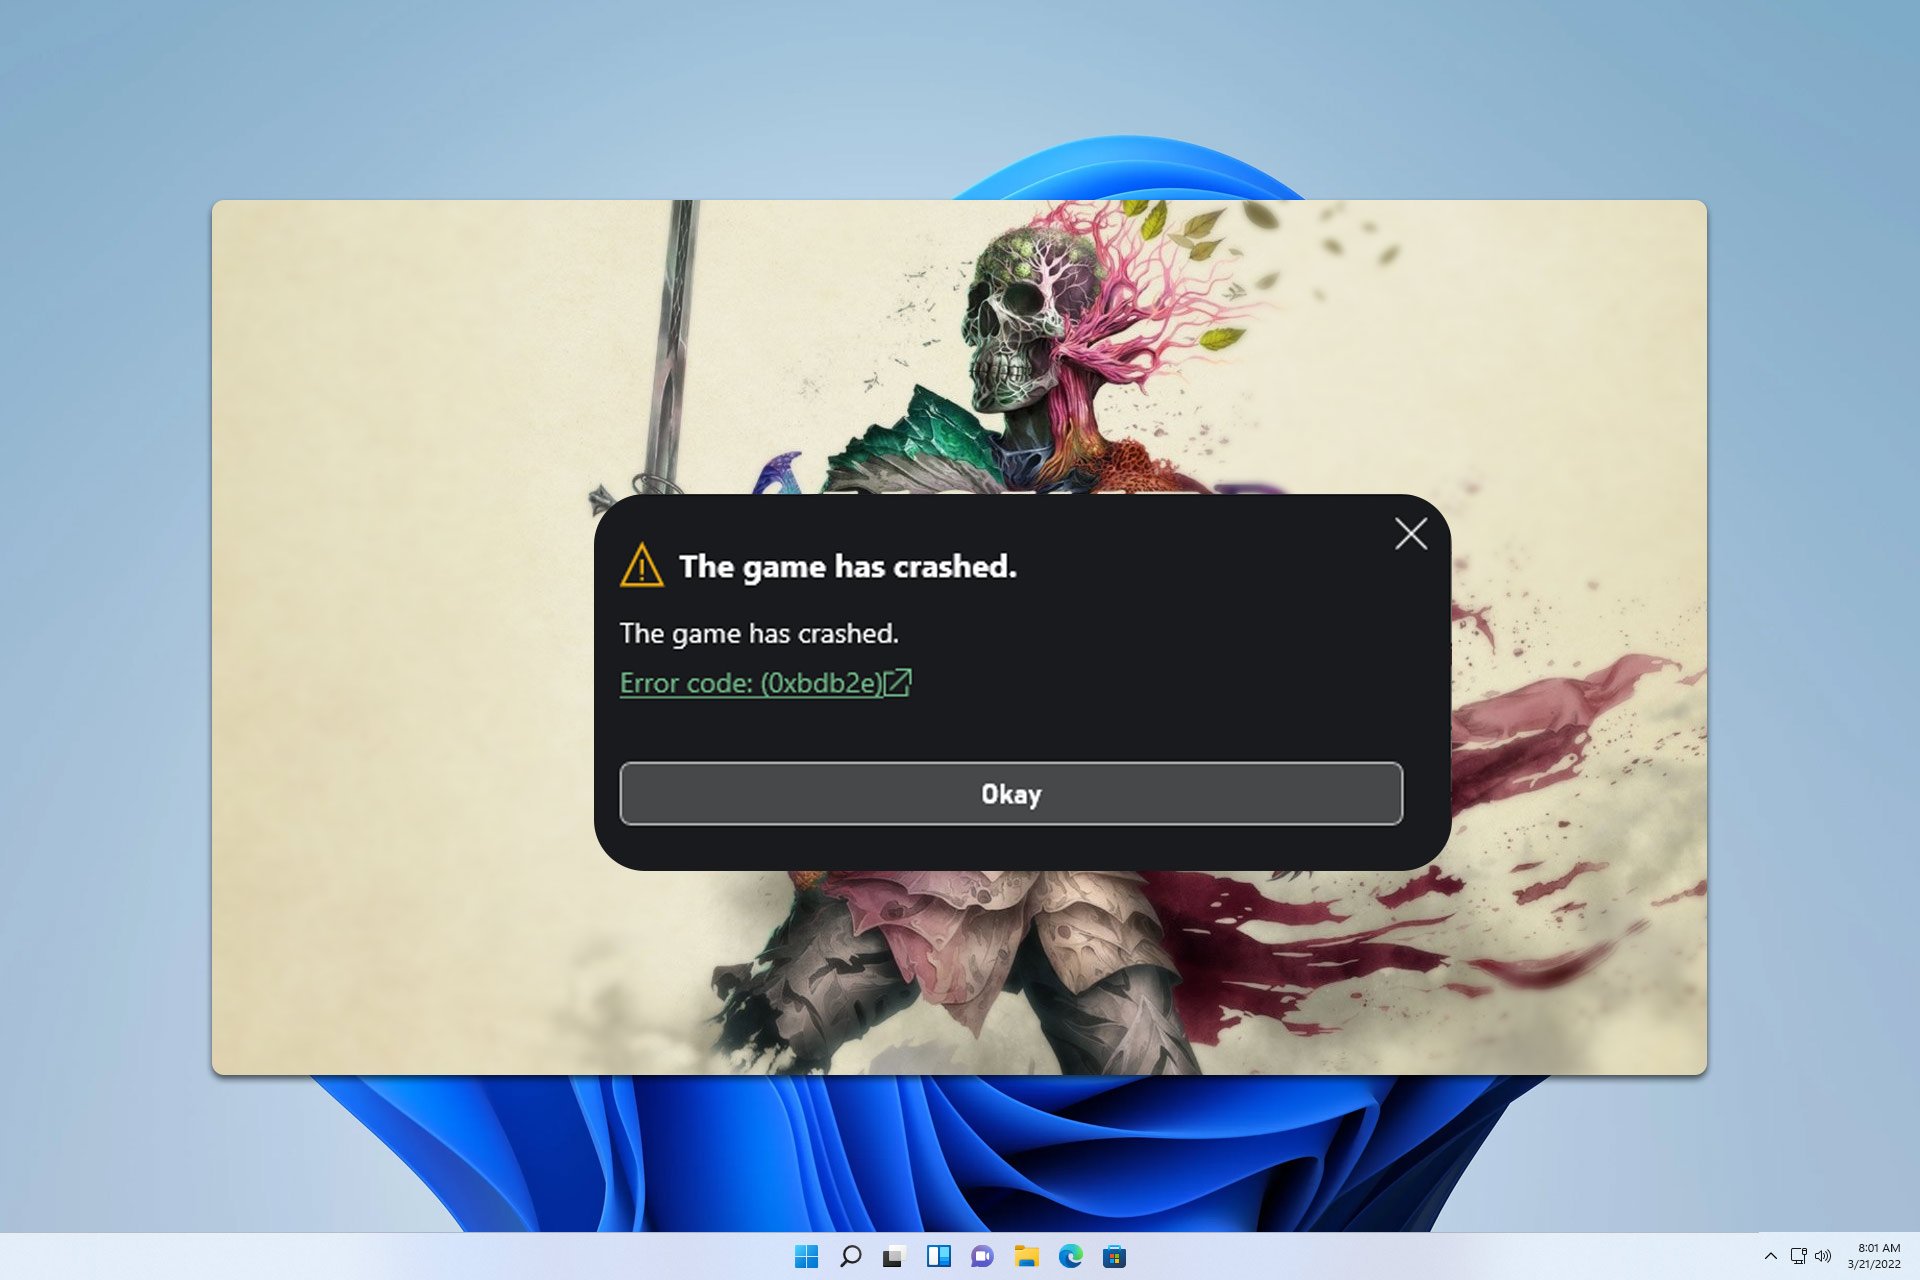
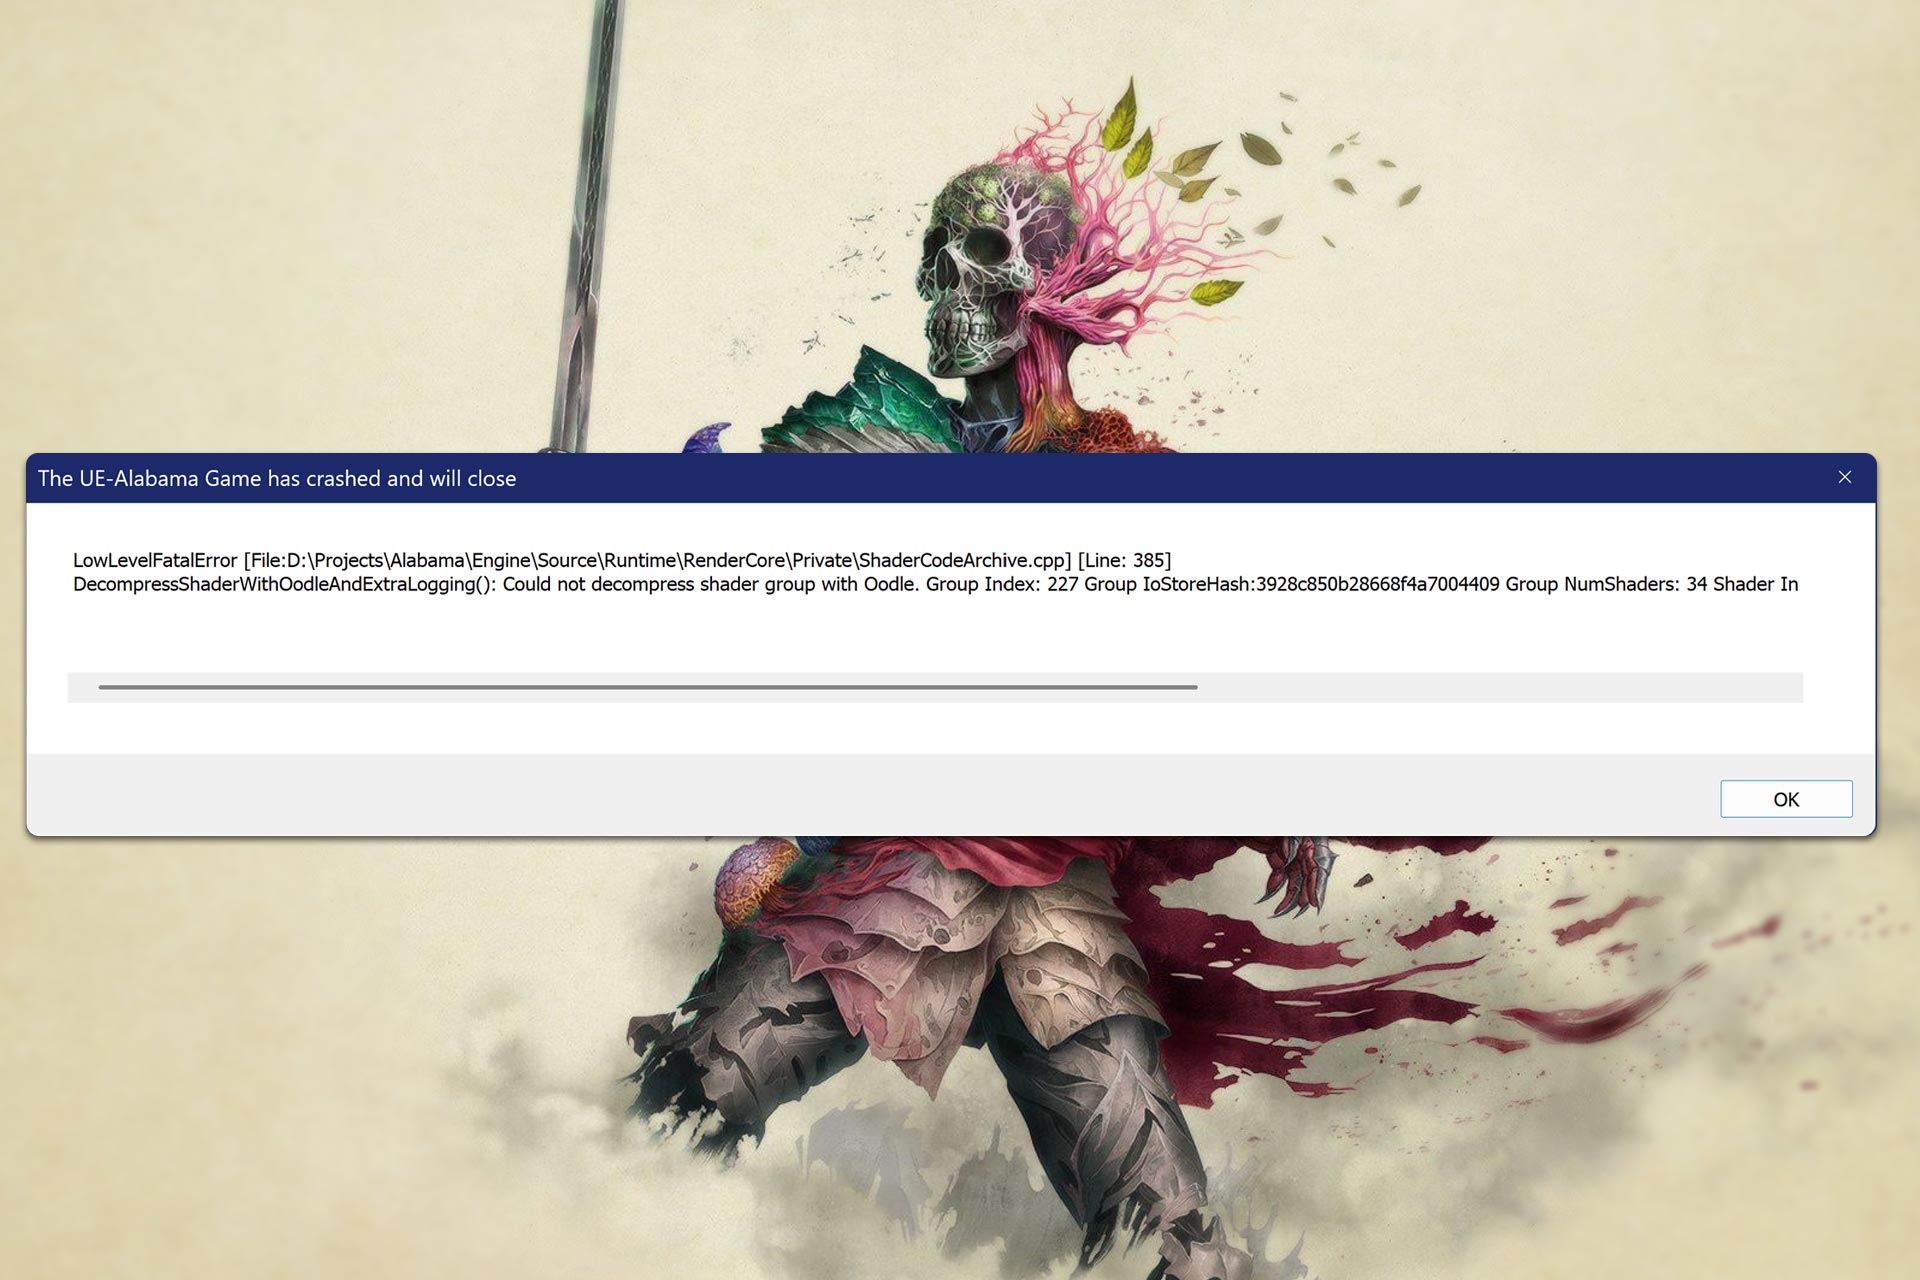
Star Wars Jedi: Survivor has been crashing on startup for many users. We also tried to play it, and if we got past the main menu, the game crashed after a few seconds.
Why is Jedi Survivor crashing on startup? You may find Jedi Survivor crashing after an update, and in this case, it’s usually a bug to blame. Also, Jedi Survivor will not be working when the PC is running low on resources, i.e., 100% CPU or RAM consumption.
Besides, outdated graphics drivers, full-screen optimizations, misconfigured or incompatible graphics settings, Steam overlay, and missing permissions can cause the crash.
What can I do if Jedi Survivor is crashing on startup?
Before we start with the slightly complex solutions, try these quick ones:
- Restart the computer. Also, launch the game as an administrator and/or run the Steam game in compatibility mode.
- Make sure you are running the latest version of the Steam/EA app and Star Wars Jedi: Survivor.
- Disable Ray Tracing within the dedicated graphics control panel. Also, increase the Shader Cache size to 10 GB or more.
1. Verify the integrity of game files
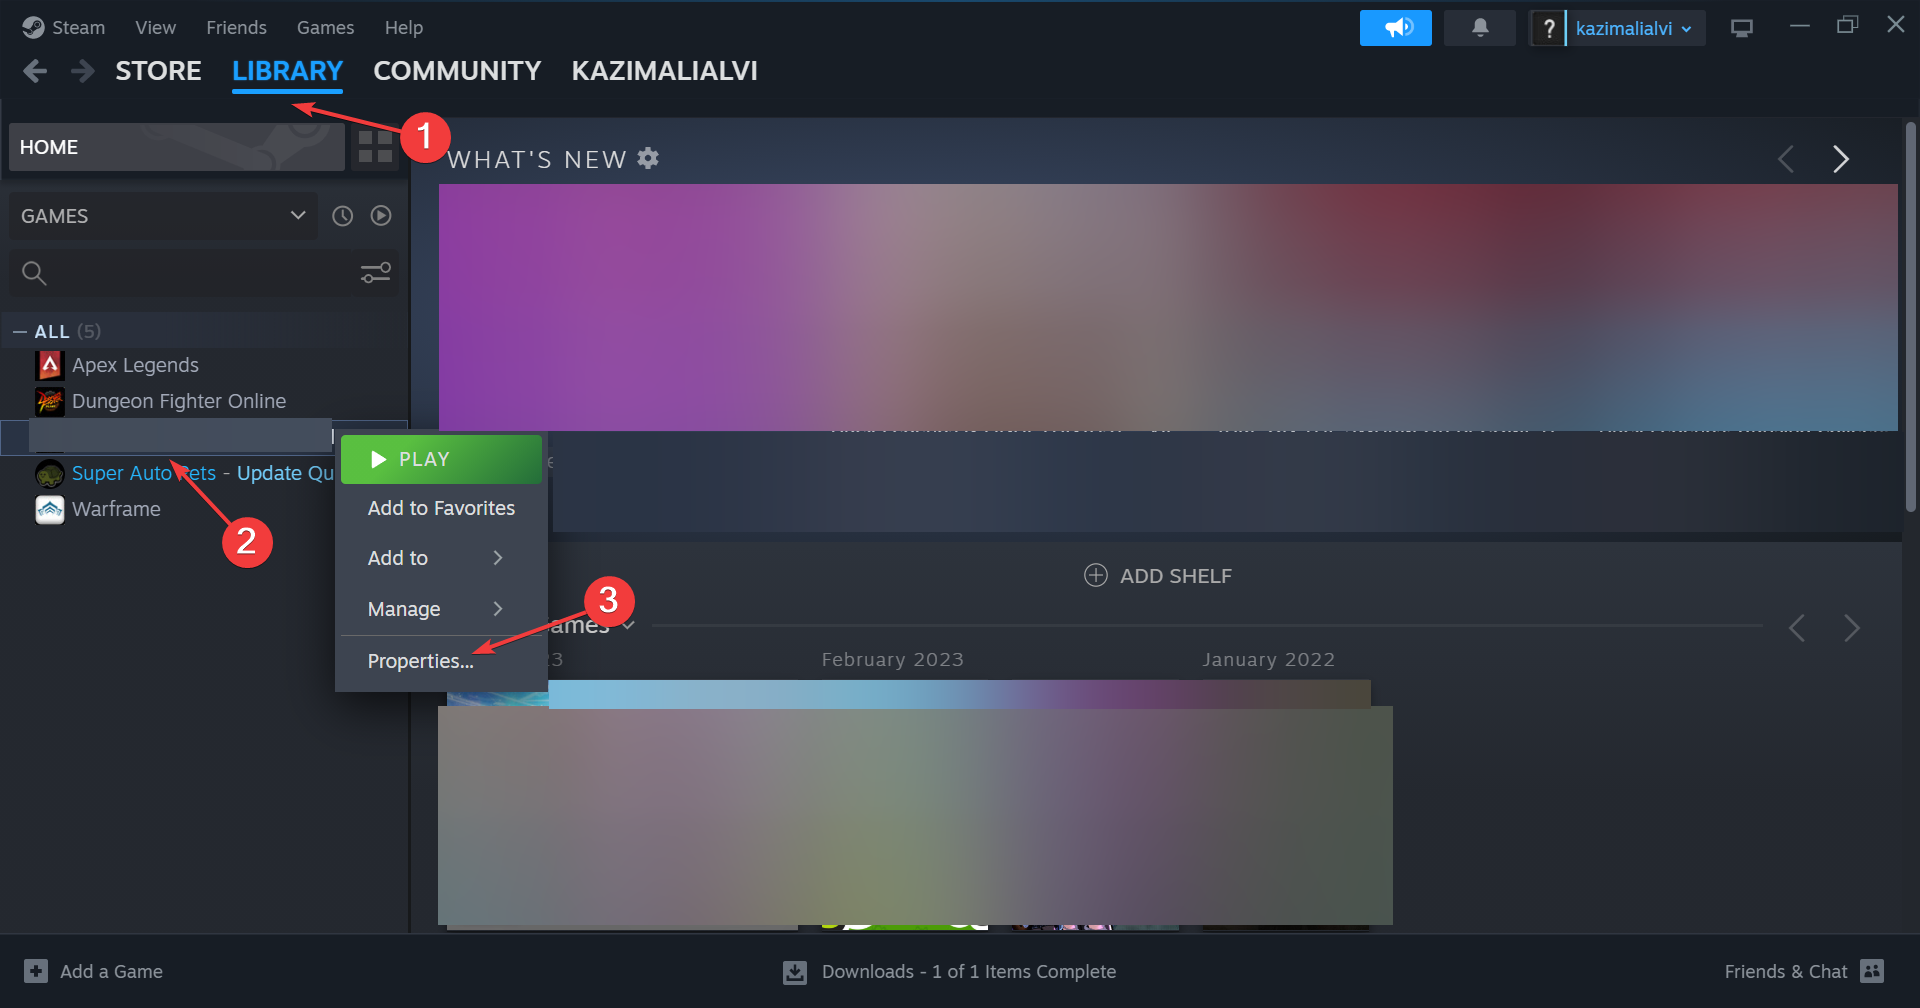
- Launch Steam, go to the Library tab, right-click on Star Wars Jedi: Survivor from the left pane, and select Properties.
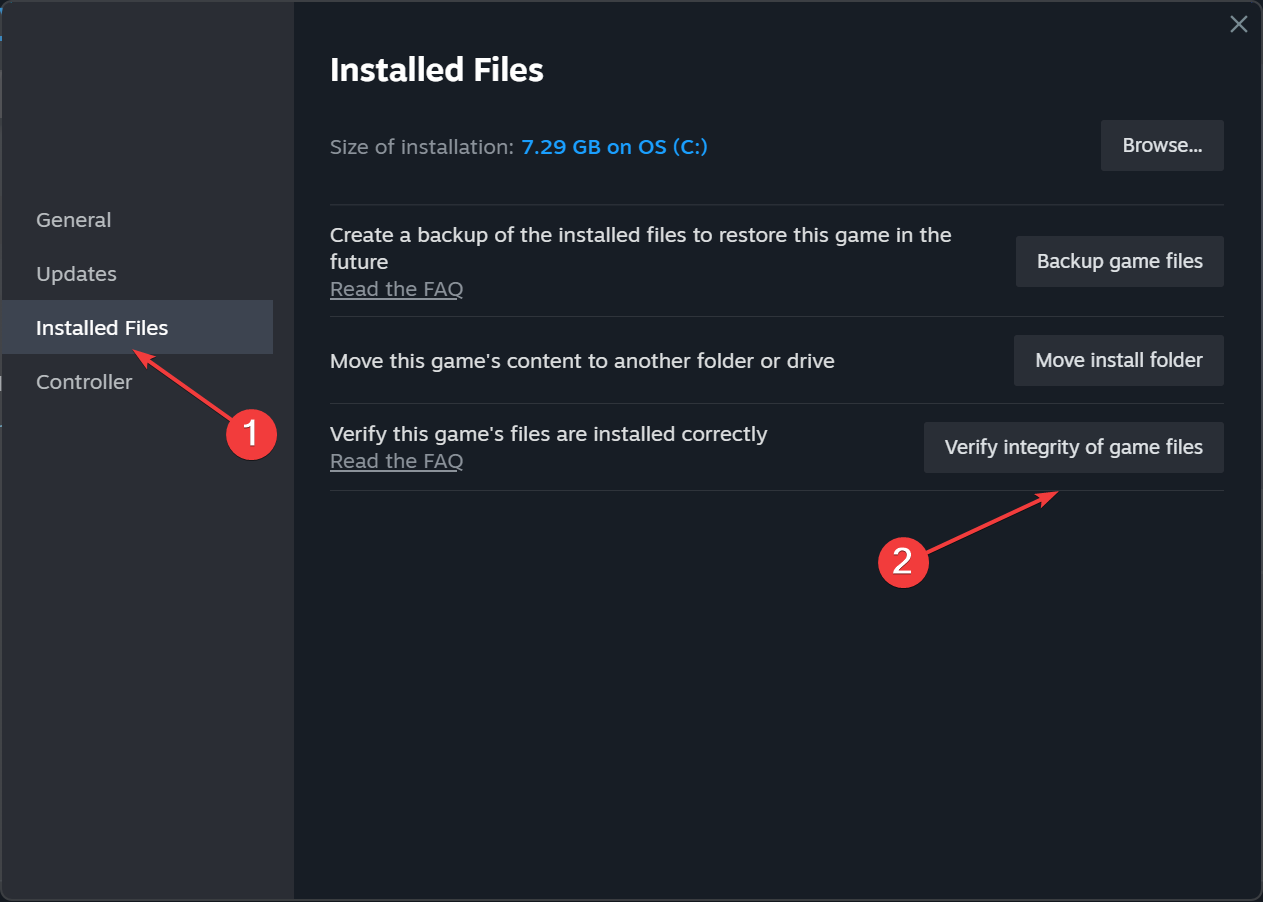
- Head to Installed Files from the navigation pane, and click on Verify integrity of game files.
- Wait for the process to complete, then reboot the device, and verify whether Jedi Survivor is crashing on startup.
Repairing/replacing the broken files helps when Steam games close instantly.
2. Set the priority to high
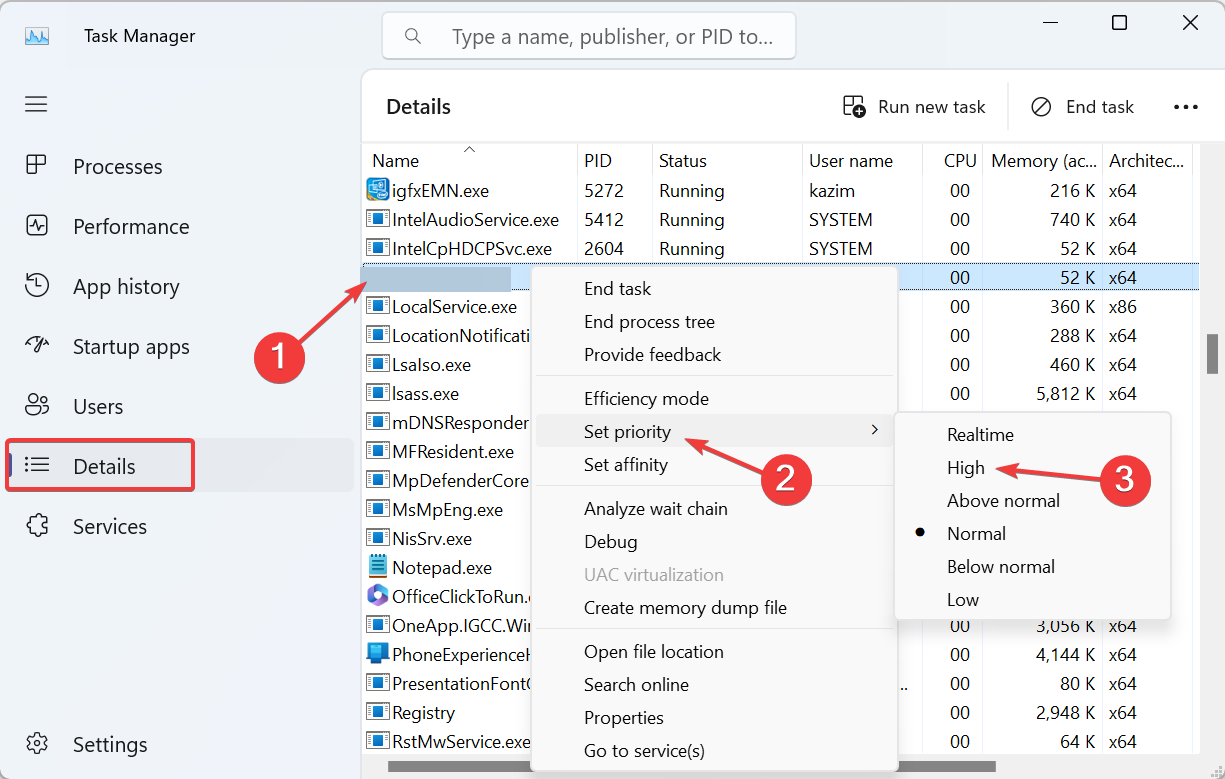
- With Star Wars Jedi: Survivor running, press Ctrl + Shift + Esc to open the Task Manager.
- Now, go to the Details tab, right-click on the JediSurvivor.exe process, hover the cursor over Set priority, and choose High.
- Go back to the game and check for improvements.
Some users suggested setting the priority to Realtime, but we recommend against it. Realtime is the highest level, and when chosen, the game will be prioritized over critical tasks, which may lead to system instability.
3. Disable Steam overlay
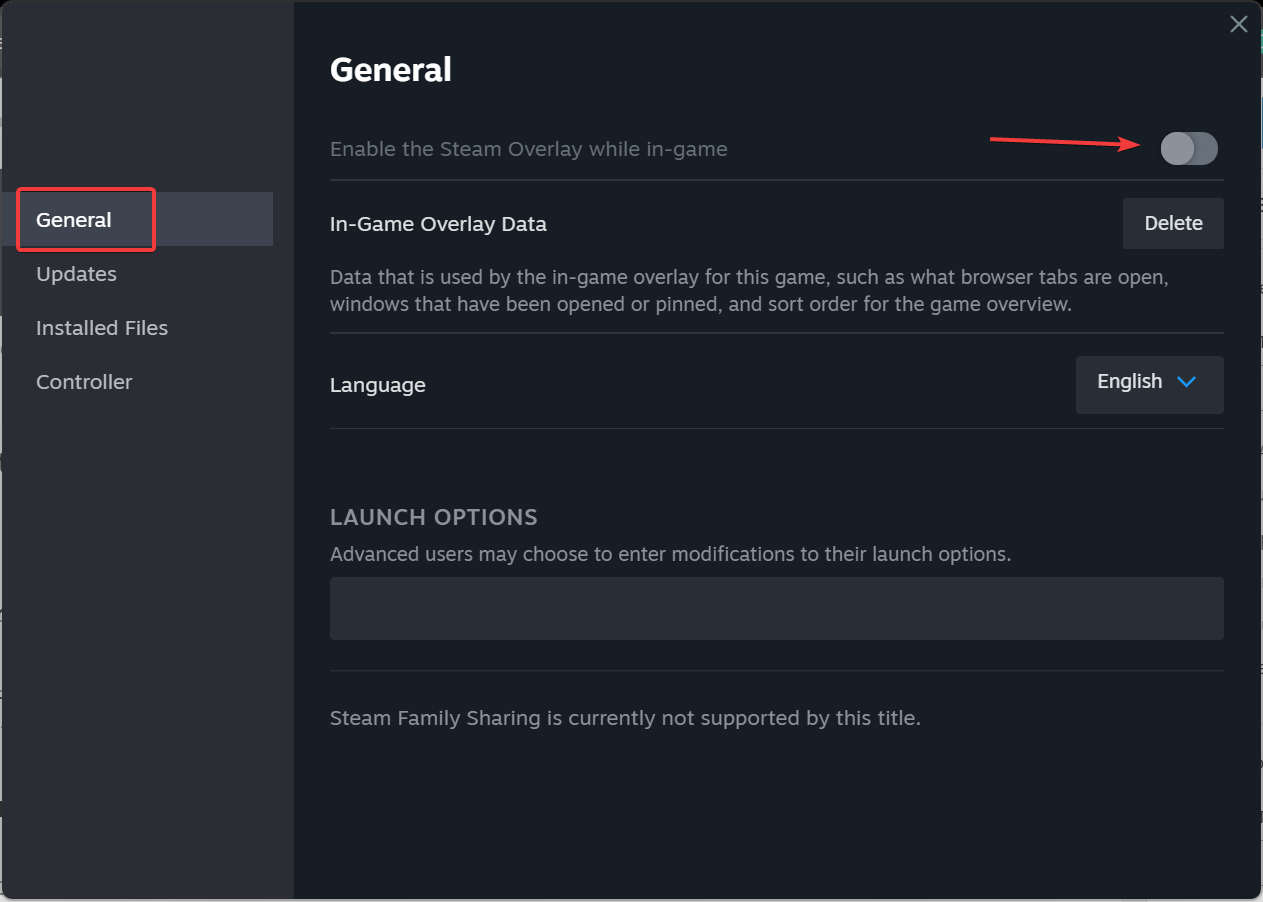
- In Steam, go to Library, right-click on Star Wars Jedi: Survivor, and select Properties.
- In the General tab, turn off the toggle for Enable the Steam Overlay while in-game.
- Finally, launch Jedi Survivor and see it’s still crashing on startup.
4. Update the graphics driver
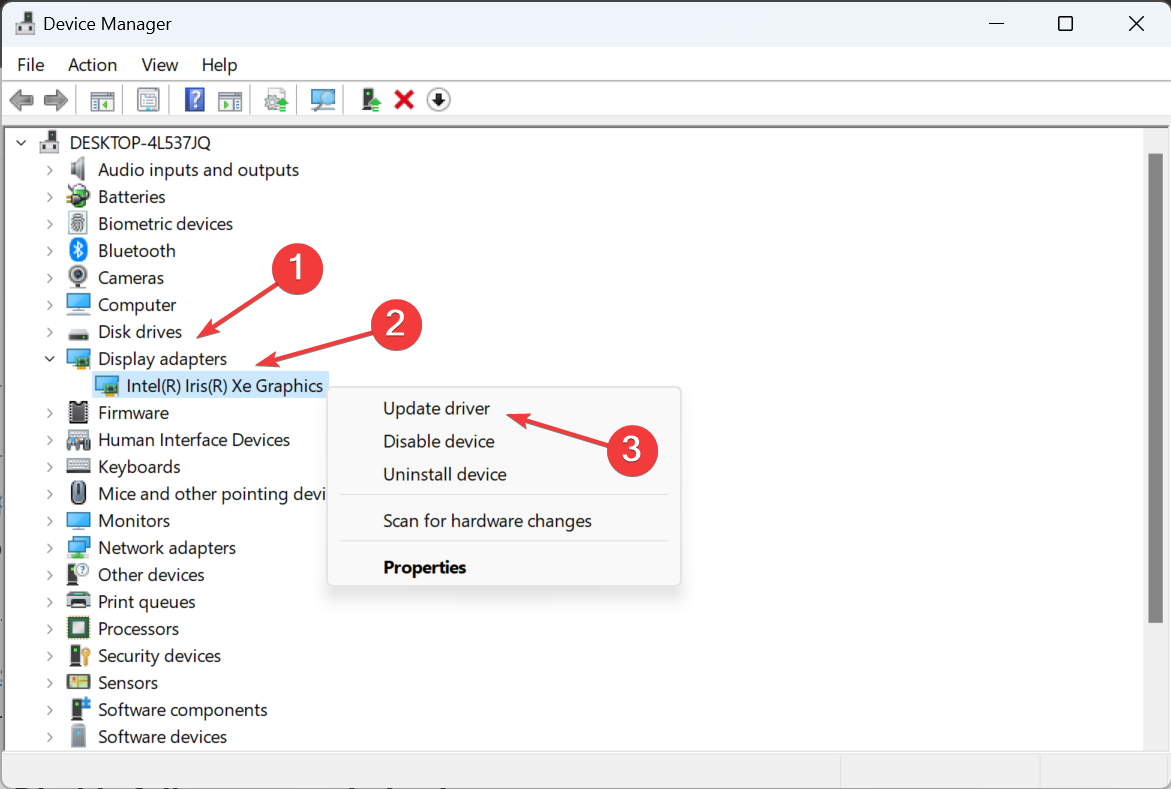
- Press Windows + X to open the Power User menu, and select Device Manager from the list of options.
- Expand the Display adapters entry, right-click on the active graphics adapter, and select Update driver.
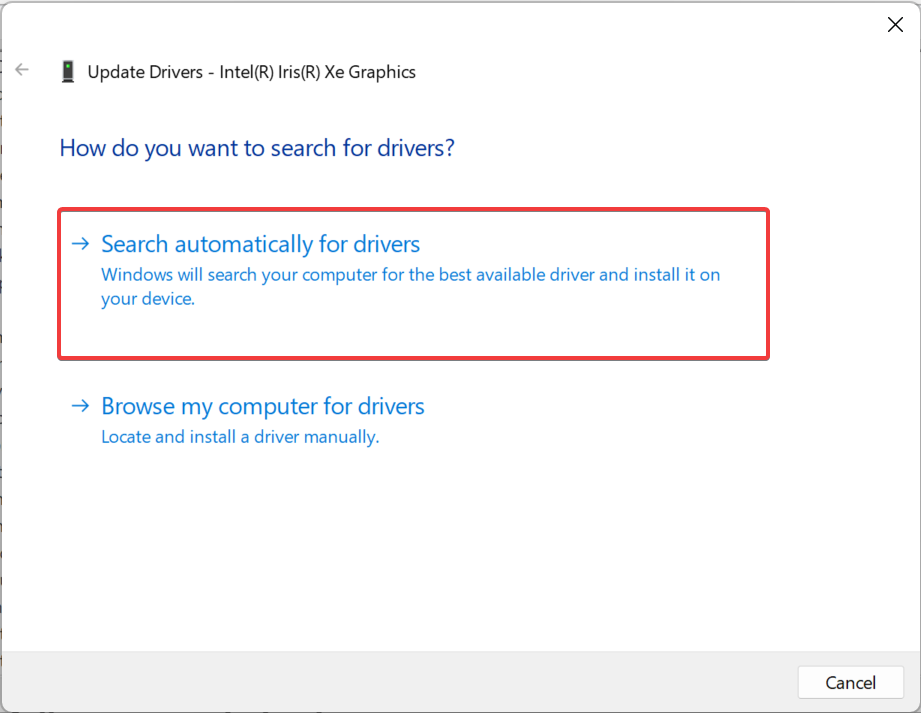
- Choose Search automatically for drivers and wait for Windows to install the best one available locally.
Updating the graphics drivers will get things running if the present ones are outdated. Remember, for it to work, your PC must meet the minimum system requirements for Jedi: Survivor.
If this doesn’t work, use a driver uninstaller tool to get rid of the present installation, and then manually install the driver from the manufacturer’s official website. This approach worked for AMD Adrenalin drivers.
- Download Outbyte Driver Updater.
- Launch it on your PC to find all the problematic drivers.
- Afterward, Click Update & Apply Selected to get new driver versions.
- Restart your PC for the changes to take effect.

Outbyte Driver Updater
Do not let a faulty driver disrupt your gaming experience, use Outbyte Driver Updater to run them without any issues.5. Disable full-screen optimizations
- Go to the game’s installation directory (in the Steam or EA folder), right-click on the Star Wars Jedi: Survivor.exe file, and select Properties.
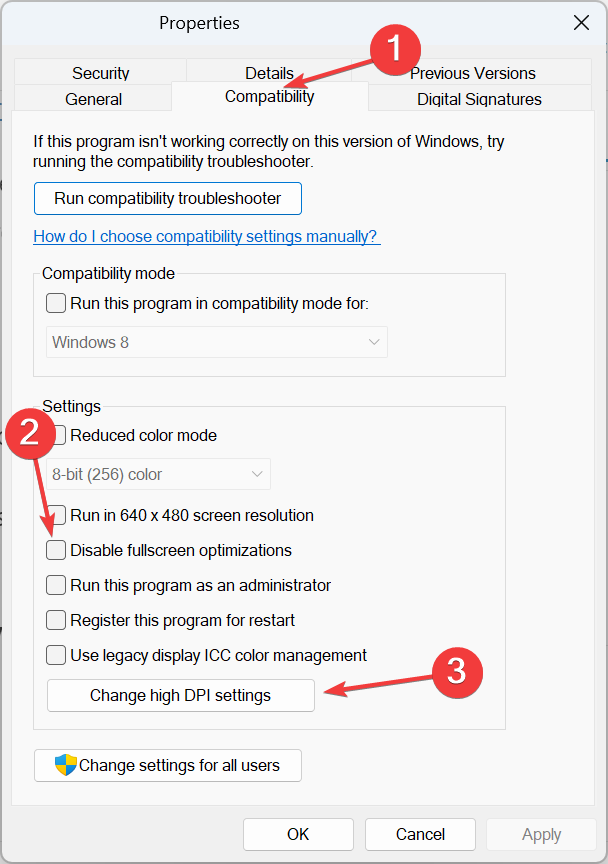
- Navigate to the Compatibility tab, untick the checkbox for Disable fullscreen optimizations, and then click on Change high DPI settings.
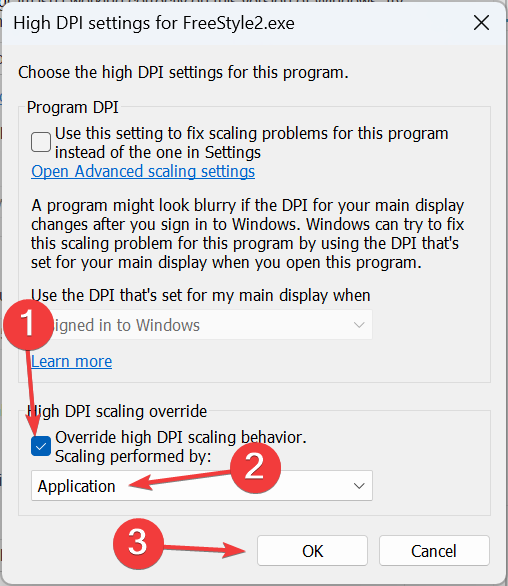
- Check the Override high DPI scaling behavior option, select Application from the dropdown menu, and click OK.
- Again, click Apply and OK to save the changes.
6. Move Star Wars Jedi: Survivor to a non-system drive
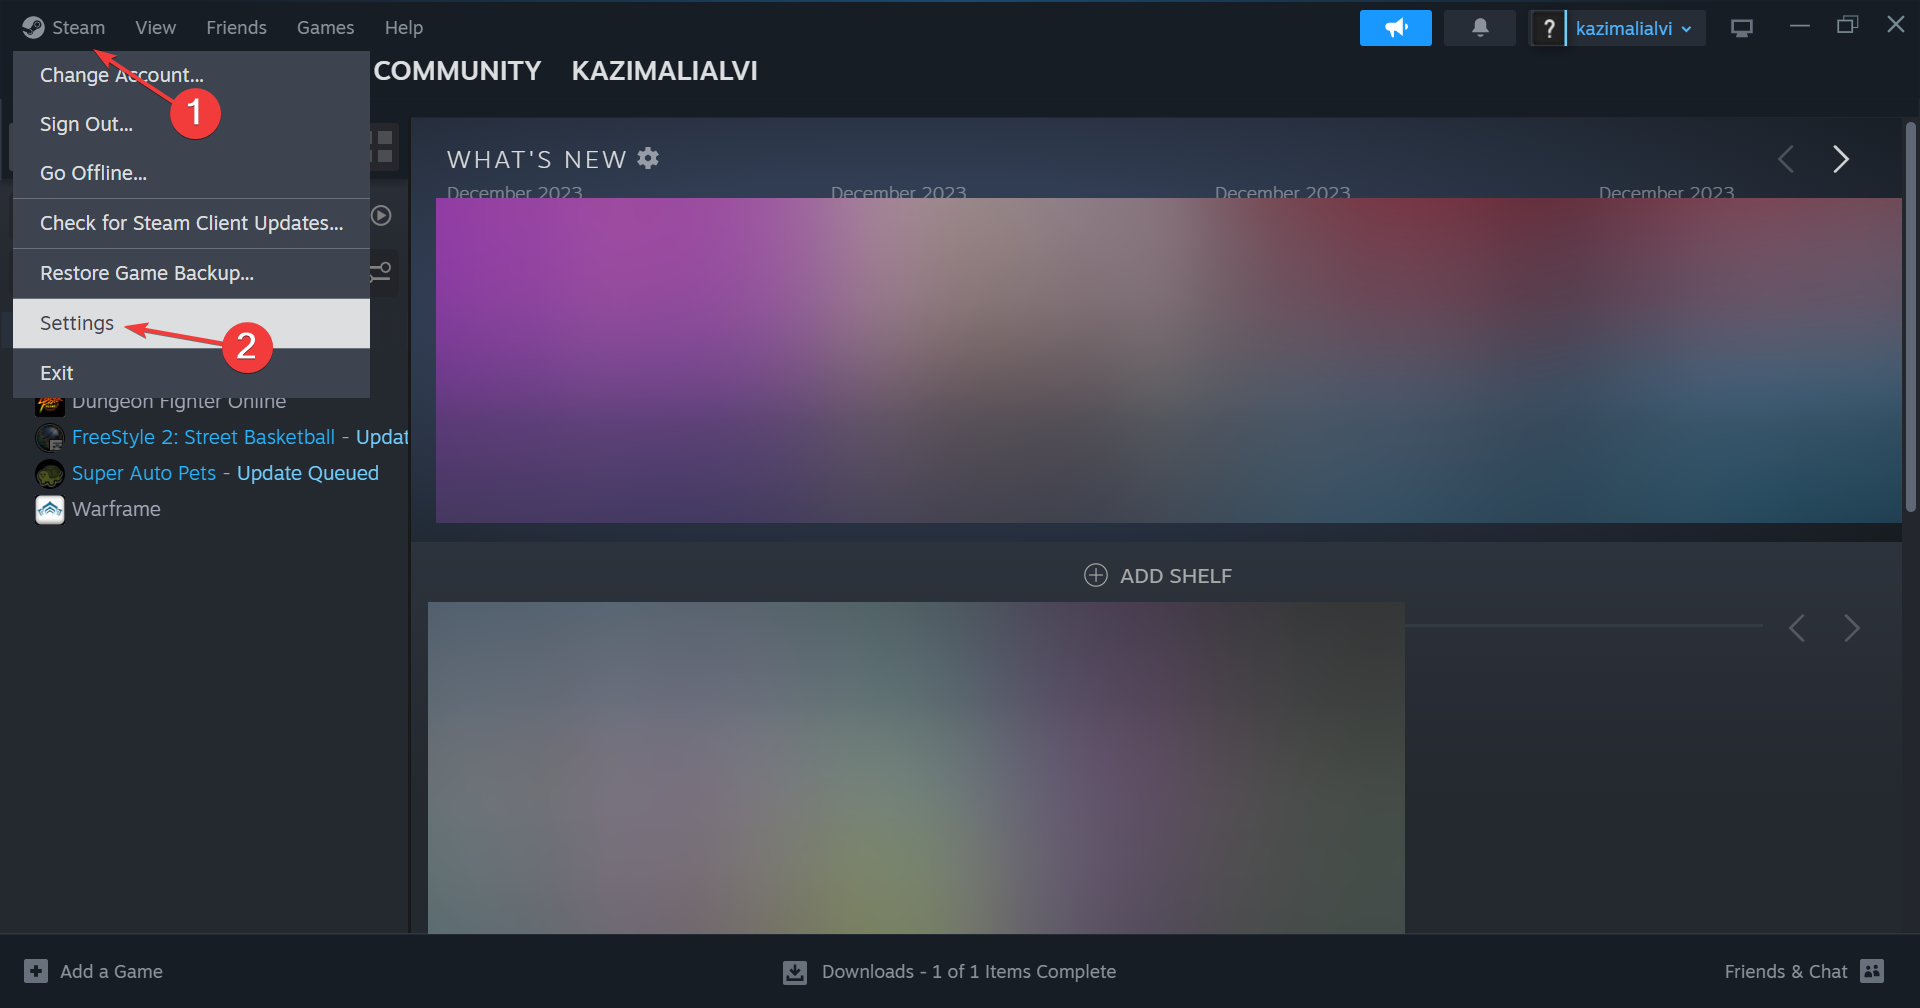
- Open Steam, click the Steam menu near the top left, and select Settings.
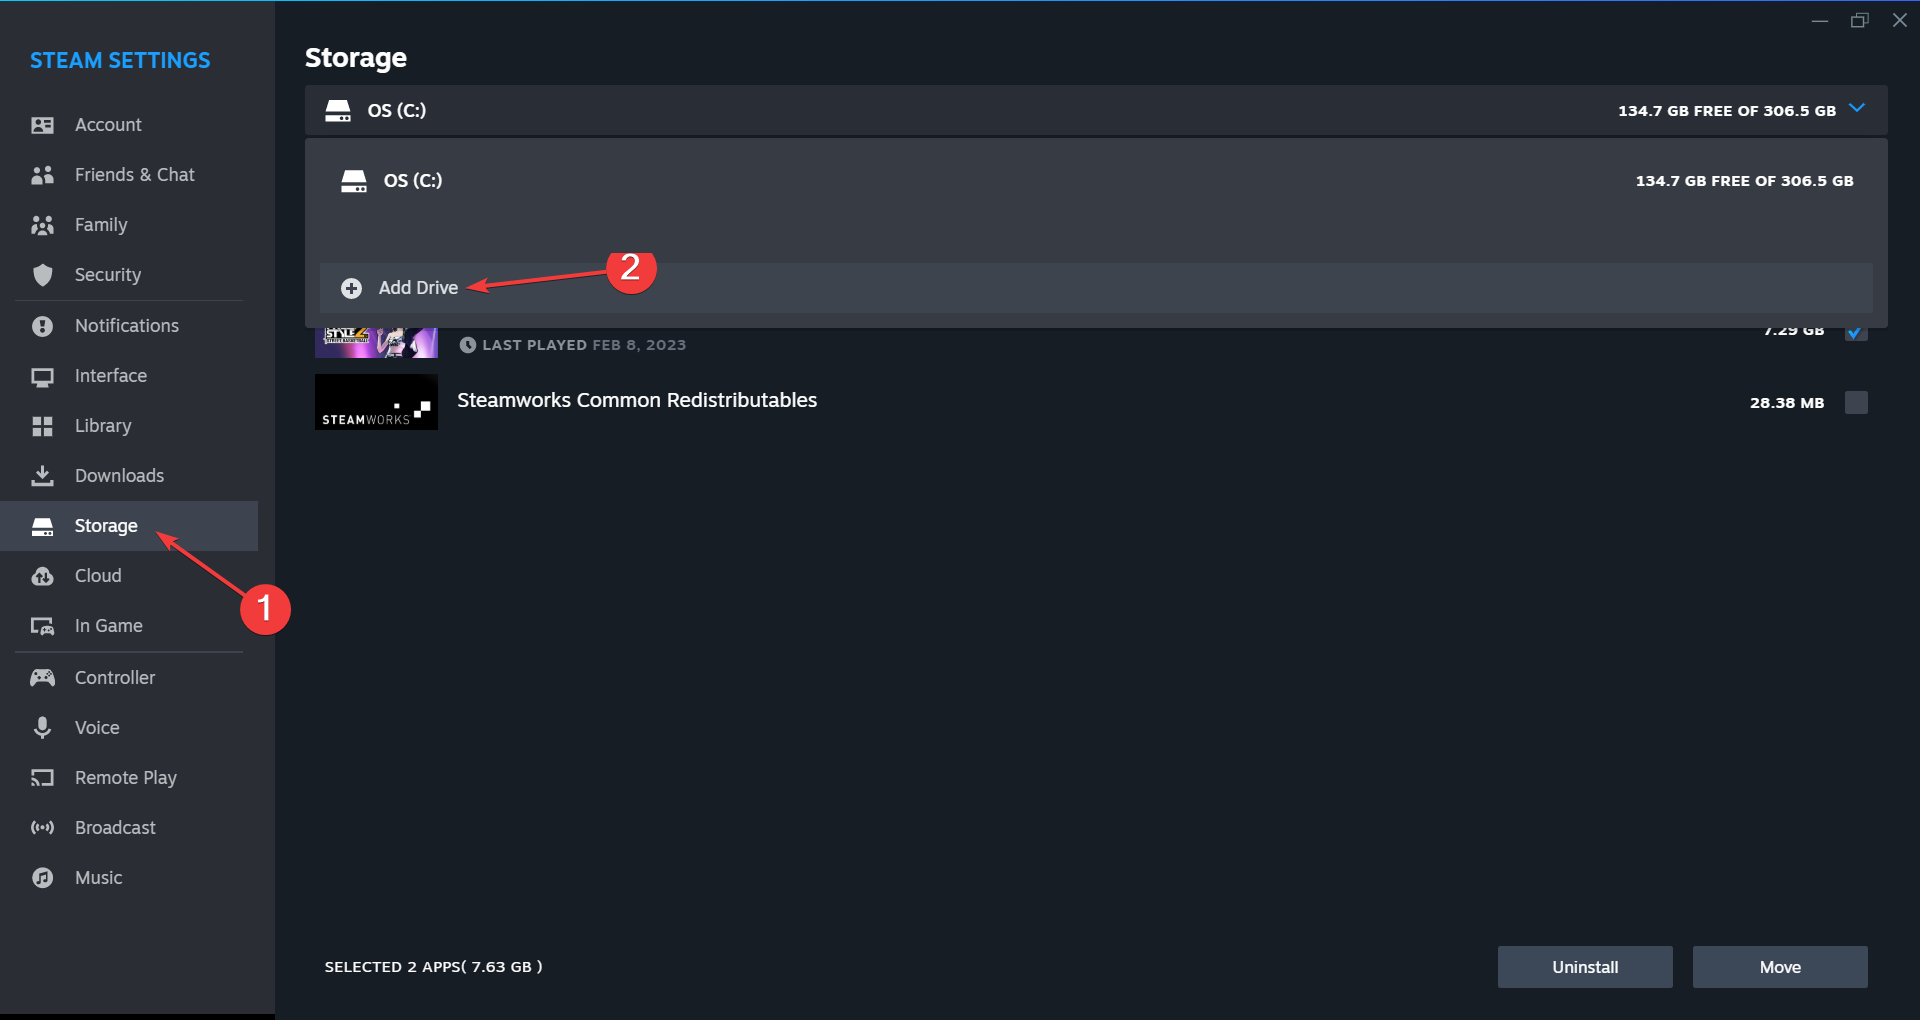
- Go to the Storage tab, expand the dropdown menu at the top, and select Add Drive.
- Choose a non-system drive on the PC, and click on Select Folder.
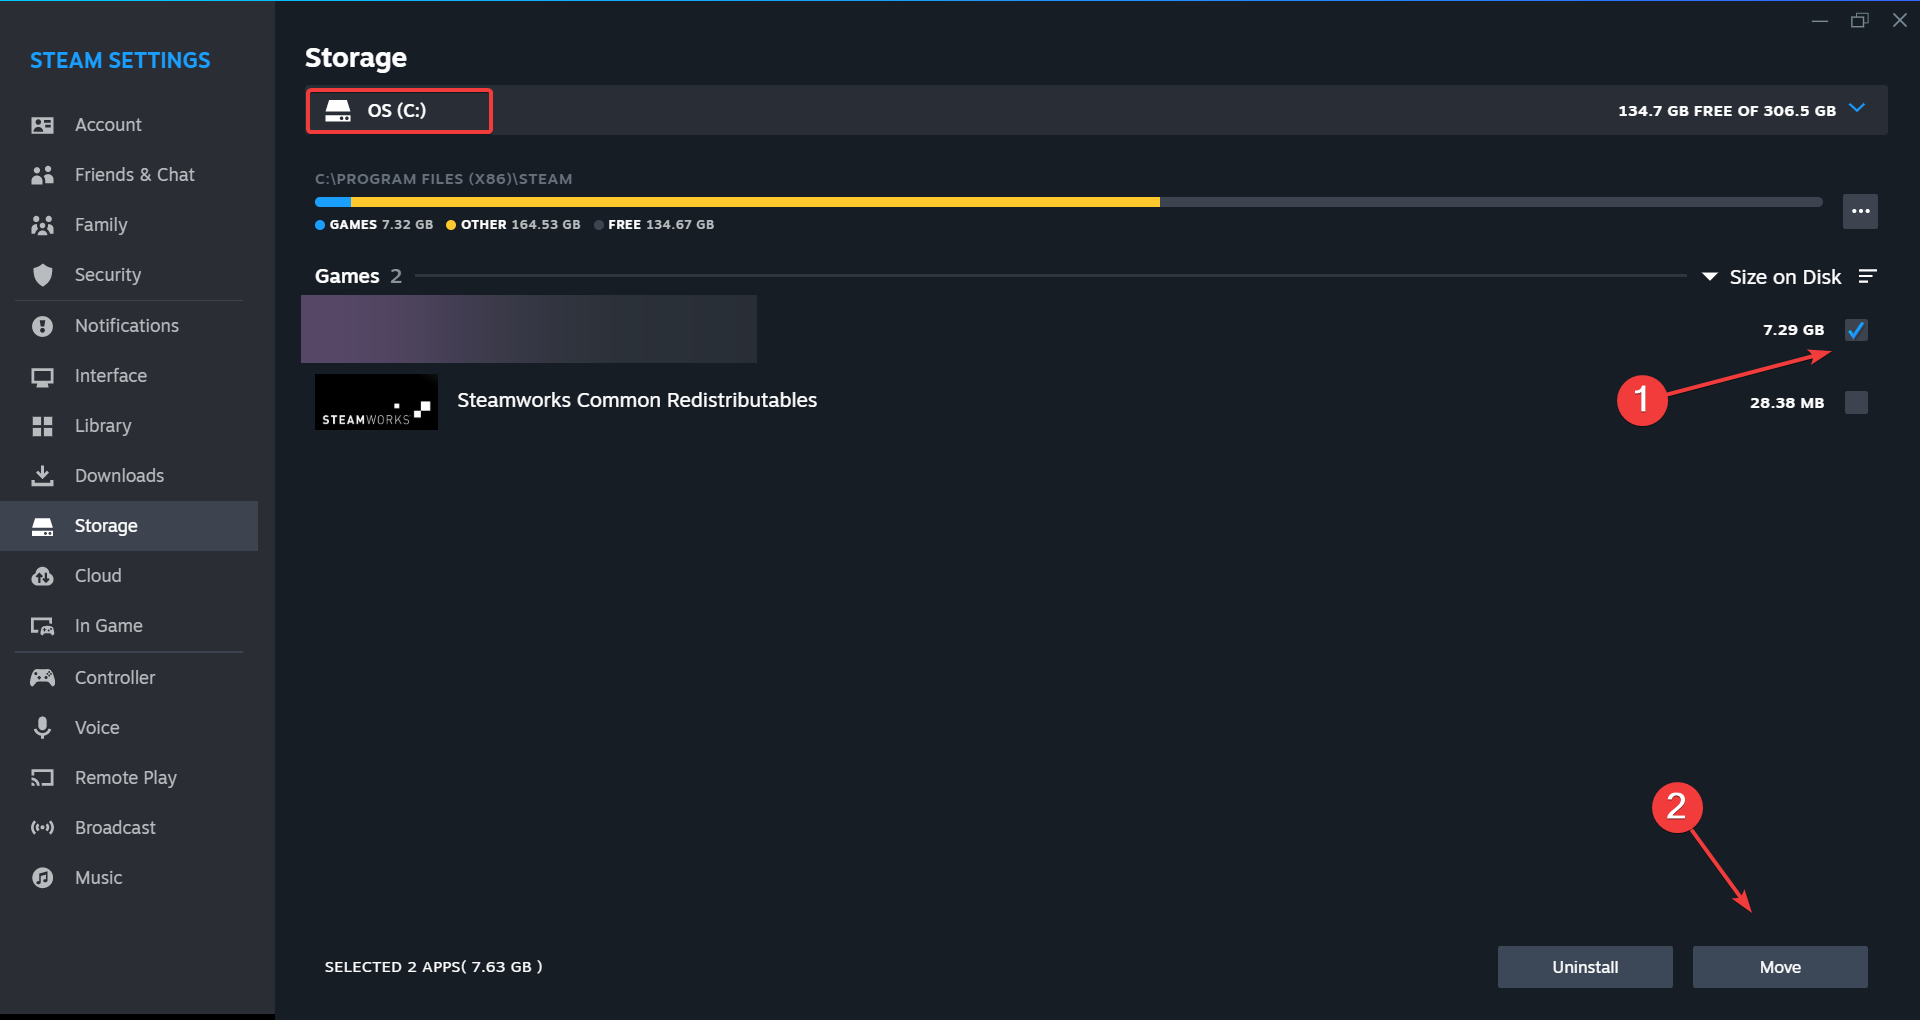
- Once a Steam Library folder appears in the chosen drive, select the earlier one, tick the checkbox for Star Wars Jedi: Survivor, and click on Move at the bottom.
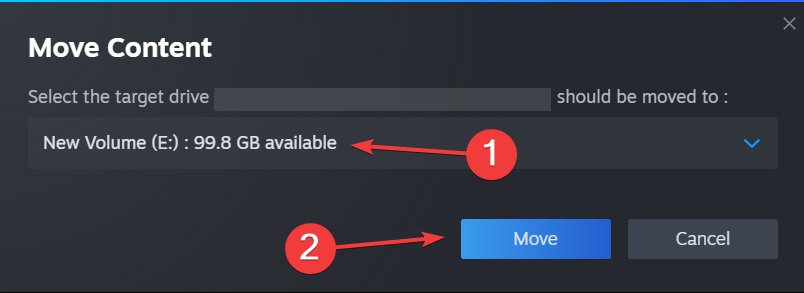
- Choose the target drive from the dropdown menu, then again click Move, and wait for the process to complete.
Whether Jedi Survivor is crashing on startup or throwing the EXCEPTION_ACCESS_VIOLATION reading address 0x0000000000000000 error, moving it to a non-system drive will help. Also, if there’s an SSD connected to the PC, consider moving the game to it for faster performance.
7. Increase the virtual memory
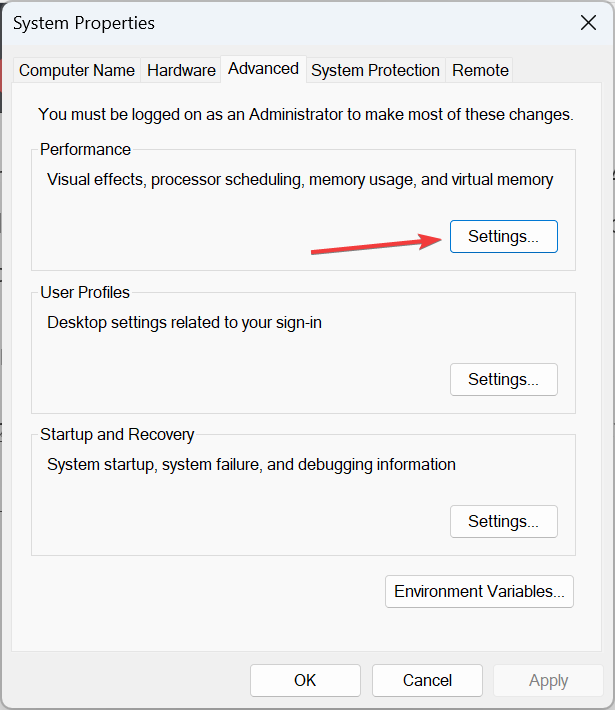
- Press Windows + S to open Search, type View advanced system settings in the text field, and click the relevant result.
- Click the Settings button under Performance.
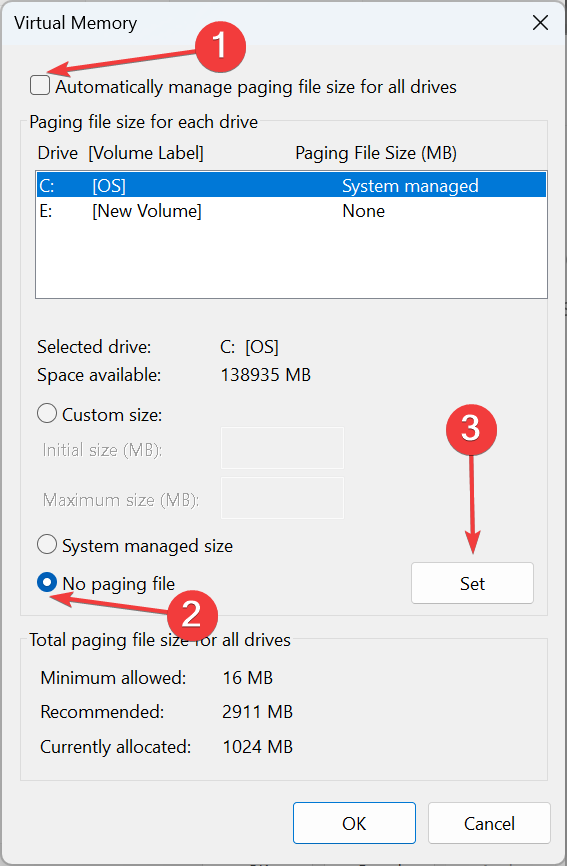
- Go to the Advanced tab, and click on Change under Virtual memory.
- Uncheck Automatically manage paging file size for all drives, select No paging file, and click on Set.
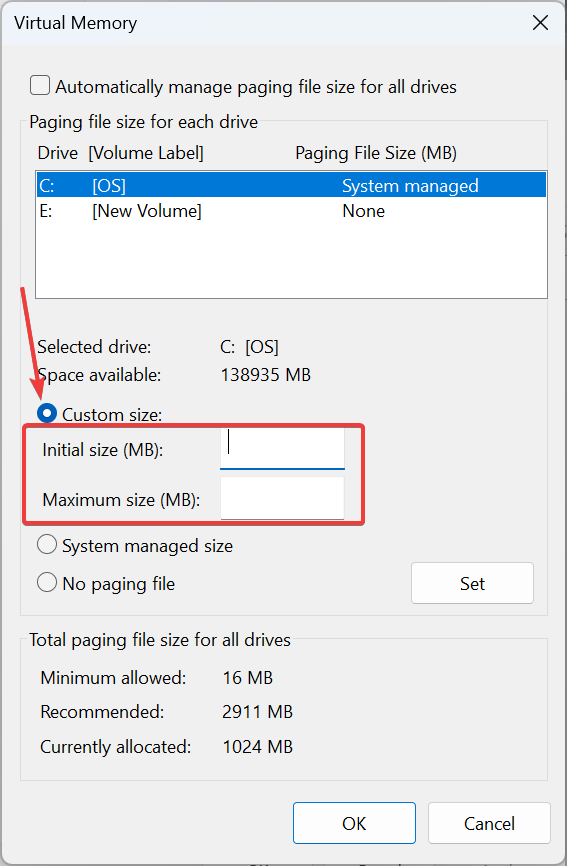
- Now, choose Custom size, and fill out the fields using the following formula based on the available RAM size:
- Finally, click Set and then on OK to save the changes.
Increasing the virtual memory will do the trick when the game is crashing due to low available RAM. To get an idea of the virtual RAM size, say your PC has 4 GB RAM, the Initial size becomes 12,228 (3 x 4 x 1024), and the Maximum size becomes 6144 (1.5 x 4 x 1024).
If nothing else works, uninstall the apps, both Star Wars Jedi: Survivor and Steam/EA, and then download them again. We recommend using an effective software uninstaller to clear any leftover files and Registry entries before the reinstallation.
While you are here, discover some quick tips to optimize the PC for gaming and get the best performance!
For any queries or to share what worked for you, drop a comment below.



User forum
0 messages