Microsoft Store Purchased Moments Ago Notification: Fix
Key notes
- The Microsoft Store purchased moments ago notification has been bothering a lot of Windows 11 users these days.
- Most threads on forums report that Twitter and Candy Crush Saga are the most common apps with this error but that is not a rule.
- This can happen due to the fact that they're Microsoft Partners, so they might appear as they've been installed recently.
- To start fixing this problem, you'll have to do some troubleshooting using our step-by-step guide.
Lately, there’s been a lot of concern amongst Windows users regarding a message within the Microsoft App Store.
Apps they never downloaded, never used, or apps that were purchased years ago, either appear as being purchased moments ago, either as being purchased today.
The Microsoft Store purchased moments ago notificatiom might appear because Microsoft Store either automatically downloaded the free apps or they simply came preinstalled with Windows 11.
There is no need to worry or get frustrated as there are a few easy ways to get rid of it, you just follow the steps below.
How do I get rid of the Microsoft Store purchased moments ago notification?
1. Run the troubleshooter
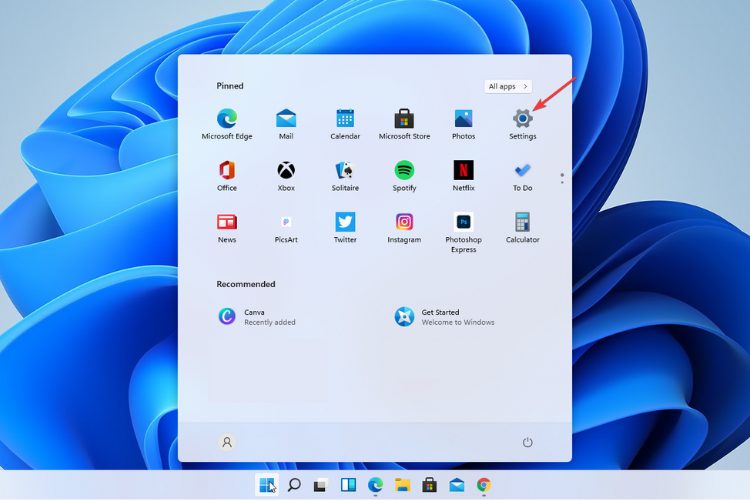
- Go to the Start button and select Settings.
- Click on System then on Troubleshoot.
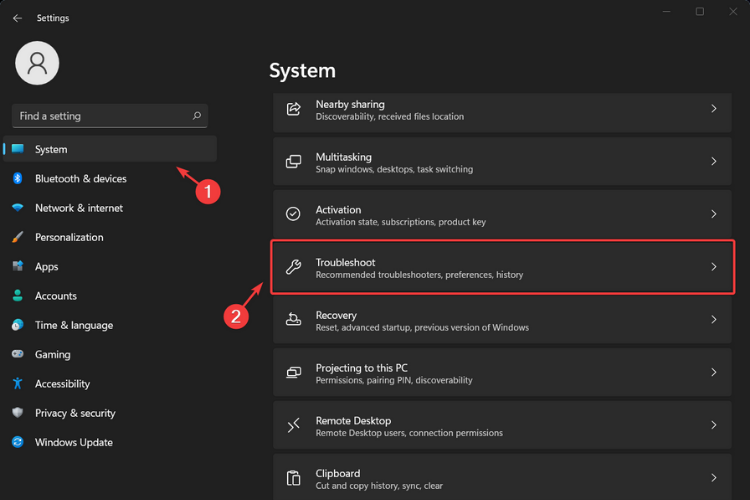
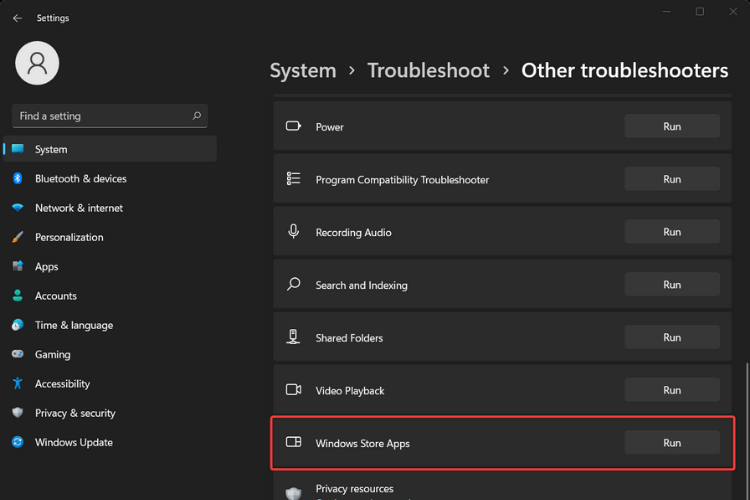
- Click on Other troubleshooters.

- From the list select Windows Store Apps and click on Run.
- Wait for the troubleshooter to finish the process.
- Restart your PC.
After you’ve finished with the troubleshooting process, you can go to the Microsoft Store again and verify if the error is still there.
If some of the apps still have the message purchased moments ago, move on to the next step as you may need to reset the cache.
2. Reset the Microsoft Store cache
- Press the Windows Key + R shortcut to open the Run dialog box.
- Type wsreset.exe then click on OK.
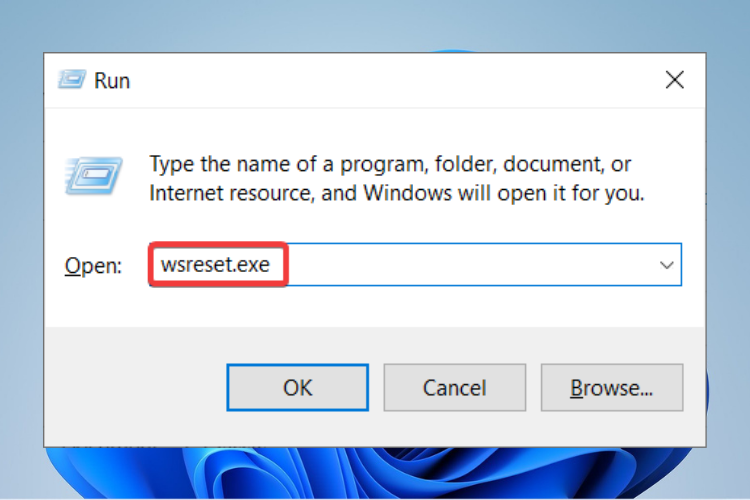
- A blank Command Prompt window will open.

- Wait for a few seconds as the window will close by itself and Microsoft Store will open automatically.
- Restart your computer.
- Check if the error persists.
By using this command, all the cache files in your Windows Store will be completely cleared and permanently deleted.
The cache contains the app’s data on your device including your sign-in details so you will need to log in again when opening Microsoft Store.
3. Update Microsoft Store
- Open Microsoft Store.

- Here, select See more.
- Got to Downloads and updates.
- Click on Get updates button.
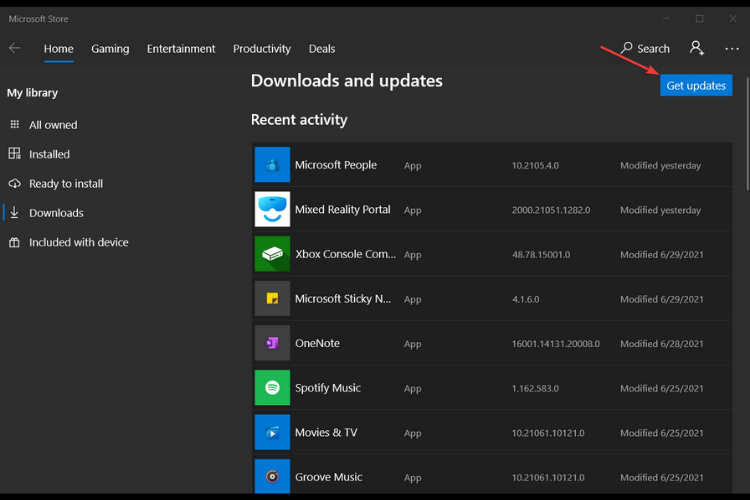
- If an update for Microsoft Store is available, it will start installing automatically.
If you are having trouble updating Microsoft Store, you should take a look at our article and follow the steps to fix it.
Fixing is just as important as preventing so if you want to know how to prevent your Windows 11 to download apps & games automatically, keep reading our guide.
How do I prevent Windows 11 to automatically install apps?
1. Turn off automatic installation of apps / games without permission
- Press Windows + R keys to open the Registry Editor.
- Type regedit in the taskbar search bar then click OK.

- Navigate to:
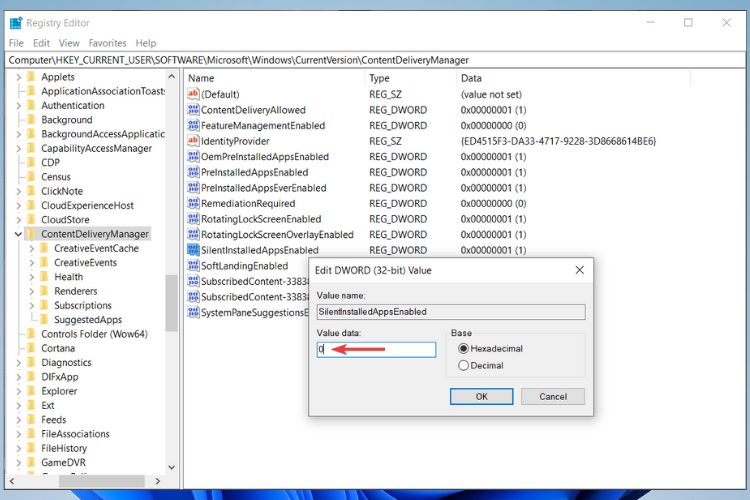
HKEY_CURRENT_USER\Software\Microsoft\Windows\CurrentVersion\ContentDeliveryManager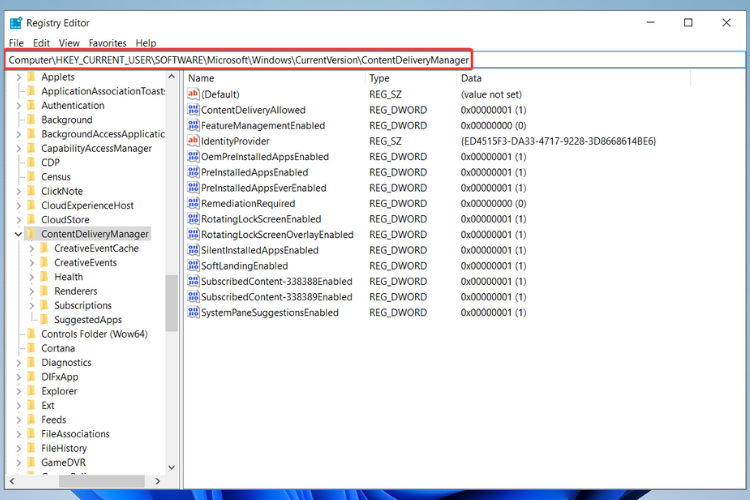
- Locate SilentInstalledAppsEnabled value from the right-hand pane, right-click on it and select Modify.
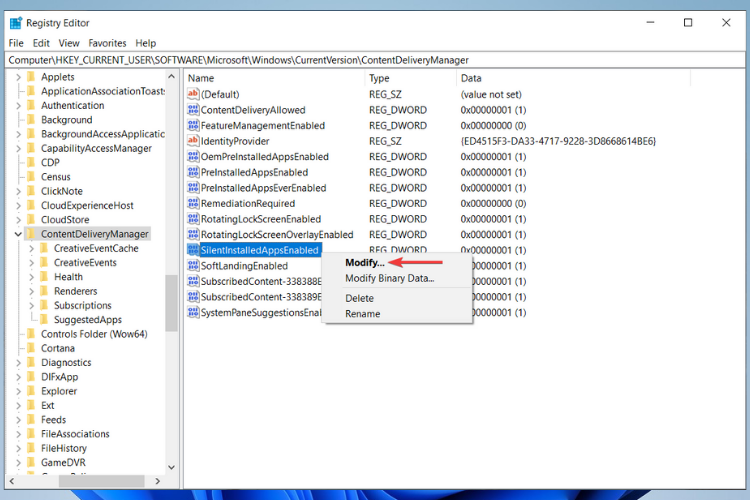
- Note: If you cannot locate this value, create one by right-clicking on the blank screen and choosing New > DWORD (32 bit), and renaming it SilentInstalledAppsEnabled.
- Change its value to 0 in the Value data box and then click OK.
- Restart your device.
2. Create a new Windows Key
- Follow the above steps to get to the Registry Editor, only now navigate to:
HKEY_LOCAL_MACHINE\SOFTWARE\Policies\Microsoft\Windows\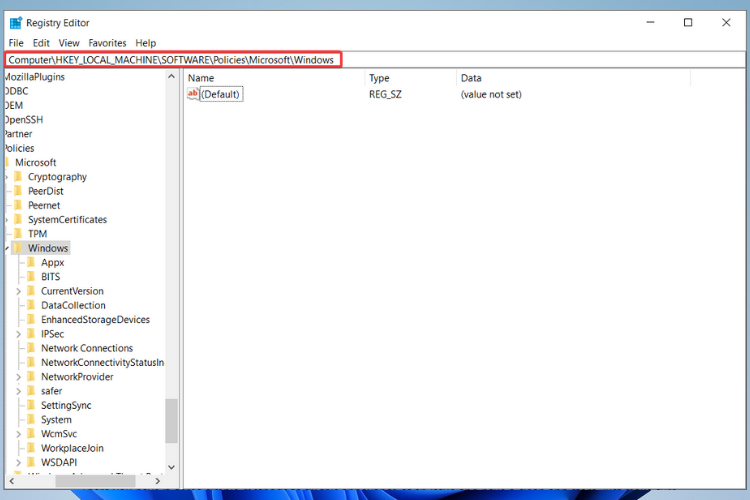
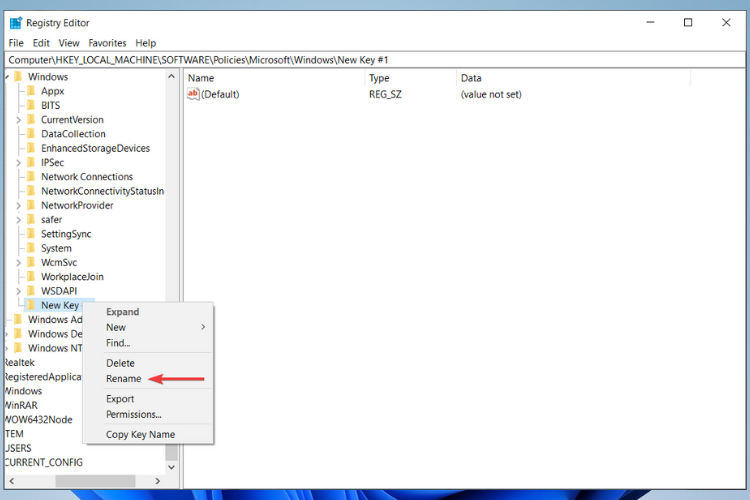
- Create a new key inside the Windows key by right-clicking the blank space and choosing New > Key.

- Rename the new key CloudContent.
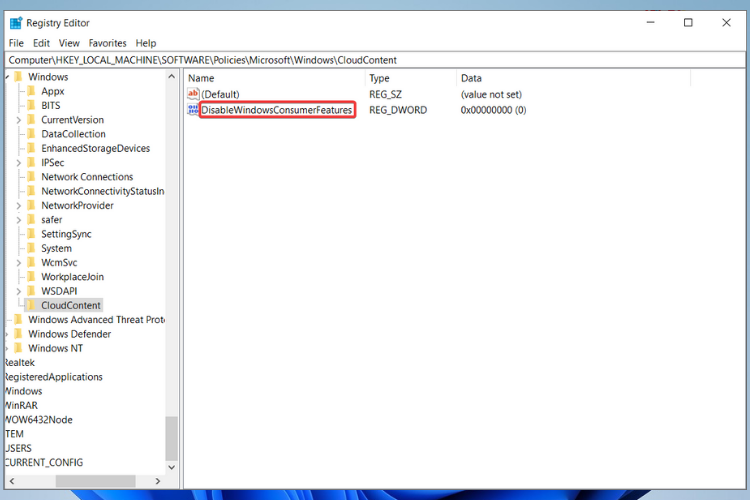
- Create a new value inside that new key by right-clicking in the blank space of CloudContent key and selecting New > DWORD (32-bit) Value.
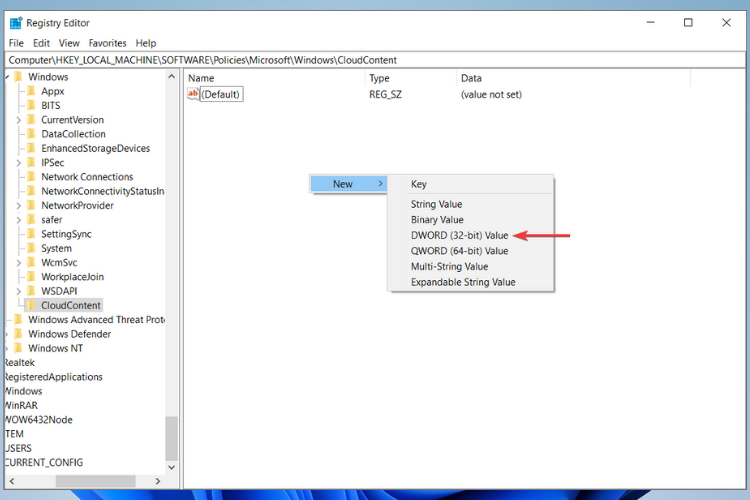
- Rename the new value DisableWindowsConsumerFeatures.
- Right-click on DisableWindowsConsumerFeatures value, select Modify then change the value to 1 in the Value data box.
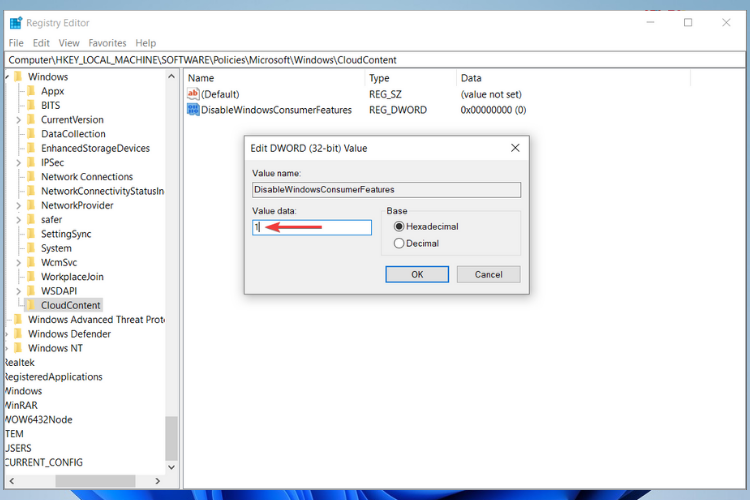
- Click OK then restart your computer.
Now is also a good time to uninstall the unwanted apps that were automatically installed by Microsoft as they will not come back again.
There you have it, three simple methods to fix the Microsoft Store purchased moments ago issue and two ways to prevent it from ever happening again, all you need to do is TO follow all the steps carefully and in order.
You should also take a look at this Windows 11 preview and find out what other apps are pre-bought or pre-installed on your new Windows 11 build.
If you want to ask us any questions, have a suggestion, or simply want to thank us, feel free to use the comments section below.
Read our disclosure page to find out how can you help Windows Report sustain the editorial team. Read more


Improve this guide


User forum
0 messages