How to Transition from Aperture to Lightroom on Mac
Lightroom has a dedicated plug-in that makes the process very easy
Key notes
- Migrating from Aperture to Lightroom on Mac isn’t a challenging task, especially with the dedicated plugin.
- To transition Aperture to Lightroom, you will need the latest Photoshop Lightroom version.
- Certain Aperture features aren’t compatible with Lightroom, so they won’t be ported.
- However, all your metadata and organization data will be imported.

As you might know, Aperture doesn’t work in the latest version of Mac OS. For that reason, users had to switch to a different application for photo management software.
Many users switched to Lightroom, and in this article, we’ll show you how to migrate from Aperture to Lightroom.
Quick Tip:
For the procedure to go as smoothly as planned, make sure that you’re using the latest Photoshop Lightroom version.
You plan to migrate full-size JPEG previews of your edited images and all your metadata – flags, star ratings, keywords, GPS data, faces, info panel, hidden files, and Aperture color labels included.
Therefore, it isn’t the ideal time to take any chances. Just visit the official Adobe page and hit the Download button with no hesitation.

Adobe Lightroom
Adobe Lightroom will bring your photos to the next level with great customization features!How can I migrate from Aperture to Lightroom?
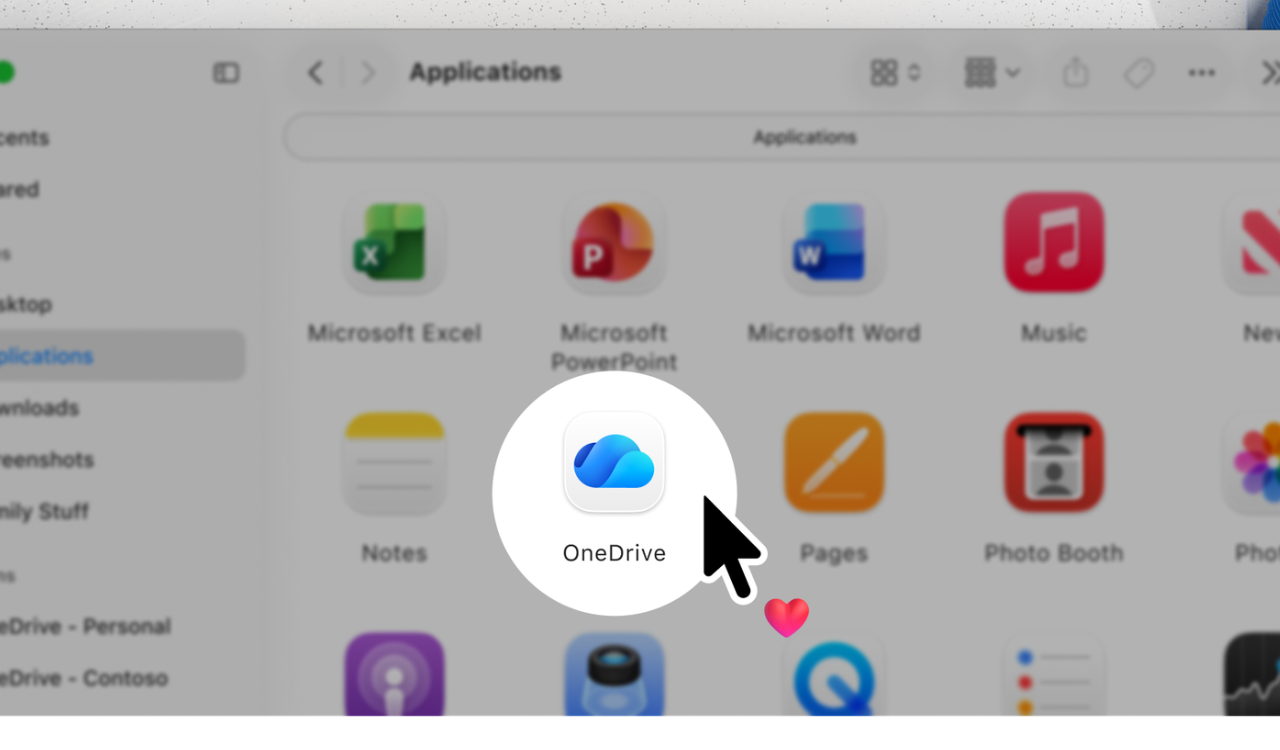
1. Use the Lightroom plug-in

1. Launch Lightroom.
2. Choose File.
3. Select Plug-in Extras.
4. Choose to Import from Aperture Library.
5. Your libraries should be detected automatically. If you want, you can click the Options button to configure the process further.
6. Now click the Import button.
7. Bear in mind that the process to migrate from Aperture to Lightroom could take a while depending on the number of data that you have, so be patient.
Migrating from Aperture to Lightroom used to be a complicated process, especially since you had to do it manually, but Lightroom developers decided to streamline it.
They developed a special automated tool that helps you transfer your photos. By using this tool you’ll import your images as well as metadata to Lightroom with ease, as described above.
It’s worth mentioning that all your metadata will be imported. Organization data is also transferred, including Aperture Stacking, project hierarchies, iPhoto events, folders, and albums.
However, certain Aperture features aren’t compatible with Lightroom, so they won’t be transferred. These include image adjustments, smart albums, color labels, stacks, PSD files, and your creations.
That being said, migrating from Aperture to Lightroom isn’t as hard as you might think, and it takes you just a couple of clicks to get started.
2. Export the photos by dragging them to Adobe Lightroom
Most likely, you succeeded in migrating your photos to Adobe Lightroom by using the elegant procedure described above.
However, in case you can’t do that for some reason, there is also the option of exporting the photos by simply dragging them and then integrating them in Adobe Lightroom.
To do that, you just drag the photos from the Browser to the desktop or a designated location in the Finder.
Of course, you can proceed in the same way with other elements like folders, albums, or projects from the Library Inspector.
However, you need to know that your Facebook and Flickr albums cannot be exported by dragging them.
When you’re actually dragging a photo you will export its JPEG preview stance. And if the actual photo doesn’t have a JPEG preview, you won’t be able to drag it.
For instance, if you drag more photos at the same time, only the ones with JPEG previews will be dragged out.
If you run into errors while migrating from Aperture, take a look at this Lightroom not working guide for additional troubleshooting tips.
3. Export the photos using the Export command
- Select a photo in the Browser.
- Select File, then Export, and click on Versions.
- Browse to the location where you want to save the photo.
- Choose an export preset, a name format if needed, and click on the Export Versions button to export the photo.
Note: If you will perform this for a large number of files, the process will take longer. However, you can check the Show alert when finished box to get a notification when the process is over.
If you encounter too many limitations while migrating or prefer exploring other tools, check out our Lightroom alternatives guide for more flexible options.
We hope that our guide helped you in transitioning your photos to Adobe Lightroom. You may also let us know how the procedure went for you by using the comments area below.
Read our disclosure page to find out how can you help Windows Report sustain the editorial team. Read more


Improve this guide


User forum
0 messages