How to Check Network Connection Details & Status on Windows 11
You can view connection details in Settings app in just few clicks
3 min. read
Updated on
Read our disclosure page to find out how can you help Windows Report sustain the editorial team Read more
Key notes
- You can view network connections and their details right from the Control Panel in Windows 11.
- More advanced users can use Command Prompt or PowerShell to view this information quickly.
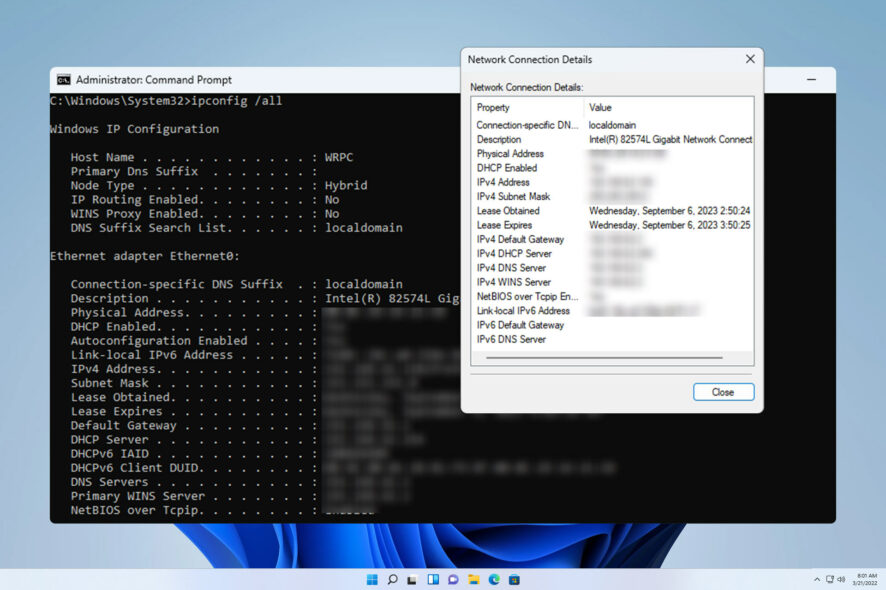
To ensure that your network connection is working properly, or to troubleshoot problems, sometimes you need to check network connection details on Windows 11.
By doing so, you can view various information including your IP address, MAC address, link speed, driver version, and more, and in this guide, we’ll show you how to do that.
How do I find network connection details on Windows 11?
1. Use the Settings app
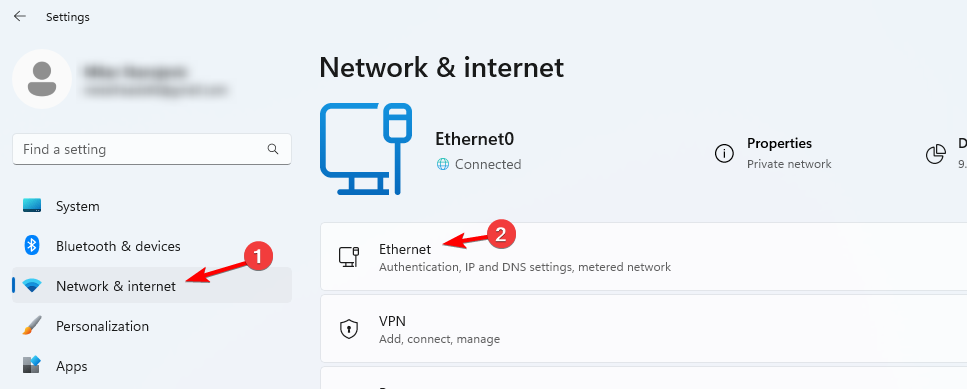
- Press the Windows key + I to open the Windows Settings.
- Next, navigate to Network & Internet in the left pane and select your network type. In our case, that’s Ethernet. If you’re using a wireless network, select Wi-Fi network instead.
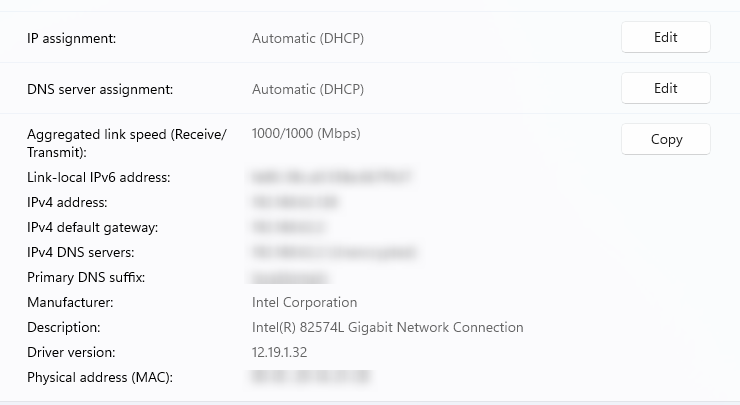
- At the bottom of the screen, you should see Windows 11 network adapter settings.
2. Use Control Panel
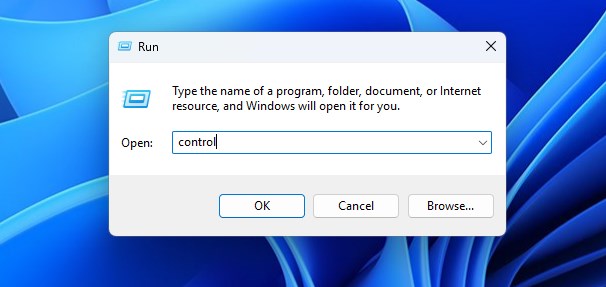
- Press the Windows key + R and type control. Press Enter.
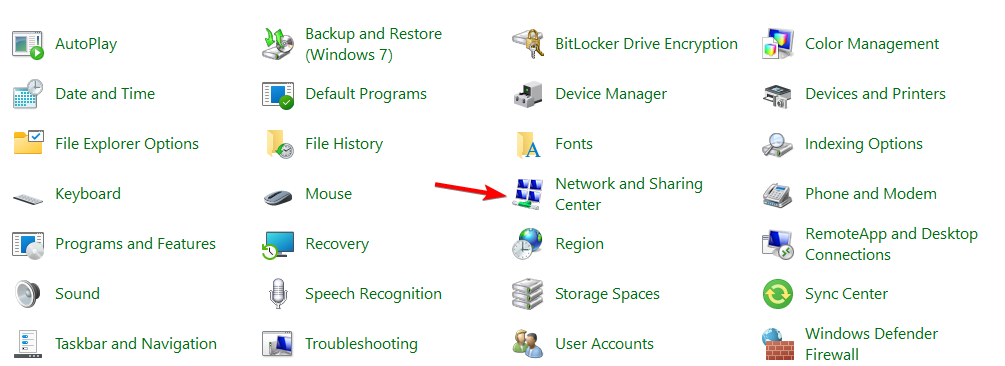
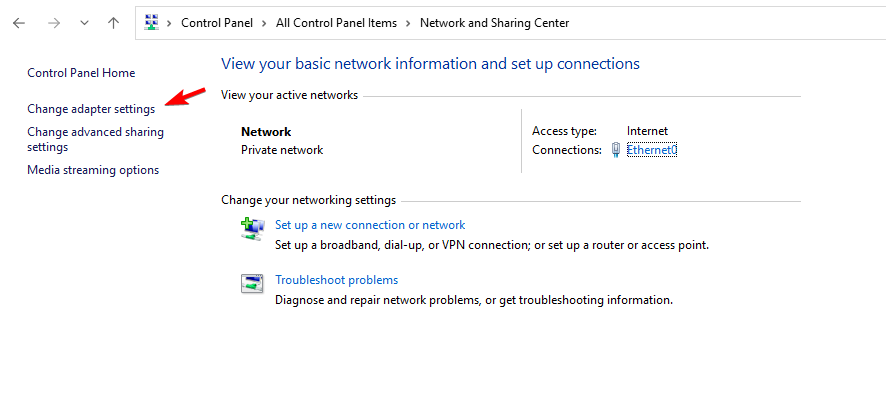
- Navigate to the Network and Sharing Center.
- In the right pane, choose Change adapter settings.
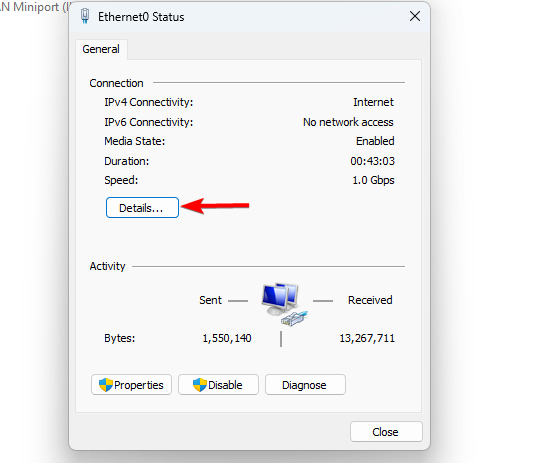
- Now you should be able to view network connections on your PC. Double-click your network connection to open connection properties.
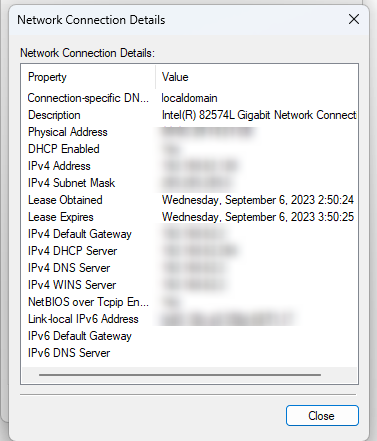
- Click on Details to view more network adapter options.
- The network information will now appear.
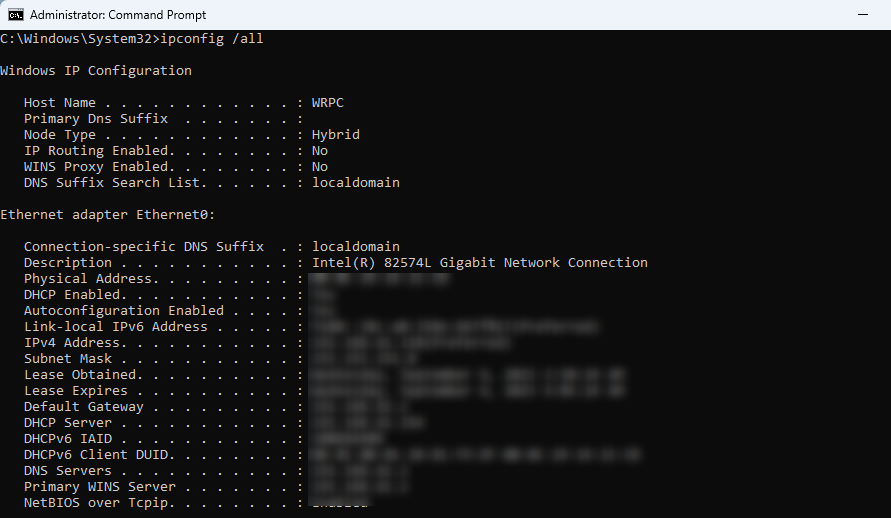
3. Use Command Prompt
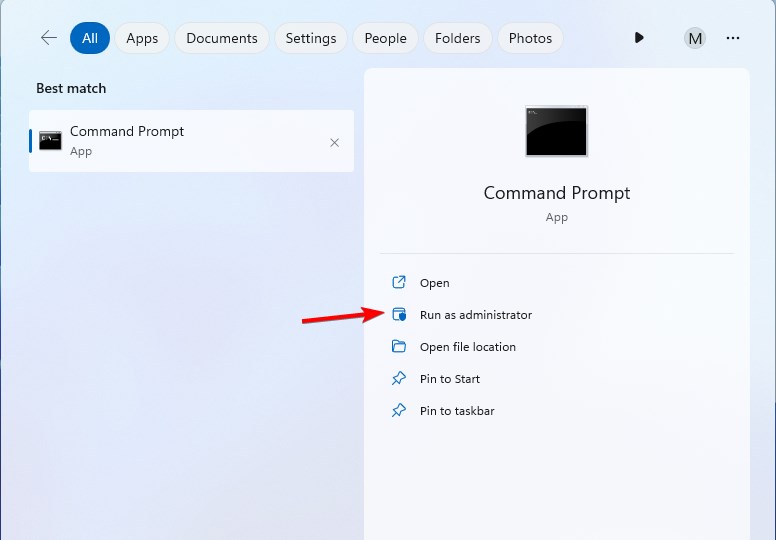
- Press the Windows key + S and type cmd. Select Run as administrator.
- Run the following command:
ipconfig /all - A list of connection details for all network adapters will now appear.
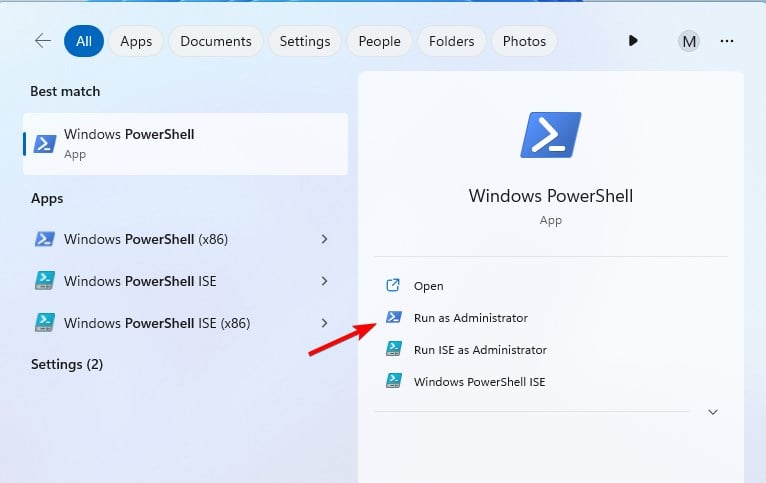
4. Use PowerShell
- In the Search box, type powershell and choose Run as administrator.
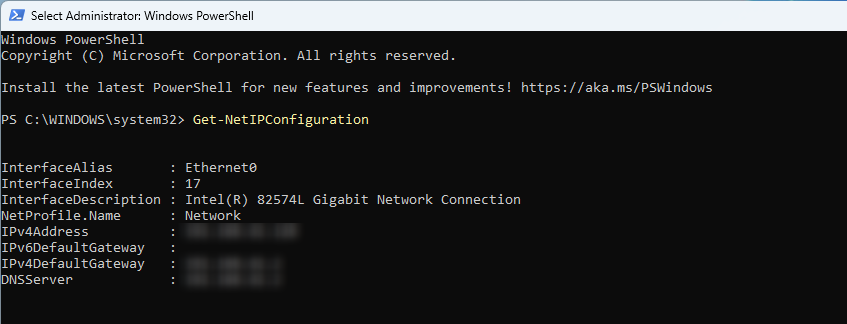
- Run the following command:
Get-NetIPConfiguration - Now you should see all the necessary network information.
Why is my network connections folder empty in Windows 11?
- There are no network connections available, probably because your PC has never connected to one before.
- Issues with your network adapter configuration or drivers.
- The network adapter is faulty and not working.
Checking connection details is simple, and the fastest way to do it is by using the ipconfig command, however, for less advanced users it might be more convenient to use the Settings app.
Now that you know how to check network details, you can easily change the network type or change the network band of your wireless network. Besides, it will help troubleshoot problems when the cellular option is missing in Windows 11.
If needed, you can also turn on network discovery or add a secondary IP address to your connection right from the network details window.
Did we miss your favorite method of checking connection details on Windows 11? If so, share it with us in the comments section.

