Full Fix: Nslookup works but ping fails on Windows 10/11
Key notes
- When the nslookup command works but ping fails on your device, the causes can be multiple.
- Changing a couple of settings should help, though, and we're showing you how to do it in this article.
- For any other software-related problems, you will find expert solutions in the Troubleshooting Hub.
- For any network trouble, explore our guides in the Network & Internet section.

In this article, we’re going to discuss instances when the nslookup command works on Windows 10, but ping fails.
In case you’re not familiar, these are two commands that advanced users might use to obtain a domain name or IP address details, and today we’re going to show you how to fix this issue.
Similar problems reported by users are:
- Nslookup resolves IP but ping does not – might be caused by your antivirus or firewall;
- Nslookup works traceroute fails – might be related to certain services and restarting them might fix the problem;
- Nslookup can’t resolve ping works.
How do I fix ping failures on Windows 10?
- Check your antivirus
- Use Command Prompt
- Update your drivers
- Restart the DNS Client service
- Add a dot after the searched domain
- Restart the DNS Cache service
- Change the IPv4 settings
- Switch to Google DNS
- Check your hosts file
- Disable IPv6
1. Check your antivirus
According to users, if nslookup works but ping fails, the problem might be related to your antivirus.
Several users reported issues with Kaspersky and its firewall feature. The solution would be to disable this tool and check if that solves the issue.
Of course, the problem doesn’t have to be related only to Kaspersky, but to other antivirus tools as well.
Additionally, in some instances, the only way to fix this problem might be to remove your antivirus.
If the issue doesn’t appear afterward, perhaps you should consider switching to a different antivirus solution best suited to work in silent mode.
Various leading antivirus systems now integrate a game mode that suspends notifications and scans when in full-screen mode.
The most practical solution is to keep your system secure while enabling the antivirus’s routine actions to perform as usual, but you need it to function silently.
2. Use Command Prompt
- Press Windows Key + X to open Win + X menu.
- Choose Command Prompt (Admin) (or PowerShell (Admin) for older OS).

- Run the following commands:
netsh winsock reset catalognetsh int ip reset reset.logipconfig /flushdnsipconfig /registerdnsroute /f
After running these commands, check if the problem is resolved.
3. Update your drivers
Another possibility is that the issue is related to your drivers, which might be outdated.
Of course, you can fix the issue simply by downloading the latest drivers and installing them.
To do that, you just need to visit your network adapter’s website and download the latest drivers for your model. After you download and install the latest drivers, the problem should be resolved.
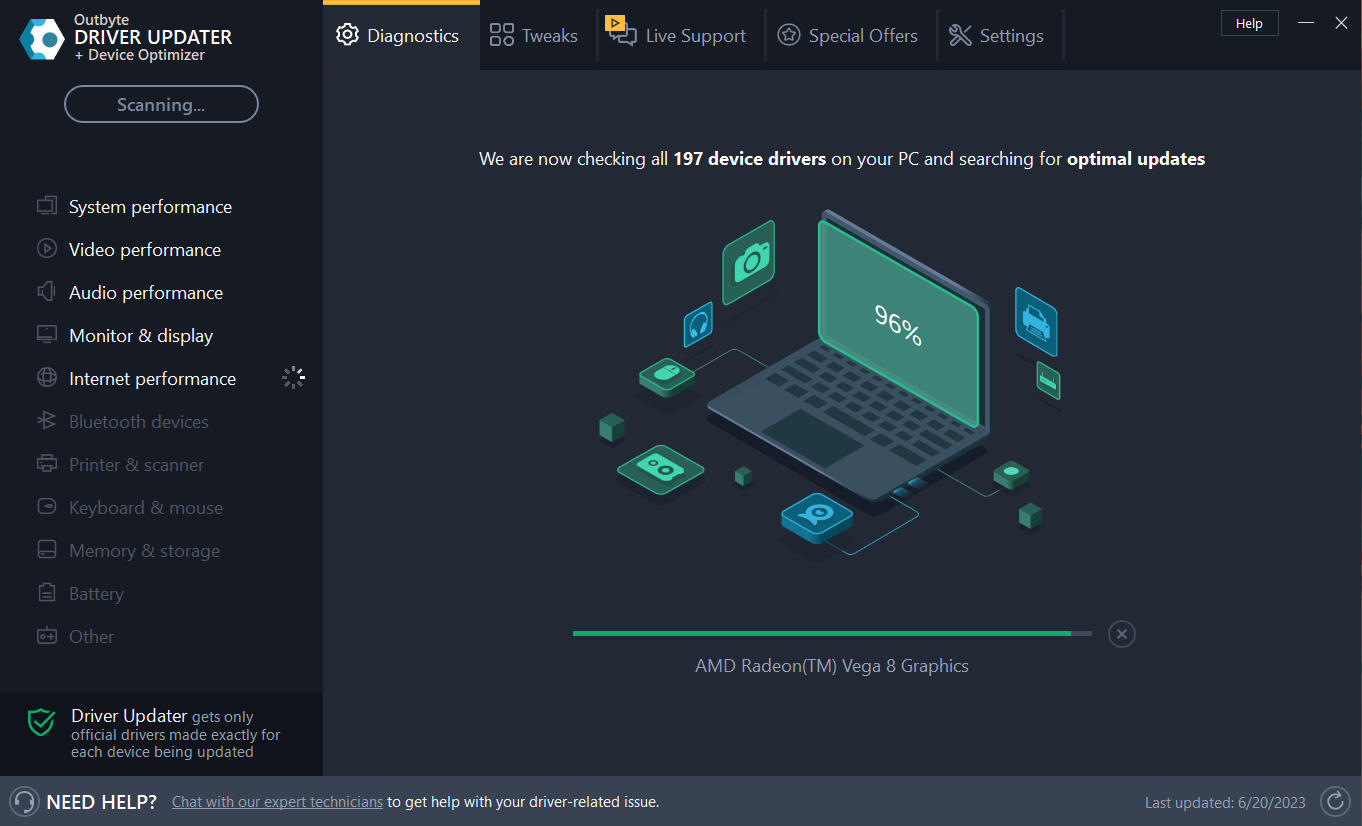
If this method seems a bit complicated to you, perhaps you should consider using third-party tools such as Outbyte Driver Updater and update your drivers with just a single click.
The tool will scan your system as soon as you launch it, and then offer a list of all vulnerable drivers that need updating, plus recommended software.
You can safely pick from the respective list, as the tools are compatible with your device.
4. Restart the DNS Client service
- Press Windows Key + R to open the Run dialog.
- Enter services.msc and press Enter or click OK.

- Locate DNS Client, right-click it, and choose Stop.
- Wait for a couple of moments, right-click the DNS Client again and choose Start from the menu.

If you can’t stop the service, the problem is the dependent services. DNS Client service depends on certain services, and until those services are stopped, you won’t be able to stop the DNS Client service.
To find out on which services DNS Client depends on, do the following:
- In the Services window, locate DNS Client and double-click it to open its properties.
- Head over to the Dependencies tab, where you should be able to see the services that DNS Client depends on.

- Stop these services and then you should be able to stop DNS Client as well.
- Once you restart the DNS Client service, be sure to restart the services that DNS client depends on.
This might be a bit complicated solution, especially if you need to disable depending services, but as long as you carefully follow the instructions, you should be able to manage.
5. Add a dot after the searched domain

This is an unusual workaround, but it worked for some users. If nslookup works but ping fails, perhaps you can fix the problem simply by adding a dot after the domain.
For example, if you previously used ping windowsreport command, try using ping windowsreport. command and check if that works.
6. Restart the DNS Cache service
As we previously mentioned, sometimes these kinds of issues can occur due to certain services. Most likely, the DNS Cache service is the culprit, and in order to fix it, you just need to restart it.
To do this quickly, just follow these steps:
- Start Command Prompt as administrator.
- Run the following commands:
- net stop dnscache
- net start dnscache

After running these two commands, the DNS Cache service will restart and the problem should be resolved.
7. Change the IPv4 settings
- Click the network icon on your Taskbar and choose your network from the menu.

- Click Change adapter options in the right pane.
- A list of all network connections will now appear. Right-click your network connection and choose Properties from the menu.
- Select Internet Protocol Version 4 (TCP/IPv4) from the list and click the Properties button.

- Now click the Advanced button.
- Go to the DNS tab and select Append these DNS suffixes (in order). Now click the Add button.

- When the new window appears, enter . as the Domain suffix and click Add. Save changes.

After doing that, the problem should be resolved and everything will start working again.
8. Switch to Google DNS
- Repeat steps 1 – 4 from the previous solution.
- Then, select Use the following DNS server addresses.
- Enter 8.8.8.8 as the Preferred and 8.8.4.4 as the Alternate DNS server. Click OK to save changes.

After doing that, check if the problem is still there. Bear in mind that switching to the Google DNS might slow down your Internet connection a bit.
9. Check your hosts file

If the problem is still there, the issue can be your hosts’ file. If nslookup works but ping fails, it’s possible that the hosts’ file was edited by malware or another application, and that can cause this and similar problems to appear.
To fix the problem, it’s advised to check this file and make sure that everything is in order. Basically, if you see the website you’re trying to ping on the list, it means that the hosts’ files were modified.
Simply remove the entries pointing to the website you’re trying to ping and you’re good to go. If you don’t know how to do that, you can always reset the hosts’ file and that should fix the problem.
10. Disable IPv6
In case you’re not familiar, there are two types of IP addresses, IPv4 and IPv6. The latter is the newer standard, but if you aren’t specifically using IPv6, perhaps you can disable this feature.
As it turns out, several users reported that the ping issues were related to IPv6. So let’s disable it and check if that helps.
- Follow steps 1-3 from Solution 7.
- Locate Internet Protocol Version 6 (TCP/IPv6) on the list and uncheck it. Now click Apply and OK to save changes.

After disabling IPv6, check if the problem is still there.
Not being able to ping a certain device or an IP address can be a problem, but we hope that you solved the issue using one of our solutions.
Additionally, we also covered the impossibility of ping other computers on Windows 10, so you might want to check out that article as well.
If you have further suggestions on this topic, feel free to share them in the comment below.
Read our disclosure page to find out how can you help Windows Report sustain the editorial team. Read more


Improve this guide


User forum
0 messages