There Was a Problem With the Printhead [Fix]
Discover verified solutions to get the printer running
3 min. read
Updated on
Read our disclosure page to find out how can you help Windows Report sustain the editorial team Read more
Key notes
- The There is a problem with the printhead error appears due to dust or debris accumulation or even improper placement of the printhead.
- Cleaning the printhead did the trick for most users.
- For users who find the printhead to be damaged, replacing it is the best way to go.
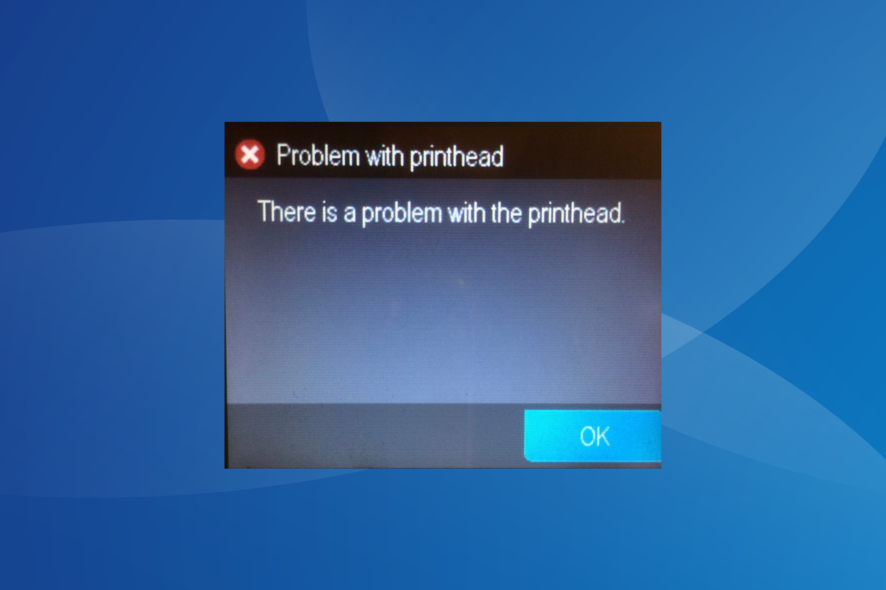
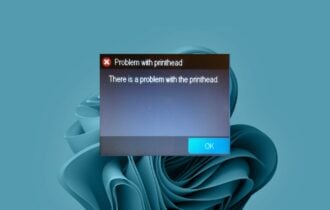
Many users reported There was a problem with the printhead error while trying to print certain documents. This error will prevent you from printing, given that the printhead is a vital component.
While there are many printhead errors, this one, in particular, is tricky to troubleshoot, given the lack of available information. But we have listed some verified solutions that helped others! Keep reading to find out!
How do I fix There is a problem with the printhead?
1. Clean the printhead
- First, you will have to press the Power button to turn off the printer.
- Disconnect the printer from the power outlet.
- Then, open the cartridge access door.
- After this, remove all the cartridges and put them somewhere with the ink opening up. Do not leave the cartridge outside of the printer for longer than 30 minutes.
- Now carefully, lift the latch handle on the print carriage until it stops.
- Then carefully remove the printhead, also by lifting it up.
- And finally, clean the printhead.
While cleaning the printhead, three areas need particular attention since these are the ones that often trigger issues, especially the There is a problem with the printhead error:
- The plastic ramps on both sides of the ink nozzles.
- The edge between the nozzles.
- The electrical contacts.
 Tip
Tip
2. Restart the printer
- First, turn on the printer and wait until the printer is idle and silent.
- After this, disconnect the power cord from the rear of the printer and unplug it from the wall outlet.
- Now, wait 1 minute and plug the power cord back into the wall outlet.
- Reconnect the power cord to the rear of the printer, then turn on the printer and wait until it is again idle and silent.
Once done, check whether There is a problem with the printhead error disappears.
3. Replace the printhead
If the previous methods didn’t work, try replacing the printhead. You can purchase one from the manufacturer’s official website, any e-commerce portal, or a reliable shop nearby. With the latter two, purchase a printhead compatible with the printer.
If the new printhead doesn’t work, you might want to take your printer to the repair center and ask the professional to take a look.
By now, There is a problem with the printhead error should be fixed, and the printer up and running just fine! And if you’d like to discover more tips and tricks, resolve printhead issues on your HP 6830 printer with these techniques in no time.
Before you leave, do check the best printer management software to print documents and be notified in case of issues effortlessly.
Tell us which fix worked for you in the comments section below.


