Fix: Realtek Audio Manager Advanced Settings Are Missing
Uncover your Realtek advanced settings with a few tweaks
Key notes
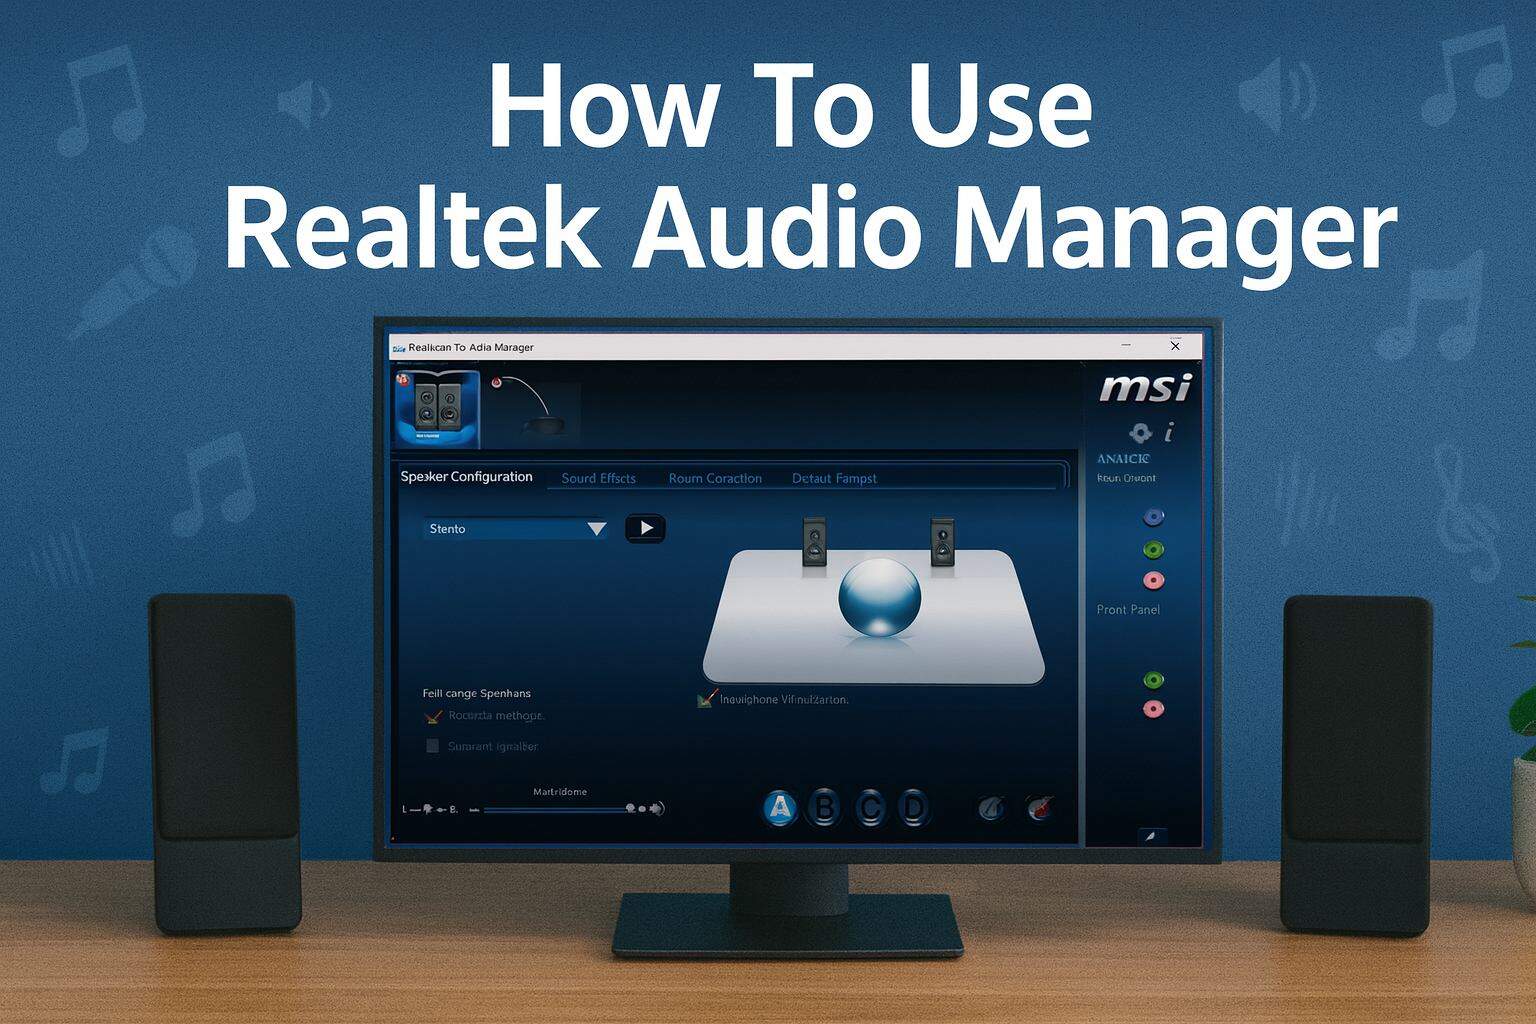
- The Realtek Audio Manager is a free application that allows you to control the sound card of your computer.
- It has many advanced settings, but sometimes you can’t access these extra options or find them.

If you are using Realtek High Definition Audio Manager Software, chances are that you may at some point face troubles related to missing Realtek Audio Manager advanced settings.
Realtek HD Audio Manager is a useful utility for managing audio settings on your computer. You can use it to regulate audio settings for all your applications and it also offers you advanced options. So, what gives; is it a computer glitch? Let’s find out.
Why is Realtek HD Audio Manager missing advanced settings?
Sometimes it is the Realtek Audio Manager that is missing, other times it is the advanced settings that can’t be found. Here are a few reasons why it’s missing:
- Outdated version – If you are using an older version of this software, it is possible that you can’t access advanced settings. You will have to download and install the latest version.
- Virus infection – It is possible that Realtek HD Audio Manager has been deleted by accident or maliciously removed by a virus or malware infection. It is for this reason we recommend that you install an antivirus tool.
- Corrupt installation – If you’ve recently updated your Realtek driver or have done any other kind of major system change, it’s possible that something went wrong during the update process. You may need to download the Realtek HD Audio driver or reinstall the program to fix this issue.
- Unsupported sound cards – If you have an outdated driver version, then it’s possible that your PC may not be able to recognize newer versions of this software anymore. It’s possible for the sound card itself to be incompatible with certain versions of Windows or other programs installed on your computer. If this happens, then it could cause problems with other applications and programs on your PC. You need to update your Realtek audio drivers.
How can I fix Realtek Audio Manager missing advanced settings?
Before you start troubleshooting your missing Realtek Audio Manager, make sure you’ve done a few basic checks. These include:
- Ensure that you have connected the sound cables securely to their correct ports.
- Check for any cable damage or damaged ports. The audio jack may not be working and you need to fix it first.
- Ensure that your audio device is detectable. Sometimes, Windows can’t find your audio device.
- Test your speakers and ensure it is functioning properly. You can use speaker testing software.
If all these check out and the advanced settings are still missing from Realtek Audio Manager, proceed to the solutions below.
1. Restore default settings
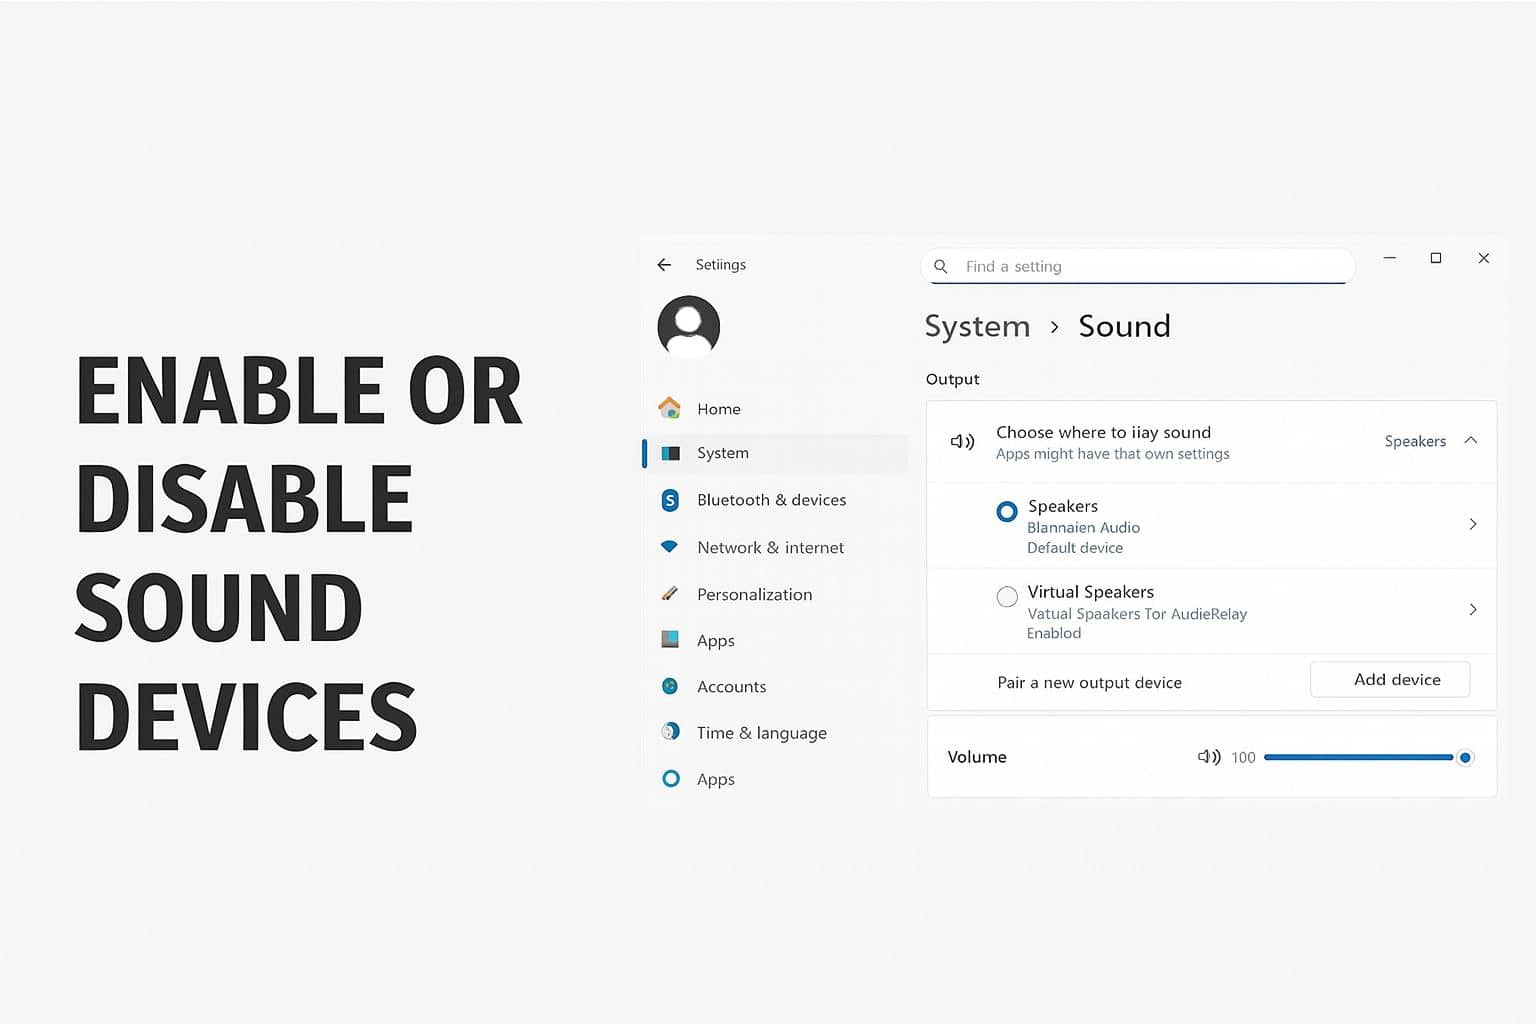
- Hit the sound icon at the bottom right corner and select Open volume mixer.

- Click on Speakers and navigate to the Playback tab.

- Locate Realtek Audio, right-click and select Properties.
- Navigate to the Advanced tab and select Restore Defaults then click OK.

2. Update Realtek drivers
- Click on the Windows button type Device Manager in the search bar and click Open.
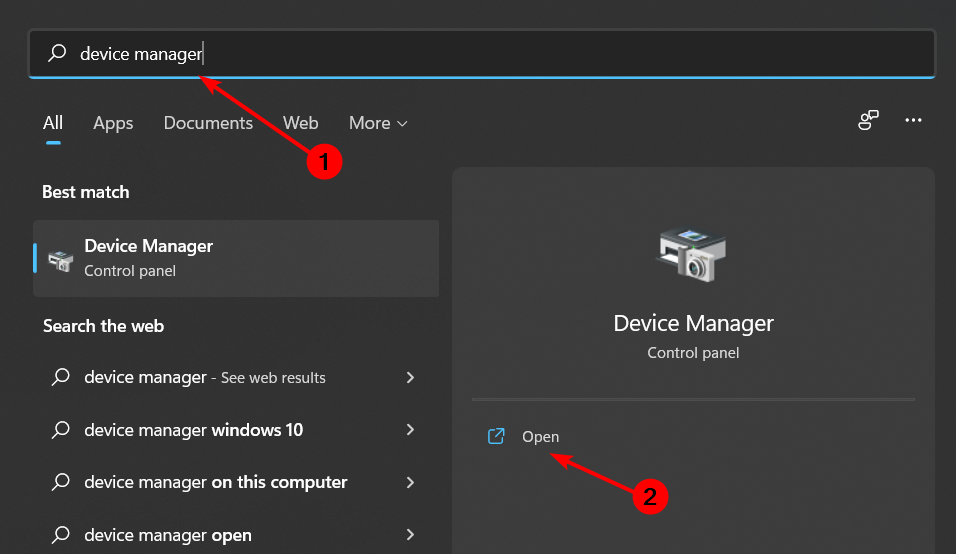
- Navigate to Sound, video, and game controllers to expand, right-click Realtek High Definition Audio and select Update driver.

- Select Search automatically for drivers.

You can also choose to download directly from the Realtek website. The only problem that may arise is if you don’t pay attention or don’t know the correct driver, you may end up downloading the wrong one.
In such a case, a third-party tool should suffice. Outbyte Driver Updater is a free driver updater software that can scan your computer and find outdated drivers. It automatically scans your system and downloads the correct ones for you, saving you time and money.

Outbyte Driver Updater
Maintain your system in top shape by keeping all drivers updated.3. Uninstall Realtek drivers
- Click on the Windows button type Device Manager in the search bar and click Open.
- Navigate to Sound, video, and game controllers to expand, right-click Realtek High Definition Audio and select Uninstall device.

- Restart Windows after uninstalling the driver and it will be automatically reinstalled.
4. Run the sound troubleshooter
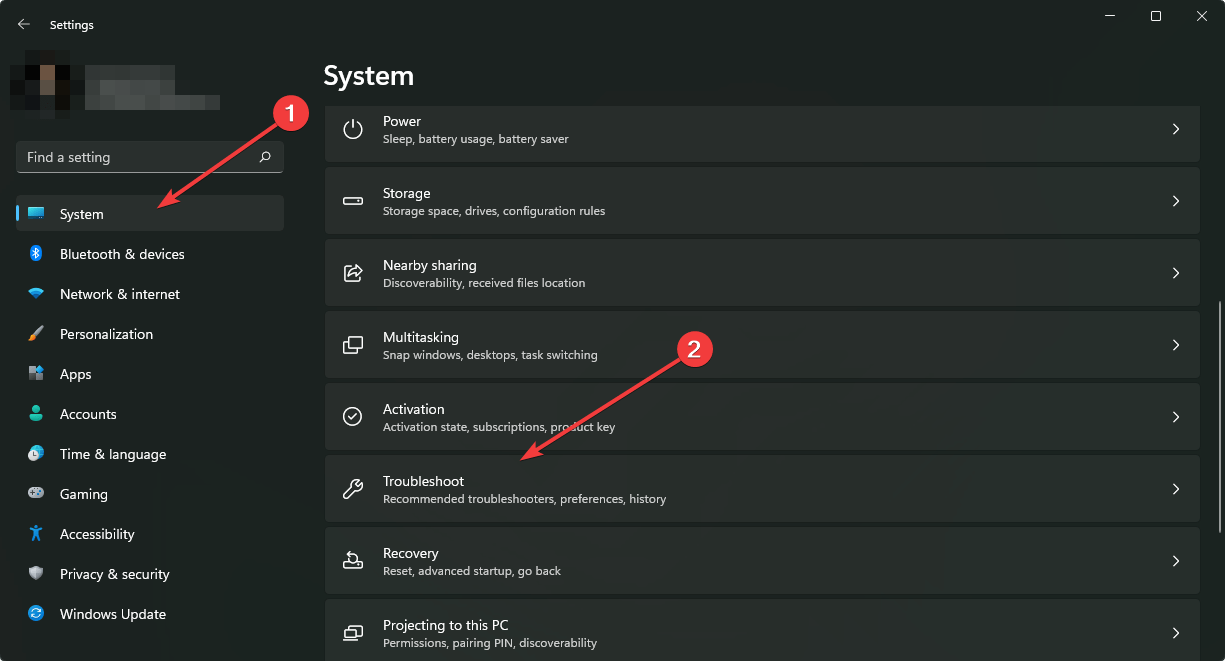
- Click on the Windows button and select Settings.

- Select System then click on Troubleshoot.
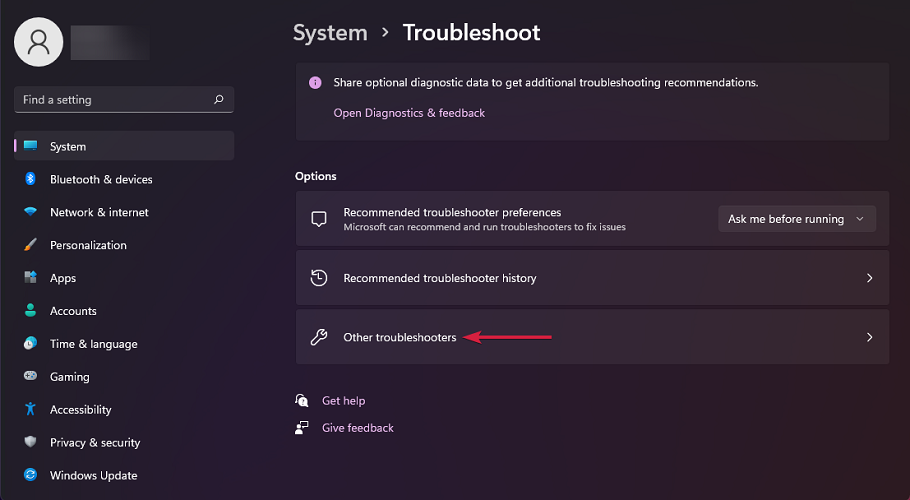
- Click on Other troubleshooters.
- Hit the Run button next to Playing Audio.

5. Restart Windows audio service
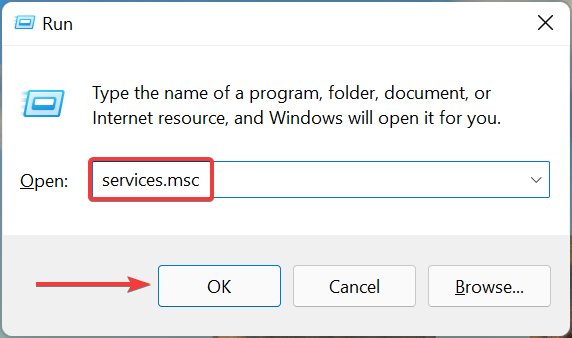
- Hit the Windows + R keys simultaneously to open the Run command.
- Type services.msc and hit Enter.
- Locate Windows audio, right-click and select Restart.

Should all these fail to restore the advanced settings option, you can choose to uninstall and reinstall the Realtek Audio Manager software.
There’s no such thing as a perfect program, and sometimes your computer can suffer from bugs or compatibility issues. These can only be resolved by uninstalling the software. It’s also an effective way to fix problems with programs that have become unstable or unresponsive.
You may also run into some Realtek sound problems. As such, don’t hesitate to visit our detailed guide on how to solve these issues.
If the Realtek Audio Manager is not opening, we also have recommended solutions to bypass this hurdle.
Let us know what approach you used to fix this issue in the comments section below.
Read our disclosure page to find out how can you help Windows Report sustain the editorial team. Read more


Improve this guide


User forum
0 messages