6 Ways to Fix Restart to Repair Drive in Windows 10
Our solutions and new technologies enable you to fix hard disk issues quicker than ever
Key notes
- You’re not the only Windows 10 computer owner who keeps getting the Restart to repair drive errors notification.
- Don’t hesitate to restart your PC or use the System File Checker tool to solve this quickly.
- Please look closely at our complete troubleshooting guide below for more accurate tips and tricks.

Today, we will show you how to act when getting the notification message: Restart to repair drive errors (Important) in Windows 10/11.
This issue you are experiencing could be due to hard drive issues, failed updates, as well as the bloated Windows registry.
Therefore, you must try out any enlisted solutions to fix this problem.
What is the cause of Restart to repair drive errors?
The message Restart to repair drive errors may appear on your screen if your computer’s operating system fails to recognize the hard drive correctly. Moreover, you may come across such an error if your hard disk has corrupted sectors or if it has been infected with malicious software.
In other cases, the problem stems from a hard disk that’s been physically damaged. For example, if the hard disk has been physically cracked, you could hear a buzzing or tingling sound from your computer system.
In this situation, the only way out is to get a brand-new hard drive and install it on the computer. But, if that’s not the case, follow along to find out how to get rid of the notification message properly.
Why does my PC keep having drive errors?
Malware attacks, hardware malfunctions, careless system maintenance, power outages, or even human mistake are the usual causes of hard disk problems. The CHKDSK command can be used to repair a corrupted or malfunctioning hard drive.
Once you pay note of these factors, you will see a significant decline in drive errors.
How can I fix Restart to repair drive errors in Windows 10?
1. Restart your PC
The first applicable workaround in resolving the Restart to repair drive errors Windows 10/11 issue is to restart your PC.
This could potentially fix the problem in some cases. However, if this does not resolve the issue on your Windows 10 PC, you can proceed to other workarounds.
2. Run the SFC Scan
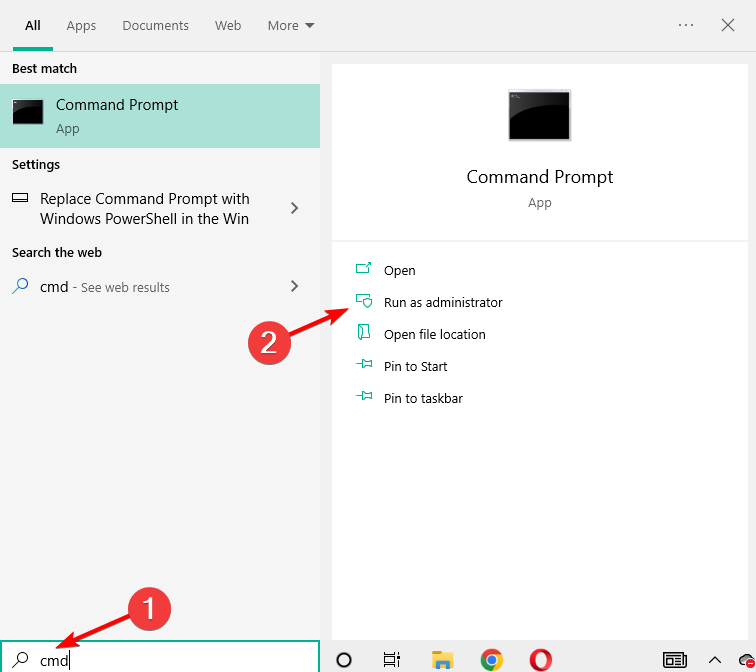
- Press Windows then input cmd and select the Run as administrator option under the result.
- Paste or type the following command and press Enter:
sfc /scannow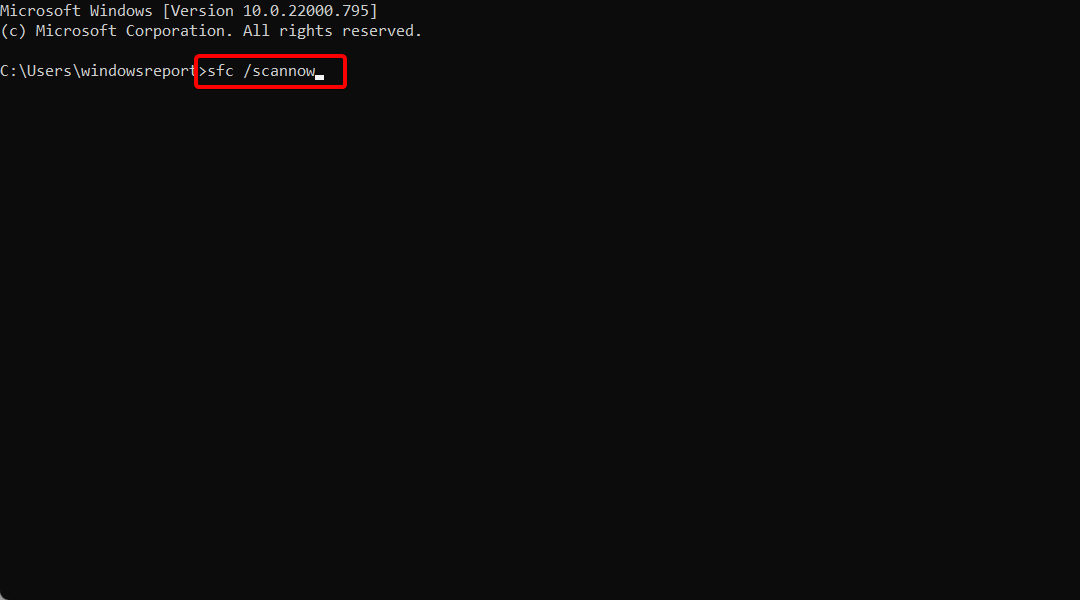
The SFC scan will find and fix any system files that have been corrupted. For example, this could fix the Restart to repair SSD drive errors.
If you don’t want to perform these initial steps, then you should use an automated solution as more secure method.
3. Run CHKDSK
3.1 Use CMD
- Tap Windows then input cmd and select Run as administrator.
- Now, type the following commands and press Enter after each:
CHKDSK C: /FCHKDSK C: /R - After the CHKDSK process, restart your PC.
Due to the fact that the Restart to repair drive errors not working in Windows 10 problem is disk related, CHKDSK can also be used to fix the problem. CHKDSK process cleans up disk-related errors on your PC.
3.2 Use File Explorer
Alternatively, you can run CHKDSK from the File Explorer window. Follow these steps to do that:
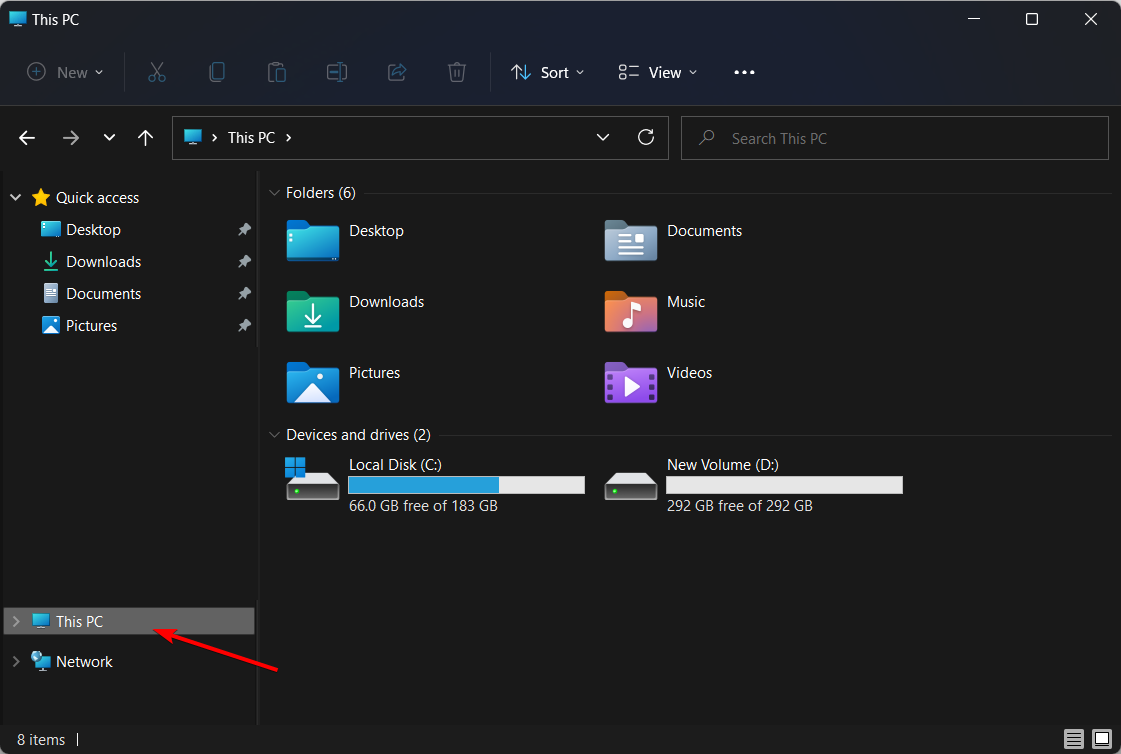
- Press Windows + E, then go to This PC.
- Right-click the C drive and select Properties.
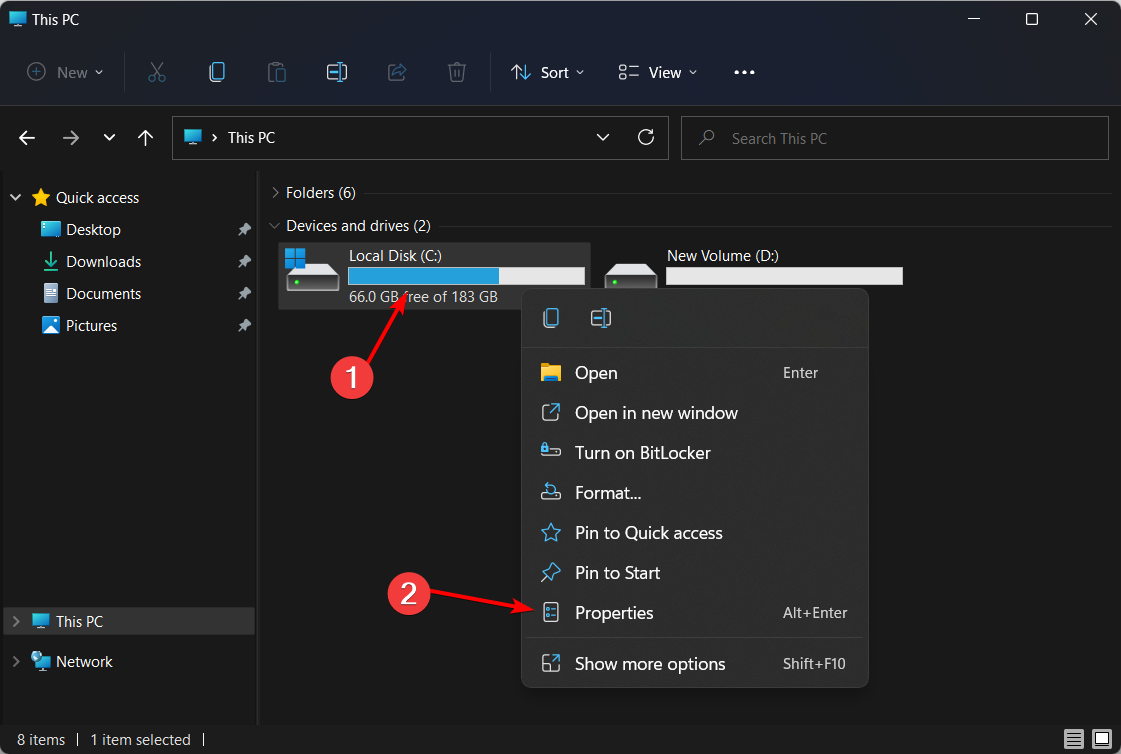
- Select the Tools tab and click the Check button followed by Scan drive to run the CHKDSK scan.

In some cases, security and maintenance restart to repair drive errors appear precisely after using CHKDSK or other similar disk inspection tools. They linger on even after rebooting the device.
If the Restart to repair drive errors Windows server 2016 won’t go away, you might want to undo this step, so carefully go through the steps below.
Restart to repair drive errors keep showing up after reboot
- Press Windows, then type cmd and select the Run as administrator option.
- Type in the following commands, then press Enter after each one:
fsutil dirty query g:CHKNTFS /X G:
- Next, proceed with manually rebooting your PC.
- Open CMD again and enter the following lines as soon as Windows loads, and press Enter after each:
Chkdsk /f /r g:fsutil dirty query g:
Even CMD can occasionally go through a hard time, so don’t worry if you can’t run Command Prompt as admin at first. We will guide you through it every step of the way.
4. Run DISM
Here’s how to run DISM in Windows:
- Tap Windows, enter cmd, and select Run as administrator from the right side.
- Copy and paste the following command and press Enter:
exe /Online /Cleanup-image /Restorehealth
DISM (Deployment Image Servicing and Management) is a tool used to scan and solve issues of corrupted system files, which could cause the repair drive errors you face.
5. Run System Restore in Safe Mode
- Reboot your computer and start into Safe Mode. Know that the steps are similar for Windows 11 and 10, so you can follow the guide linked in both OSs.
- Once your PC starts up, press Windows + R then type rstrui and press Enter.

- Click Next to proceed. Then select the restore point to which you wish to revert and click Next.

- Follow the on-screen steps to revert your system to the selected restore point.
Restoring Windows to a point before experiencing the Restart to repair drive errors server 2019 in Windows 10/11 prompt can also fix the issue.
System restore does not affect your files, documents, or personal data. If you don’t have any restore points created, check out how to make a restore point in Windows 10 and Windows 11.
6. Run Automatic Repair
- Insert the Windows 10 bootable USB drive or the Windows 11 bootable USB drive and restart your PC afterward.
- Press any key to boot from CD or DVD when prompted to continue.
- Follow the on-screen steps until you see the Repair your computer option in the bottom-left. Make sure to click it afterward.

- Click Troubleshoot, followed by Advanced options.
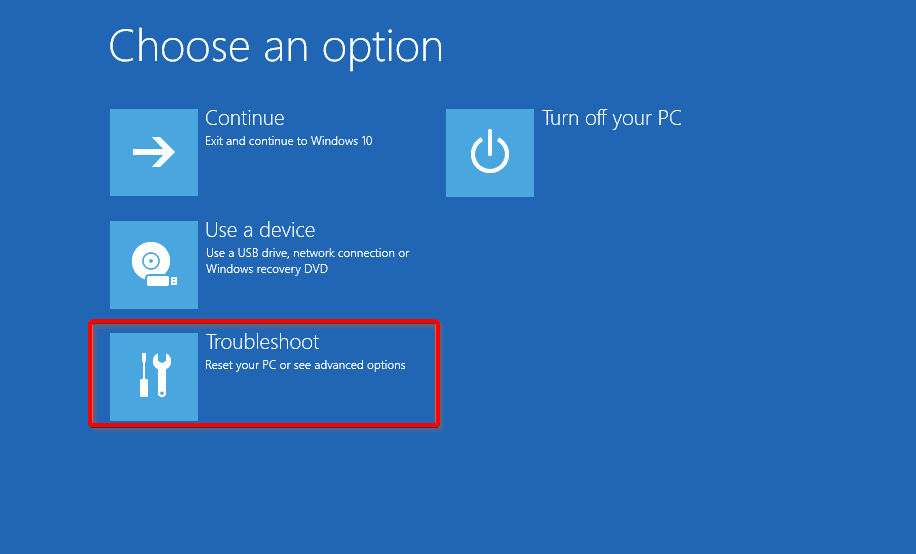
- Next, choose Automatic Repair or Startup Repair. Then, wait for the Windows Automatic/Startup Repair to be completed.

- Restart your PC and boot to Windows.
Automatic repair is applicable in fixing the Restart to repair drive errors. However, it would be best if you had a Windows bootable installation DVD ready for this purpose.
Can I interrupt scanning and repairing drive?
We discourage stopping this process once it has begun, but there are cases where the scan and repair become stuck and will take uneding hours. In such cases, it is possible to interrupt scanning and repairing drive. You will however have to boot to safe mode.
Should I restart to repair drive errors?
If you get this problem, you should attempt to restart your computer. Any code that is frozen in a condition that is acting up will also be removed.
Restarting your system will start from scratch, leaving behind any system errors or bugs causing issues.
How can I fix Restart to repair drive errors in Windows 11?
- Press Windows + I, then go to Windows Update, followed by Update history.
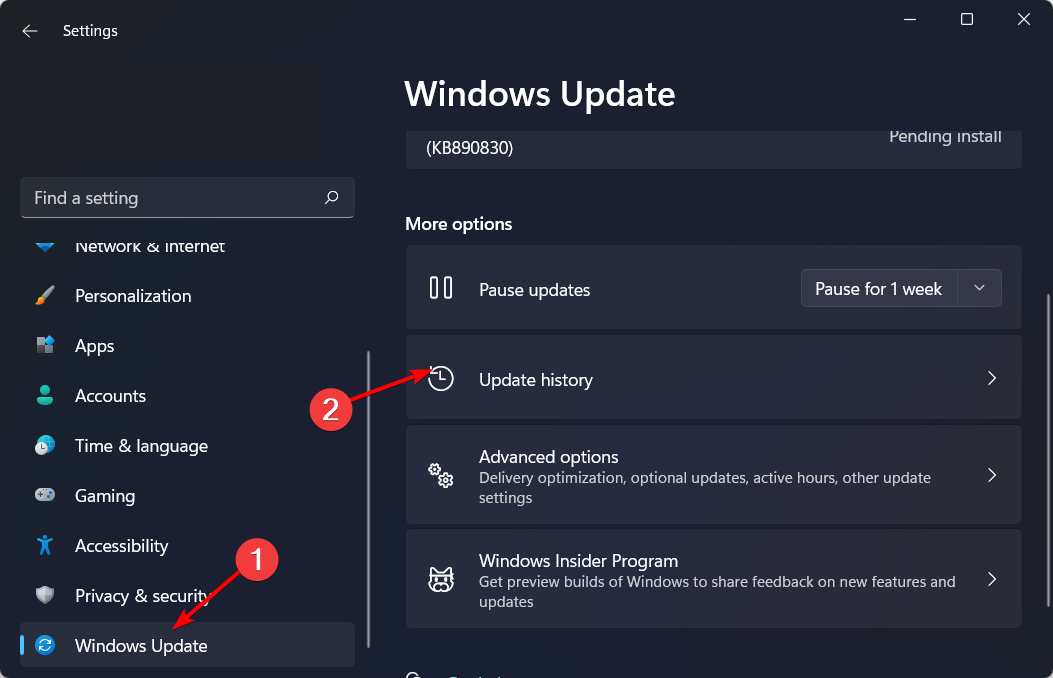
- Scroll down and select Uninstall updates.

- Click the most recent Windows Update in the newly opened window, and select Uninstall.

For more methods to uninstall an update in Windows 11, check out the article linked.
Moreover, you may repair the restart to repair drive error in Windows 11 by following the procedures precisely as they are described above.
They are not limited to Windows 10, and the steps to achieve them are exactly, or almost precisely, the same in Windows 11.
Conclusively, we hope this helps you fix the hard drive issue in Windows 10/11. However, if Windows cannot repair the drive, check out our guide to find more effective solutions.
If you need further assistance concerning the addressed issue, drop a comment for us below. Thanks for reading!
Read our disclosure page to find out how can you help Windows Report sustain the editorial team. Read more


Improve this guide


User forum
0 messages