rt640x64.sys BSoD Error: 6 Ways to Fix It
Clean up the corruption to stop this annoying error
Key notes
- rt640x64.sys is a Realtek system file that can result in the Blue Screen of Death.
- It can be caused by either a malfunctioning RAM or corrupt files caused by malware.
- You must quickly clean up the corruption with an SFC scan and update your drivers.
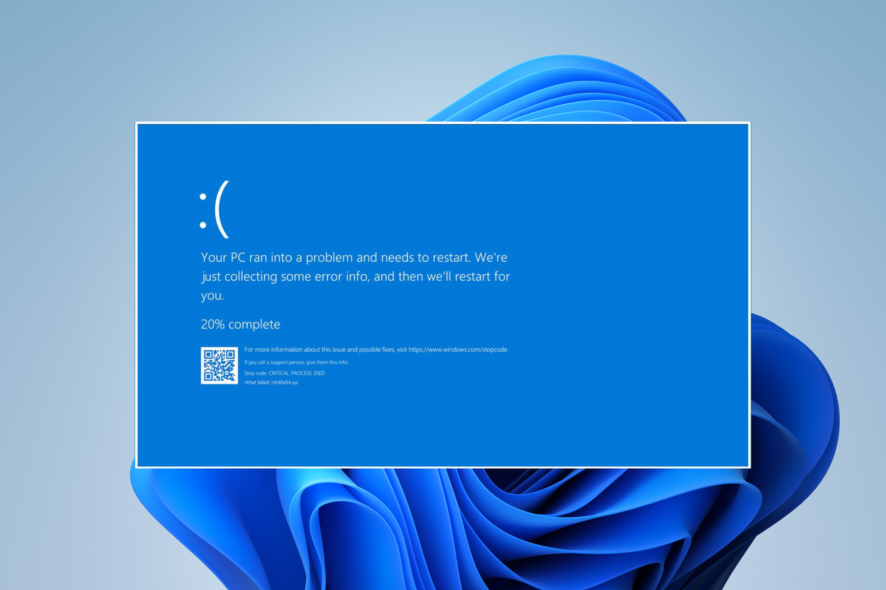
The infamous Blue Screen of Death (BSoD) can be caused a lot of things, so Windows always points to exactly what failed on your computer, or you can look at the crash files.
In this scenario, the BSoD was caused by rt640x64.sys, a system file for Realtek network drivers that usually handles the ethernet port. Fortunately, it’s easy to fix.
What causes rt640x64.sys failure?
Before discussing the solutions, it’s important to review what causes the error first to learn how to avoid it:
- Malware has infected your system drivers – By far the most common cause, antivirus apps can quickly get rid of malware on your computer.
- The computer’s drivers have corruption – A consequence of malware, installing and running some cleaning software can get rid of corrupt files.
- You have hardware conflicts – If you’re someone who built your computer, hardware conflicts can be caused by recently installed, unrecognized parts.
- Your RAM is malfunctioning – To fix this, you may need to adjust the Registry Editor and upgrade your BIOS.
How do I fix the rt640x64.sys error?
1. Update Windows 11
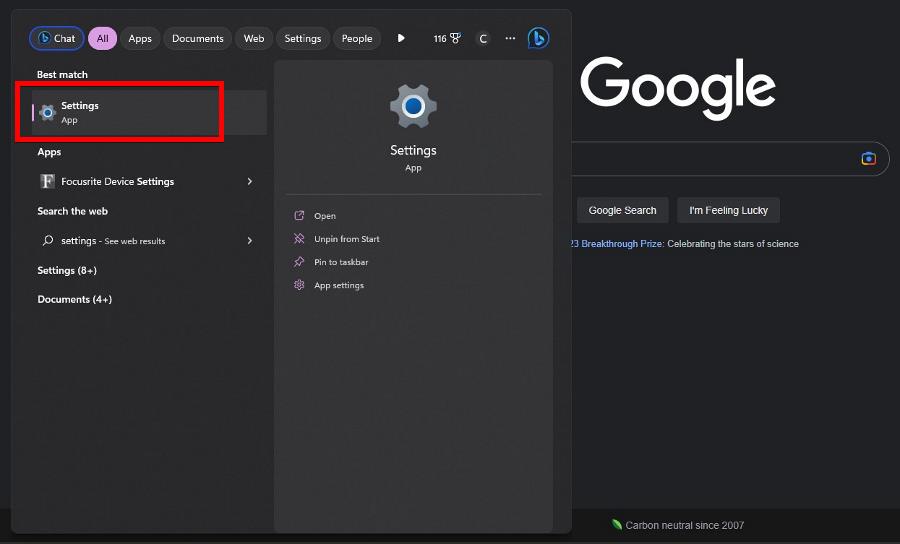
- In the Windows 11 search bar, type in settings and click Settings when it appears.
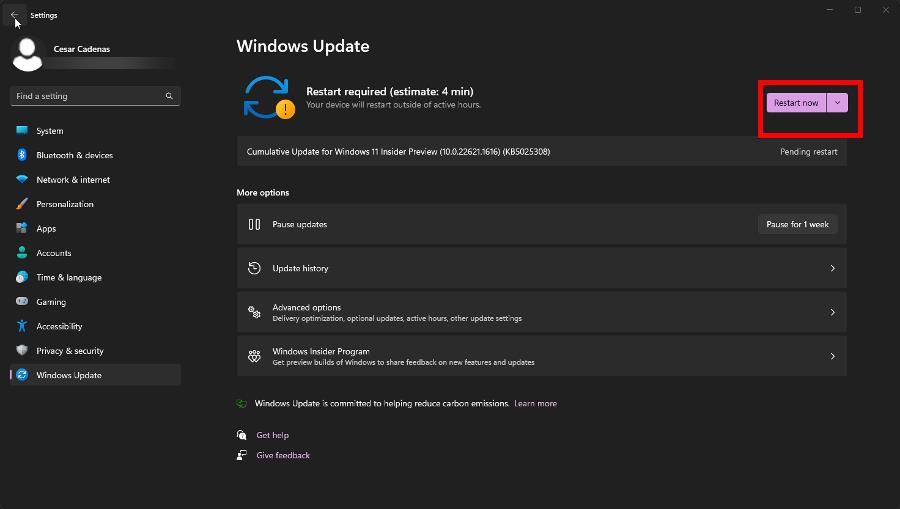
- Go to the Windows Update section.
- Any new updates should be automatically downloaded. Select Restart now when it appears.
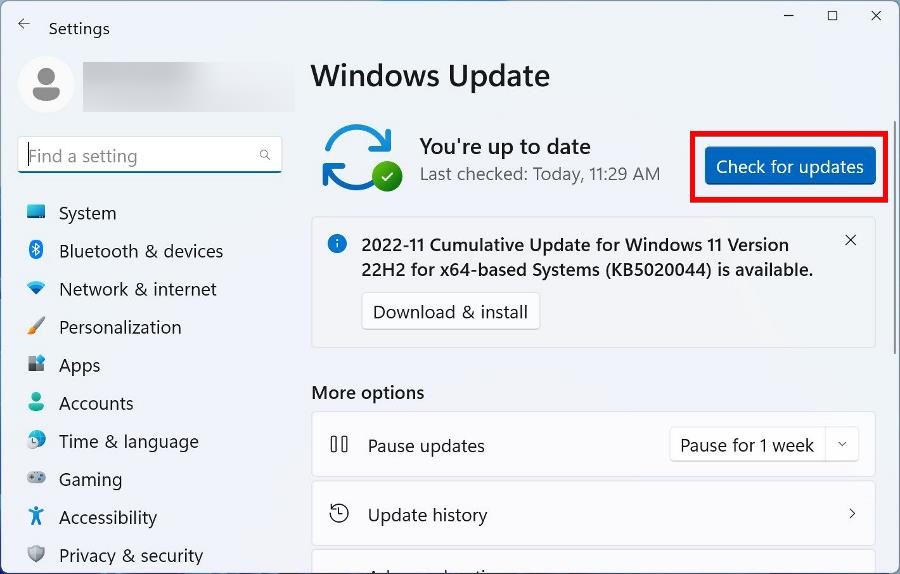
- If nothing is ready, click Check for updates.
2. Update drivers via Device Manager
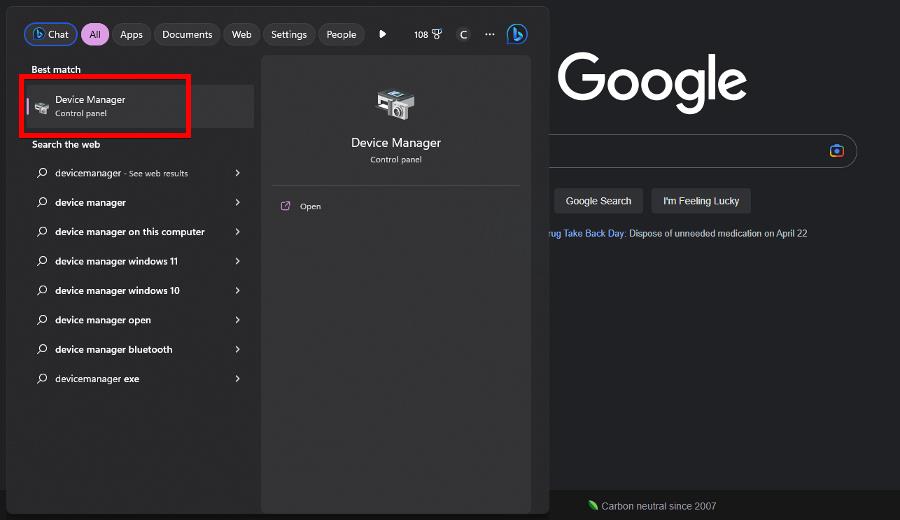
- In the Windows 11 search bar, type device manager. Select Device Manager when it appears.
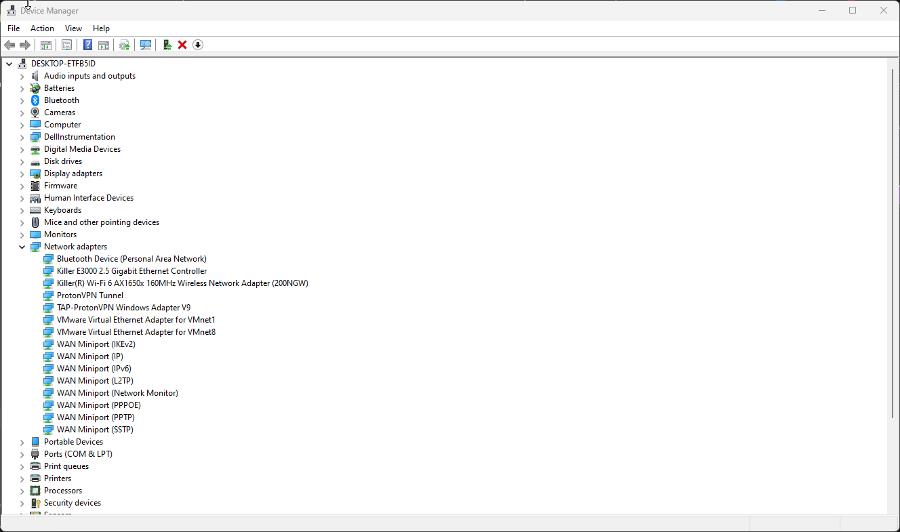
- Expand Network adapters.
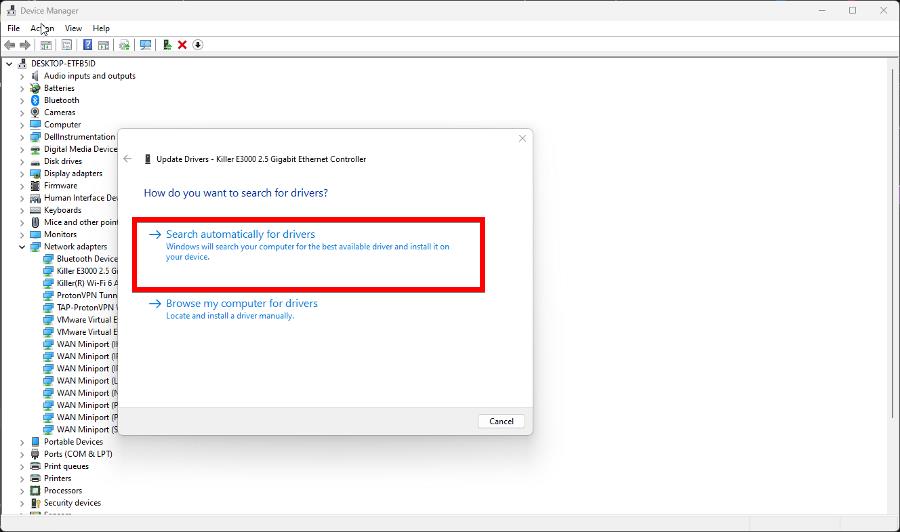
- Right-click your ethernet adapter and select Update drivers.
- Click Search automatically for drivers to instantly install drivers.
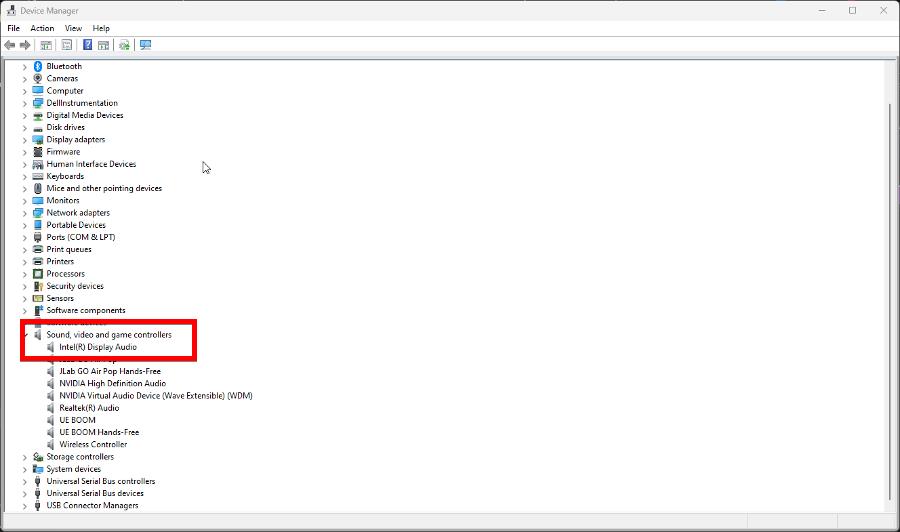
- Now expand Sound, video, and game controllers and update the drivers of your computer’s sound card. In this example, that will be Intel Display Audio.
Another alternative you can try, surely much faster, is a dependable third-party tool that detects all outdated drivers and replaces them with brand-new driver versions, keeping your PC always healthy.
⇒ Get PC HelpSoft Driver Updater
3. Run system scans
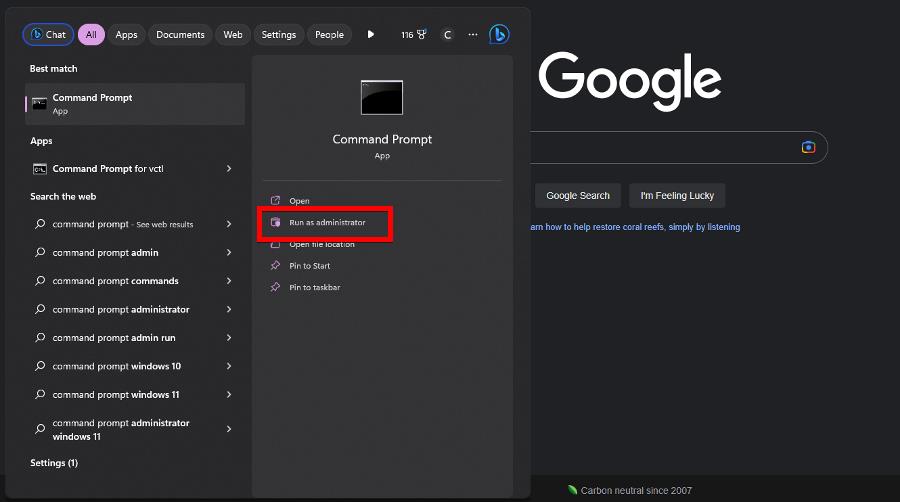
- Type cmd into the Windows search bar. When the Command Prompt appears, click Run as administrator.
- Run the following command in Command Prompt:
sfc /scannow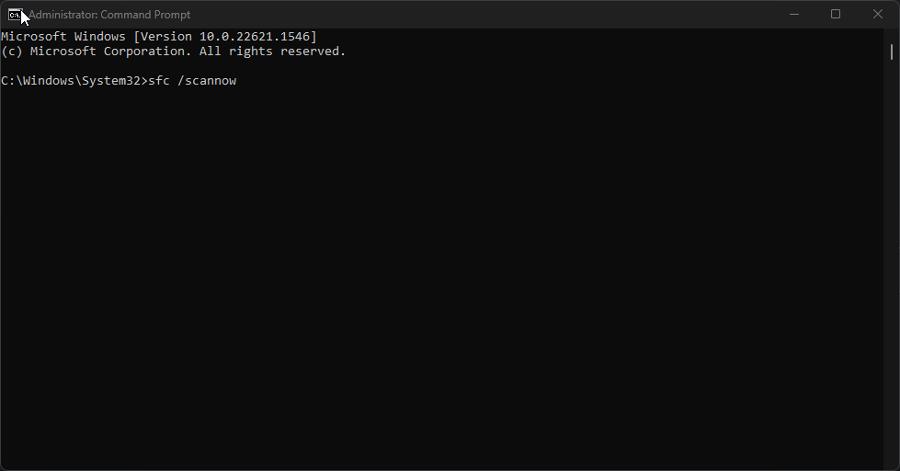
- Give your computer enough time to finish up.
- Run the following commands one after the other:
DISM /Online /Cleanup-Image /RestoreHealthDISM /Online /Cleanup-Image /ScanHealthDISM /Online /Cleanup-Image /RestoreHealth - Restart your computer.
4. Restore Windows 11
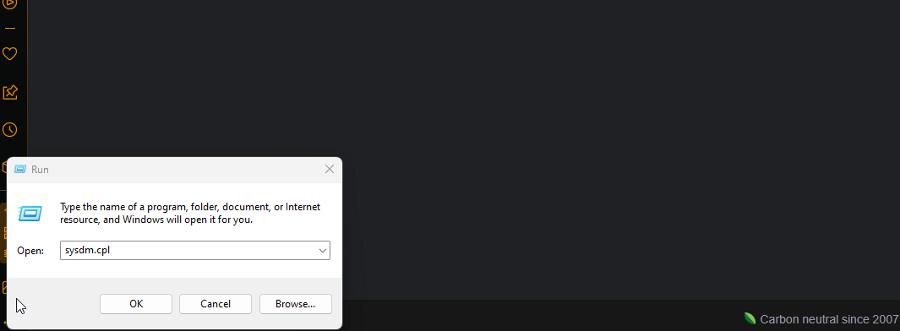
- Press the Windows and R keys at the same time to launch the Run box.
- Enter sysdm.cpl. Click OK.
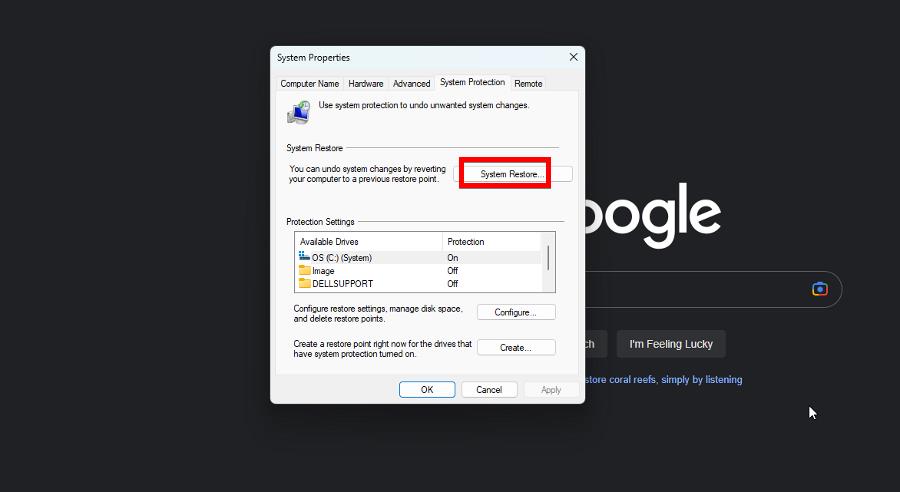
- In System Properties, go to System Protection.
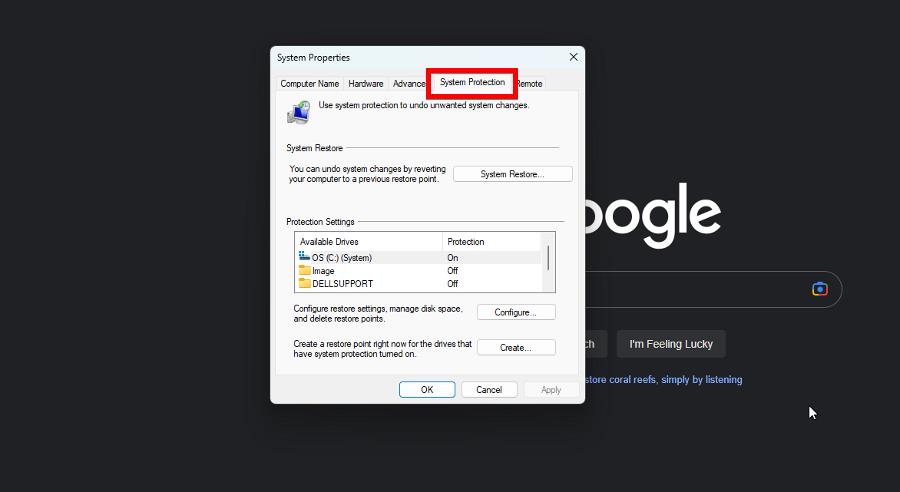
- Click System Restore.
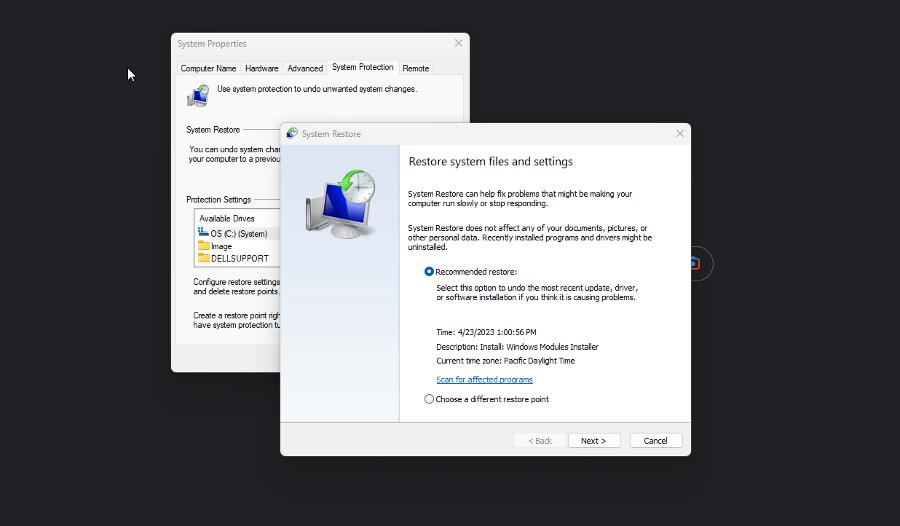
- A System Restore will appear displaying a recommended restore point. Click Next.
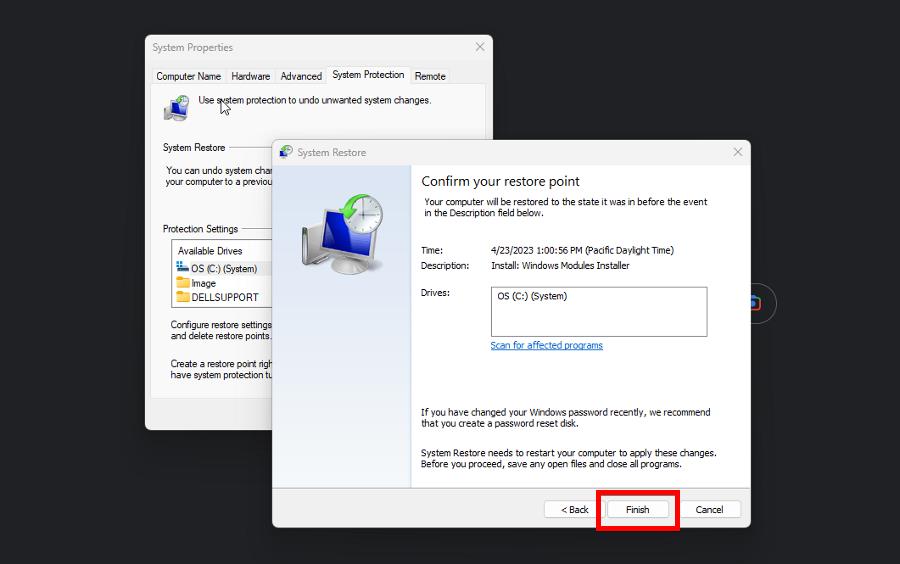
- Confirm the restore point and click Finish.
5. Disable Realtek LightWeight Filter
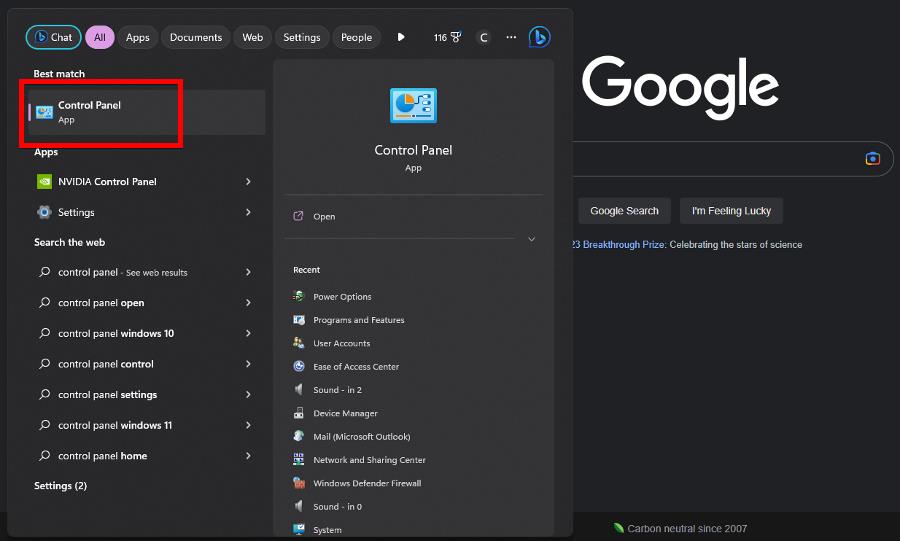
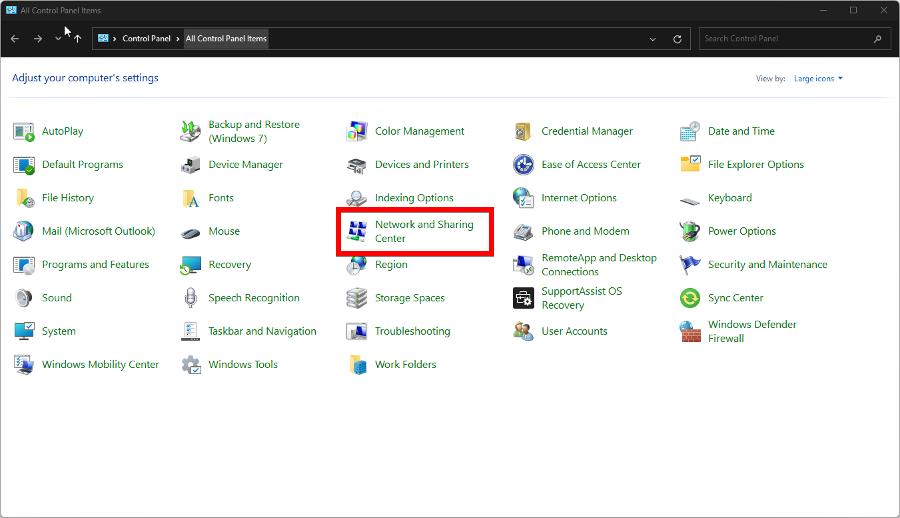
- In the Windows 11 search bar, type control panel and click Control Panel when it appears.
- Select Network and Sharing Center.
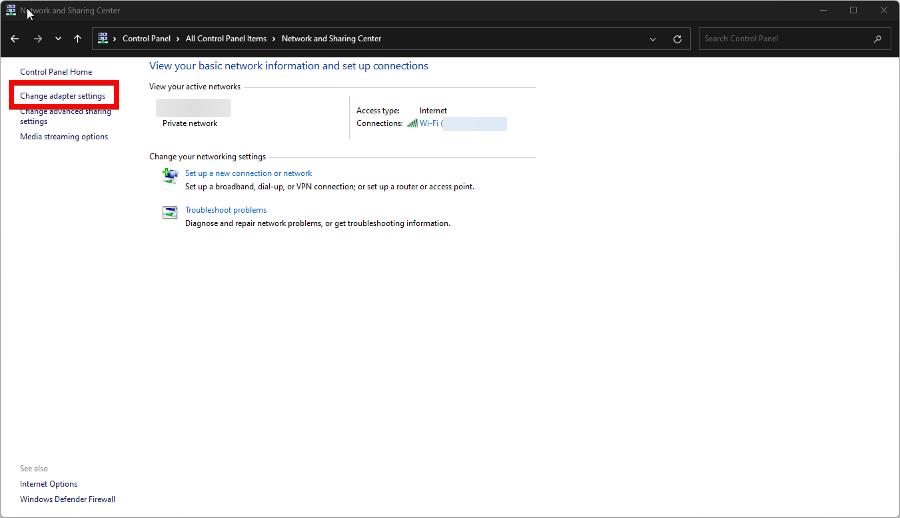
- Click Change adapter settings.
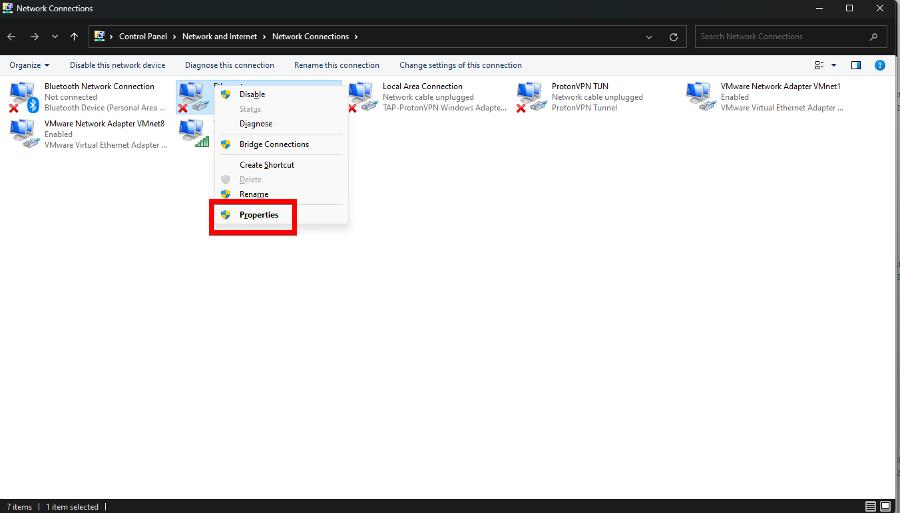
- Right-click your ethernet adapter and choose Properties.
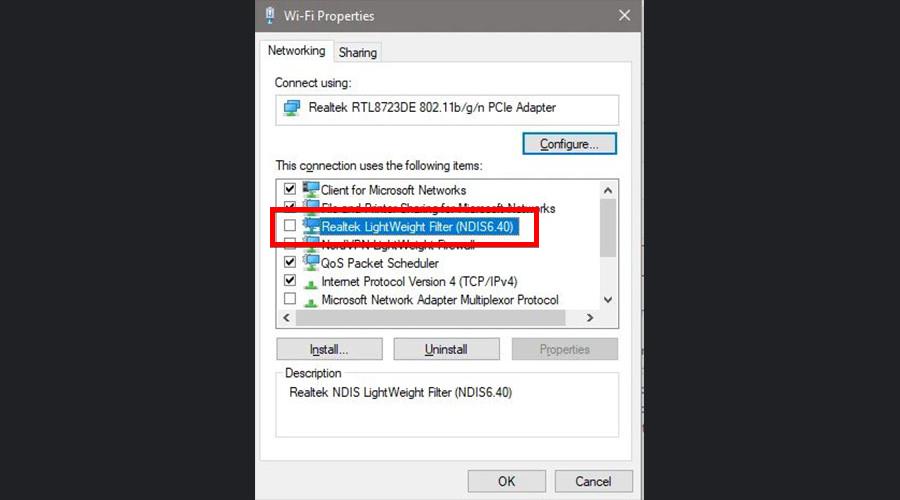
- Scroll down and locate Realtek LightWeight Filter (NDIS6.40). Click the box next to it to disable it.
- Click OK to close the window.
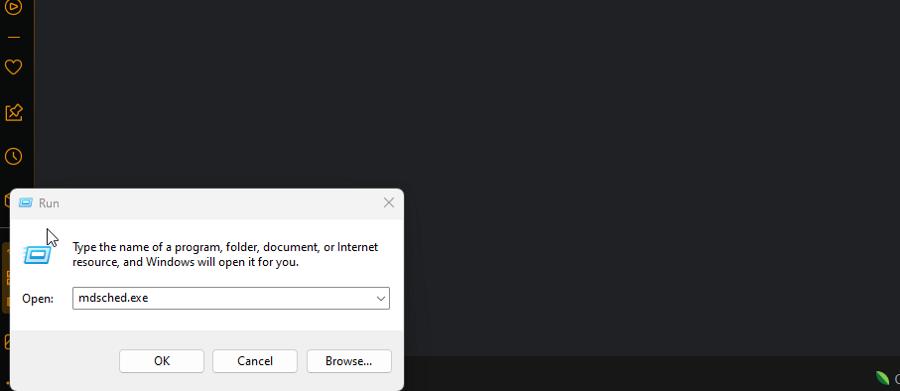
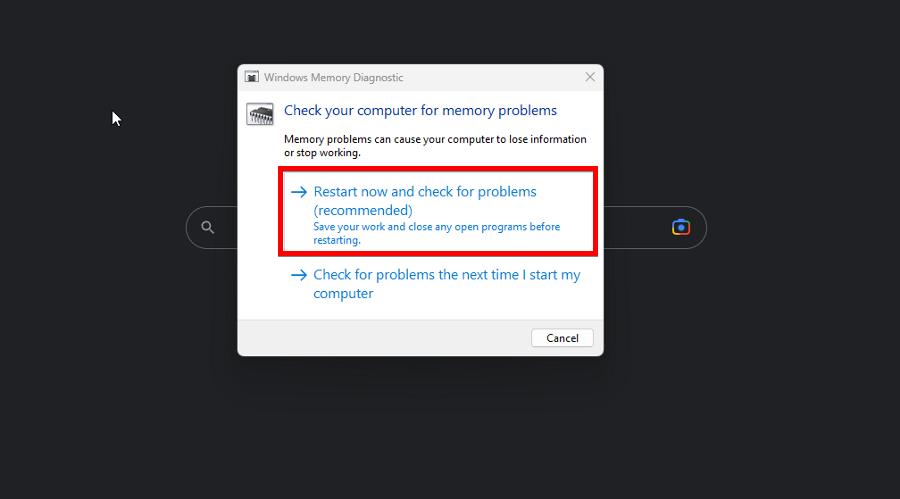
6. Run Windows Memory Diagnostic Tool
- Press the Windows and R keys to launch the Run box.
- Type mdsched.exe, then click OK.
- Click Restart now and check for problems in the new window that appears.
- Your computer will immediately restart. Allow the Windows Memory Diagnostic Tools enough time to complete its process.
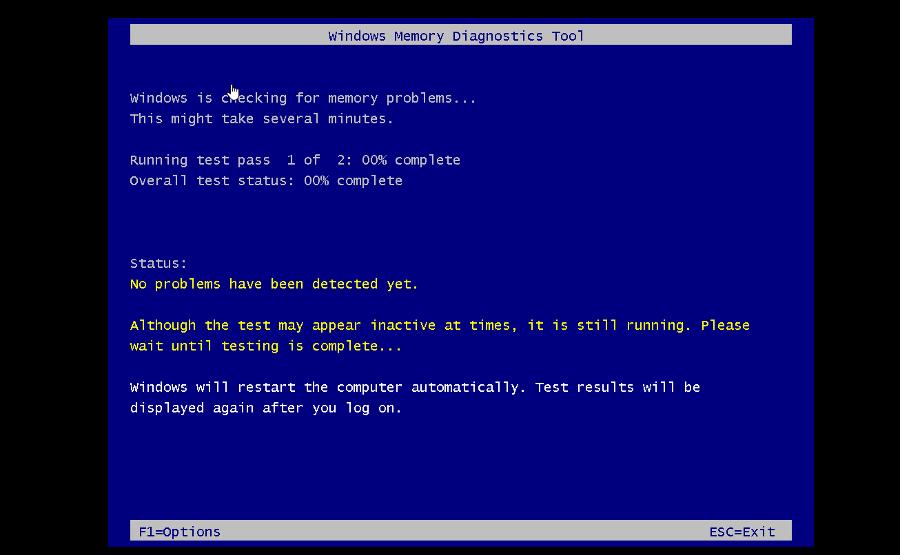
- Once it’s done checking, your computer will reboot as normal.
Some third-party websites online may recommend downloading a fresh copy of rt640x64.sys. Don’t do this, as it may be malware. And be sure to check out our library of other BSoD solutions.
There are also some quick steps you may try:
- Restart your computer.
- Contact your computer’s manufacturer.
- Make sure Windows Defender is active.
It may interest you to know what to do if you get Error 777 caused by malfunctioning registry files. You can fix this by running the CHKDSK command and then Windows Memory Diagnostic.
We also have a guide that focuses on solving L1c63x64.sys BSoD with effective methods, so don’t miss it.
If you have any suggestions or guides you’d like to see, comment below.
Read our disclosure page to find out how can you help Windows Report sustain the editorial team. Read more


Improve this guide


User forum
0 messages