Fix: Scanning And Repairing Drive C Stuck at 100
Run an SFC scan to repair corrupted system files
![]() 5 min. read
5 min. read
![]() Updated on
Updated on
Share this article
Improve this guide
Read our disclosure page to find out how can you help Windows Report sustain the editorial team. Read more
Key notes
- The scanning and repairing drive C stuck at 100 error could occur due to system files error, bad sectors on the disk, or software conflicts.
- To fix it, you can enter a safe mode & run a disk check, repair system files, or perform a Startup Repair.
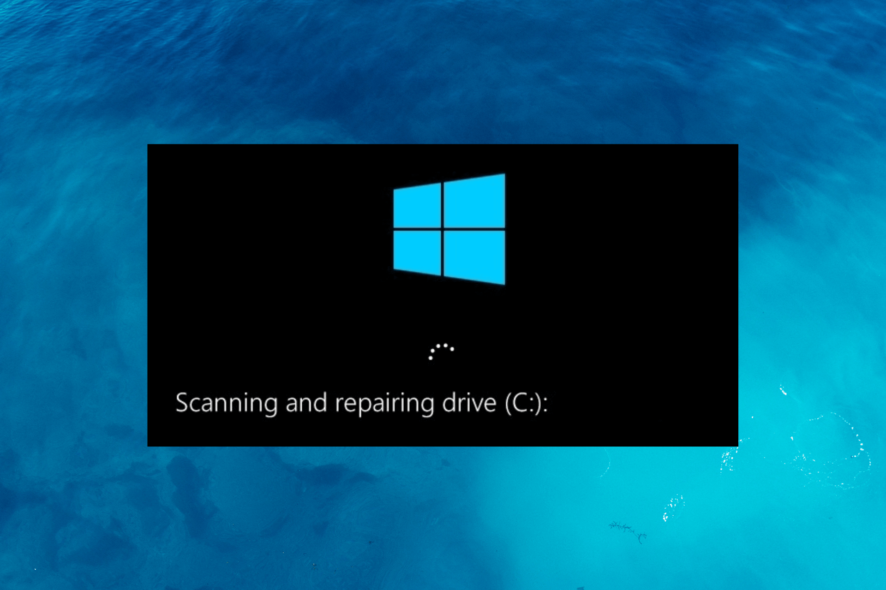
Encountering the issue of Scanning and Repairing Drive C: Stuck at 100% can be a frustrating experience for Windows users.
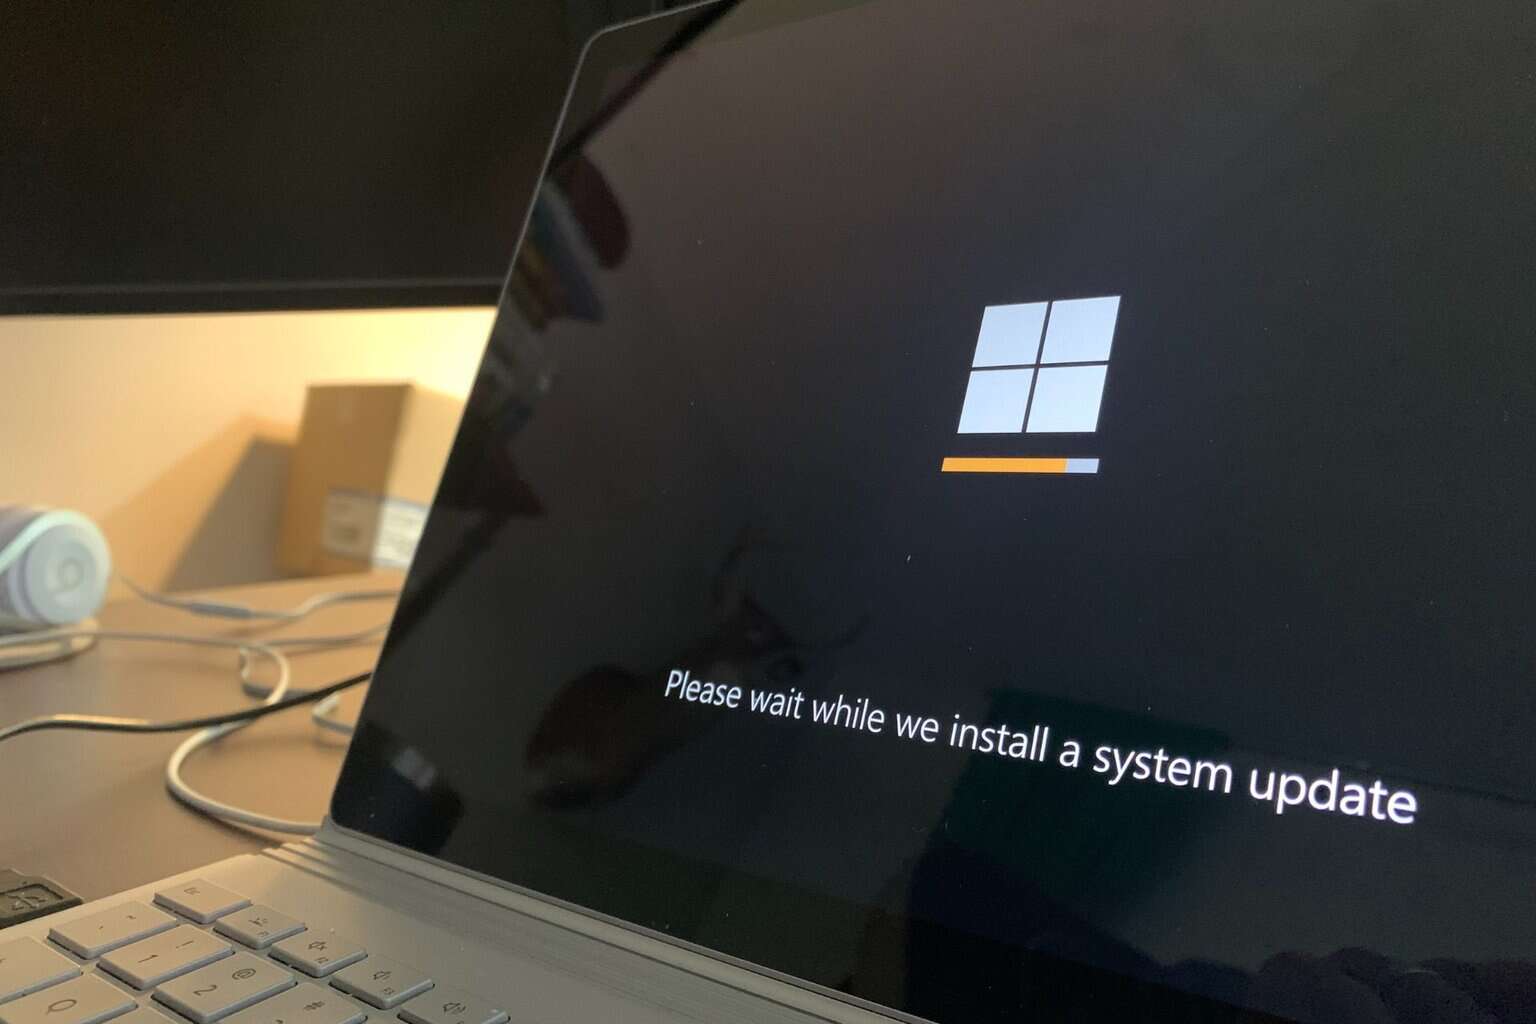
This problem typically occurs during the boot process when Windows attempts to check and repair any potential errors on the system drive.
In this guide, we will explore various troubleshooting steps to help you overcome this issue and regain control of your Windows computer.
Why does my PC keeps Scanning and repairing the C drive?
The Scanning and Repairing Drive C: Stuck at 100% can occur due to various reasons; some of the common ones are:
- System files issues – When Windows detects file system errors on Drive C, it initiates this process; however, if there are a lot of errors, the process might get stuck.
- Bad sectors on disk – Physical issues with the hard disk, such as disk errors or bad sectors, can trigger the issue. Try running the disk check scan to find out more.
- Faulty hardware – In some cases, incompatible hardware, including USB drives, & external hard drives, connected to your computer can cause this problem.
- Insufficient system resources – If your computer lacks sufficient system resources, such as available RAM or processing power, it may struggle to complete the scan.
- Driver issues – Conflicts between software applications or outdated/incorrect drivers can also lead to this issue. Ensure your drivers are up to date.
Now that we understand the potential causes let’s proceed with the troubleshooting steps.
How do I stop Scanning and repairing drive C 100% complete?
Before engaging in advanced troubleshooting steps, you should consider performing the following checks:
- Wait for the scan to finish.
- Check the cable and port to ensure the disks are properly seated.
- Press & hold the Power button to turn off your computer.
If these didn’t help, let us proceed with the detailed methods to fix the problem.
1. Disable automatic repair
1.1 Enter Windows Recovery Environment
- Press & hold the Power button to turn off your PC.
- Now press the Power button to restart it. When you see Windows is starting up, press & hold the Power button again to turn it off.

- Restart your PC by following Step 2 once more.
- Once done, press the Power button again, and this time, let it start. You will be in Windows Recovery Environment.
1.2 Disable Automatic Repair
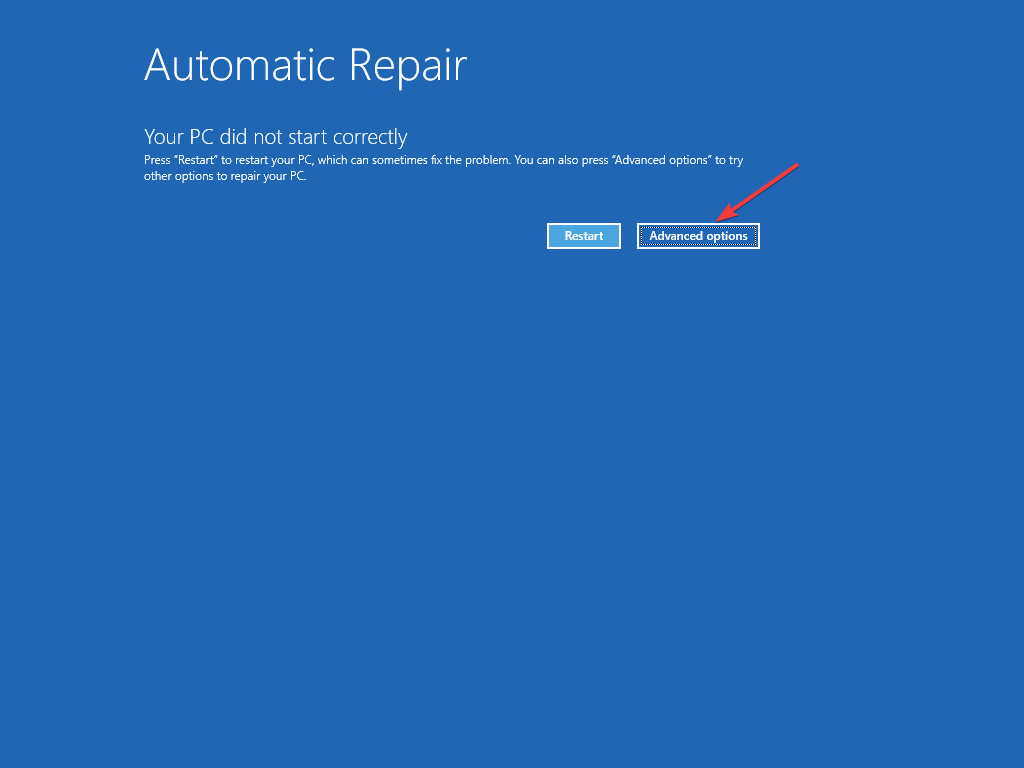
- On the Automatic Repair screen, click Advanced options.

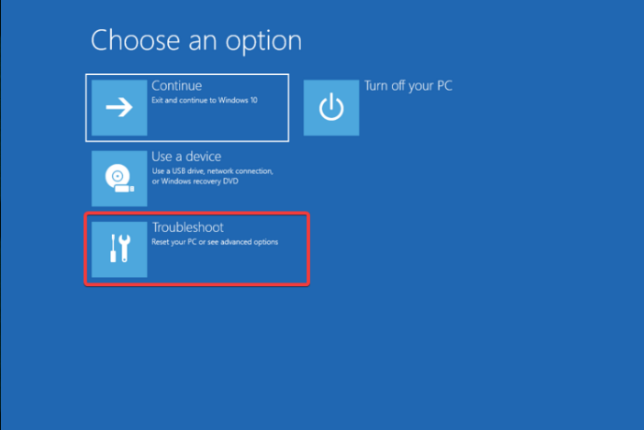
- On the Choose an option screen, choose Troubleshoot.

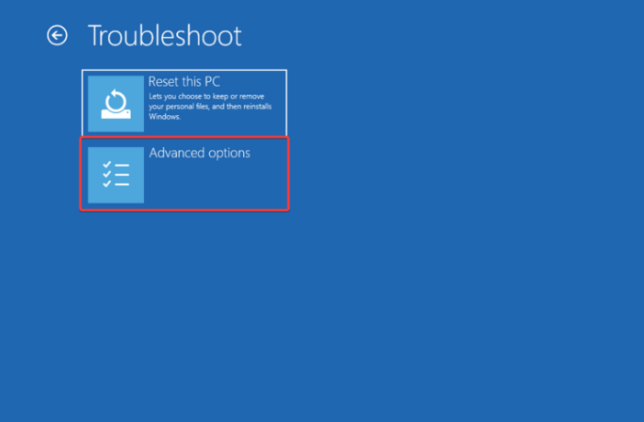
- Select Advanced options.

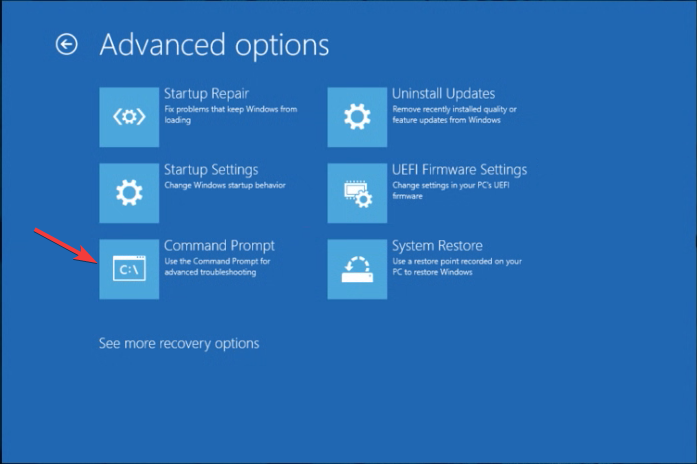
- From the Advanced options, select Command Prompt.

- On the Command Prompt screen, type the following command and hit Enter:
bcdedit - Copy & paste the following command to disable automatic repair and press Enter:
bcdedit /set {current} recoveryenabled no - Restart your PC to save the changes.
2. Run the PC in Safe mode and perform a disk check
2.1 Enter Safe mode
- Follow the methods in Solution 1.1 to enter Windows Recovery Environment.
- On the Automatic Repair screen, select Advanced options.

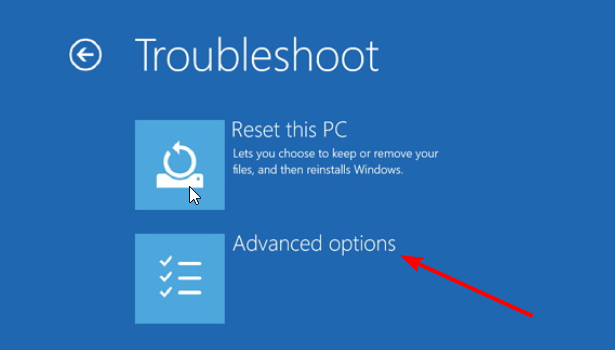
- On the Choose an option page, click Troubleshoot.
- From the Troubleshoot window, select Advanced options.
- On the Advanced options screen, click Startup Settings.

- Click Restart.
- On the Startup Settings screen, choose F4 or F5 to enter Safe Mode or Safe Mode with Networking.
- The computer will restart in safe mode.

2.2 Scan your drive
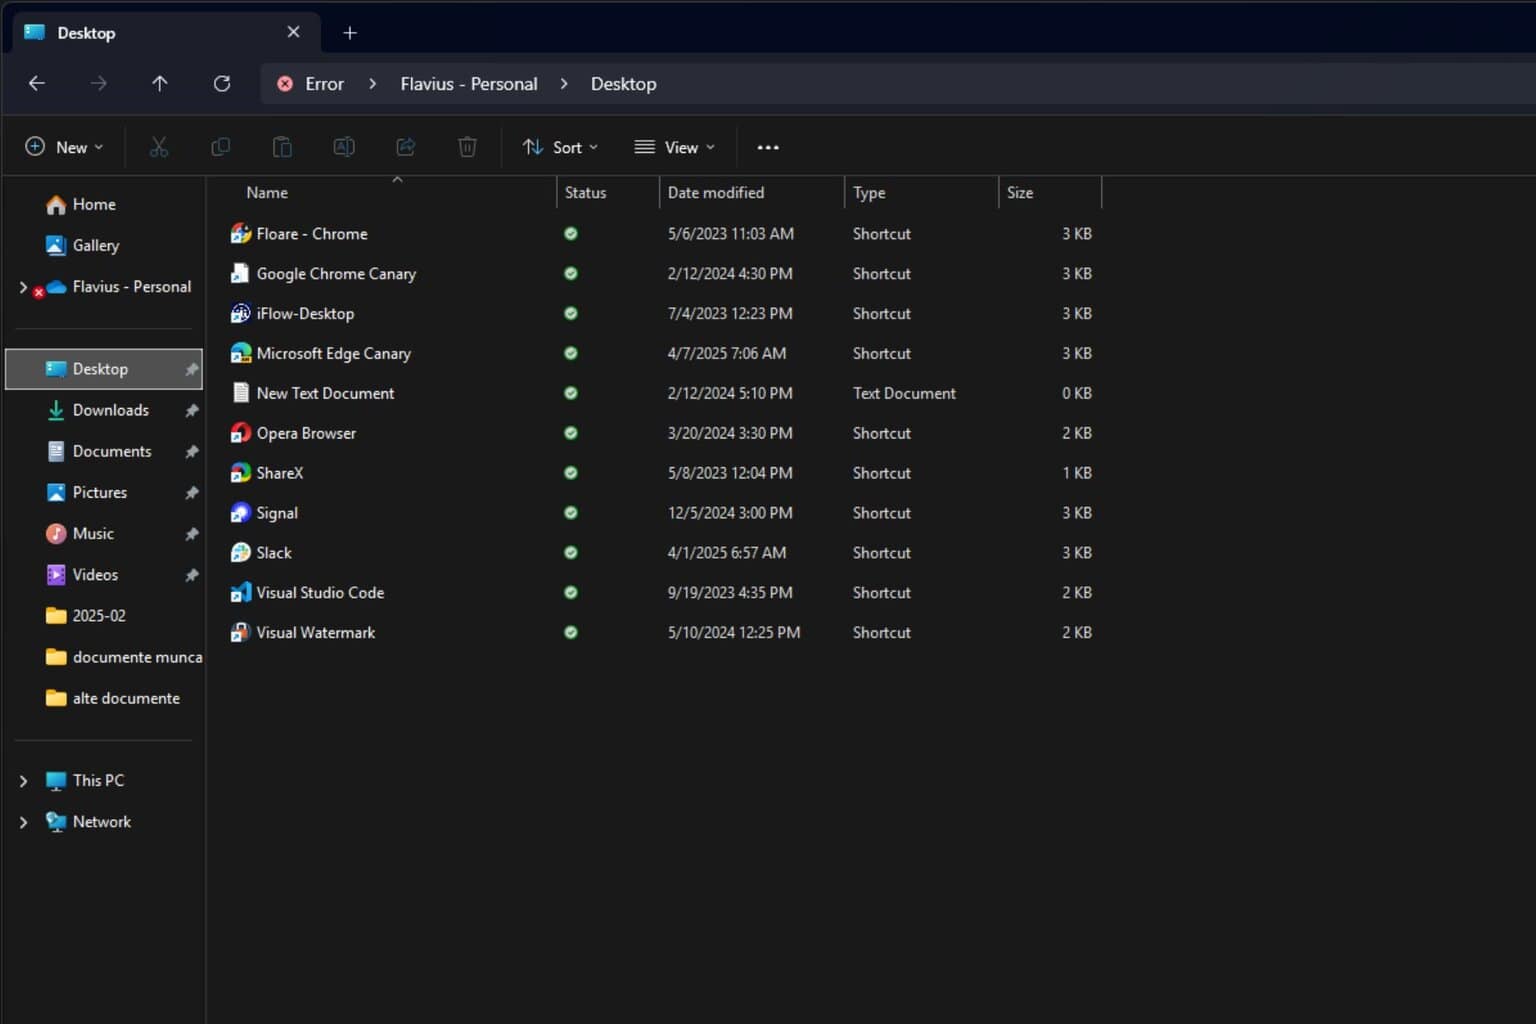
- Press Windows + I to open the File Explorer window.
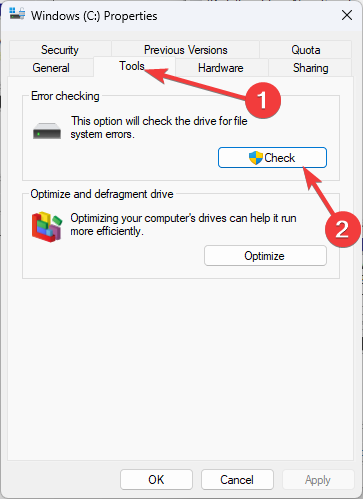
- Go to This PC, then right-click system drive and select Properties.

- Switch to the Tools tab, under Error checking, select Check.

- Click Scan drive.

- Follow the onscreen instruction to complete the process.


The scan will scour for bad sectors and other issues on your disk and notify you if found so that you can make an informed decision.
3. Run Startup Repair
- Launch Windows Recovery Environment by following the steps in Solution 1.1.
- On the Automatic Repair screen, click Advanced options.

- On the Choose an option window, choose Troubleshoot.
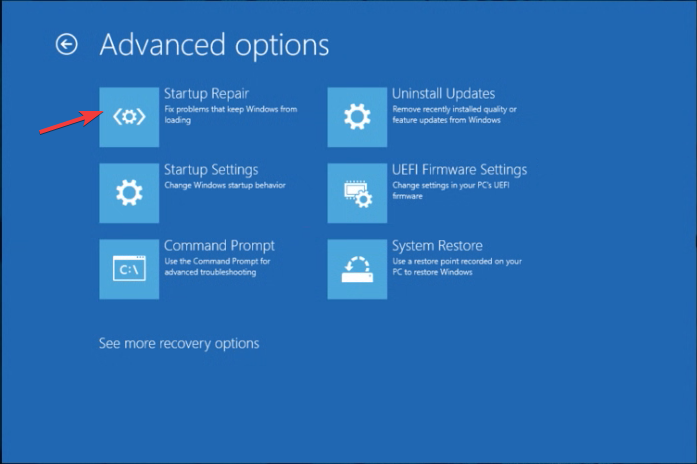
- From the Troubleshoot page, select Advanced options.
- On the Advanced options screen, click Startup Repair.
- Click Restart.
Startup Repair can detect and fix problems such as corrupt system files, driver issues, and incorrect system configuration that stops your OS from booting.
Once the process is complete, the issues related to Scanning and Repairing disk C should be removed
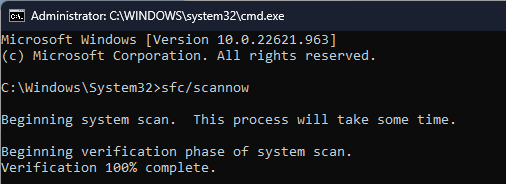
4. Run an SFC scan
- Launch Windows Recovery Environment by following the steps in Solution 1.1.
- On the Automatic Repair screen, click Advanced options.
- Click Troubleshoot.
- Select Advanced options.

- On the Advanced options page, click Command Prompt.
- Type the following command to restore or repair the system files and hit Enter:
sfc/scannow
- Wait for the process to complete, then reboot your PC.
So, these are methods you can follow to fix the Scanning and Repairing Drive C: Stuck at 100% issue and let your Windows boot normally.
If you are facing similar issues, like Windows getting stuck during a hard drive scan, we advise you to check out this guide to get the solutions.
Please feel free to give us any information, tips, and your experience with the subject in the comments section below.


User forum
0 messages