How to Fix PC Won’t Boot When Hard Drive Is Plugged In (Second Drive Boot Issue)
If the PC won't boot from a new hard drive, check our solutions
Windows won’t boot on second hard drive? We’ll show you how to fix it. This might happen due to incorrect BIOS settings, a faulty SATA connection, or a corrupted boot sector on the second drive.
With tricks such as adjusting boot priority in BIOS, checking cable connections, or repairing the bootloader using Command Prompt, you can get your PC to recognize and boot properly from the second hard drive.
Here’s what you should do:
What can I do if a new hard drive won’t boot on Windows 10/11?
1. Set the boot disk at the top of the computer’s boot order in BIOS
- Power up your computer.
- Press the F1 key or any specified key to enter the BIOS (other keys such as F1, F12, or Delete may be used depending on your HP system).
- Locate your computer’s boot order under BIOS Boot.
- Select the HDD/SSD i.e. the boot disk and move it upward using the arrow key.

- Save the changes by following the screen prompts and exit the BIOS.
One of the reasons for this problem is that the HDD/ boot disk is not at the top of the boot order. The system retrieves boot information and OS details by following a boot order.
The boot order consists of the sequence of sources that the computer searches in order to retrieve valid information.
Meanwhile, BIOS enables you to specify a drive by its position in the hard-drive list as below (eg HDD-1, HDD-2, etc.) make sure that your original drive is on the SATA0 data cable, and the new one is on the SATA1. Hence, the system will try to read off the SATA0 drive first.
However, if the HDD/boot disk is not at the top of the boot order, the computer tries to boot from another source which results in the error message.
If you intend to set the boot disk i.e. HDD at the top of the boot order in BIOS (Basic Input/Output System), follow the above steps.
If you want to keep your system running smoothly, you can get a dedicated Windows optimizer software. They typically include cleaner utilities, as well as disk management tools that are more user-friendly than the BIOS.
If you’re facing issues with a second hard drive not being detected, this step is crucial.
2. Check the PC-to-HDD’s connections
- Power off your computer and remove the battery. Open up your computer’s casing afterward.
- Detach the HDD from your computer.
- Clean all the ports and wirings linking the HDD to the computer and also check the SATA and power cables.
- Replace the faulty cables you detect and fix loose connections.
- Now, reconnect the HDD to the computer. (Ensure that all the connections are fastened tightly.
- Hence, attach the battery and power up your computer.
Power down your PC and inspect the SATA and power cables. Re-seat them or replace faulty ones. A loose or damaged connection could prevent the system from recognizing the drive, especially after a Windows 11 update that caused a missing hard drive.
In order to check the PC/HDD wire connections, you need to use a screwdriver. Follow the above steps to check the connections and fix the problem.
However, if you do not have the tools and required practical knowledge involved in using this method; it is advisable that you consult a computer technician or computer engineer to help you out.
3. Update the IDE drivers
- Press Windows key + X and select Device Manager from the list.
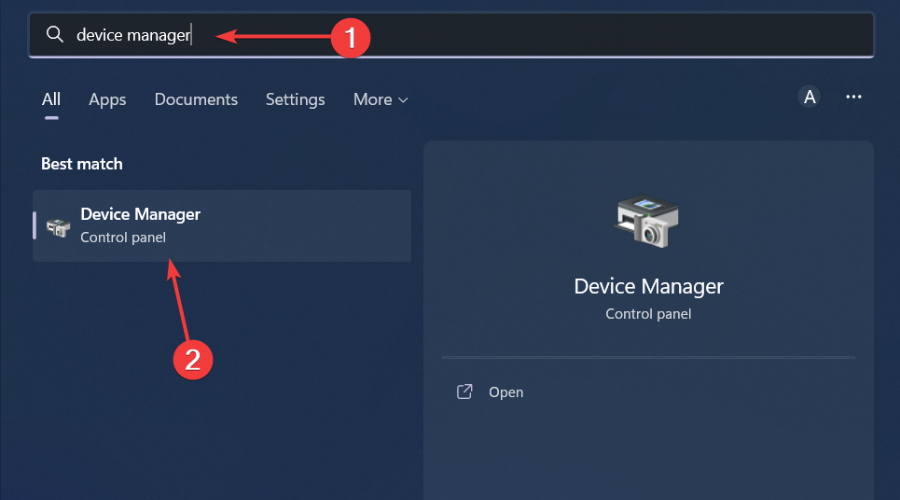
- When Device Manager opens, locate the IDE controllers section, right-click on the drivers, and choose Update driver.

- Click on Search automatically for drivers.
- If a newer driver will be found, it will be installed. Repeat the process if you have more devices or drivers.
- Restart your PC and check if the machine is booting from the second drive.
Driver conflicts often lead to detection failures, like when Windows 10 doesn’t recognize a portable hard drive.
Sometimes the only way to fix this problem is simply to visit your laptop manufacturer’s website and download the latest drivers’ drivers for your laptop. After downloading the latest drivers, uninstall your current one by following these steps:
However, updating drivers manually could be very stressful and time-consuming. You can always opt to execute all processes through third-party software like PC Helpsoft Driver Updater.
This program not only will show you the right driver version for your device but will also prevent PC damage.
⇒ Get PC Helpsoft Driver Updater
4. Run Automatic Repair/Start Repair
- Insert Windows bootable installation DVD and restart your PC.
- Press any key to boot from CD or DVD when prompted to continue.
- Select your language preferences, and click Next.
- Click Repair your computer in the bottom-left.
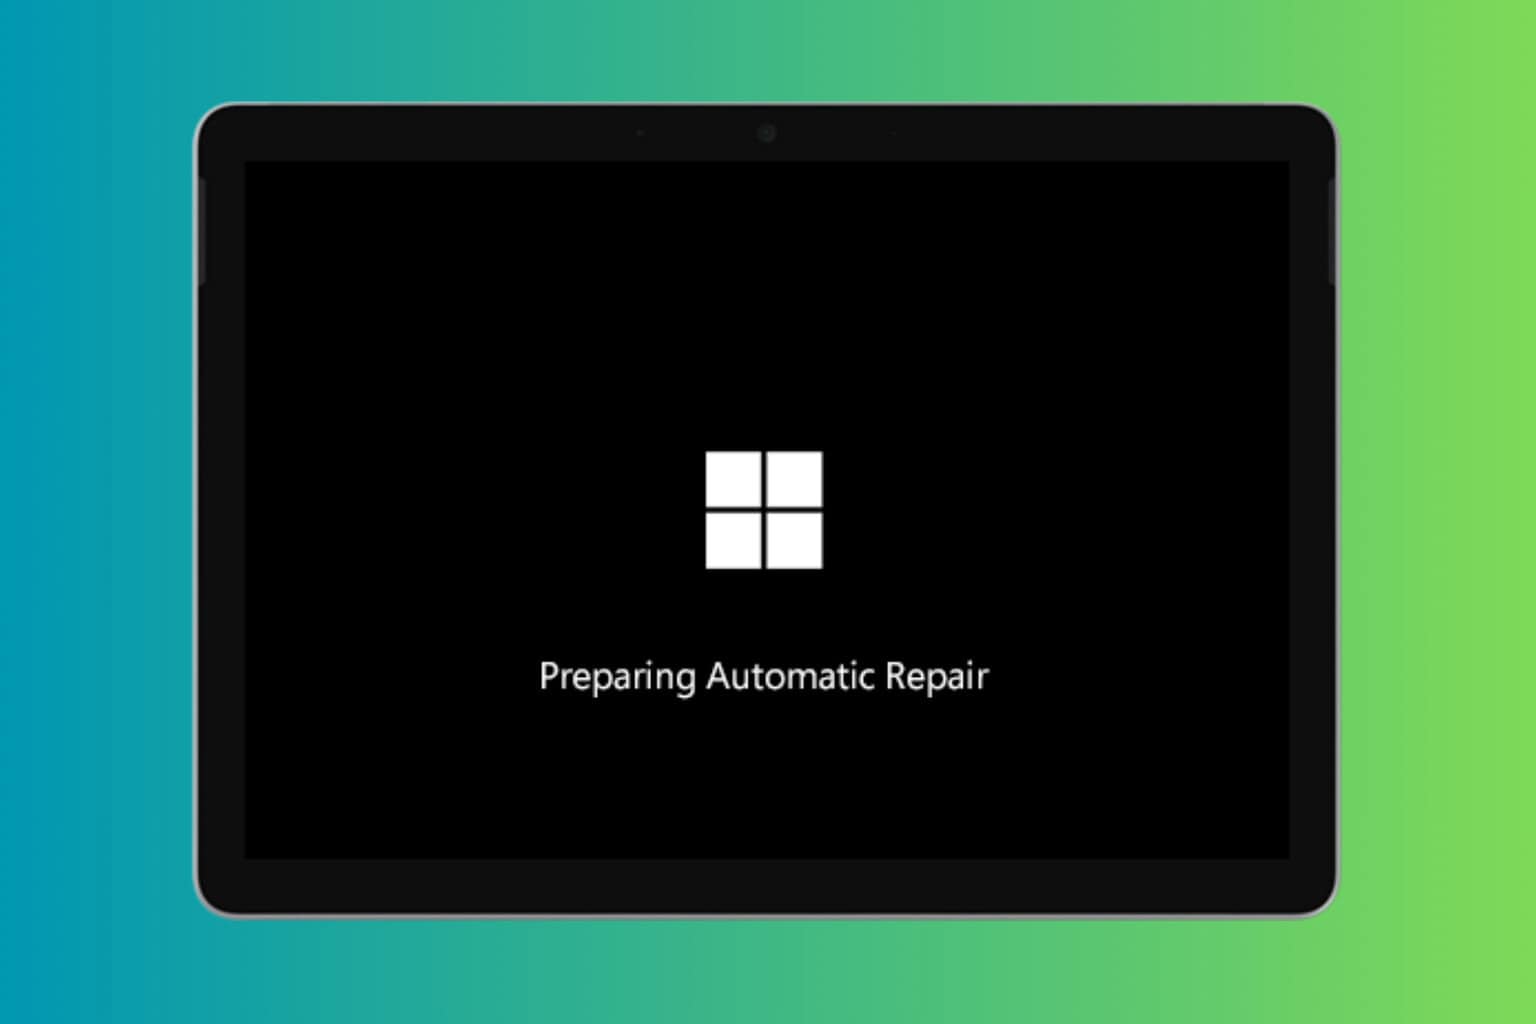
- In the Choose an option screen, Click Troubleshoot > Click Advanced option > Automatic Repair or Startup Repair. Then, wait for the Windows Automatic/Startup Repairs to be complete.
- Restart your PC and boot to Windows. Attach the second hard drive afterward.
You can also fix the boot error problem by performing automatic repair/start repair on your system by using the Windows bootable installation DVD. This fixes boot-related issues such as corrupted boot sectors, especially when Windows 11 won’t recognize your external hard drive.
5. Replace your Hard Disk Drive (HDD)
Finally, you need to consider replacing your PC’s HDD because it may be faulty. You can remove your HDD, connect it to another PC to access the files and folders on the PC, and also confirm if it boots up from the HDD.
Meanwhile, if the new PC is unable to identify and access the HDD, then you definitely need to replace it with a new one.
However, if the PC can detect and access the HDD, then the probable cause for the error problem is the faulty SATA cable.
The SATA cable connects the HDD to its motherboard; we highly recommended that you replace it with a new one. You can carry out the replacement with a professional computer engineer.
We’ve also seen cases where faulty permissions or corrupted partitions were the root cause—check out this guide on external hard drive permissions in Windows for help.
No less important, keep in mind that the above solutions are recommended whenever experiencing these issues as well:
- External hard drive prevents booting – Booting issues, while an external hard drive is present, are nothing out of the ordinary. You may reset your UEFI setting back to default or apply the above tips.
- Computer won’t boot with the external hard drive plugged in – If that’s a problem you can’t get rid of, running Automatic Repair/Start Repair or reformatting the external drive may help.
Feel free to comment below if you have any questions concerning the solutions we mentioned above.
Read our disclosure page to find out how can you help Windows Report sustain the editorial team. Read more


Improve this guide


User forum
0 messages