How to Set NTFS Permissions: 3 Easy Methods You Can Use
Manage NTFS permissions PowerShell or specialized software
Key notes
- If you want to set NTFS permissions, you can use File Explorer or PowerShell.
- To make this process faster, many users are relying on third-party solutions.

Setting up permissions on your PC is important, especially if you want to restrict unwanted access, and in today’s guide, we’re going to show you how to set NTFS permissions.
Not having proper permissions can lead to You don’t have permission to open this file and other similar issues, so it’s important to configure them properly.
This is somewhat simple to do, and you can do it on any PC in a matter of minutes. So, keep on reading to learn more about it.
How can I set NTFS permissions?
1. Use File Explorer
- Locate the directory whose permissions you want to set. Right-click it and choose Properties.

- Navigate to the Security tab. From there you can see the list of users and their permissions.

- To change the permissions, click the Edit button.

- Click on Add to add a new user or group.

- Enter the desired name and click on OK.

- Now select the desired user or a group and adjust the permissions by checking them.

- To view advanced options, click on Advanced.

- From there, you can set inheritance, permissions and choose to which folders your permissions apply.

- You can double-click the available users or groups to adjust their settings as you wish.

2. Use PowerShell
Viewing permissions
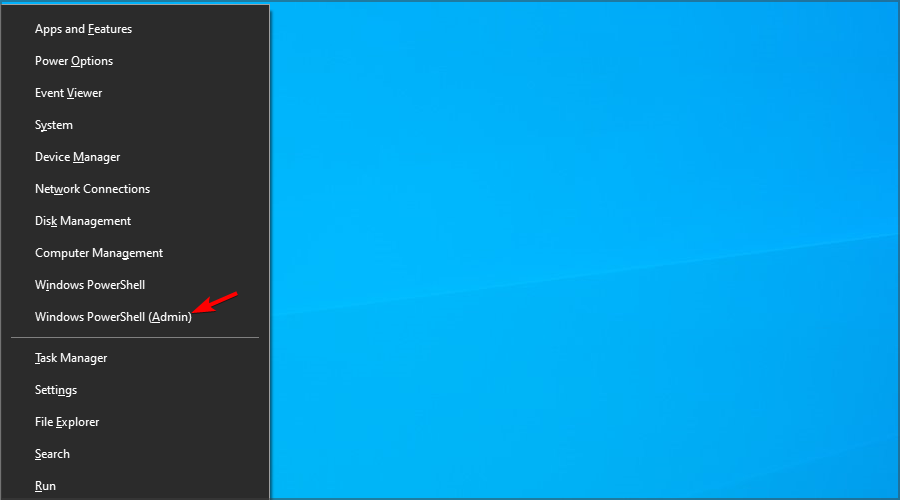
- Press Windows key + X and select Windows PowerShell (Admin).
- For the sake of convenience, we’re going to assign the path to the desired directory to a variable by using the following command:
$dir = 'C:\Path\to\directory'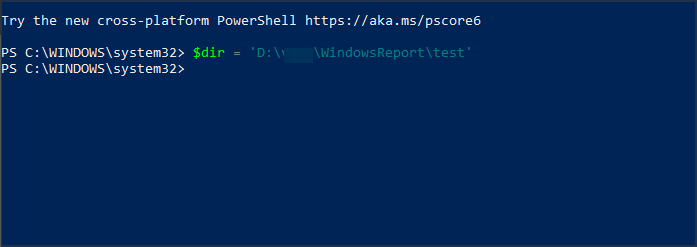
- To view the permissions, run the following command:
(Get-Acl -Path $dir).Access
- Alternatively, you can use the following command to view permissions in a more readable format:
(Get-Acl -Path $dir).Access | Format-Table -AutoSize
Setting permissions
- Run the following commands to create variables for permissions:
$identity = 'domain\user'
$rights = 'FullControl'
$inheritance = 'ContainerInherit, ObjectInherit'
$propagation = 'None'
$type = 'Allow' - Now combine all the variables into a single object with this command:
$ACE = New-Object System.Security.AccessControl.FileSystemAccessRule($identity,$rights,$inheritance,$propagation, $type)

- Now we need to get access rights from the desired directory and store them in a variable:
$Acl = Get-Acl -Path $dir
- Next, we add the access rule:
$Acl.AddAccessRule($ACE)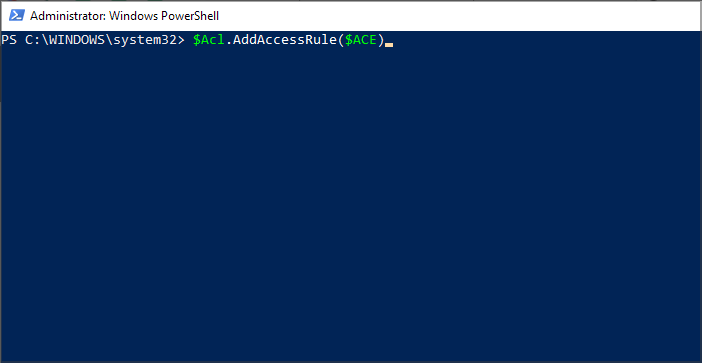
- Lastly, set the rule with the following command:
Set-Acl -Path $dir -AclObject $Acl
Removing permissions
- Firstly get the permissions of the desired object and store them in the variable with this command:
$Acl = Get-Acl -Path $dir

- Filter the permissions that you want to remove and store them in a variable:
$Ace = $Acl.Access | Where-Object {($_.IdentityReference -eq 'domain\user') -and -not ($_.IsInherited)}
- Now remove the access rule:
$Acl.RemoveAccessRule($Ace)
- Lastly, make the changes:
Set-Acl -Path $dir -AclObject $Acl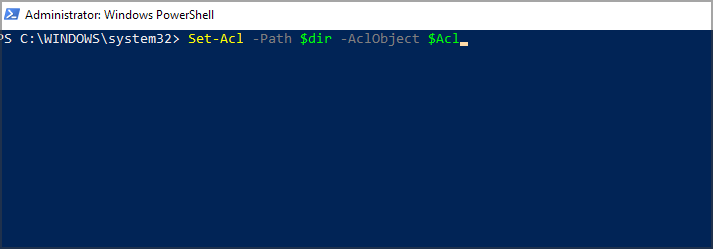
This is an advanced method, and we barely got into the basics. If you want to use this method, be sure to inform yourself regarding permission and read the documentation thoroughly.
3. Use a dedicated tool
- Open AdManager Plus and select the directory whose permissions you want to modify. Next, choose Permission.
- In the Select Permission section adjust your permissions accordingly.

- To view permissions, click on Preview.
- Lastly, click on Modify to save changes.

ManageEngine AdManager Plus
Managing all permissions in your network doesn’t have to be complicated, as long as you use AdManager Plus software.Now you know how to set NTFS permissions on your PC. The manual method is the simplest one, but it might not be the most effective.
For more advanced users, there’s always PowerShell or other software that can help you set the permissions accordingly. Also, be sure to check our guide on best practices for NTFS permissions to keep your data secure.
What method do you use to set permissions on your network or PC? Let us know in the comments below.
Read our disclosure page to find out how can you help Windows Report sustain the editorial team. Read more


Improve this guide


User forum
0 messages