Windows 10 Icon Spacing: How to Change It on Your Desktop
You can change this setting without any third-party tools
2 min. read
Updated on
Read our disclosure page to find out how can you help Windows Report sustain the editorial team. Read more

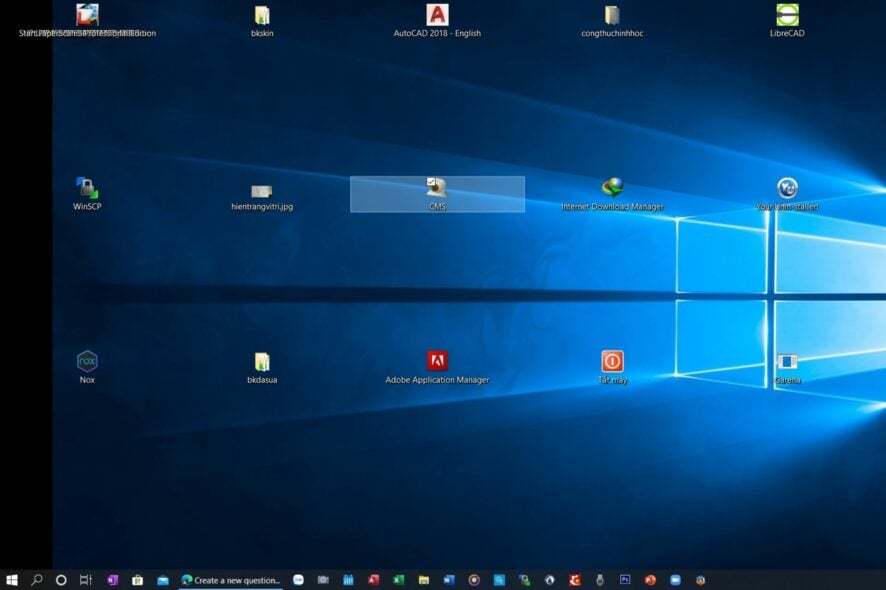
Many users reported a usual desktop icon spacing on their PC. This isn’t a major issue, but it can cause inconvenience. Luckily, there are ways to fix it.
Why are my icons spread out on my Desktop?
Multiple monitor setups are usually responsible for this issue because certain apps don’t handle them well. In some instances, new applications can be positioned randomly on your screen.
How do I change the spacing between icons on my desktop?
1. Manually resize the icons
- Hold the Ctrl key then press + or - keys to adjust the size and spacing of the Desktop icons.
- As you increase the size, the spacing increases, and vice versa.
We also have a full guide on how to change icon size in Windows 10 that will help you with that.
2. Edit the Registry
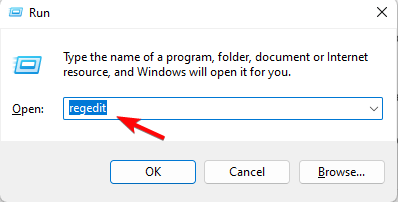
- Hit the Windows + R to open the Run command.
- Type regedit and hit Enter.
- Navigate to the following location:
HKEY_CURRENT_USER\Control Panel\Desktop\WindowMetrics - Click on WindowMetrics on the left pane then double-click on IconSpacing on the right pane to modify the value.
- Choose any value between -480 to -2730 (-480 is the minimum spacing, -1128 is the default and -2780 is the maximum spacing).
- Tap OK to save changes.
These steps are for horizontal spacing. For the vertical spacing:
- Click on WindowMetrics on the left pane then double-click on IconVerticalSpacing on the right pane to modify the value.
- Choose any value between -480 to -2730 (-480 is the minimum spacing, -1128 is the default icon spacing and -2780 is the maximum spacing in Windows 10).
- Tap OK to save changes.
- Restart your computer to save the changes.
If you are doing a free size and selecting random values, you may have to repeat these steps a few times until you get your desired spacing.
3. Use third-party tools
If you would like to do more with your Desktop, we have outlined some desktop customization software that will address a lot of your needs.
If you struggle with organization, you will be relieved to find out that there exist Desktop app launchers to free up some space and streamline your work.
Keep in mind that other issues can sometimes occur, and users reported that desktop icons keep moving, but we tackled that in a separate guide.
Do let us know if you have been successful in adjusting your Windows 10 icon spacing in the comment section below.


User forum
0 messages