How to Fix the Windows 11 Error Recovery Screen on Boot
Key notes
- The Windows 11 Error Recovery screen is encountered when you turn on the computer and prevents the OS from booting normally.
- To fix it, remove malfunctioning hardware, run Startup repair, rebuild the Boot Configuration Data, run SFC and DISM, amongst other methods listed here.
- Also, find out how to identify malfunctioning hardware in Windows 11.

The latest iteration, like its predecessors, is prone to errors. Most of these are easily fixable but some appear to be rather tricky. One such is when users encounter the Windows Error Recovery screen when turning on a Windows 11 PC.
The error could be encountered due to a bunch of reasons, and these could have to do both with the hardware and the software. This makes it all the more difficult to identify the underlying cause and eliminate the error.
Though there isn’t much you can do other than troubleshooting once the error is encountered, there are ways to prevent it from occurring in the first place.
You can use a dedicated repair tool that will scan and eliminate problems both with the hardware and software, thus preventing a plethora of errors, and saving you a lot of time otherwise spent troubleshooting.
Why am I seeing the Windows Error Recovery when turning on a Windows 11 PC?
The primary reason behind the error is when an incompatible or malfunctioning external device is connected to the system. If you have recently added a new piece of hardware or replaced one, it could just as well lead to the Windows Error Recovery screen in Windows 11.
Apart from that, damaged, missing, or misconfigured system files could also be the cause. Also, problems with the boot configuration or installing a third-party application may lead to error.
Be it any of these issues, the fixes listed below would eliminate the Windows Error Recovery screen in Windows 11, and get your PC up and running like before. Just, follow the methods in the listed sequence for quick and effective troubleshooting.
How do I fix the Windows 11 Error Recovery issue?
1. Remove malfunctioning hardware
As discussed earlier, the primary cause of the issue is malfunctioning hardware. To fix it, you will have to identify and remove that device.
Since you wouldn’t be able to right away identify one, the best approach here would be to disconnect all the peripherals, while just keeping the keyboard, mouse, and monitor attached to the CPU in case of a desktop. For a laptop, remove everything.
Now, start connecting each of these devices one at a time and then turn on the computer. If the system turns on without the Windows Error Recovery screen in Windows 11, shut it down and then connect the next peripheral.
Proceed similarly until you identify the malfunctioning hardware. Once you do, disconnect it and contact the manufacturer for a resolution. Until you are able to find one, do not connect that device.
If this doesn’t work and you keep encountering the error, head to the next method.
2. Run Startup Repair
Startup Repair is a built-in tool that eliminates issues, such as corrupt or missing critical system files, preventing the OS from booting effectively. Though the tool won’t look for viruses or fix problems with the hardware.
Here you don’t have to do much since the Startup Repair option is by default selected on the error screen, and it will automatically start if you don’t change the selection within a few seconds.
So wait for Startup Repair to run, and choose the appropriate response when prompted. After running the repair tool, check if you are able to load the OS without encountering the Windows 11 Error Recovery screen.
3. Rebuild Boot Configuration Data (BCD)
- With your system shut down, press the power button to turn it on, and as soon as the Windows logo appear, hold the power button to turn it off.
- Repeat this process thrice, and when you turn on the computer the fourth time, it will automatically launch the Startup Repair utility.
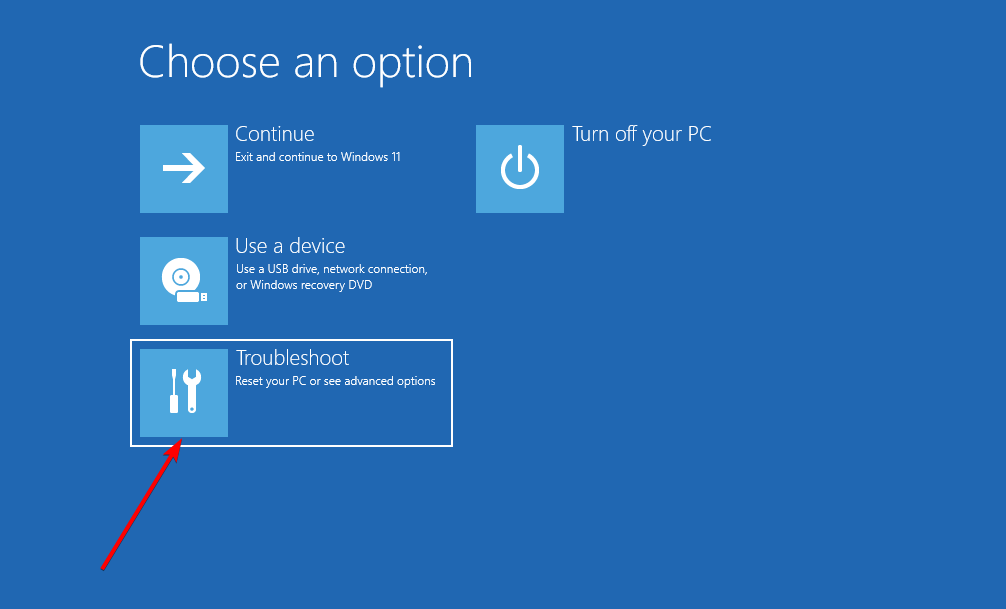
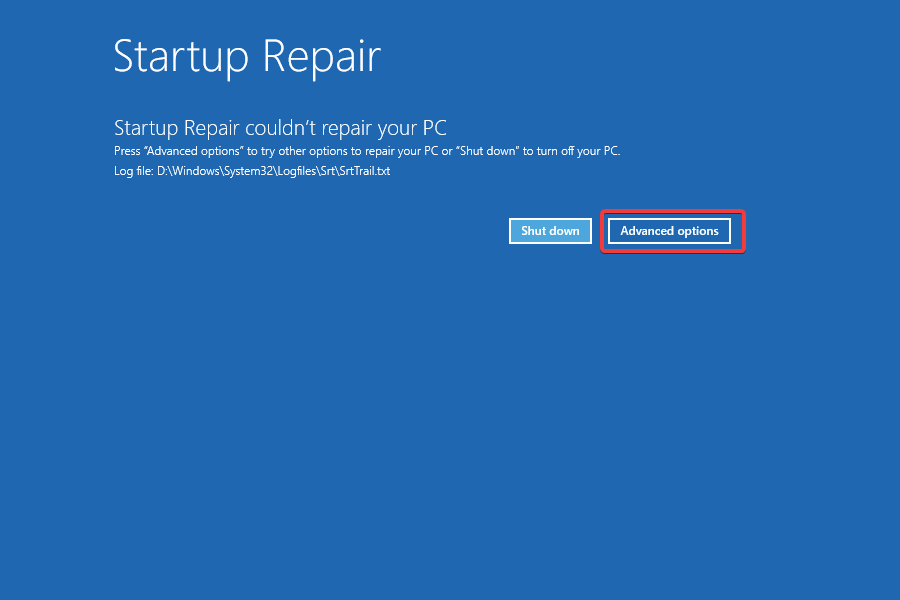
- Let it run, and it most likely wouldn’t be able to eliminate the error. Once it’s done running, click on Advanced options.

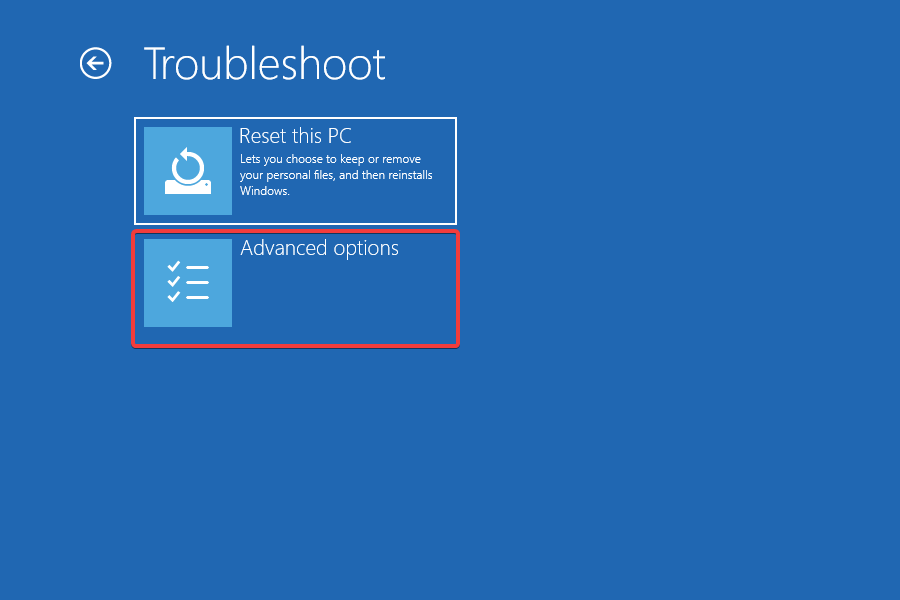
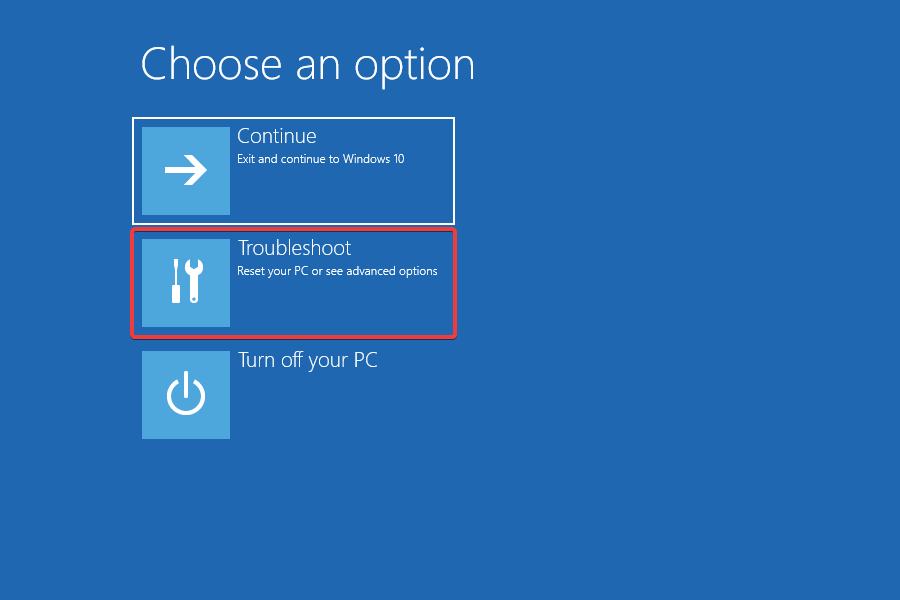
- Next, choose Troubleshoot from the options listed on the screen.

- Again, click on Advanced options.

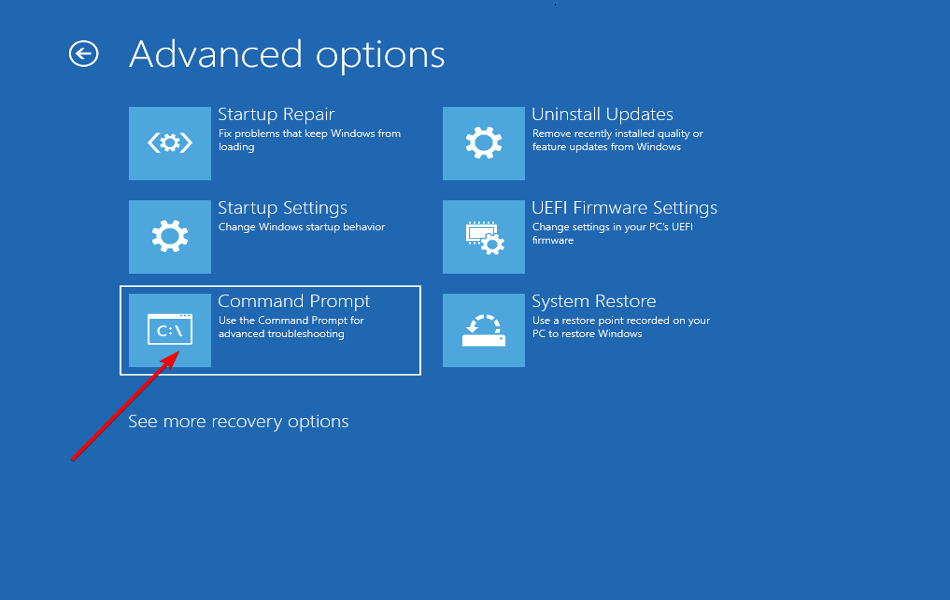
- Now, select Command Prompt from the six options here.

- Choose your account and enter the password for it on the subsequent screens to launch the Command Prompt.
- Now, type/paste the following commands one at a time and hit Enter after each to rebuild the BCD:
bootrec/ fixmbrbootrec/ fixbootbootrec/ scanosbootrec/ rebuildbcd - After executing these commands, close the Command Prompt and try to boot Windows.


BCD or Boot Configuration Data helps load the OS, and if it’s corrupt or certain critical files go missing, you are likely to encounter the Windows 11 Error Recovery. If that was the case, rebuilding the BCD should help fix the error.
4. Run the SFC scan and DISM tool
- Shut down the computer, and then press the power button to turn it on. Now, as soon as the Windows logo appears, hold the power button to turn in off. Repeat the same process two more times.
- On the fourth attempt, you will find the Startup Repair kick in. Let it check for problems, but it most likely wouldn’t be able to fix it. Once it’s done running, click on Advanced options.

- Next, select Troubleshoot.

- On the next window, click on Advanced options.

- Now, click on Command Prompt.

- Select your user account, and enter the password for it on the next screen.
- Next, type/paste the following commands one at a time, and hit Enter after each to run the DISM tool:
DISM.exe /online /cleanup-image /scanhealthDISM.exe /online /cleanup-image /restorehealth - Once the DISM tool is successfully run, execute the following command to run the SFC scan:
sfc /scannow

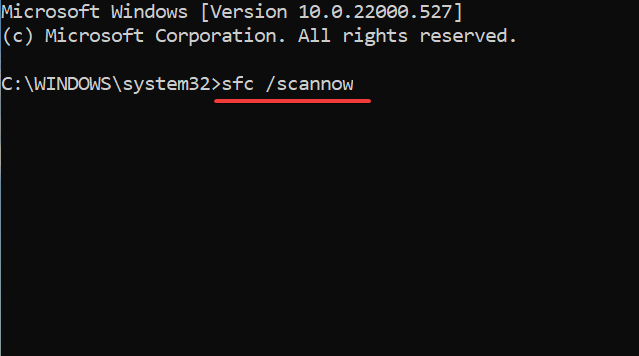
Running the DISM and SFC scan will fix corrupted system files, repair Windows Image, and modify the Windows installation files if required. So if it’s any of these causing the Windows 11 Error Recovery, your system should now be up and running.
5. Uninstall conflicting third-party apps
- As you did before, force shutdown the computer thrice to launch and the Startup Repair will launch on the fourth attempt.
- Once it’s done running, click on Advanced options.

- Select Troubleshoot from the options that appear.

- Now, select Advanced options.

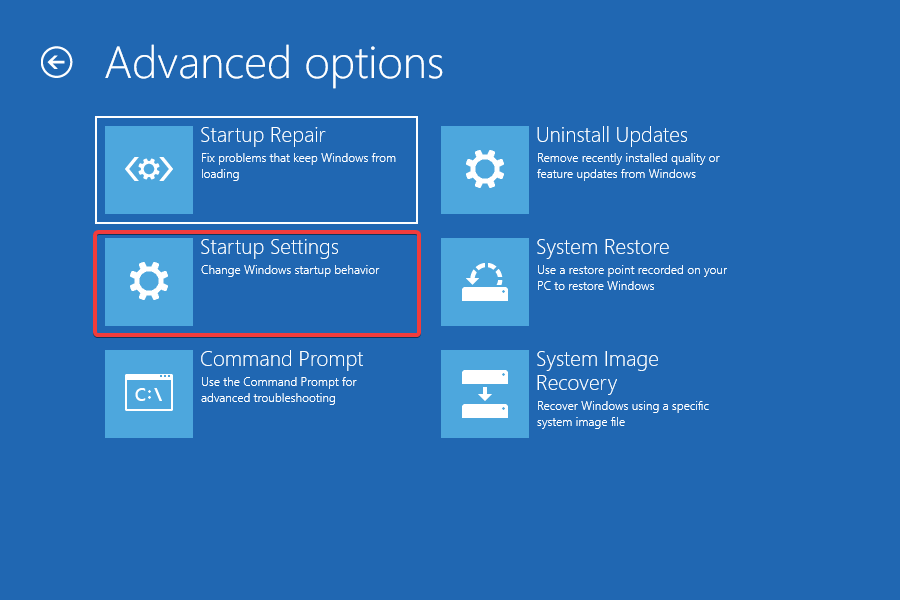
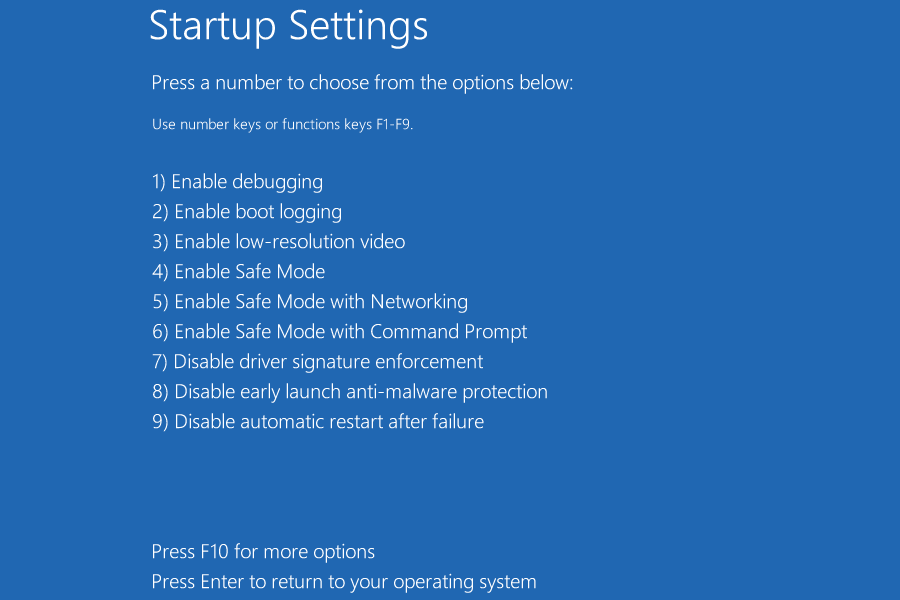
- Next, select Startup settings from the six options.

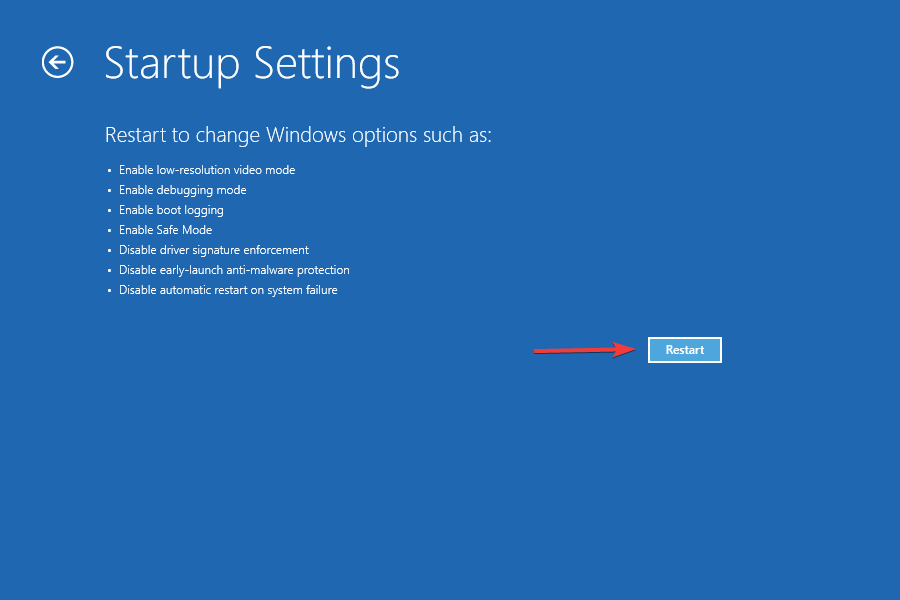
- Click on the Restart button.

- Now either hit 4 or F4 to boot Windows into Safe Mode.

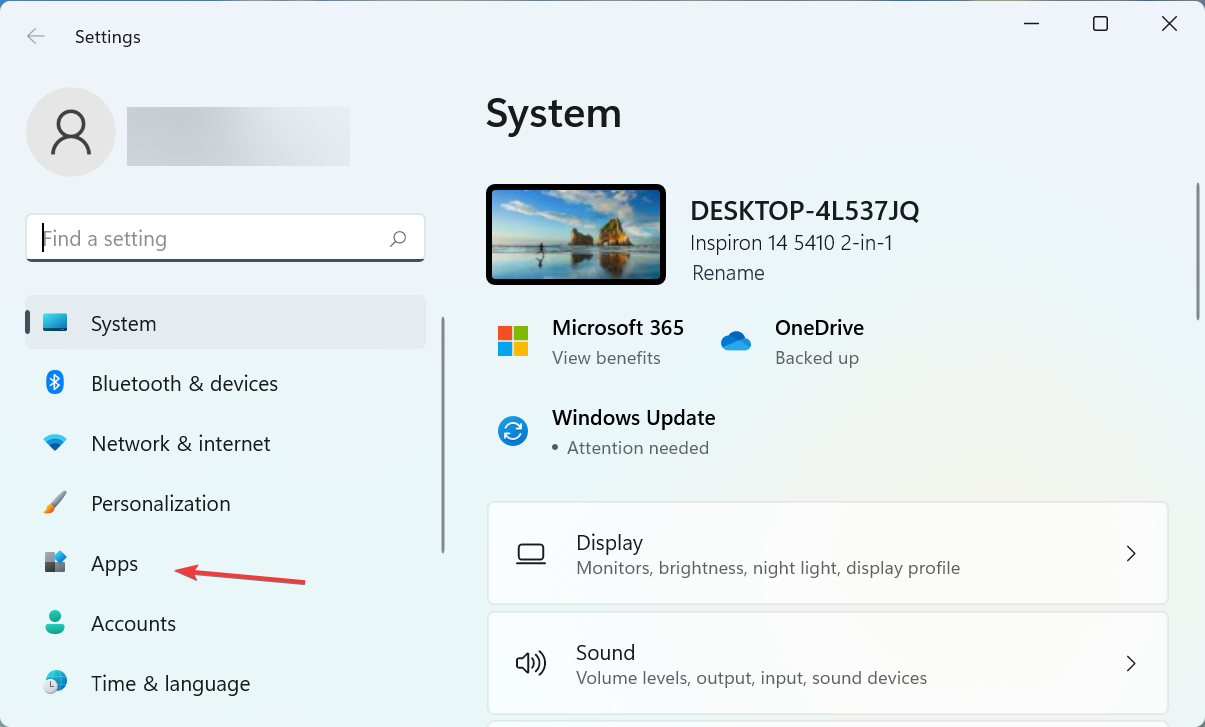
- Once the OS boots, press Windows + I to launch the Settings app, and select Apps from the list of tabs in the navigation pane on the left.

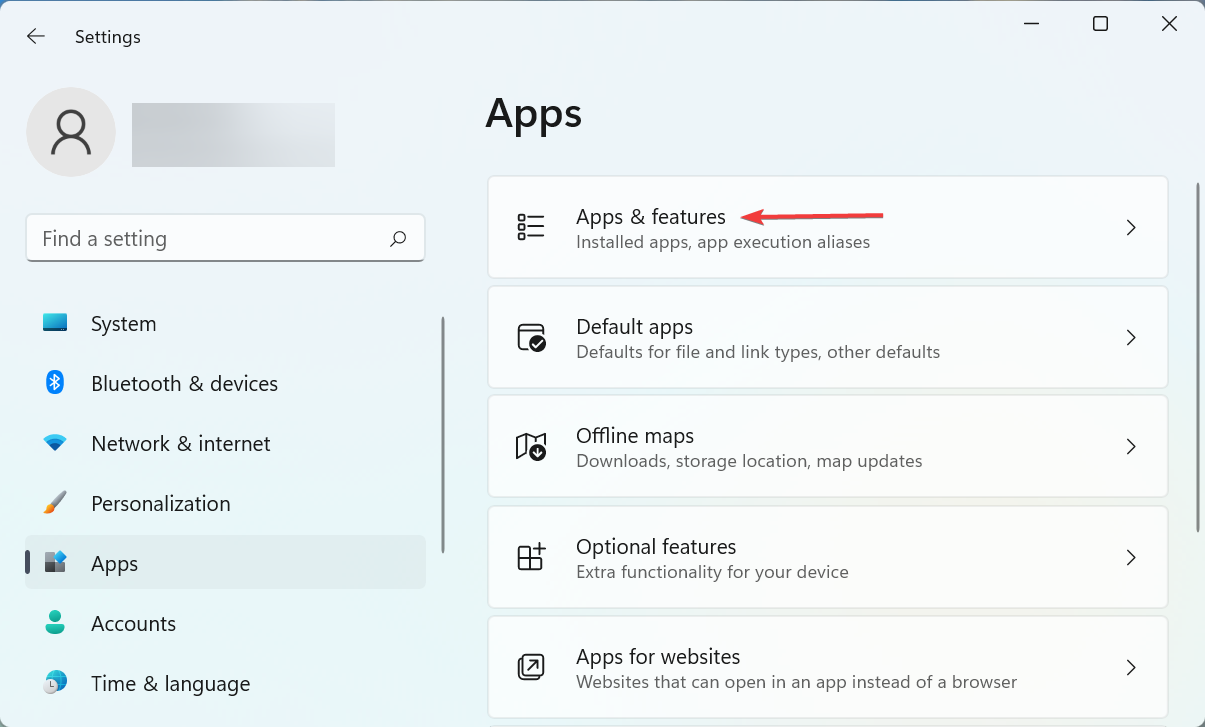
- Now, click on Apps & features on the right.

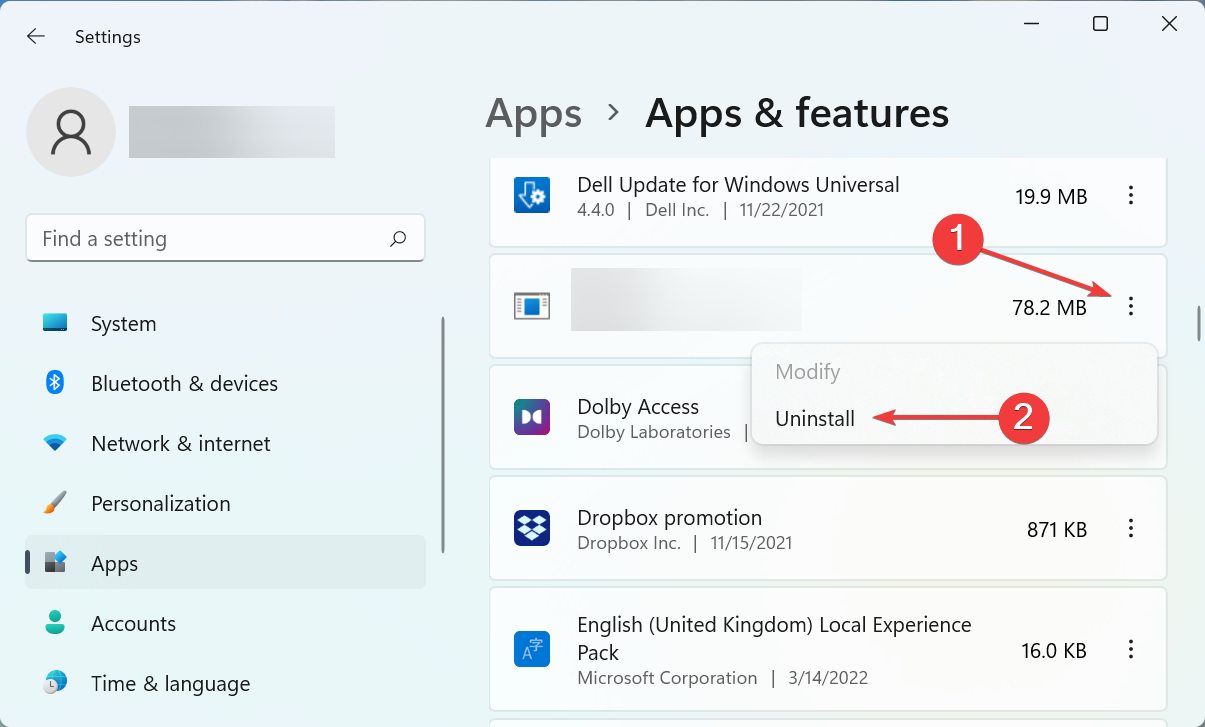
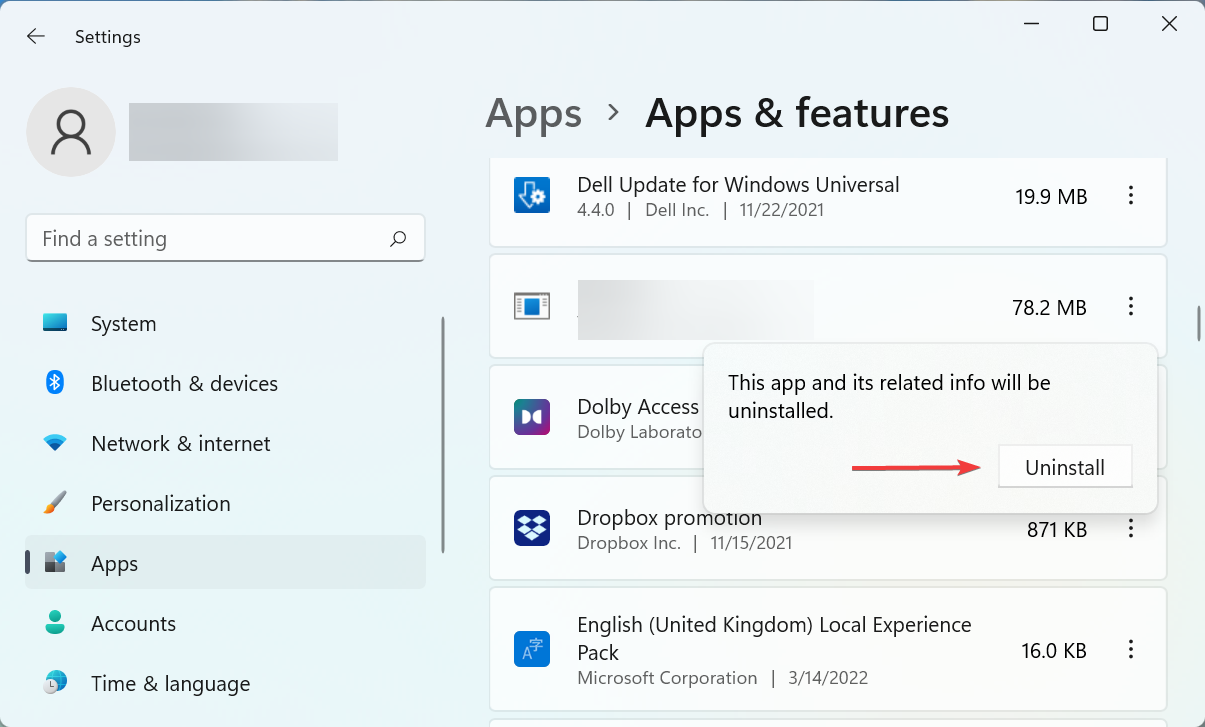
- Locate the problematic app, click on the ellipsis next to it, and select Uninstall from the flyout menu.

- Again, click Uninstall in the prompt that pops up.


The main challenge here would be to identify the malfunctioning app. Here, we would recommend removing the apps installed around the time the error was first encountered one at a time, until the one leading to Windows 11 Error Recovery screen is uninstalled.
6. Reinstall Windows 11
If none of the methods listed above have worked, you have no option but to reinstall Windows 11. Reinstalling the OS will fix almost every issue that is affecting its functioning and leading to Windows 11 Error Recovery.
We recommend going with it as the last resort since it will take some time, and you might end up losing the stored data. But it will for sure eliminate the error, and get your PC running like before.
How do I identify a faulty hardware in Windows 11?
In most cases, faulty hardware will lead to BSoD (Blue Screen of Death) errors, and the error message itself will tell you which hardware is malfunctioning. Also, you can check the error log in Event Viewer to find out all the details.
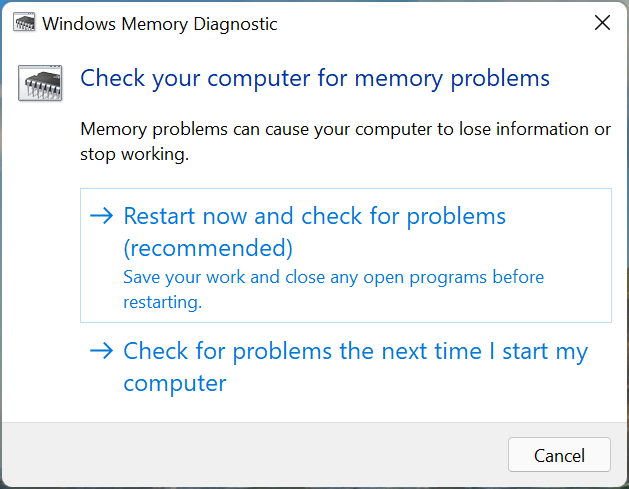
There are also a bunch of built-in tools and utilities that can help diagnose issues with the hardware. For instance, you have the Windows Memory Diagnostic tool to identify and eliminate problems with the RAM.
Besides, you can use a dedicated third-party hardware diagnostic tool, since these perform better compared to those that come preinstalled. Once you know which hardware is malfunctioning, you can have it repaired or replaced to get the best system performance.
So, now that you have the Windows 11 Error Recovery problem resolved, we recommend you take extra precautions to avoid such conflicts in the future.
Also, find out how to fix the 0xc00000e error code in Windows 11, since this too arises due to corrupted BCD or the absence of critical updates.
Tell us which fix worked for you in the comments section below.
Read our disclosure page to find out how can you help Windows Report sustain the editorial team. Read more


Improve this guide


User forum
0 messages