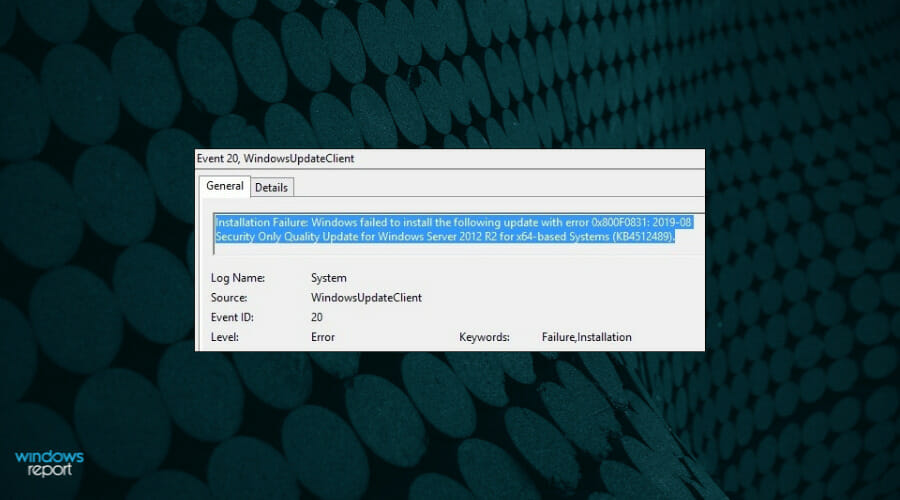
Windows Update Error 0x800f0831 [SOLVED]
Get rid of this Windows Installation error in a few minutes with our guide
Key notes
- A lot of users have reported encountering the 0x800f0831 installer error.
- Note that it doesn’t allow the process to complete.
- The Windows Update error 0x800f0831 could be due to corrupt system files, misconfigured VPN, or problems with the Windows Update service, amongst other issues.
- Also, learn how to fix the other Windows installation errors, in case you come across any.

Windows 10, like the previous iterations, is prone to errors and ever since it was released, we have come across a bunch of them.
One of these is the 0x800f0831, a Windows 10 install error. Note that it is encountered while updating Windows and doesn’t allow the process to complete properly. We all know how important it is to keep up-to-date with the latest version of the OS.
When running an outdated version, you don’t just miss out on several new features but the PC is also exposed to threats and the chances of encountering errors are high.
Before we delve into the solutions, let’s first walk you through the underlying issues that may cause the install error – 0x800f0831.
What causes the install error 0x800f0831?
There are numerous underlying issues that are known to cause this Windows installation error. Some of these occur more frequently than others, and we have listed them in the same sequence:
- Missing files from the previous update
- Corrupt system files
- Antivirus conflicting with Windows Update
- Misconfigured VPN
- Issues with the Windows Update service
With a basic understanding of the problem, you are now in a far better position to proceed to troubleshoot the error. First, we recommend reverting any change that you made in the recent past on your Windows PC.
If that doesn’t fix the 0x800f0831 Windows 10 install error, execute the fixes listed here as given.
How can I fix the Windows Update error 0x800f0831?
1. Use a PC repairing software
If you require a faster and more effective method to bypass the 0x800f0831 Windows Update install error, you can use a specialized repair tool.
2. Run the Windows Update troubleshooter
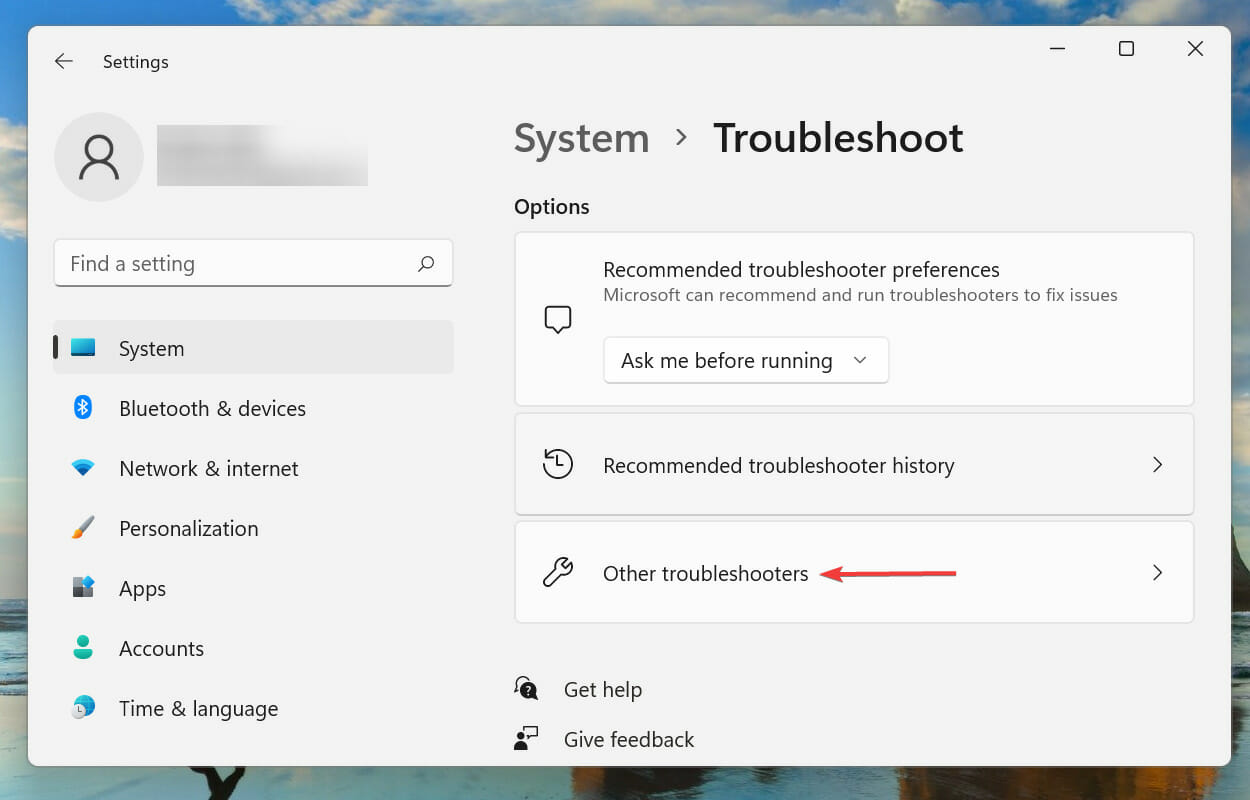
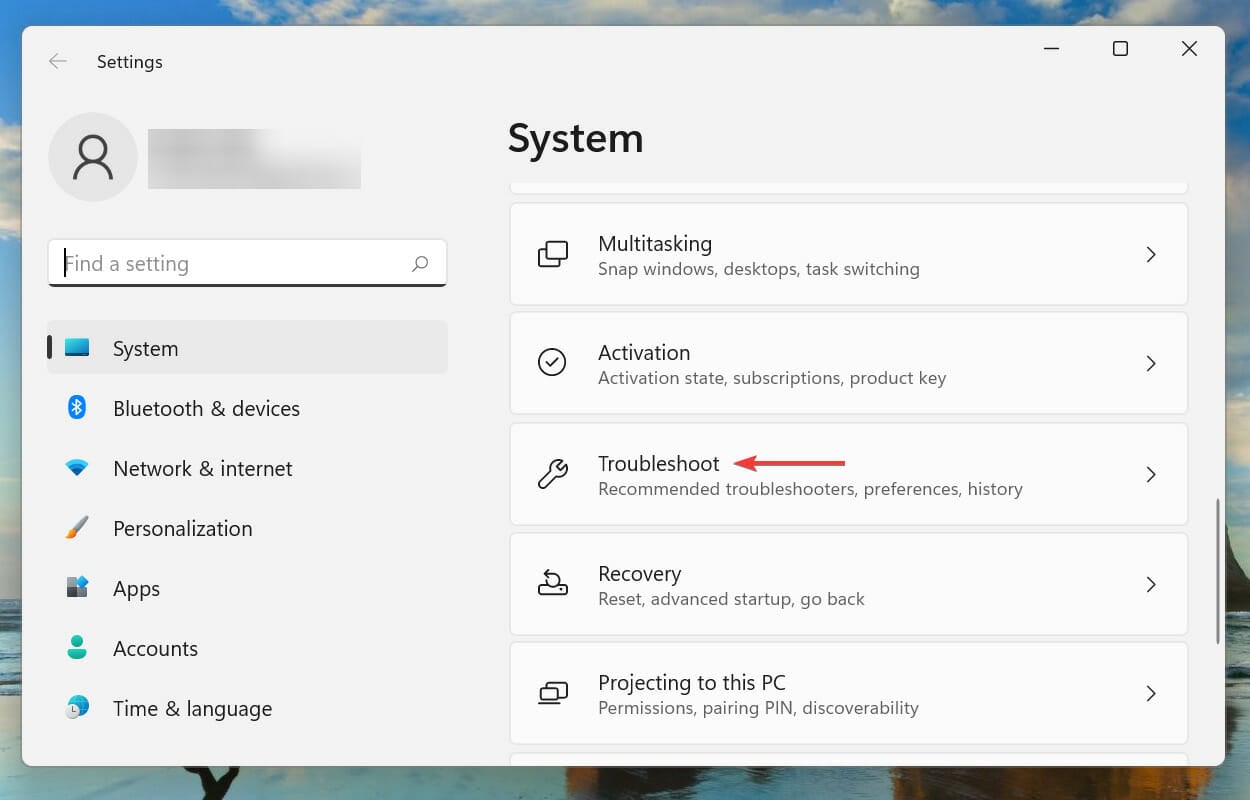
- Press Windows + I to launch the Settings app, then click on Troubleshoot on the right in the System tab.

- Click on Other troubleshooters.
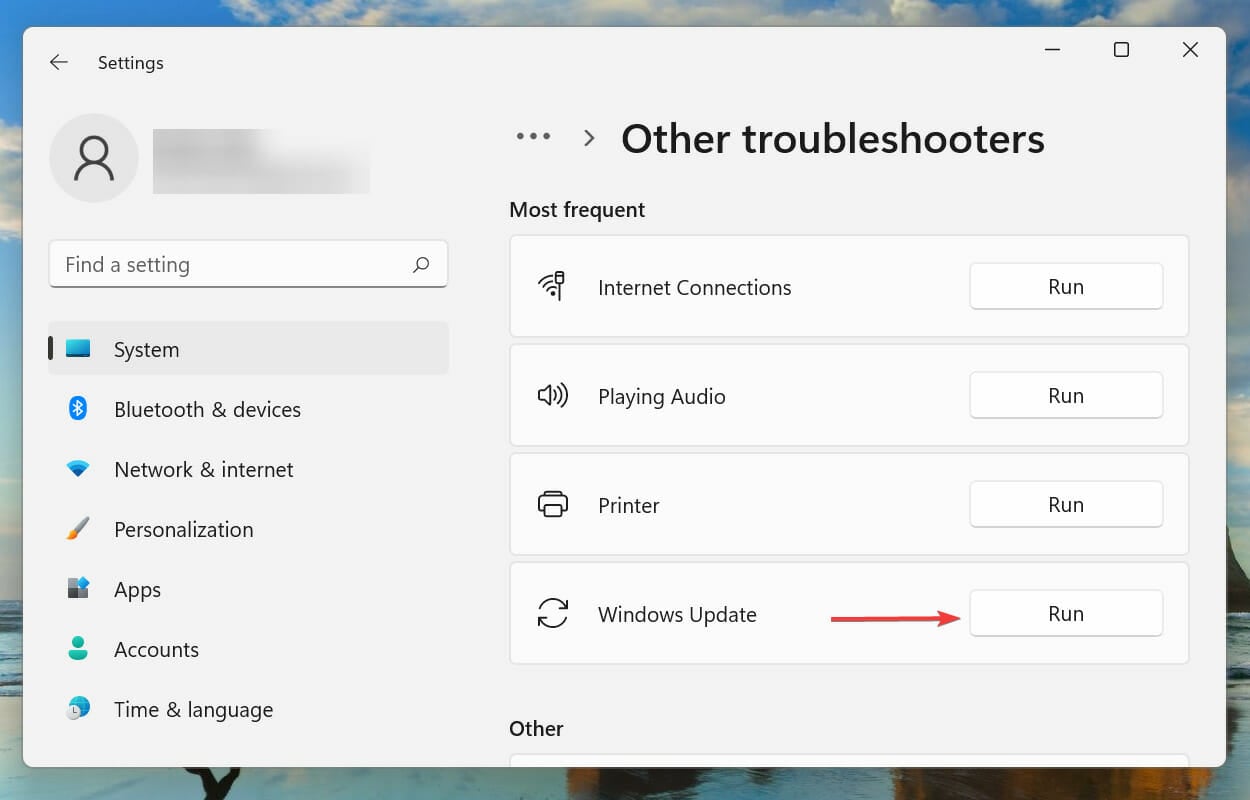
- Next, locate the Windows Update troubleshooter and click on the Run button next to it.
- Wait for the troubleshooter to diagnose the issue, and choose the appropriate repsonse, when prompted, to fix them.
Whenever you encounter an error in Windows, it’s recommended that you first look for a relevant troubleshooter. These are more than capable of fixing a wide variety of errors, both hardware, and software, and do not require much effort from your end.
3. Run the SFC and DISM scan
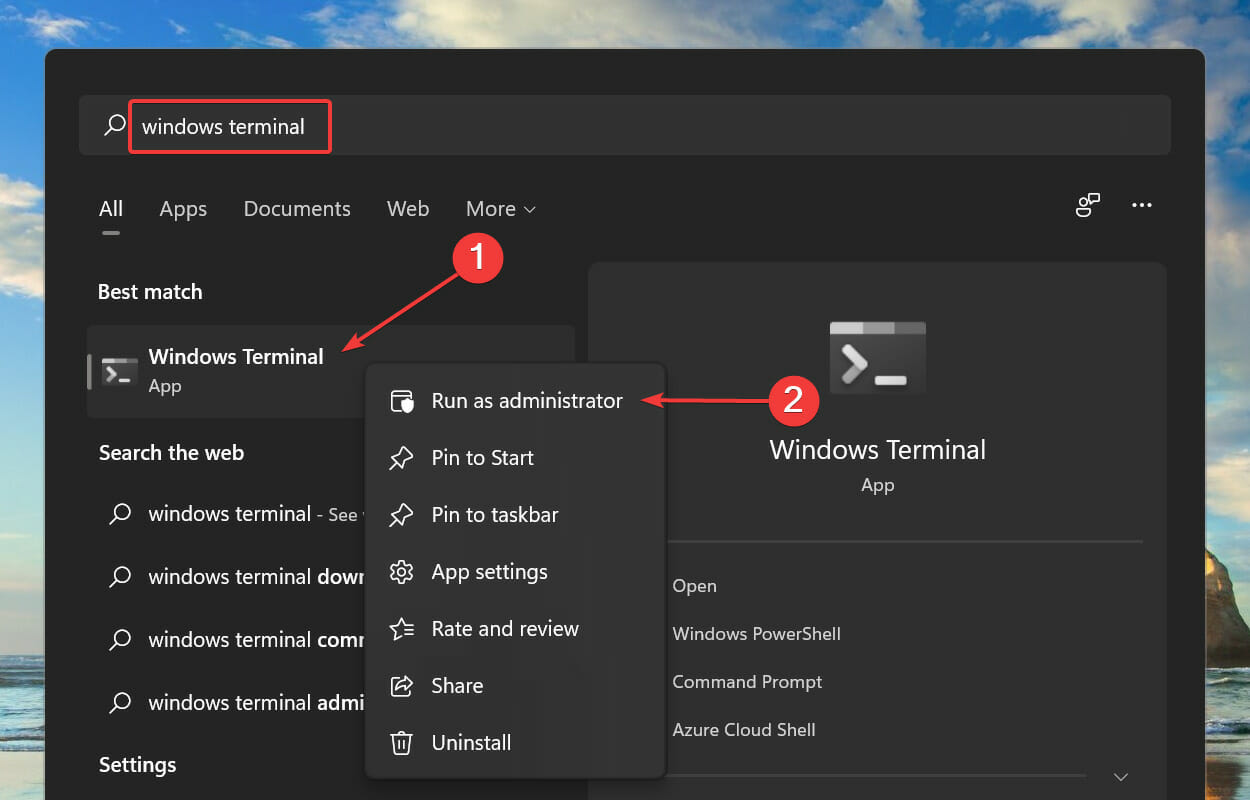
- Press Windows + S to launch the Search menu. Enter Windows Terminal in the text field at the top, right-click on the relevant search result, and select Run as administrator from the context menu.
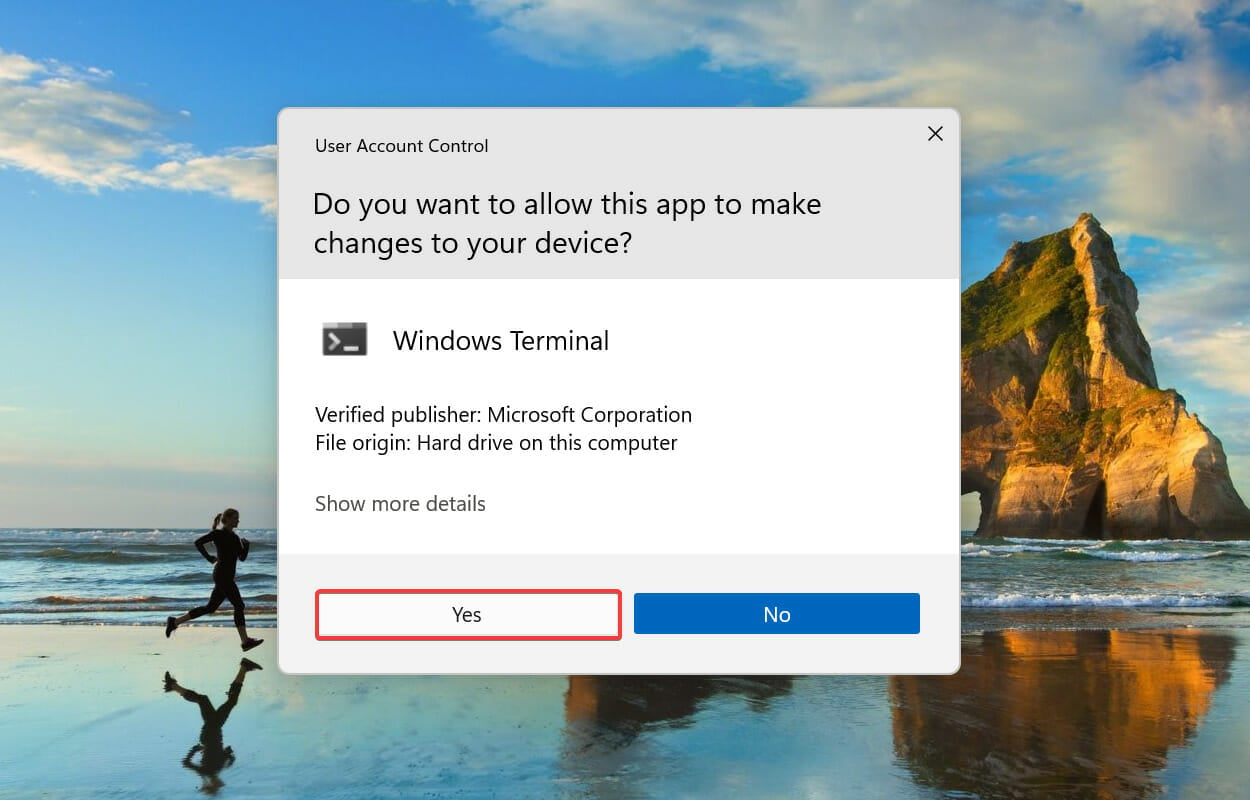
- Click Yes on the UAC (User Account Control) prompt that pops up.

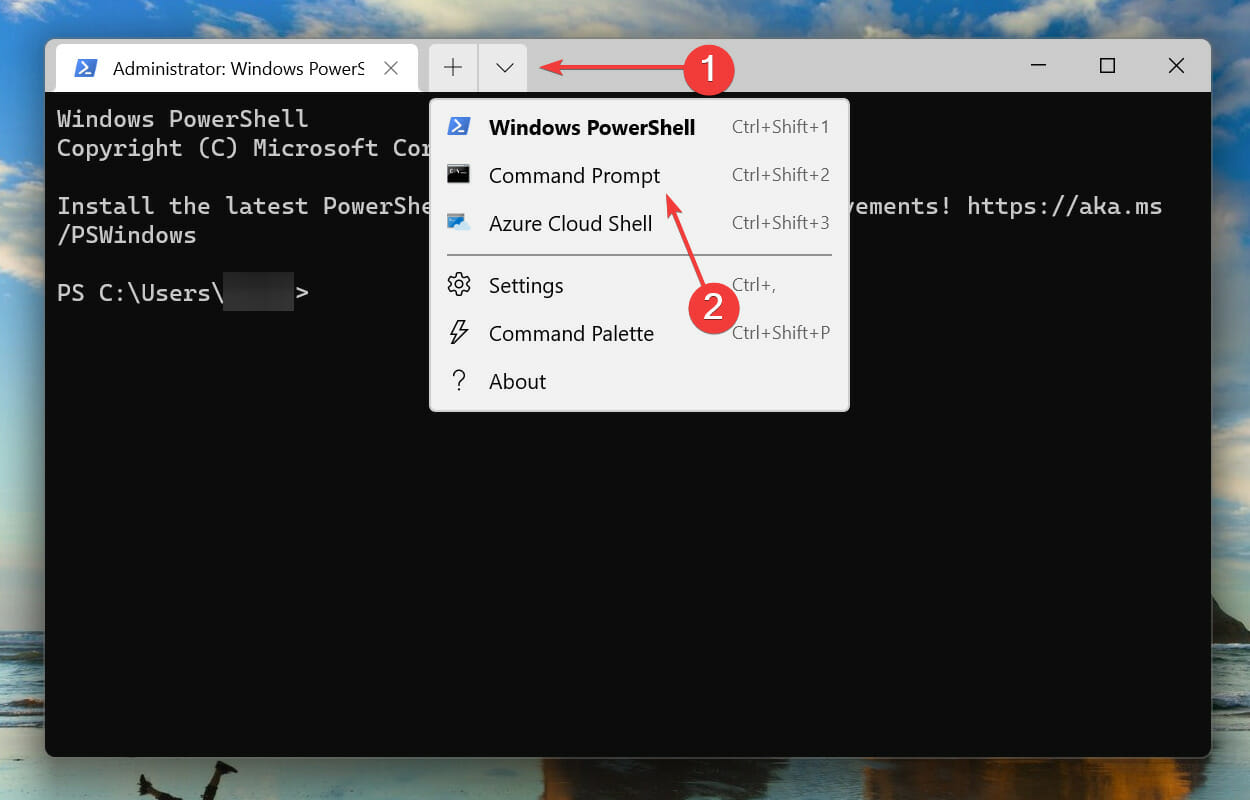
- Next, click on the down arrow at the top, and select Command Prompt from the list of options. Alternatively, you can press Ctrl + Shift + 2 to launch the Command Prompt tab.
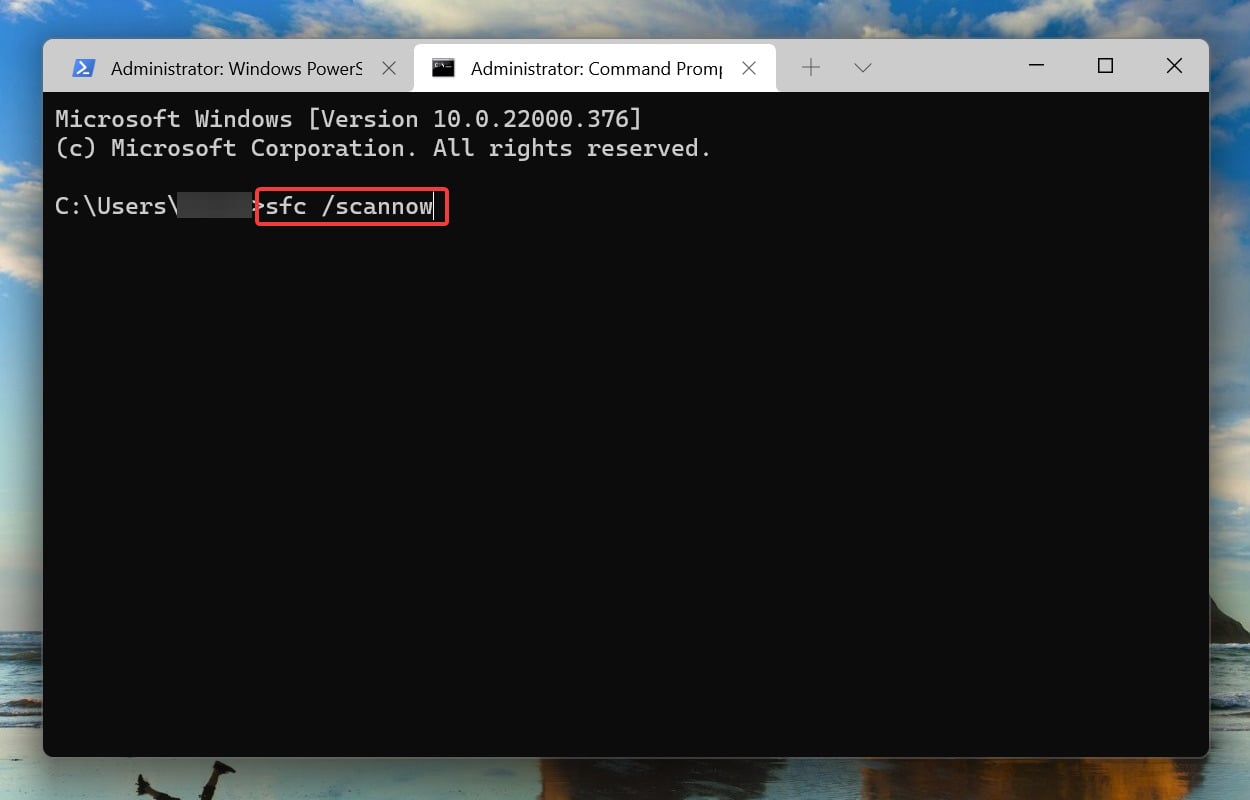
- Now, type/paste the following command and hit Enter to run the SFC scan:
sfc /scannow
- Once it’s complete, paste the following command and hit Enter to run the DISM tool:
DISM /Online /Cleanup-Image /RestoreHealth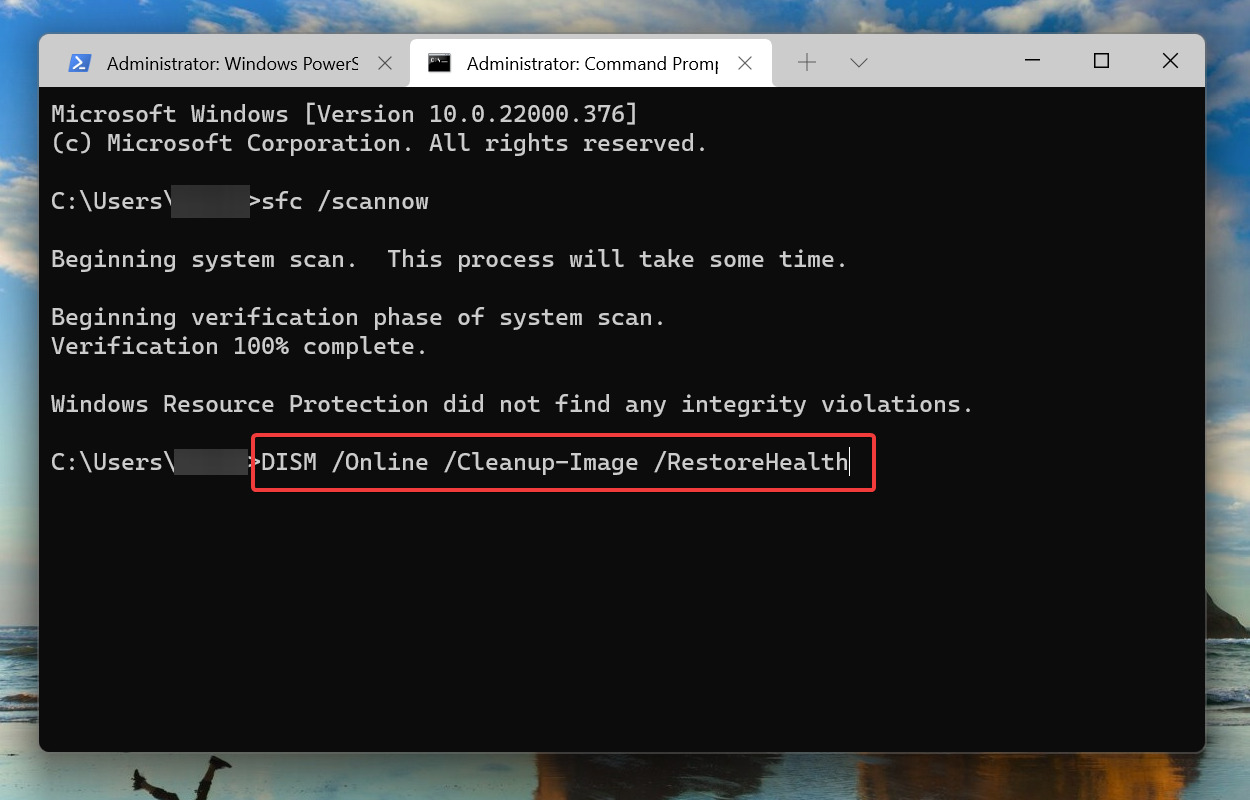
- Wait for the scan to complete, then restart the computer and check if the 0x800f0831 Windows 10 install error is fixed.


Both the SFC and DISM are critical in detecting problems with the update process. The SFC (System File Checker) scan identifies corrupt system files, and if any are found, replaces them with their cached copy stored on the system.
The DISM (Deployment Image Servicing & Management) tool, on the other hand, looks for problems with the Windows image and can modify the installation media, if required.
4. Restart the Windows Update service
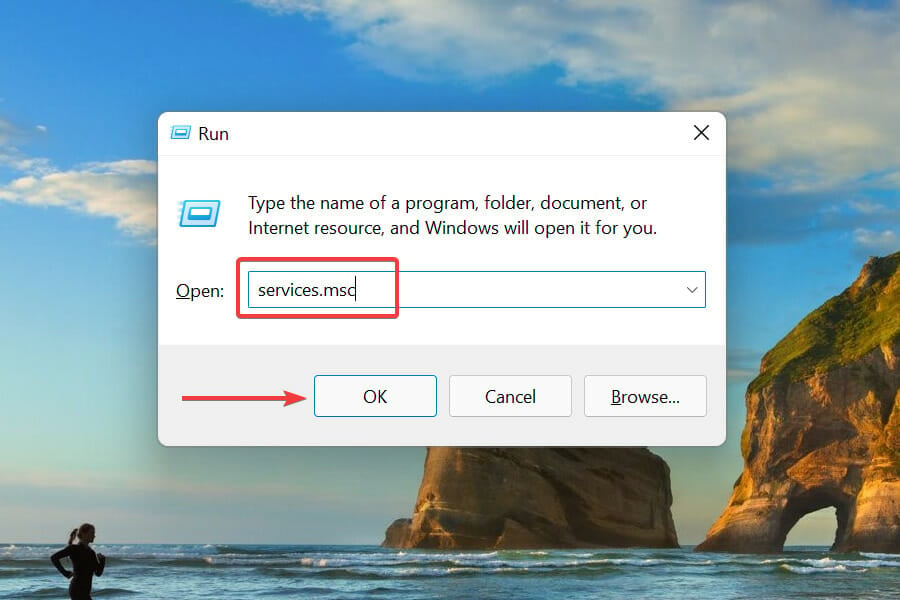
- Press Windows + R to launch the Run command. Type services.msc in the text field, and either click on OK or hit Enter to launch the Services app.
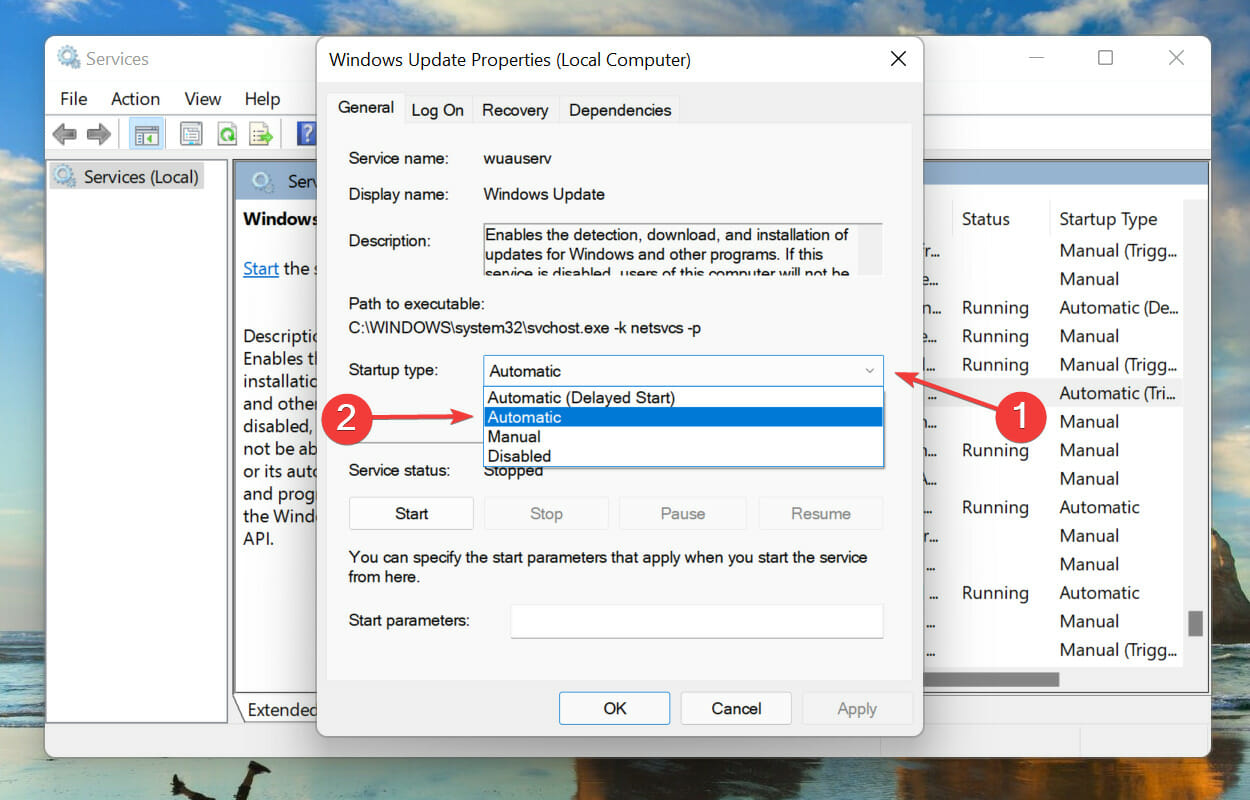
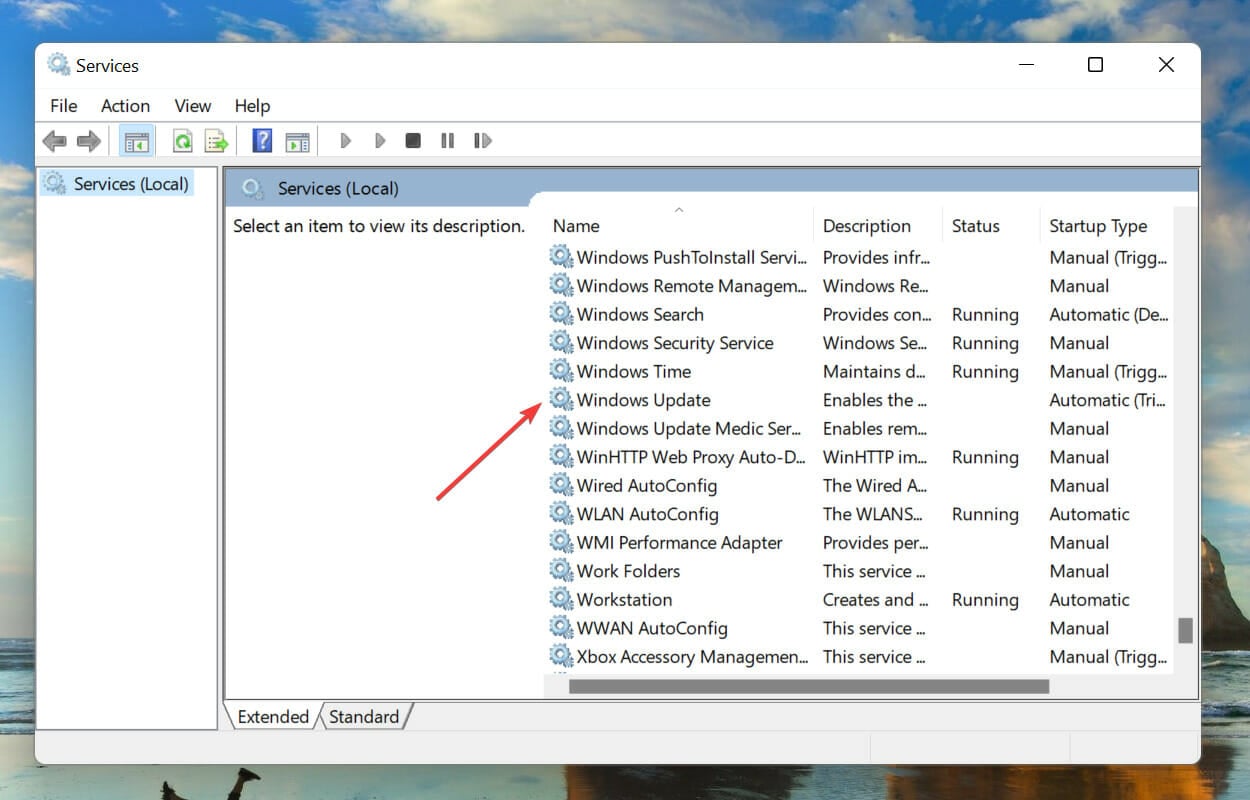
- Locate and double-click on the Windows Update service to launch its Properties.

- Click on the Startup type dropdown menu, and select Automatic from the list of options.
- Next, click on the Start button under Service status, and then click on OK to save the changes.


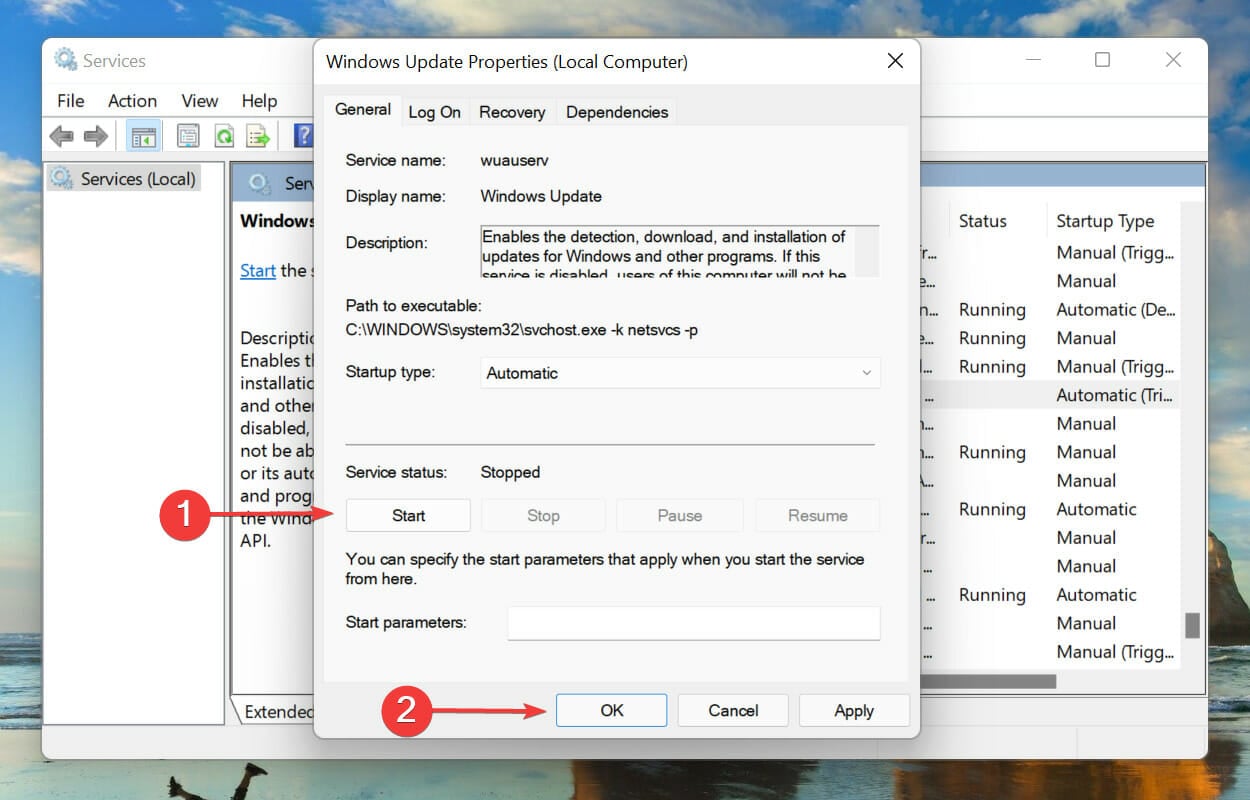
After starting the Windows Update service, check if the 0x800f0831 install error is fixed.
5. Reset Windows Update components
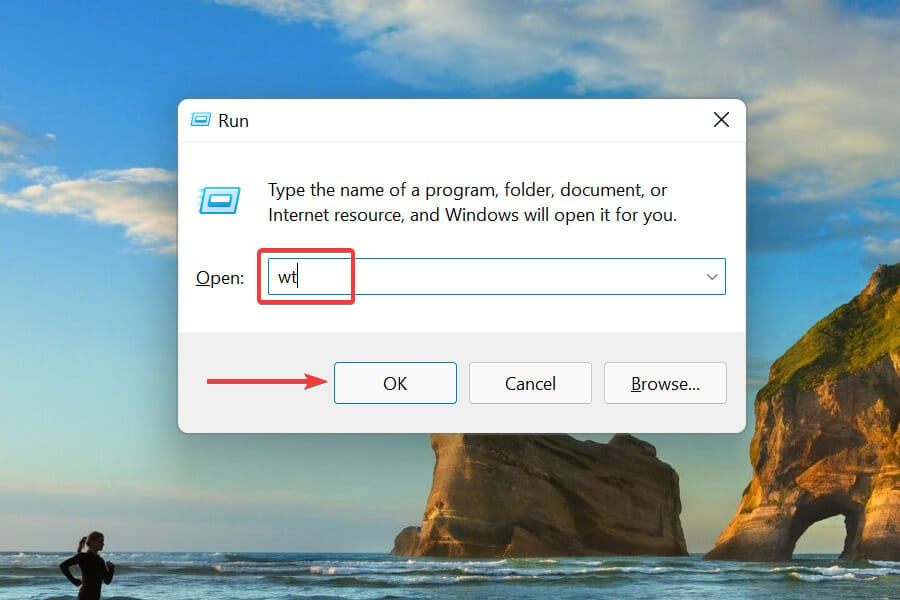
- Press Windows + R to launch the Run command. Type wt in the text field, hold the Ctrl + Shift, and either click on OK or hit Enter to launch an elevated Windows Terminal.

- Click on the downward arrow at the top, and select Command Prompt from the menu to open it in a new tab.

- Now, type/paste each of the following commands and hit Enter after each to reset the Windows Update components and fix the 0x800f0831 Windows Update error.
- Execute the following two commands to stop the BITS and Windows Update services:
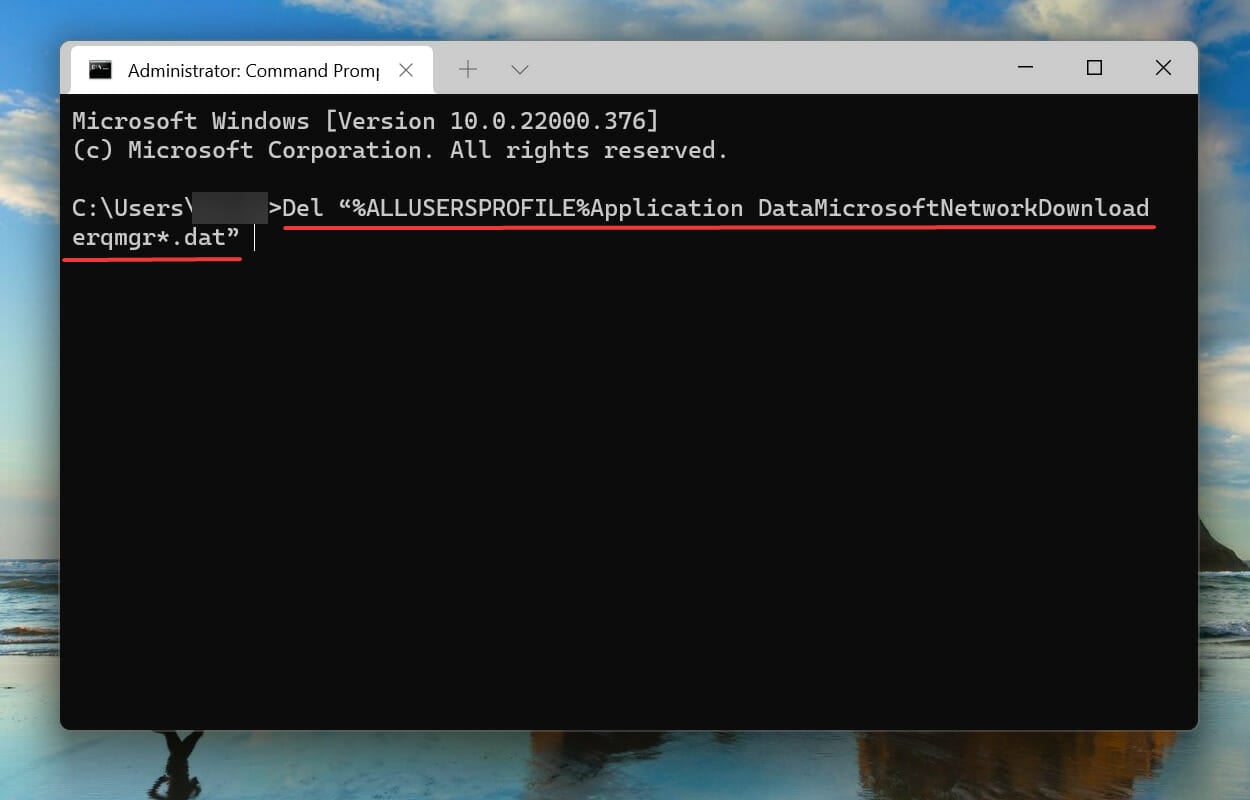
net stop bitsnet stop wuauserv - Next, execute the following command to delete the qmgr*.dat files:
Del “%ALLUSERSPROFILE%Application DataMicrosoftNetworkDownloaderqmgr*.dat”
- The following commands will rename some critical folders. Though if you are attempting the reset the process for the first time, skip this step, and if the process doesn’t go through, try it the next time.
Ren %Systemroot%\SoftwareDistribution\DataStore DataStore.bakRen %Systemroot%\SoftwareDistribution\Download Download.bakRen %Systemroot%\System32\catroot2 catroot2.bak - Execute the following two commands to reset the BITS and Windows Update service:
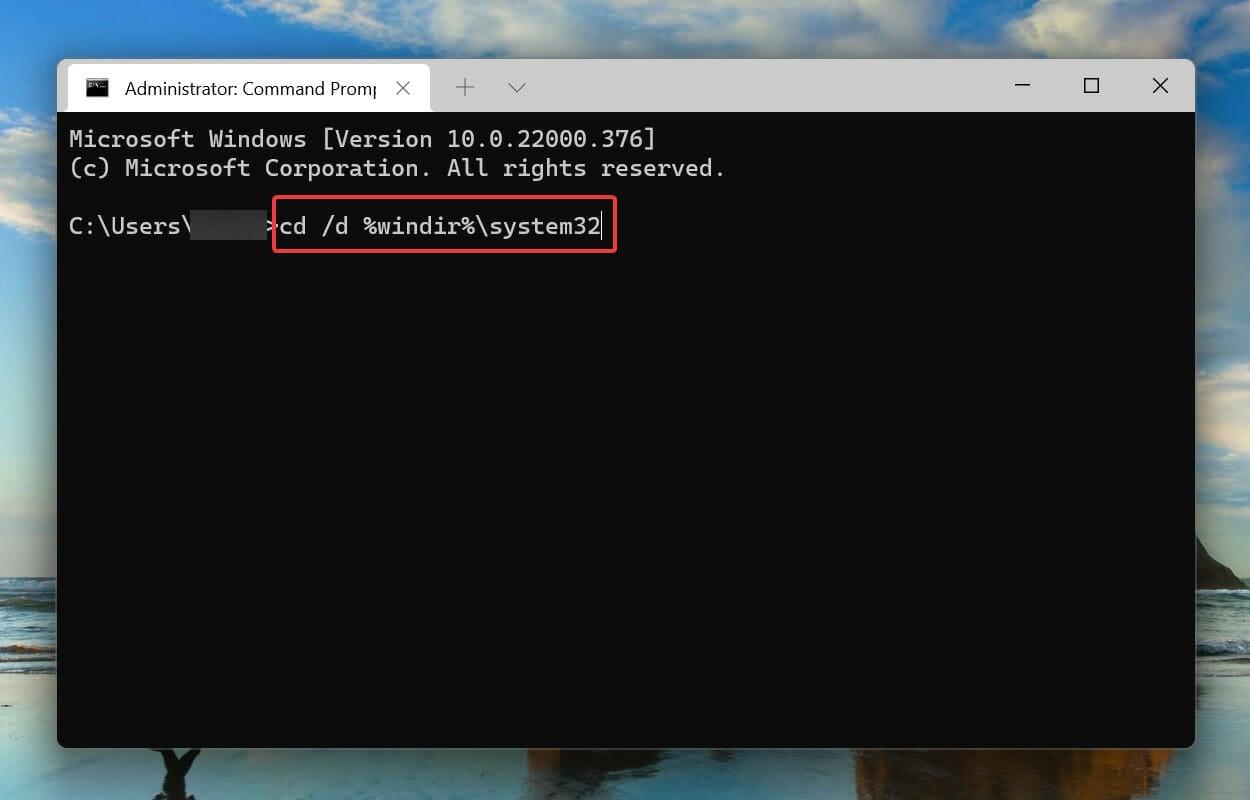
sc.exe sdset bits D:(A;;CCLCSWRPWPDTLOCRRC;;;SY)(A;;CCDCLCSWRPWPDTLOCRSDRCWDWO;;;BA)(A;;CCLCSWLOCRRC;;;AU)(A;;CCLCSWRPWPDTLOCRRC;;;PU)sc.exe sdset wuauserv D:(A;;CCLCSWRPWPDTLOCRRC;;;SY)(A;;CCDCLCSWRPWPDTLOCRSDRCWDWO;;;BA)(A;;CCLCSWLOCRRC;;;AU)(A;;CCLCSWRPWPDTLOCRRC;;;PU) - Next, type/paste the following command and hit Enter to execute it:
cd /d %windir%\system32
- Now, execute each of the following commands individually to re-register the BITS and Windows Update files:

regsvr32.exe atl.dll
regsvr32.exe urlmon.dll
regsvr32.exe mshtml.dll
regsvr32.exe shdocvw.dll
regsvr32.exe browseui.dll
regsvr32.exe jscript.dll
regsvr32.exe vbscript.dll
regsvr32.exe scrrun.dll
regsvr32.exe msxml.dll
regsvr32.exe msxml3.dll
regsvr32.exe msxml6.dll
regsvr32.exe actxprxy.dll
regsvr32.exe softpub.dll
regsvr32.exe wintrust.dll
regsvr32.exe dssenh.dll
regsvr32.exe rsaenh.dll
regsvr32.exe gpkcsp.dll
regsvr32.exe sccbase.dll
regsvr32.exe slbcsp.dll
regsvr32.exe cryptdlg.dll
regsvr32.exe oleaut32.dll
regsvr32.exe ole32.dll
regsvr32.exe shell32.dll
regsvr32.exe initpki.dll
regsvr32.exe wuapi.dll
regsvr32.exe wuaueng.dll
regsvr32.exe wuaueng1.dll
regsvr32.exe wucltui.dll
regsvr32.exe wups.dll
regsvr32.exe wups2.dll
regsvr32.exe wuweb.dll
regsvr32.exe qmgr.dll
regsvr32.exe qmgrprxy.dll
regsvr32.exe wucltux.dll
regsvr32.exe muweb.dll
regsvr32.exe wuwebv.dll
11. Now, paste the following command and hit Enter to reset Winsock:netsh winsock reset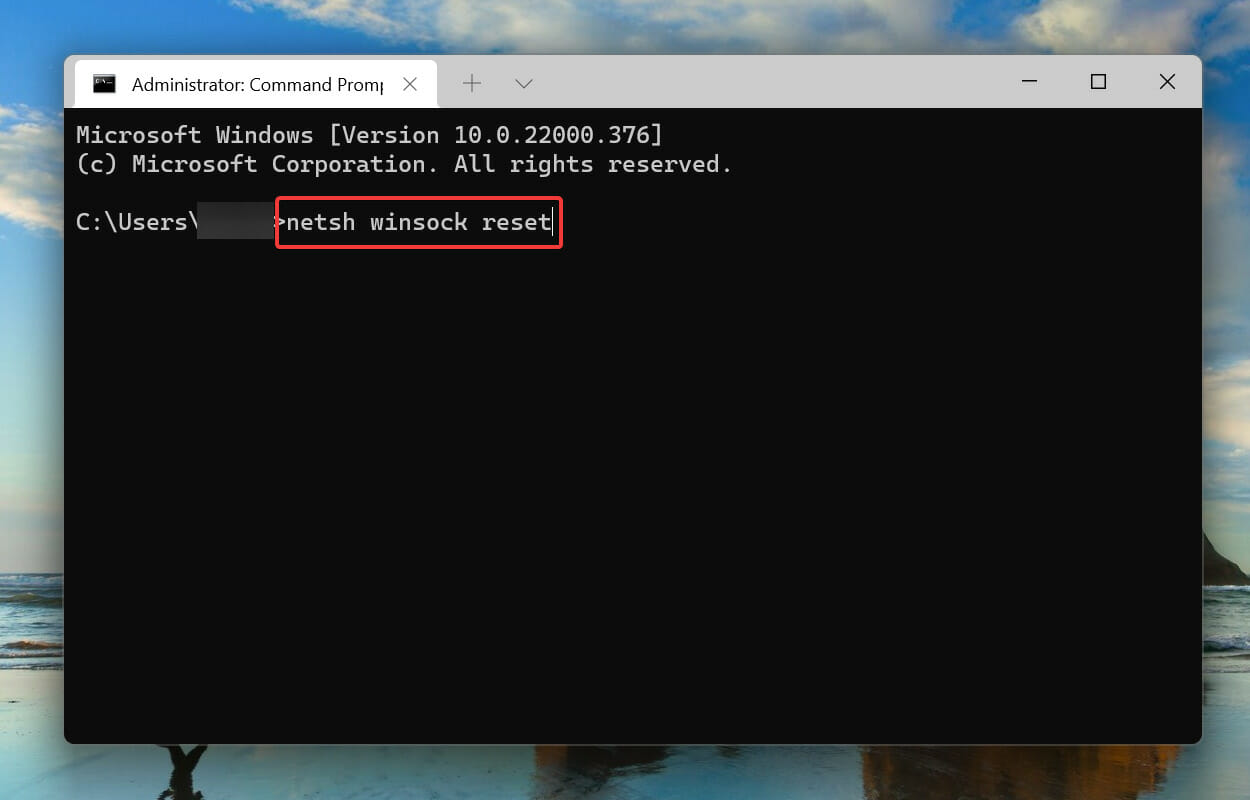
12. The last step is to restart the BITS and Windows Update service, so execute the following commands to do that:net start bits net start wuauserv
6. Disable VPN
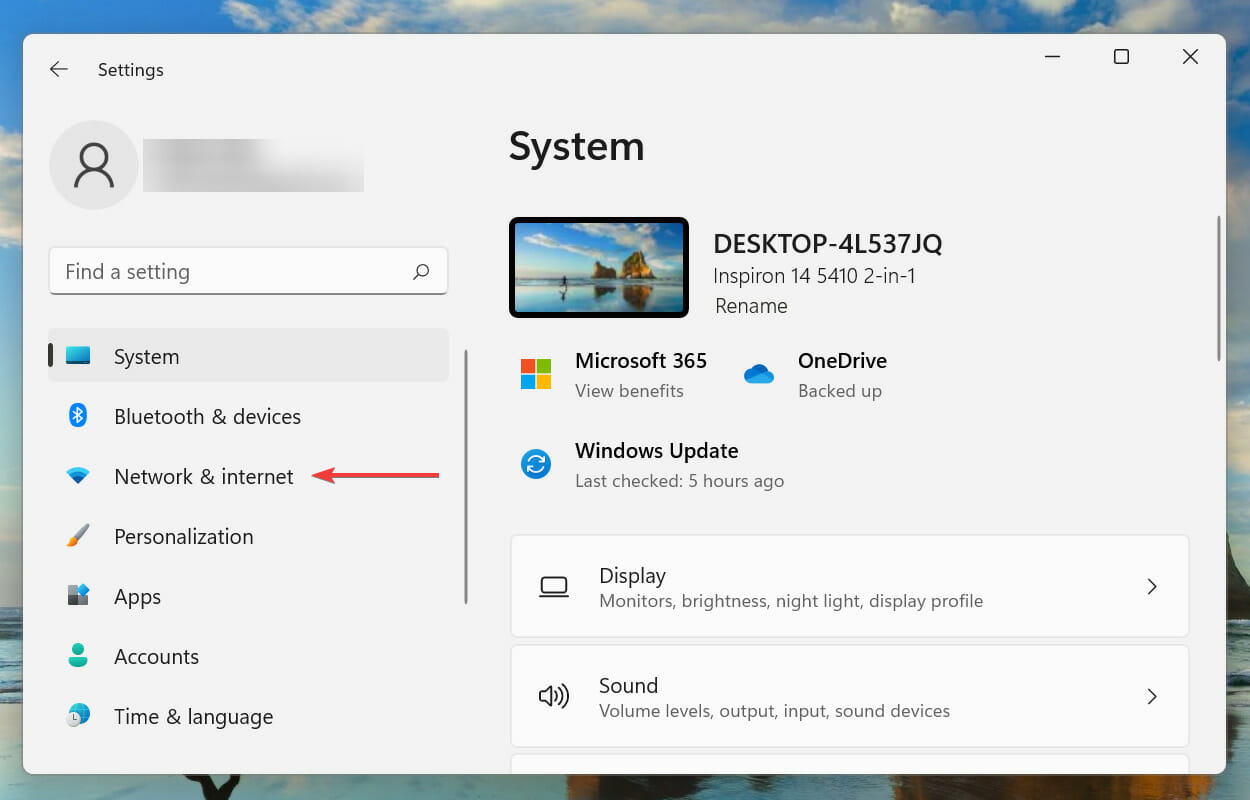
- Press Windows + I to launch the Settings app, and select Network & Internet from the navigation pane on the left.
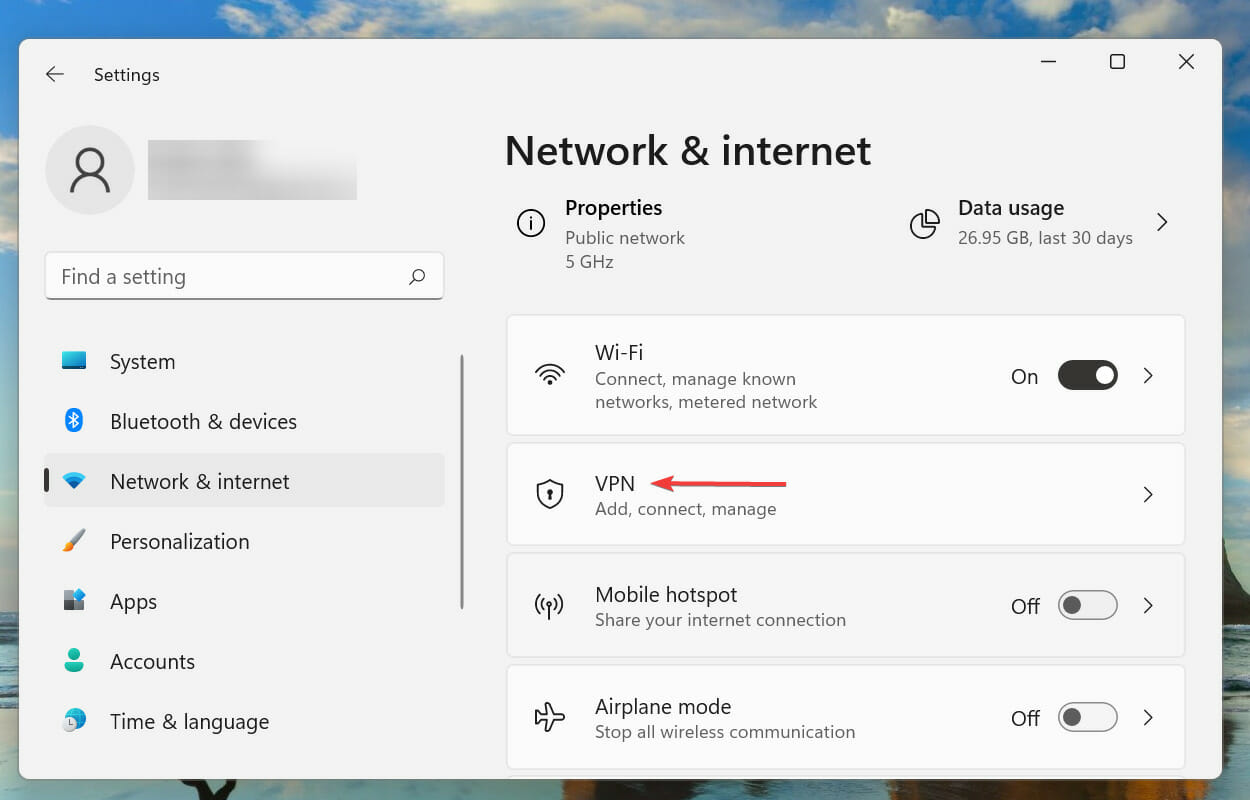
- Click on VPN on the right.
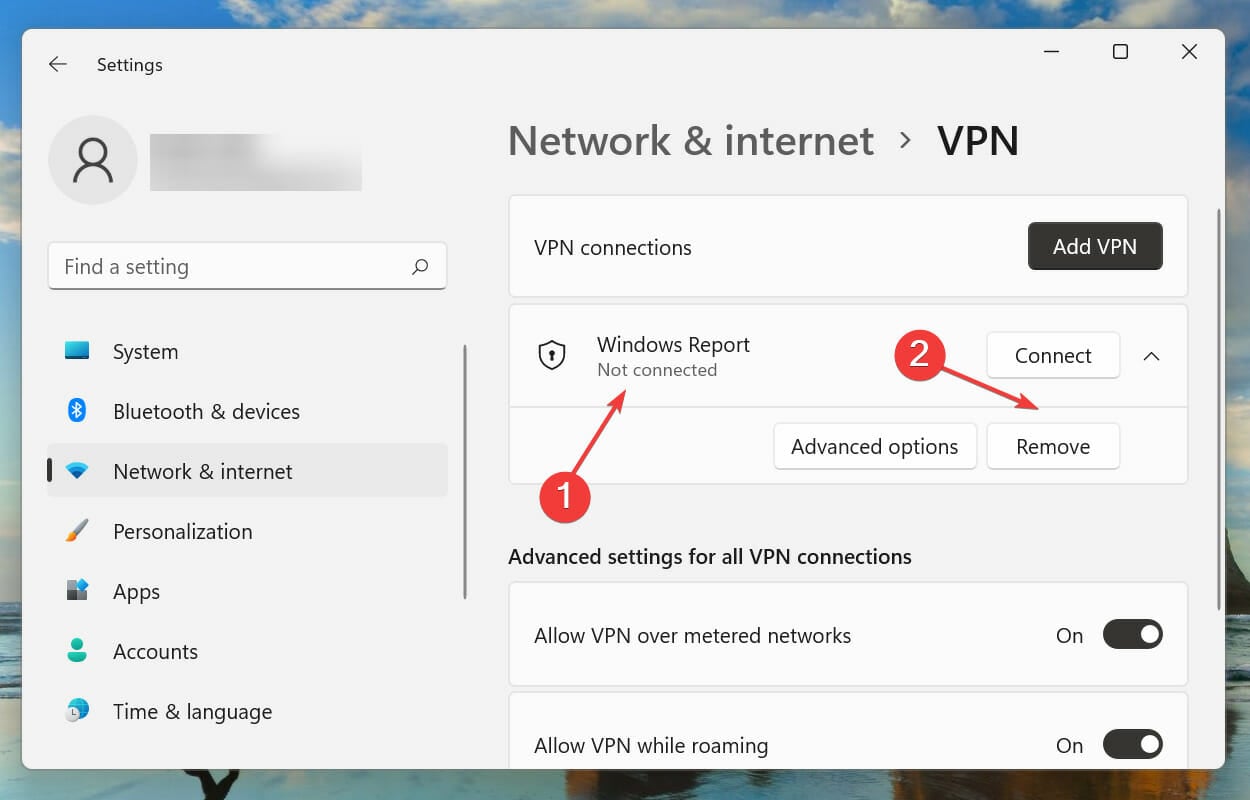
- Next, click on the configured VPN, and select Remove from the options that appear.

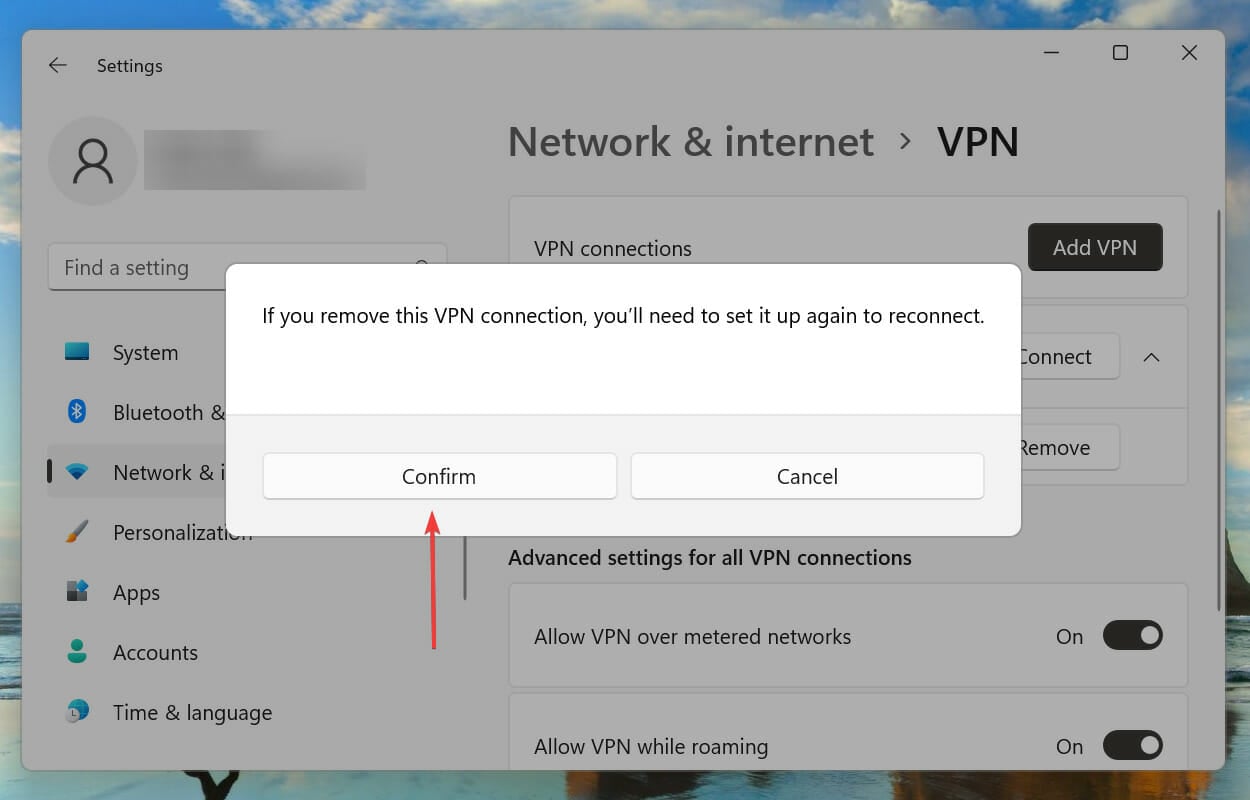
- Click Confirm on the pop up.


7. Enable .Net Framework 3.5
- Press Windows + R to launch the Run command. Type appwiz.cpl in the text field, and click on OK or hit Enter to launch the Programs and Features window.

- Click on Turn Windows features on or off from the left.

- Now, tick the checkbox for .Net Framework 3.5 (includes .Net 2.0 and 3.0), and click on OK to save the changes.
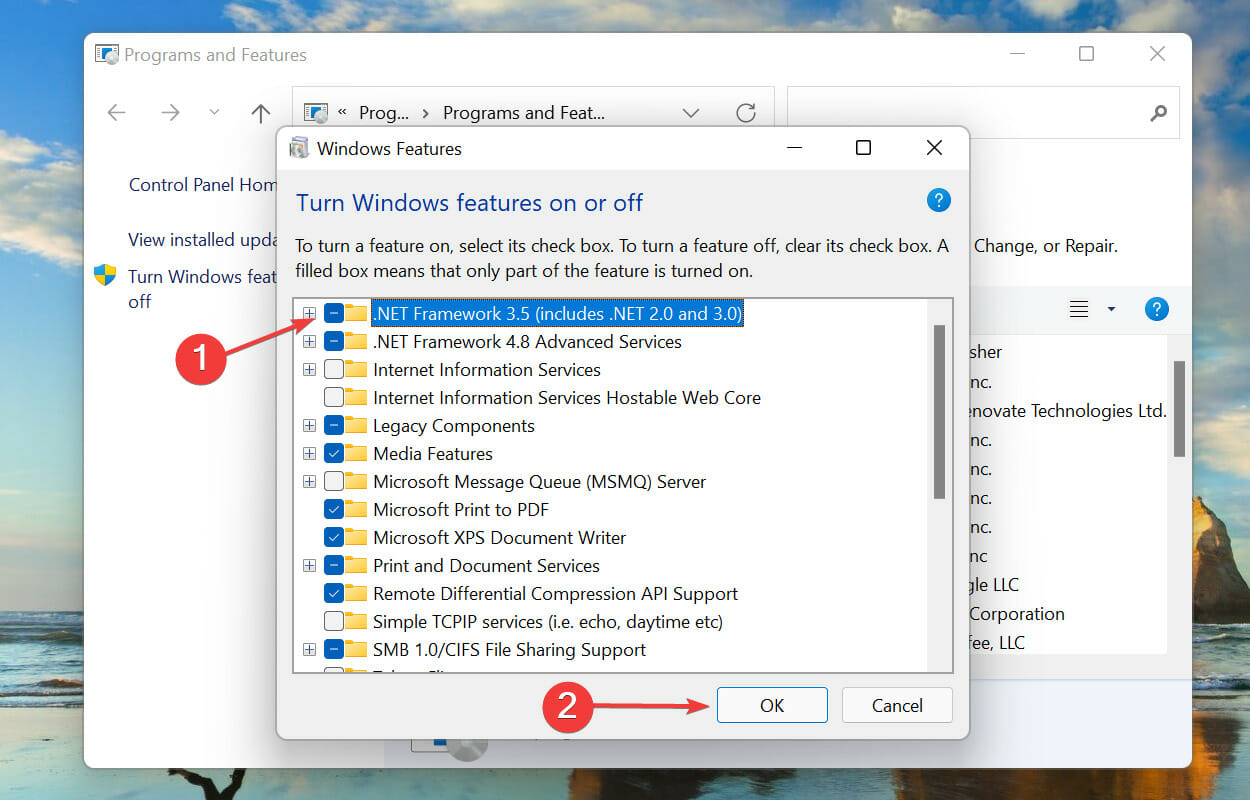
- If required, follow the on-screen instructions to download the relevant files.


Now, restart the computer and check if the 0x800f0831 install error is fixed.
8. Perform an in-place upgrade to repair Windows
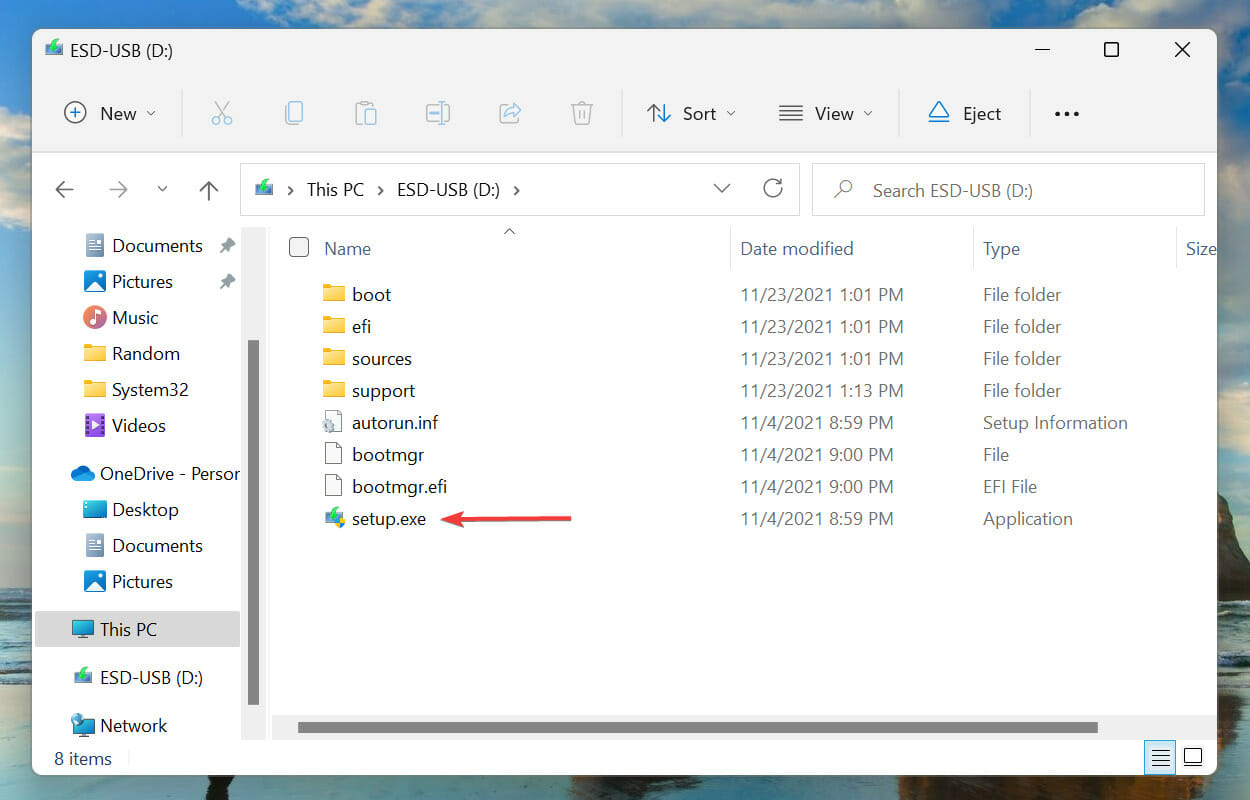
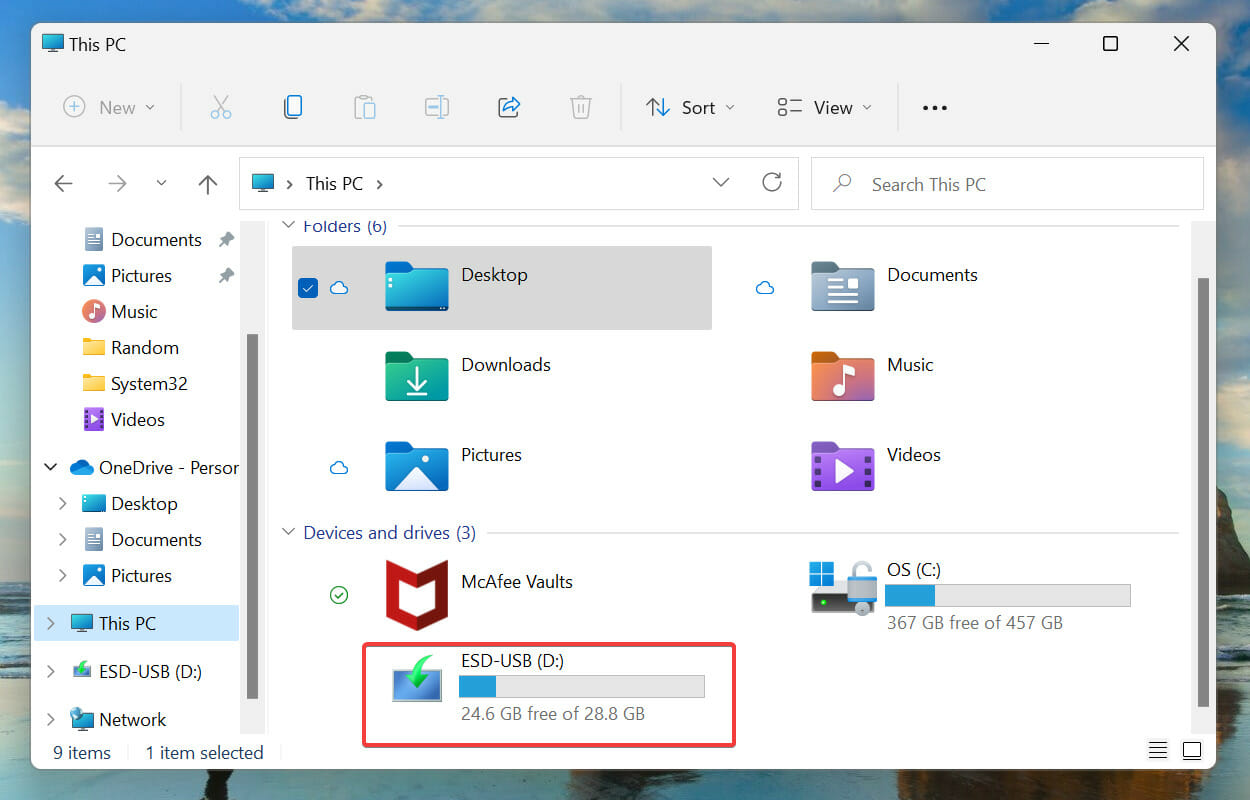
- Create a bootable USB drive for Windows.
- Connect the USB drive and double-click on it in the File Explorer to view its contents.

- Double-click on the setup.exe file.
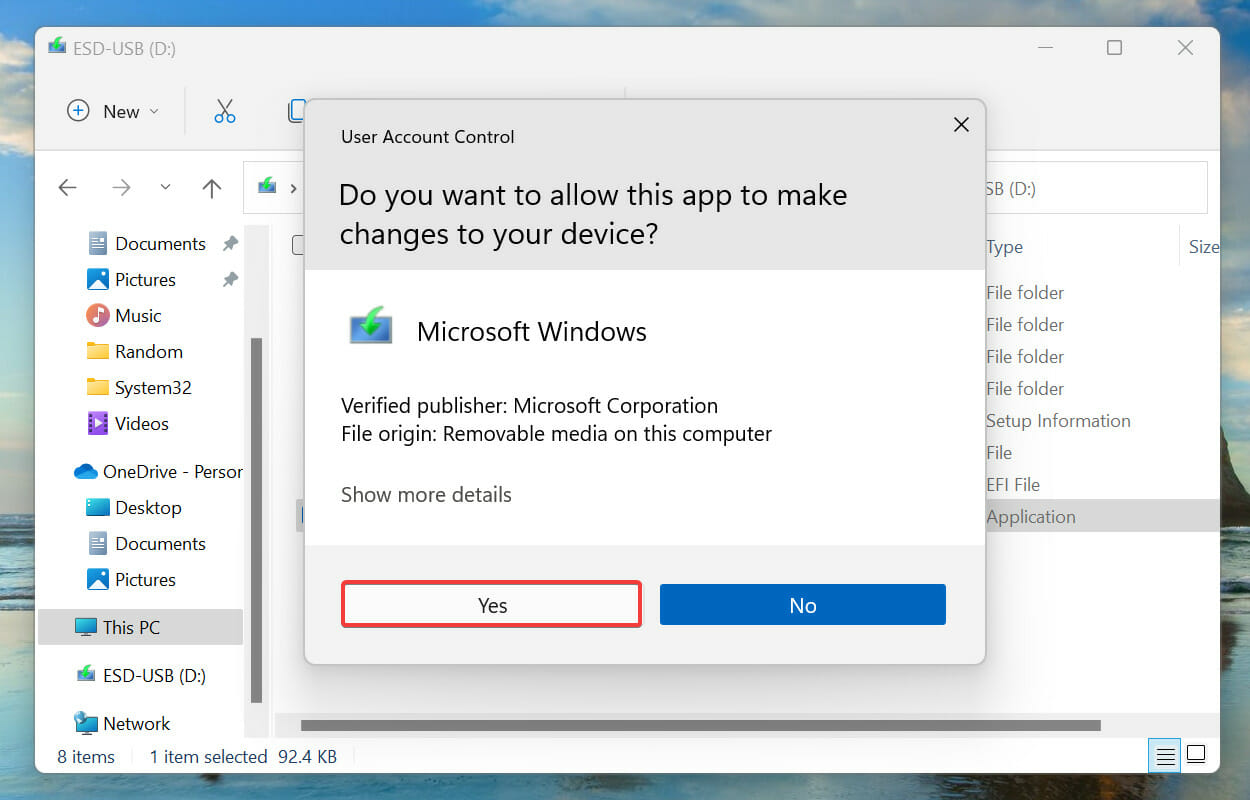
- Click Yes on the UAC (User Account Control) prompt that pops up.
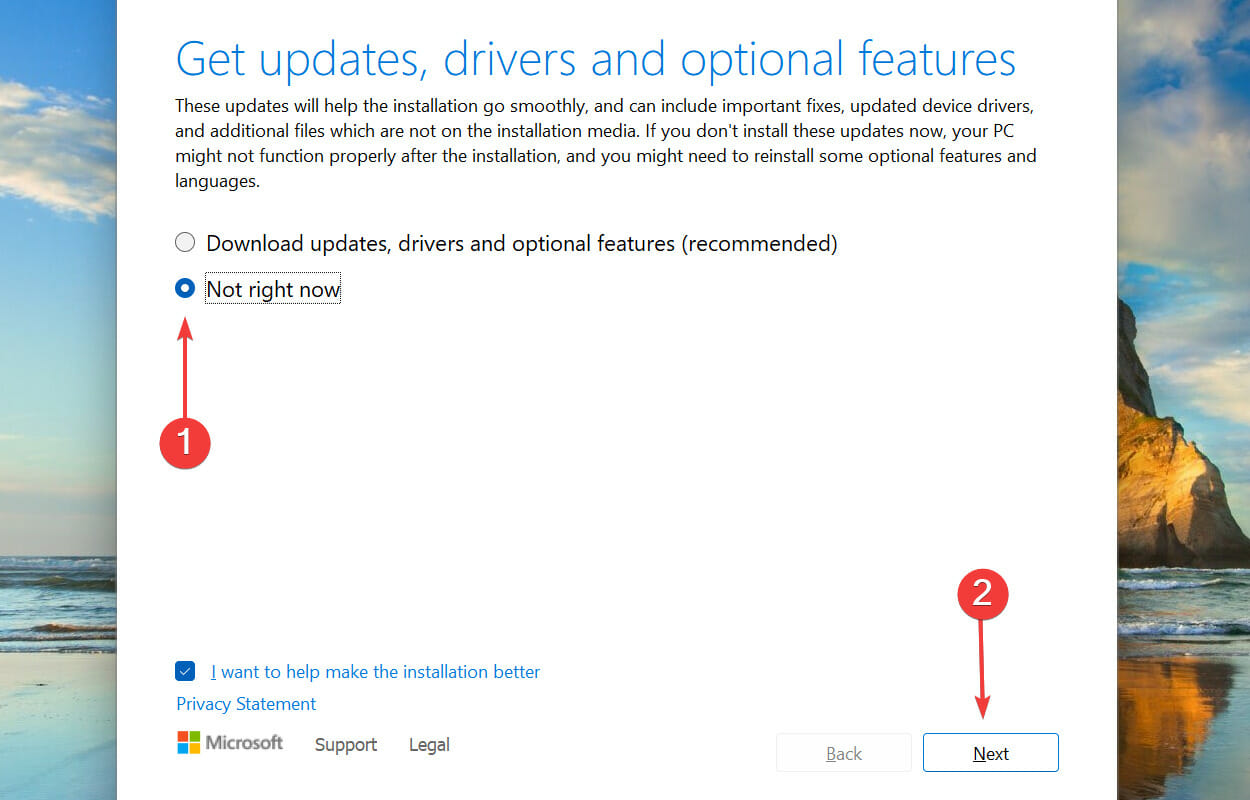
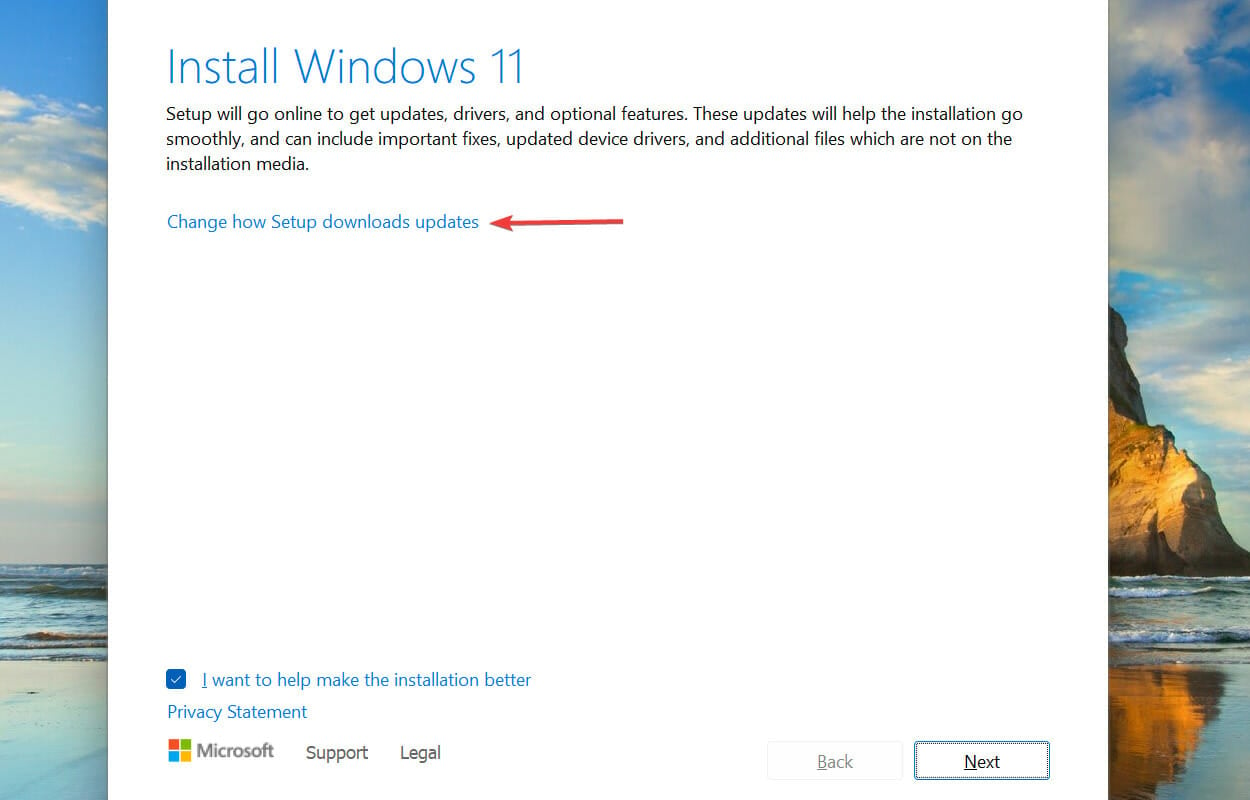
- Then, click on Change how Setup downloads updates.
- Select the Not right now option and click on Next. We choose this option to keep the repair process as straighfortward as possible.
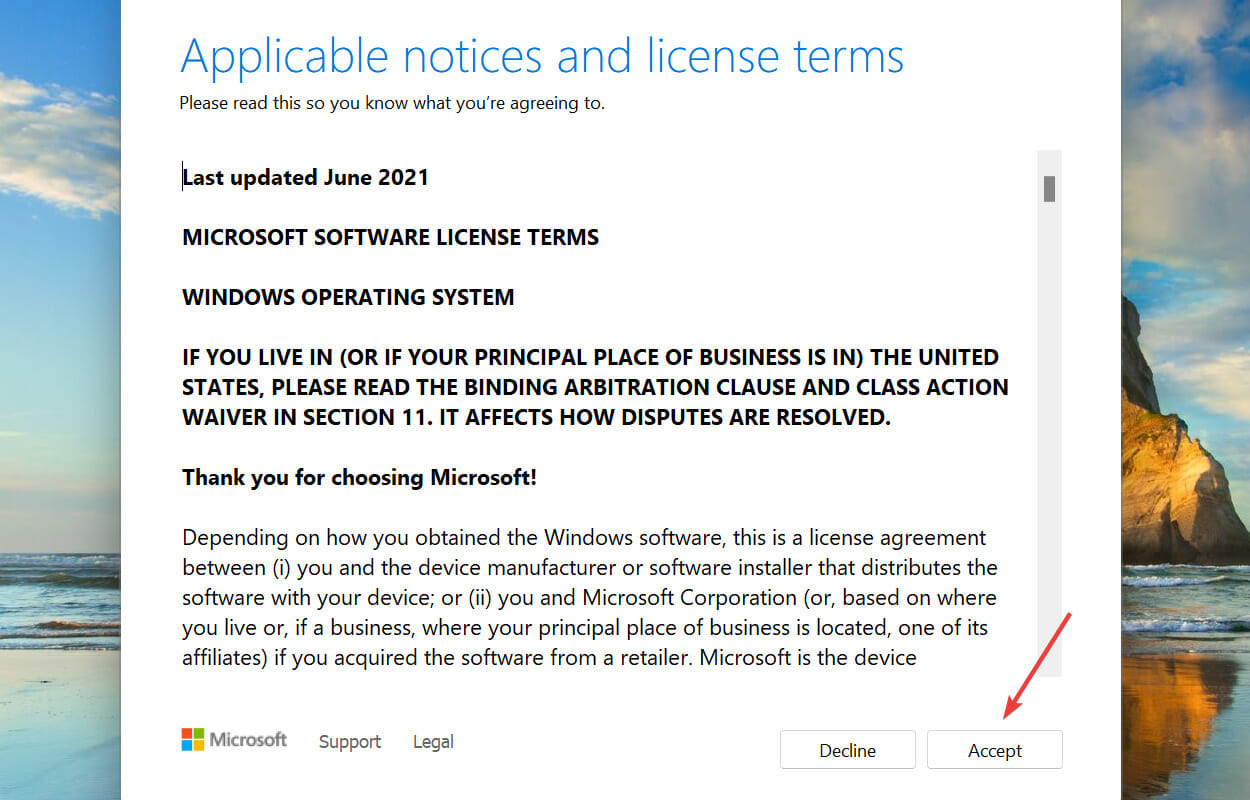
- Click on Accept.
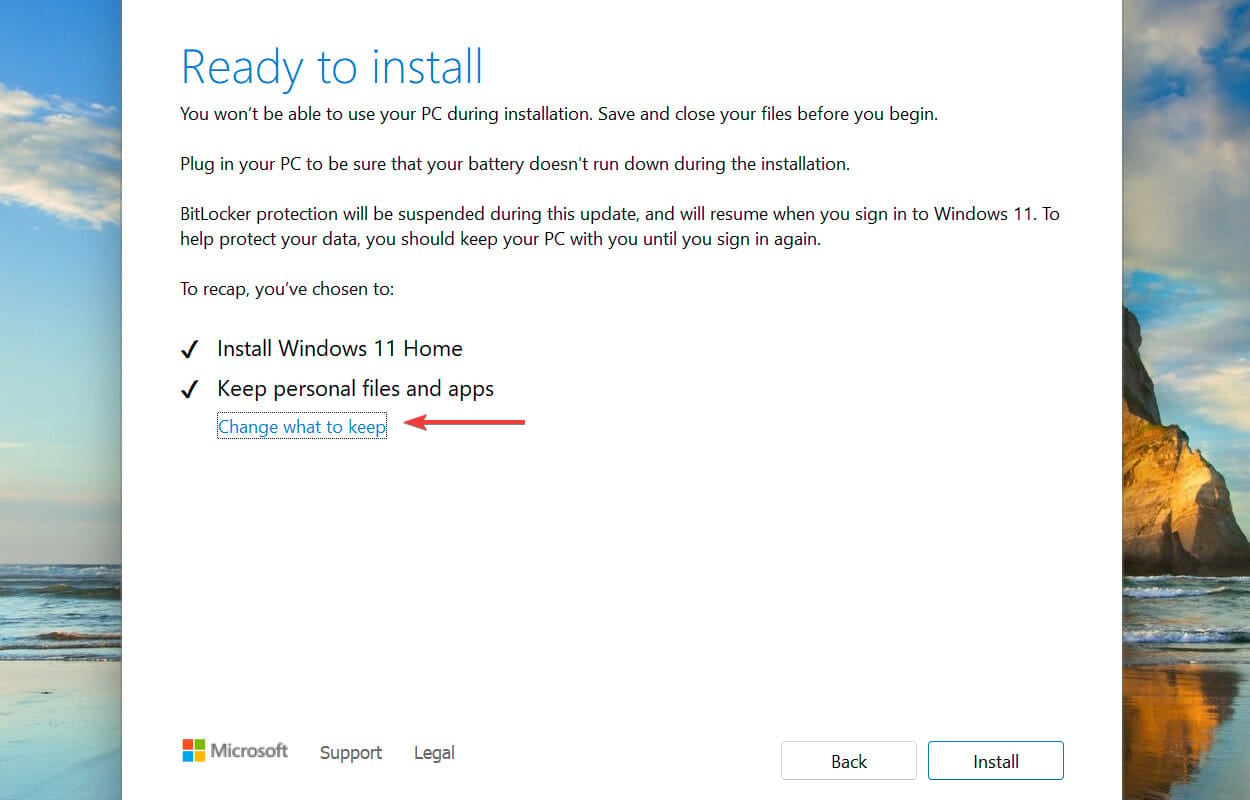
- Click on Change what to keep.
- Select Keep personal files and apps and click on Next.

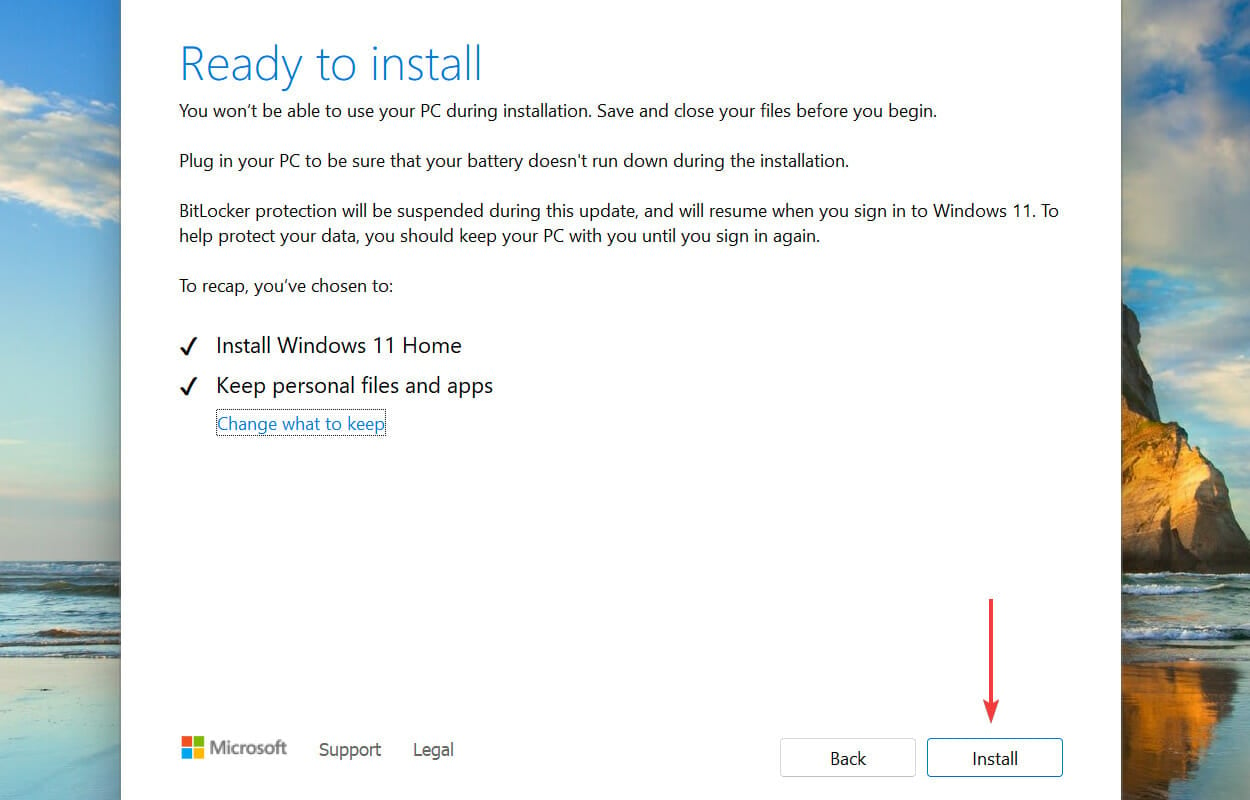
- Finally, click on Install to start the process.


We also have a dedicated guide on how to fix the 0x800f0831 install error in Windows 11 that you can check out for more info.
Are there other Windows 11 installation errors?
There are various installation issues, apart from 0x800f0831, in Windows 11. To help you fix these, we have a dedicated set of guides that you should know about.
Also, note that there are a few elements that need to be set up properly before starting the OS upgrade process, or else you risk getting an error saying Windows 11 update stuck at 100%.
As you can see, if you ever encounter an installer error, just find the relevant guide, and get your system back up and running in no time.
That’s all there is to the 0x800f0831 installer error in Windows 11, along with the most relevant fixes for it. If these don’t work, you can reset Windows 11 to its factory settings.
Tell us which fix worked and your experience of Windows 11 thus far, in the comments section below.
Read our disclosure page to find out how can you help Windows Report sustain the editorial team. Read more


Improve this guide


User forum
0 messages