ReadySHARE Not Working: Access it With These 7 Solutions
Find out what worked for other users
Key notes
- When ReadySHARE is not working, it's usually due to the SMB client rejecting guest logins.
- Incompatibility or a buggy Windows update, too, trigger the problem.
- To fix things, reconfigure the registry, enable SMB 1.0 and NetBIOS, or uninstall updates, amongst other solutions.
NETGEAR’s Readyshare routers enable users to connect drives, both USB and external, to them for network sharing to access data from other devices on the network seamlessly. But, for some, ReadySHARE is not working in Windows.
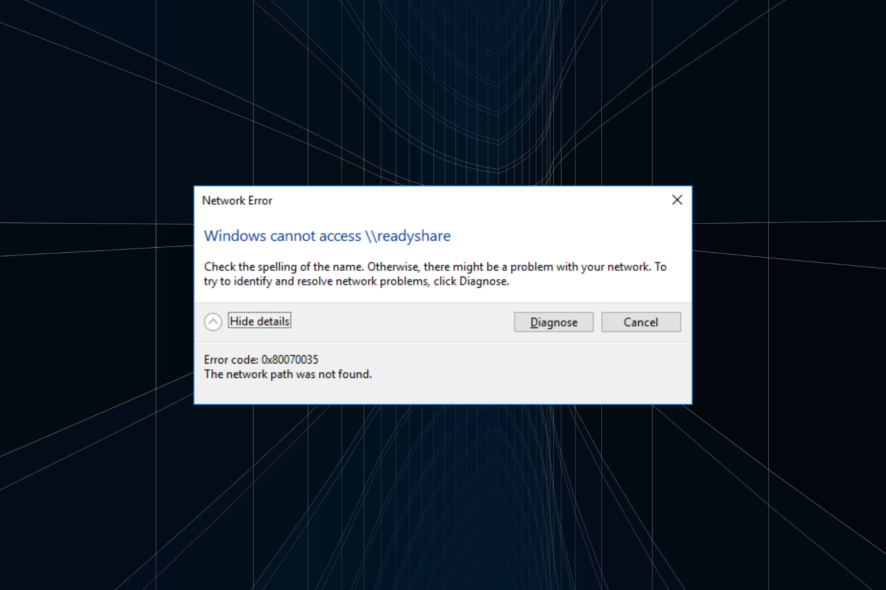
In a few cases, users come across the Windows cannot access \READYSHARE error while sometimes, the ReadySHARE drive is not showing up. There could be several reasons behind the problem and just as many solutions. So let’s go through them all.
Why Windows cannot access ReadySHARE?
Here are a few reasons ReadySHARE is not showing up on the network in Windows 10:
- Drive is not compatible with ReadyShare: A common reason you are facing the issue is when the drive doesn’t support the ReadySHARE feature. So you will have to verify that.
- Misconfigured settings: Misconfigured network settings on the PC or a third-party app conflicting with the properties can lead to ReadySHARE not working.
- Buggy Windows update: A buggy Windows update is just as likely to trigger the issue, and uninstalling Windows updates should do the trick.
- Improper connections: When the connection between the storage device and the router is not proper, you will find ReadySHARE not recognizing the USB drive.
What can I do if ReadySHARE is not working on Windows 10?
Before we proceed, perform these quick checks:
- Go to NETGEAR’s official website and verify whether your drive is compatible with the drive-sharing feature. In case yours is not compatible, get one that is.
- Restart both the computer and the router, and reconnect the storage device.
- Make sure the cable used for the connection, if any, is not damaged.
If none work, move to the solutions listed next.
1. Adjust IP and DNS settings
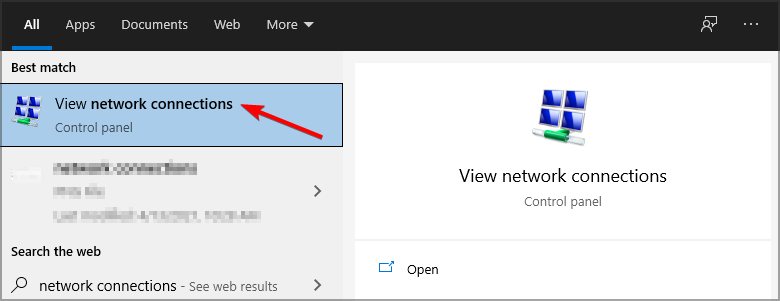
- Press Windows + S to open Search, type View network connections, and click the relevant result.
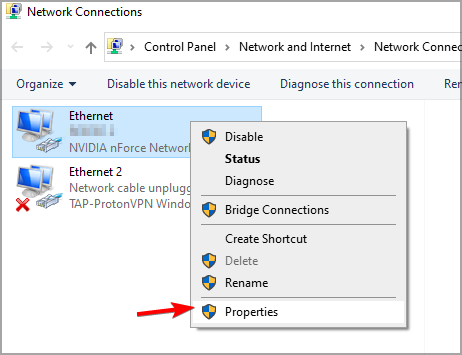
- Right-click your net connection and select Properties.
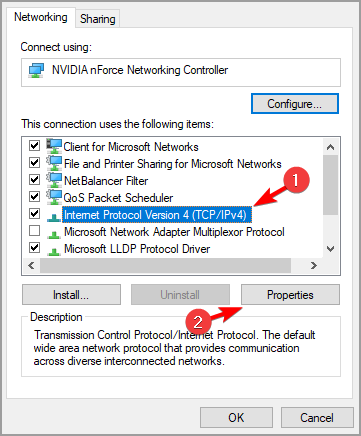
- Select Internet Protocol Version 4 and click Properties.
- Select the Obtain an IP address automatically option.
- Then select the Obtain DNS server address automatically radio button.

- Click the OK option.
After changing your network settings, check whether ReadySHARE now starts working.
2. Turn on network discovery
- Press Windows + S to open Search, type Control Panel, and click on the relevant result.

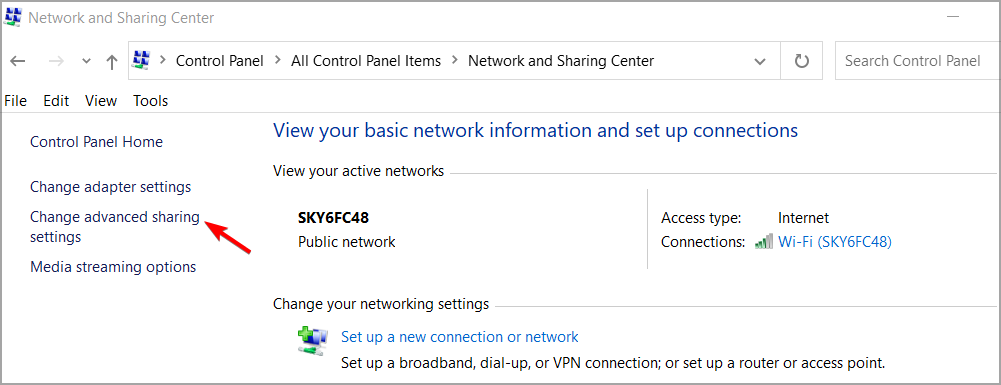
- Click the Network and Sharing Center option.
- Then click Changed advanced sharing settings on the left of the Network and Sharing applet.
- Select the Turn on network discovery radio button.

- Don’t forget to press the Save changes button.
According to some users, enabling Network discovery should help if Windows cannot access Readyshare, so be sure to try that.
3. Select the Enable insecure guest logins policy
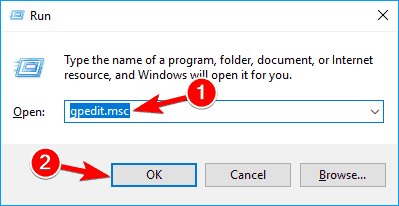
- Press Windows + R to open Run, type gpedit.msc in the text field, and click OK.
- Click Computer Configuration and go to Administrative Templates on the left of Group Policy Editor.
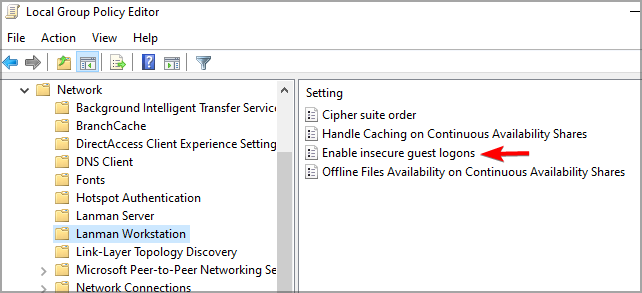
- Then select the Network and choose Lanman Workstation to open Lanman Workstation policies.
- Double-click Enable insecure guest logons on the right.
- Select the Enabled radio button.

- Press the Apply button to save the new policy setting and click OK.
After making these changes, check whether the ReadySHARE is still not working or if the problem is resolved.
4. Enable NetBIOS
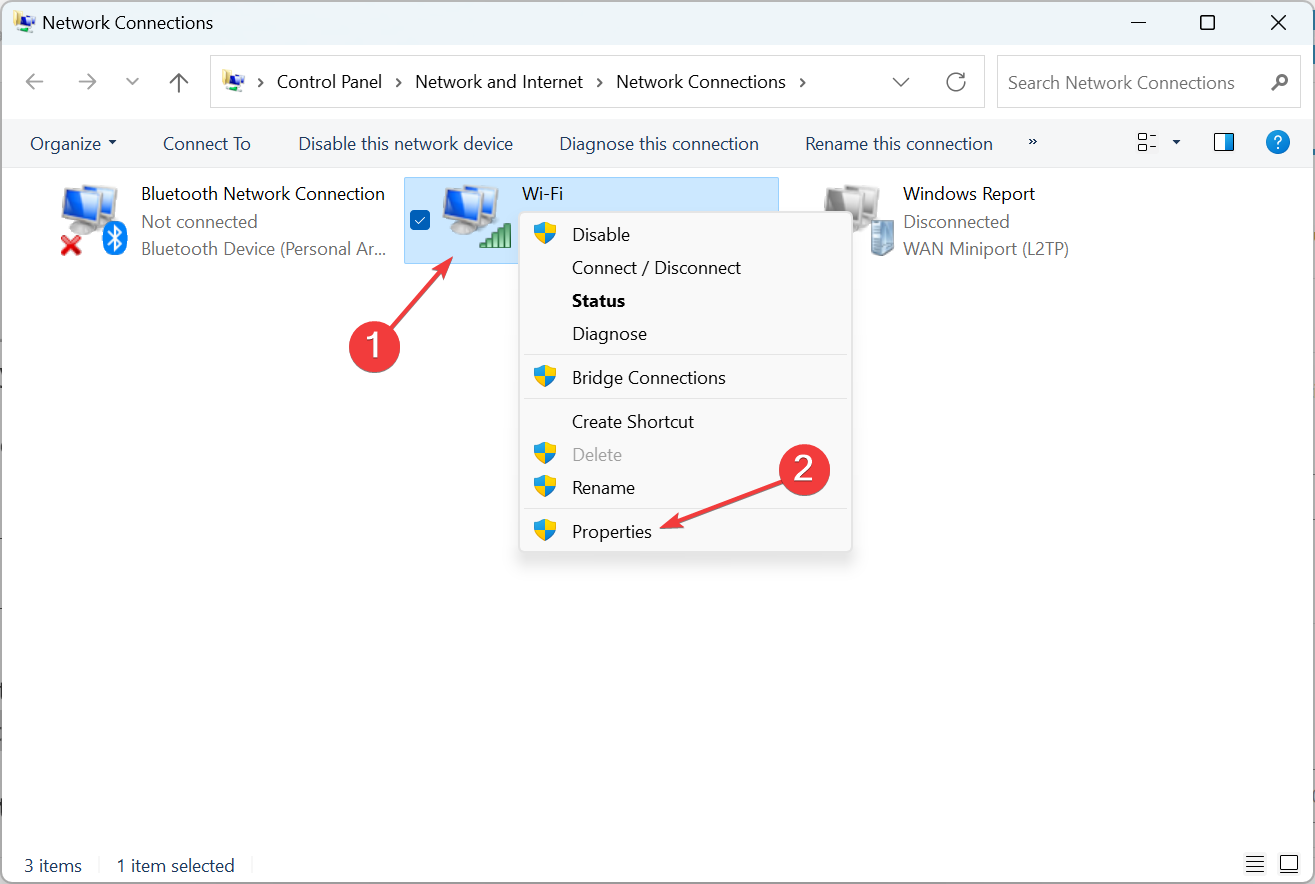
- Press Windows + R to open Run, type ncpa.cpl, and hit Enter.

- Right-click on the Wi-Fi adapter and select Properties.
- Select Internet Protocol Version 4 (TCP/IPv4) and then click Properties.

- Now, click on the Advanced button.

- Now, navigate to the WINS tab, select the Enable NetBIOS over TCP/IP option, and click OK.

A quick solution shared by some users when ReadySHARE is not working is to enable NetBIOS in the network settings. If things still don’t work, move to the next solution.
5. Edit the registry
- Press Windows + R, type regedit in the text field and click OK.

- Next, navigate to this registry key path:
Computer\HKEY_LOCAL_MACHINE\SYSTEM\CurrentControlSet\Services\LanmanWorkstation\Parameters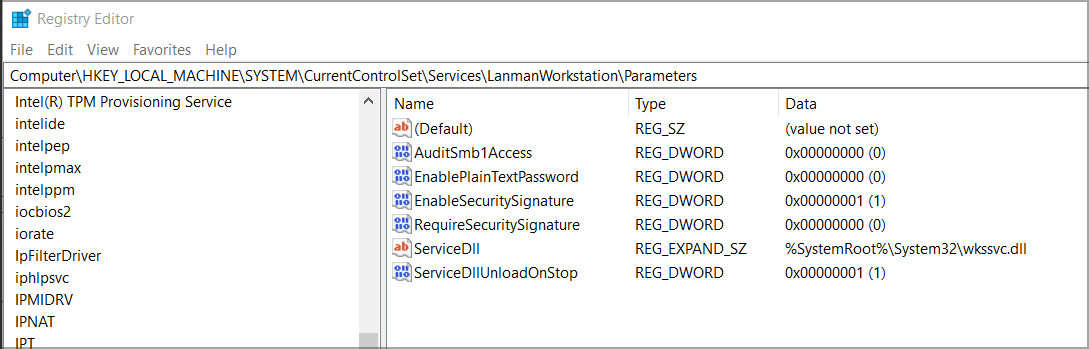
- If you can’t find an AllowInsecureGuestAuth DWORD there, right-click within the right side of the Registry Editor window, select New, and choose DWORD. Then enter AllowInsecureGuestAuth as the DWORD title.

- Double-click AllowInsecureGuestAuth to modify its value.

- Enter 1 under Value data, and click OK to save the changes.
Once you make these changes, check if Windows still cannot access Readyshare.
6. Make sure SMB 1.0 is enabled
- Open Windows 10’s search tool.
- Enter the keyword Windows features within the search box. Select Turn Windows features on or off.

- Click Turn Windows features on or off within the search results to open the window in the snapshot below.

- Double-click the SMB 1.0 checkbox to expand it.
- Then click SMB 1.0/CIFS File Sharing Support to select all the SMB 1.0 checkboxes.
- Select the OK option.
- Thereafter, click the Restart now button.
7. Uninstall recent Windows updates
- Press Windows + I to open Settings, and select Update & Security.

- Now, click on View update history on the right.

- Choose Uninstall updates.

- Select a recent update after which the problem first appeared, and click Uninstall.

- Click Yes in the confirmation prompt.
For some users, ReadySHARE was not working after an update, and once the buggy version was uninstalled, things soon got up and running. And by now, the problem should be gone for good with one of our solutions.
Before you leave, check some quick tips to increase the Internet speed in Windows.
Did you find a different solution? If so, feel free to share it with us in the comments section.
Read our disclosure page to find out how can you help Windows Report sustain the editorial team. Read more


Improve this guide


User forum
0 messages