How to fix Windows update error 0x8024a000 in a few steps
5 min. read
Updated on
Read our disclosure page to find out how can you help Windows Report sustain the editorial team Read more
When getting the error code 0x8024a000, remember that it is related to a Windows update. You might see it when you try to update Windows from Microsoft’s site.
There’s nothing wrong with wanting to use the latest features and technologies. A connection interruption between your computer and the Windows Update server may be causing this error.
To further work around this problem, note that a missing Internet connection from the start could also lead to receiving the error 0x8024a000 you’re currently trying to fix. The list further extends to faulty hardware components, an infected system with malicious programs, file corruption, and more.
You can try to fix this Windows update error on your own. However, taking the experts’ guidance is recommended to simplify the process. Try to look for a solution here and you won’t walk away disappointed.
How can I get rid of Windows update error 0x8024a000?
1. Exclude faulty cable, router or modem
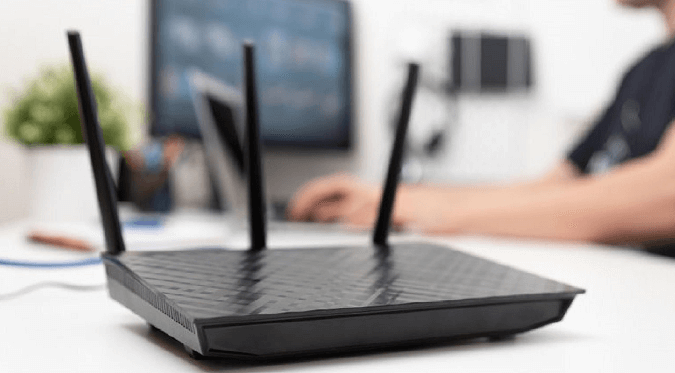
Check your modem, router, cable, etc. to be sure that all these components are working well. You should also restart the router and try again to complete the update.
If nothing looks shady here, please move on to the next step.
2. Run an antivirus scan
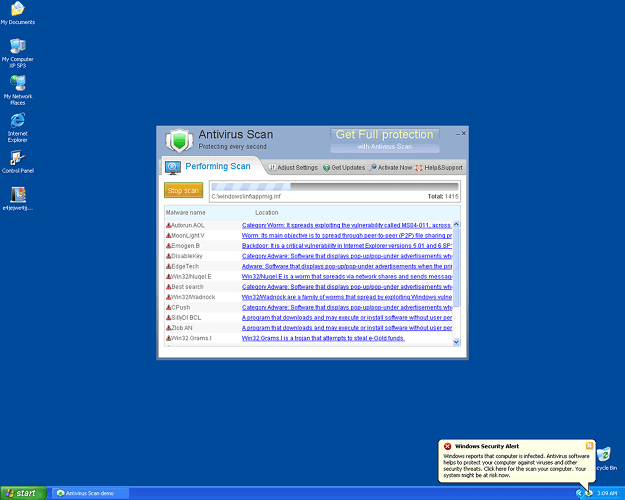
What if your system is infected with malicious programs? Rule out this possibility too by running the Windows Defender program built-in to your PC to scan for malware or viruses.
If it does identify any malware, you should remove it from your PC and go back to whatever you were doing when you received the error code.
Need help with that? We’ve listed the best virus removal tools for Windows 10 to choose from.
3. Run Windows Update Troubleshooter
- Type troubleshooting in the Windows Search bar.
- Click on Troubleshooting.
- Next, from the left window pane, select View all.
- Alternately, you could select Start > Settings > Update & Security > Troubleshoot.
- Select Windows Update from the Troubleshoot computer problems list presented.
- Follow on-screen instructions and answer any specific questions.
- Let Windows Update Troubleshoot run.
- Then, restart your PC.
Let’s take into consideration this scenario as well. A corrupt download or the incomplete installation of Windows Update software is causing this error. The same goes for a potential operating system overload or deleted system registry files.
We have just shown you above how to let Windows Update Troubleshooter handle any of these. At the end of the procedure, try reinstalling the updates which were not completely installed previously.
Can’t open the Setting app? Take a look at this article to solve the issue.
4. Clean the Windows Update temporary cache folder
- Press Win + R keyboard hotkey, then type services.msc.
- Hit Enter.
- A new window will open containing all Windows services on your system. Search for Windows Update.
- Right-click it.
- Up next, click on the Stop button.
- You are now ready to clean the Windows Update temporary cache folder, so hold your Windows key pressed and hit the R key at the same time.
- A new window appears next, so type %windir%SoftwareDistributionDataStore.
- Click OK.
- This will open Windows Explorer. You may now delete all contents of the given folder.
In case the above troubleshooter doesn’t work, you’re entitled to suspect that the issue is related to old downloaded Windows updates corrupted on your system.
Refer to the procedure here described to clear the temporary cache folder. Then, you can switch back to Windows Services.
Locate Windows Update, right-click on it and choose Start. In this way, your issue should be fixed by now.
5. Run Deployment Image Servicing and Management
- Press Windows key + X, then select Command Prompt (Admin).
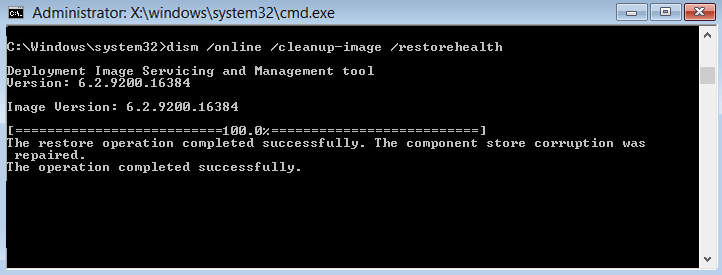
- Enter the following command in cmd: DISM.exe /Online /Cleanup-Image /RestoreHealth.
- Hit Enter.
- After the procedure is completed, type the following in the cmd: sfc /scannow.
- Let System File Checker run.
- Finally, restart your PC.
If you’re having trouble accessing Command Prompt as an admin, then you better take a closer look at this guide.
scannow command has stopped before the process finished? Don’t worry, we’ve got an easy fix for you.
If the error occurs again, then running DISM is your best shot now.
If the
DISM.exe /Online /Cleanup-Image /RestoreHealth command
doesn’t work, then try entering this one instead:
Dism /Image:C:offline /Cleanup-Image /RestoreHealth /Source:c:testmountwindows
Dism /Online /Cleanup-Image /RestoreHealth /Source:c:testmountwindows /LimitAccess
It seems that everything is lost when DISM fails on Windows? Check out this quick guide and get rid of the worries.
Another efficient solution is to reinstall Windows 10. This method should be used as a last resort since it can sacrifice your data and all applications on your drive.
We hope our suggestions proved to be helpful when it comes to getting a fresh download of the update and trying to install it again.
If you still have any other questions or suggestions, don’t hesitate to leave them in the comments section below.
READ NEXT:

