How to Get Rid of 0x8004070c Chrome Installation Error
To fix this error, you have to slightly modify the registry
Key notes
- Changing the registry can resolve this 0x8004070c Chrome installation error.
- Omitting the Chrome residual files is quite effective in tackling this error.

Many tech enthusiasts have expressed their grievances regarding the 0x8004070c Chrome installation error.
The matter at hand bears some resemblance to the Chrome 0xc00000a5 error, which we have previously addressed in a previous guide.
Let us first delve into the root cause of this problem before we proceed with any rectification measures.
What is 0x8004070c Chrome installation error?
0x8004070c Chrome Installation Error is a Chrome error and it’s usually caused by the following:
- Insufficient permissions – There could be less permission that might prompt this error whenever you try to run the Chrome browser.
- Corrupt installation setup files – The setup files might be corrupted while installing the Chrome browser on your device.
- Interruptions due to third-party apps – Some other third-party apps in the background running might clash with the Chrome browser.
How can I fix this 0x8004070c Chrome installation error?
1. Modify the registry
- On your system click the Windows key and then R, type regedit, and choose OK.

- Once the Registry Editor opens, navigate to the following path:
HKEY_LOCAL_MACHINE\SOFTWARE\Microsoft\Windows\CurrentVersion\Setup\State
- On the right panel, double-click on the ImageState entry, clear the value data, and select OK.

- Now, navigate to the following path:
HKEY_LOCAL_MACHINE\SOFTWARE\Google\Update\Clients - Here, locate {430FD4D0-B729-4F61-AA34-91526481799D} key, right-click on it, and select Delete.

- Restart your PC once you are finished and try installing Chrome.
2. Delete Chrome residual files
- Press the Windows key + E to open File Explorer.
- Paste the following in the address bar and click Enter:
%LOCALAPPDATA%\Google\Chrome\User Data\

- Next, search for the folder named Default. Right-click it and choose Rename.
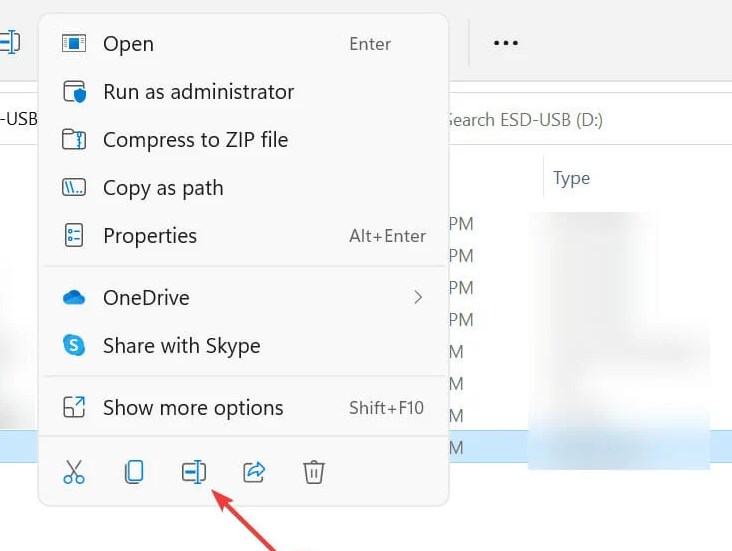
- Rename this folder as Default.old.

- Restart your system.
Several users have suggested the removal of Google Chrome and the deletion of associated files and folders from specific directories.
We trust that this manual has assisted you in addressing your predicament. If you come across any additional hurdles, we recommend our guide for users who can’t install Chrome.
If you could kindly comment below and let me know which solution worked best for you, it would be greatly appreciated.
Read our disclosure page to find out how can you help Windows Report sustain the editorial team. Read more


Improve this guide


User forum
0 messages