Error 0x8007112a: How to Fix This Files And Folders Issue
Try these simple solutions for error 0x8007112a right away
4 min. read
Updated on
Read our disclosure page to find out how can you help Windows Report sustain the editorial team Read more
Key notes
- Windows error deleting folder 0x8007112a occurs because of permission issues.
- Interference from other apps can cause issues when you try to move or delete folders on your PC.
- Running a File and Folder troubleshooter often fixes the issue in no time.
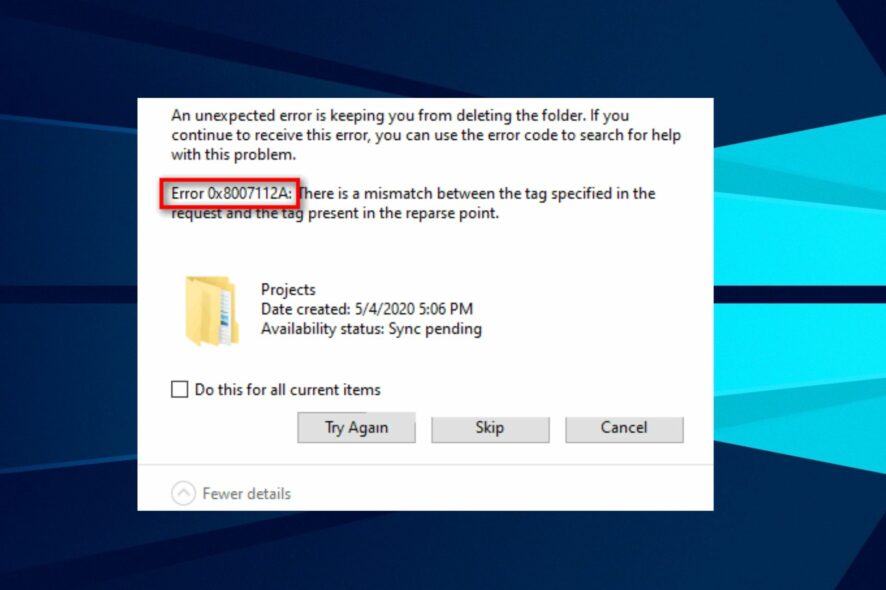
Users may encounter error 0x8007112a: There is a mismatch between the tag specified in the request and the tag present in the reparse point when moving or deleting folders.
Also, some reports running into the access denied error when deleting folders in Windows 10.
What causes the error code 0x8007112a?
The error code 0×8007112a is common in Windows 7 & 10 and can occur for many reasons. A prominent factor that causes the error is folder permission issues on your PC. When you’re not using the PC on an administrator’s, you may not have the right to delete the folder.
Furthermore, you can see the Microsoft error deleting folder 0x8007112a due to the factors:
- Conflict with other apps – You can run into issues with deleting or moving folders on your PC if other apps are conflicting with File Explorer. Third-party apps, such as antivirus software on your computer, can block your access to the folder you want to delete. Also, if other apps are using the file or folder in question, it can prevent you from deleting it.
- Recent Windows update issues – If there is a faulty Windows update, it can corrupt the files and folders on your PC. Likewise, the Update can install bugs on your PC, corrupting your system files and resulting in Windows error 0x8007112a when deleting or moving folders.
These causes may vary on different devices, but you can fix the error using general fixes to troubleshoot your PC.
How can I fix the error code 0x8007112a?
Go through the following preliminary checks:
- Stop background apps running on your computer.
- Disable antivirus software on your PC.
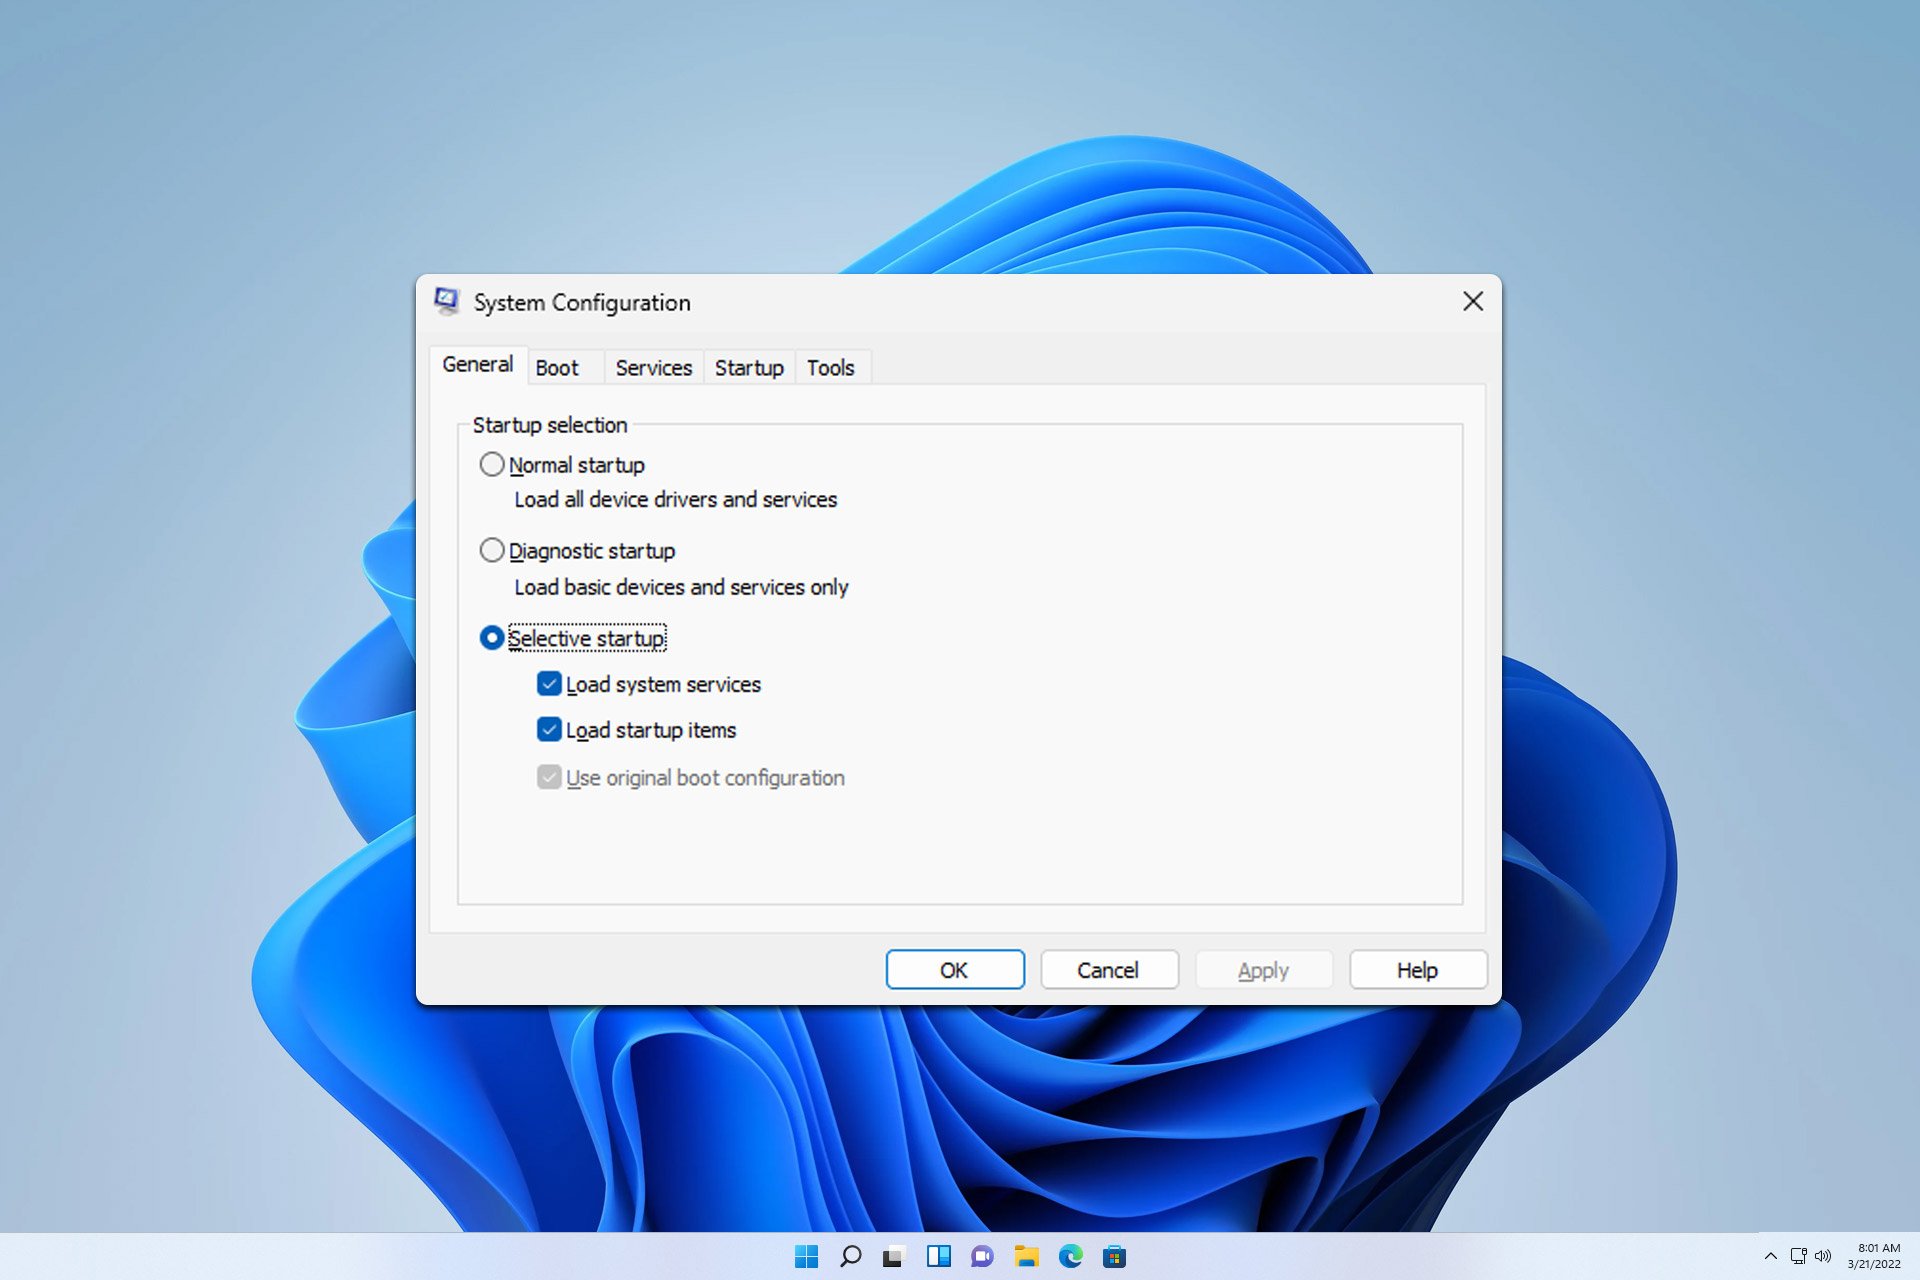
- Restart Windows in Safe Mode and check if the Windows error 0x8007112a error persists.
If you can’t fix the error, proceed with the solutions below.
1. Run the SFC and DISM scans
- Left-click the Start button, type Command Prompt, and select Run as administrator.
- Choose Yes if the User Account Control prompt appears.
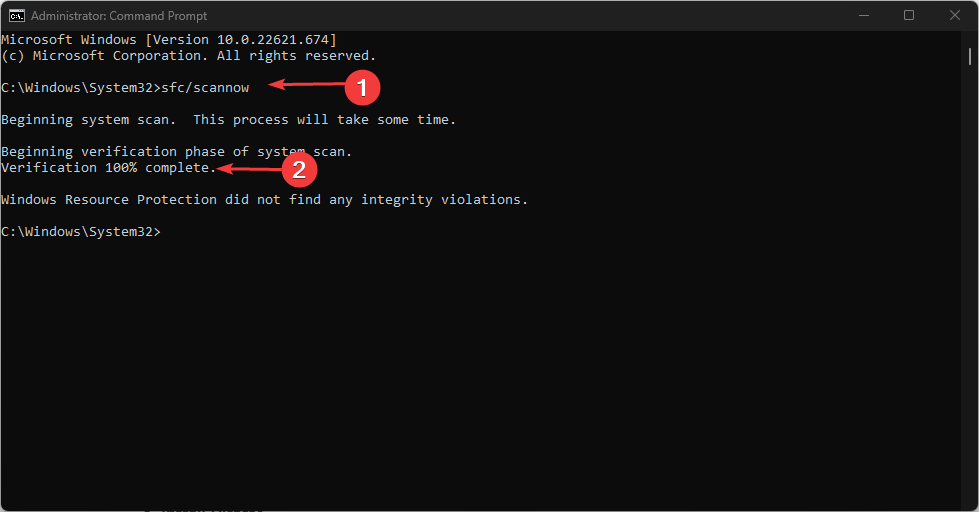
- Type the following commands and press Enter:
sfc /scannow - Type the following commands and press Enter:
DISM /Online /Cleanup-Image /RestoreHealth - Restart your PC, try moving or deleting the folder, and check if the error appears.
Running the SFC and DISM scan will find and repair corrupt system files that can cause the error 0x8007112a mismatch. You can check how to fix the run as the administrator option not working on your PC.
2. Run the File and Folder Troubleshooter
- Download Windows File & Folder troubleshooter on your browser.
- Open the downloaded file and Choose Yes if the User Account Control prompt appears.
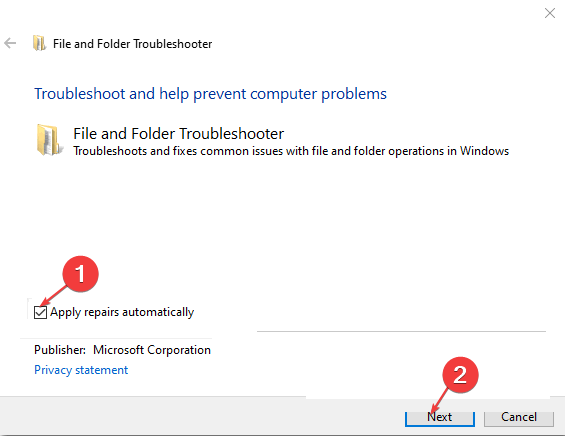
- Click on Advanced and check the box for Apply repairs automatically, then click the Next button to start scanning.
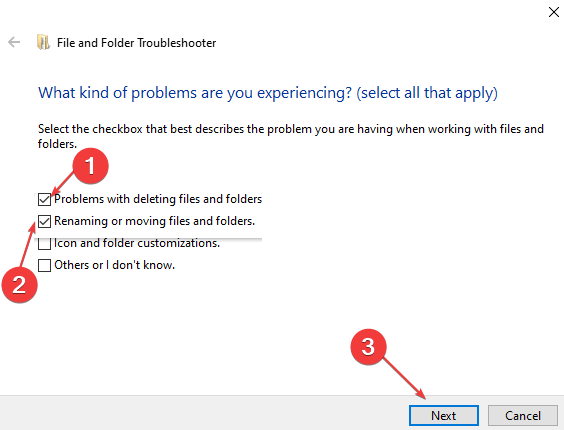
- After the scan, check the boxes for Problems with deleting files & folders and Renaming or moving files and folders. Then click Next.
- Once the Scan is complete, restart your PC and check if the error persists.
The troubleshooter will fix issues File and Folders causing the error to occur.
3. Run System Restore
- Left-click the Start button and type Restore, then click Enter.
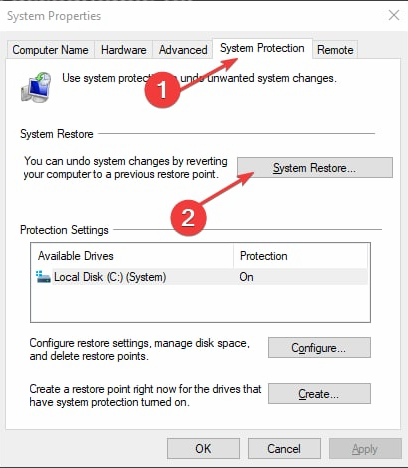
- Go to the System Protection tab and select System Restore.
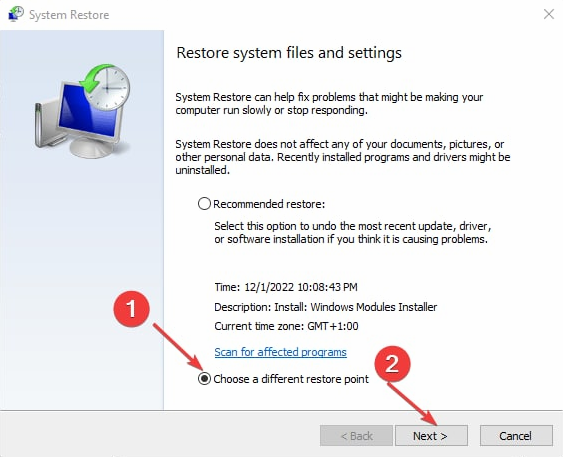
- Choose a different system restore and click Next to select a specific Restore Point.
- Select the last time your PC worked perfectly, and click Next.
- Click the Finish button.
The System Restore will backdate your PC to when it functioned properly, removing the corrupt items and apps that can cause the error.
A more efficient and easier way to proceed with the System Restore is by using a specialized repair tool that can do this automatically.
Check how to fix Restore Point if it’s not working and if you have any issues running it on your PC.
4. Run your Account as an Administrator
- Press Windows + R to open the Run dialog box, type netplwiz, and press Enter to open the User Account page.
- Select the User account you want to set as the default user and click the Properties button.
- Navigate to the Group Membership tab, click Administrator, tap on Apply, then OK to save the changes.
- Restart your PC to initiate the Account changes.
Running your Account as an Administrator will fix any authorization settings issues that are causing the error to appear.
Alternatively, you can check our article on the Login with administrator privileges and try again error and how to fix it.
Also, we have a guide on the best file deletion software to download for your Windows 11 PC.

