Simplest Ways to Connect an RGB Controller to Your PC
Easy methods for a fulfilling visual experience
5 min. read
Updated on
Read our disclosure page to find out how can you help Windows Report sustain the editorial team. Read more
Key notes
- RGB controllers are used for many purposes, such as for gaming, RGB lights, and creating a certain mood using colors.
- You can use an RGB controller to control your PC's color scheme, but it's not as simple as plugging it in, you need to install software that supports the controller.
- We share what requirements will get you using the RGB controller without too many technicalities.

Controllers have come a long way. From connecting your PS4 controller to your PC, users can now take charge of their PC settings using the RGB controller to adjust the LED settings.
RGB stands for red, green, and blue; when you combine these colors in different amounts, you can create virtually any color in the spectrum. This looks interesting, so let’s get down to how you can connect this controller to your PC.
Can I connect the RGB controller to motherboard?
Yes, you can. While it’s good news that you can connect your RGB controller to your PC, it’s not just any PC that will do. Your PC needs to meet certain requirements. No need to get cold feet as it’s nothing out of the ordinary.
As we said in our title, we shall be showing you the simplest way to connect your RGB controller to your PC, and we intend to keep our promise.
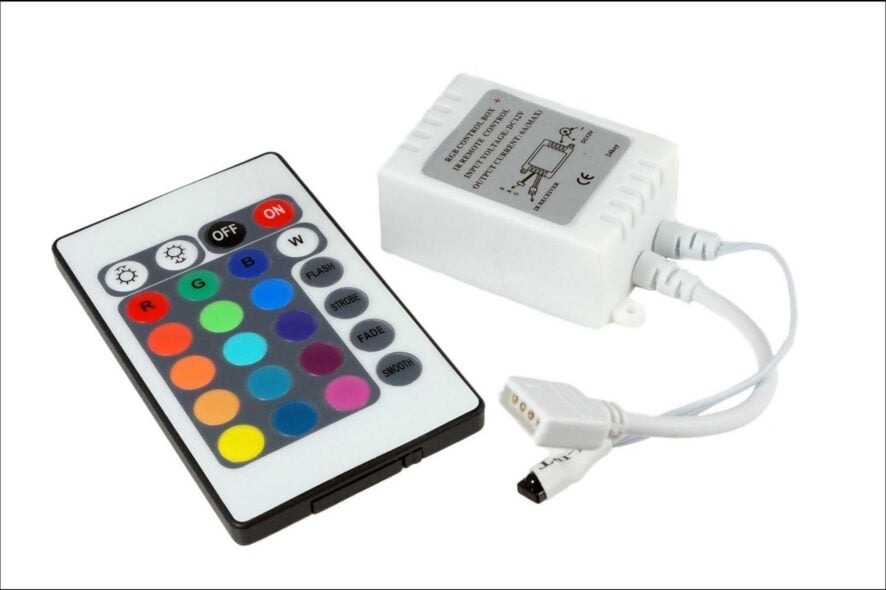
Your motherboard plays a key role, especially if you’re yet to purchase the RGB controller. There exist three types of RGB controller fans:
- 4-pin RGB headers
- 3-pin RGB headers
- RGB fans without headers
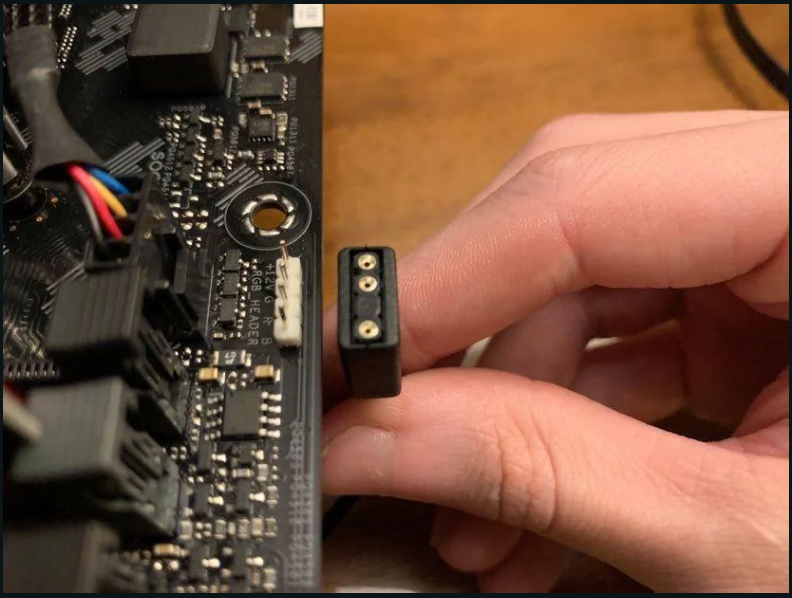
Most RGB fans use either 3-pin or 4-pin connectors for power and data connection from your motherboard. The main difference is that you’ll need a connector for the 4-pin.
If you attempt to connect it directly, you risk shorting your motherboard. This should act as guidance when purchasing your controller for compatibility purposes.
If you’re unsure what type of motherboard you have, you can check from your manufacturer’s site or contact them directly.
However, if you’re yet to acquire one, we have an awesome recommendation of the best RGB motherboards for the ultimate experience.
How to connect RGB fans to the motherboard?
1. 3-pin RGB header
- You’ll need to switch off your PC and open your CPU case to locate the RGB connector.
- Your motherboard will be exposed, and you’ll have to locate the RGB header.
- It will typically be labeled as RGB or ARGB, depending on your model.
- Once you’ve spotted the correct slot, find your RGB kit and insert the corresponding 3-pin cable onto the RGB slot until you hear a clicking sound. This means that it has been securely connected.
- And that’s it. Simple right?
Next, you’ll need to install the corresponding RGB controller software compatible with your motherboard to control the lights.
This is by far the easiest to connect to your motherboard. Moreover, most people looking to use the RGB controller are already operating older PCs where the 3-pin headers are common.
Onto the not-so-simple methods for the 4-pin RGB and none-RGB motherboards.
2. 4-pin RGB header
- You’ll need a fan connector.
- Next, you’ll connect one end of the cable to your motherboard’s header and the other end to the fan itself.
- The next steps are connecting it to the RGB header to your motherboard, and you’re good to go.
Most modern computers most likely have the 4-pin header. Some motherboards have built-in support for 4-pin RGB controller fans, which means connecting will be as easy as the 3-pin header ones.
On the other hand, other motherboards may not support these types of fans at all and require additional software or hardware to work.
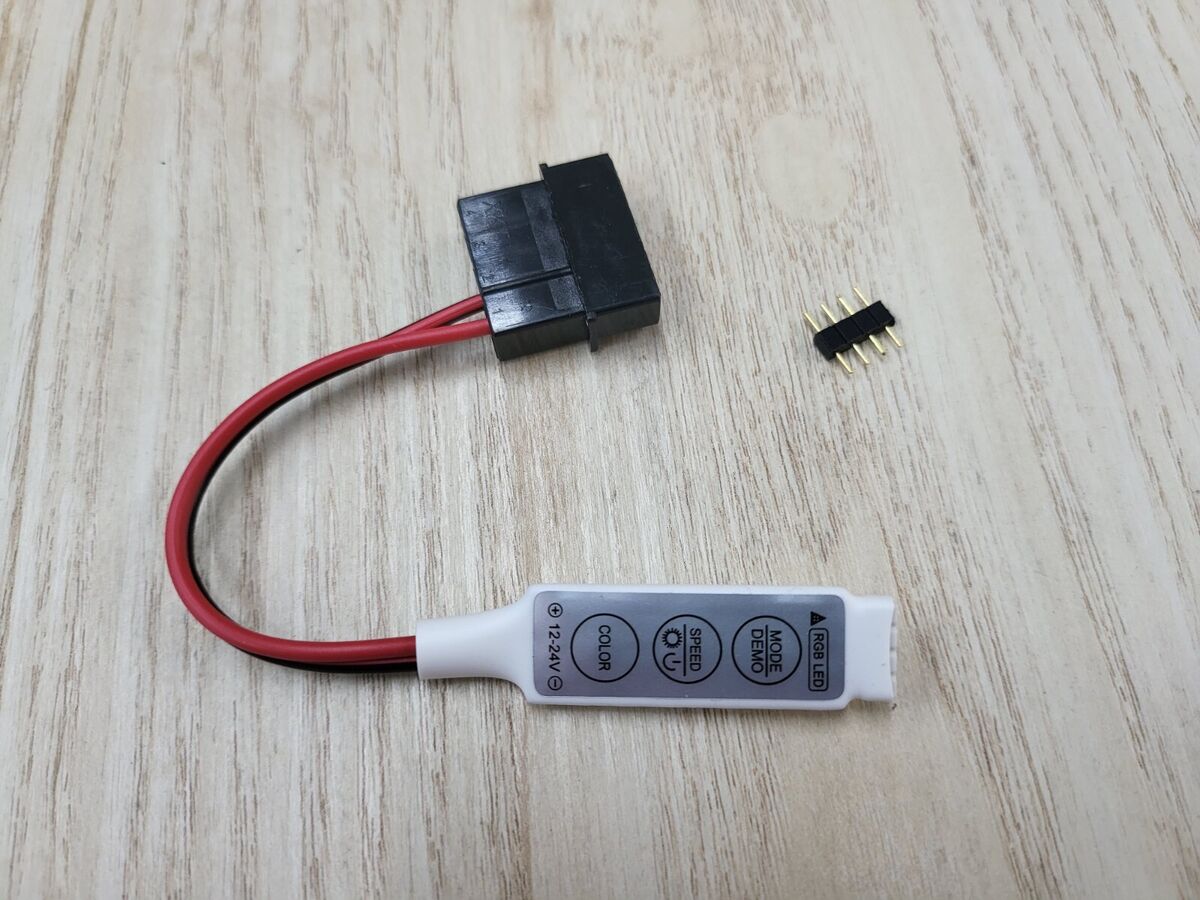
So if your motherboard doesn’t have an RGB header, you must get an adapter cable that can convert the 4-pin connector into a 3-pin one. On the bright side, using a 4-pin header comes with its perks.
Aside from controlling LED lights, you could add more fans to your PC and control their speed should you need extra airflow. PCs tend to get hot, especially with new OSes like Windows 11 that require more resources.
How to connect RGB fans to the motherboard without an RGB header?
While RGB fans are a great way to add some flair to your PC, you may be out of luck if you don’t have an RGB header on your motherboard.
Luckily there is a solution. It just takes a little extra effort. If you don’t have an RGB header on your motherboard or want to add more LED strips without buying new cables and connectors, you can use an RGB hub.
The advantage of using a hub is that you don’t have to break out any wires from the motherboard, making it easier to set up and less likely for things to go haywire. The disadvantage is that it’s one more piece of hardware you must buy.
That wraps up our simple steps on different ways you can connect an RGB controller to your PC. Hopefully, this has given you some ideas about how to use your RGB controller with your PC.
If you prefer software solutions, you might want to learn more about Dynamic Lighting feature on Windows 11 that brings native support for RGB lighting to your OS.
While you’re still here, check out how to connect your PS3 controller on your PC.
We’re happy to hear any other suggestions or tips you may have on this topic, so leave a comment below.


User forum
0 messages