ERROR_CARDBUS_NOT_SUPPORTED: 6 Easy Ways to Fix This BSoD
Make sure all Windows Updates are installed properly
![]() 5 min. read
5 min. read
![]() Published on
Published on
Share this article
Improve this guide
Read our disclosure page to find out how can you help Windows Report sustain the editorial team. Read more

The ERROR_CARDBUS_NOT_SUPPORTED with error code 724 (0x2D4) and description The inserted CardBus device cannot be started because of a configuration error on “%hs” is an error related to CardBus devices, which is usually used in older hardware like laptops or PCs with PCMCIA cards or CardBus devices.
You might see this error due to issues with hardware configuration or outdated or corrupted driver versions.
How can I fix ERROR_CARDBUS_NOT_SUPPORTED?
Before moving to the advanced steps, try these simple fixes:
- Check if the CardBus device is compatible with the computer’s motherboard
- Ensure the device is inserted correctly into the CardBus slot
- If your computer has multiple CardBus or PCMCIA slots, insert the device into a different slot
- In case you have an adapter, check if it is working properly
- Press Windows + X and select Event Viewer, then go to Windows Logs>System and check error messages or warnings
1. Update or reinstall the drive
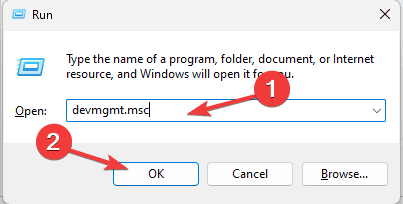
- Press Windows + R to open the Run window.

- Type devmgmt.msc and click OK to open Device Manager.
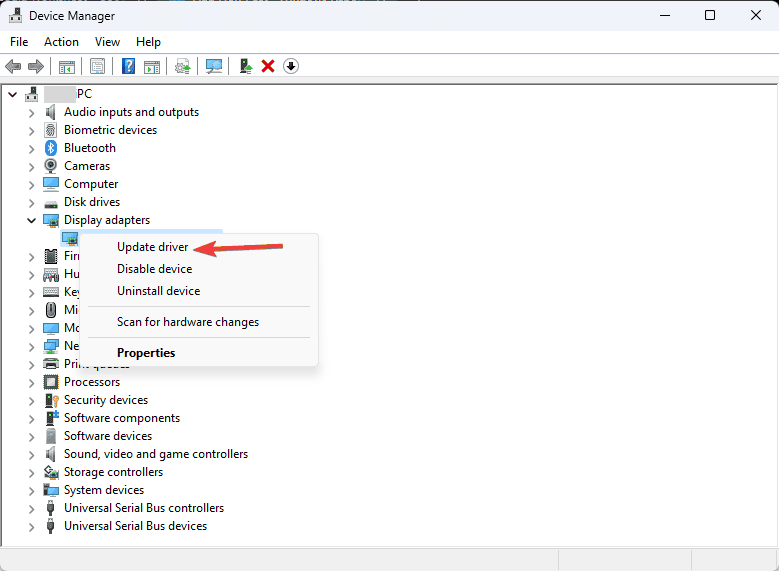
- From the list of system components, expand Network adapters, PCMCIA, or Other devices to locate the CardBus driver. Right-click it and select Update driver from the context menu.

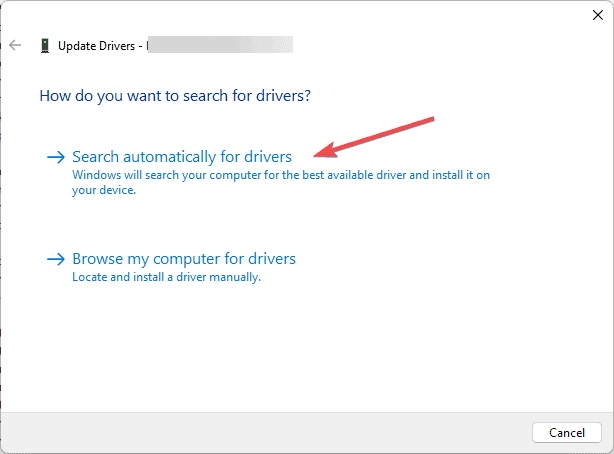
- Click Search automatically for drivers. If more than one device driver is problematic, repeat the steps to update the drivers.

Windows will try to install the latest driver; however, if it fails, you can head to the device’s manufacturer’s website and download and install the driver manually. Alternatively, you can get a reliable third-party driver updater tool to ensure all the device drivers are up to date.
If there is no update available, you can follow these steps to reinstall the problematic driver and fix the ERROR_CARDBUS_NOT_SUPPORTED:
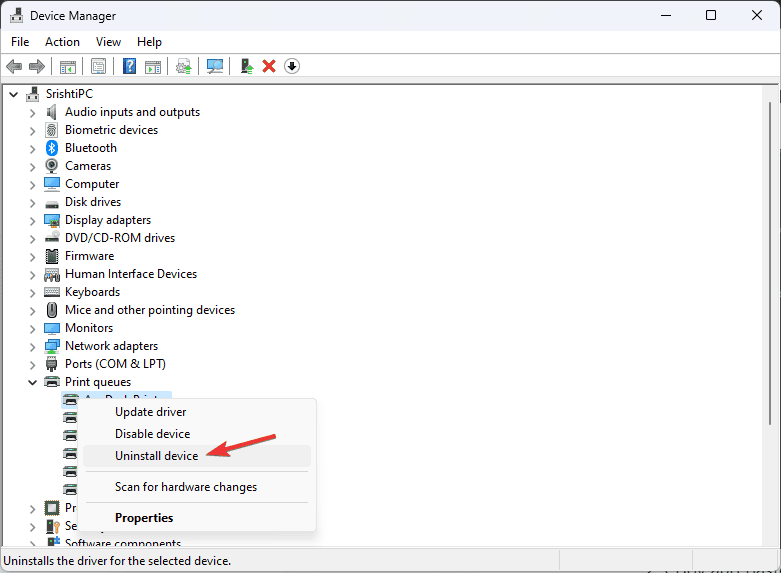
- Open Device Manager again, right-click the driver, and select Uninstall device from the context menu.
- Choose Uninstall again.
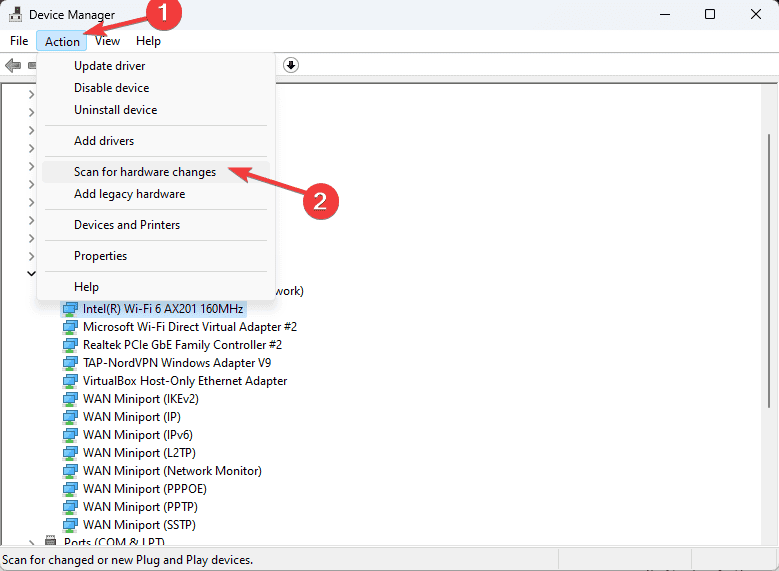
- Once uninstalled, navigate to Action and select Scan for hardware changes from the context menu.
2. Check the power settings
- Press Windows + R to open the Run window.
- Type devmgmt.msc and click OK to open Device Manager.
- From the list of system components, expand Network adapters, Other devices, or PCMCIA slots and look for CardBus or a name related to the card’s function.
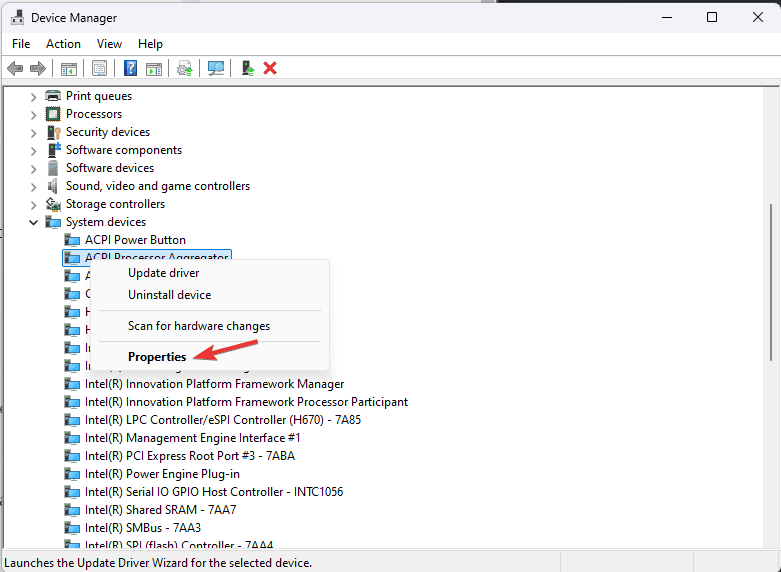
- Once located, right-click and select Properties from the context menu.

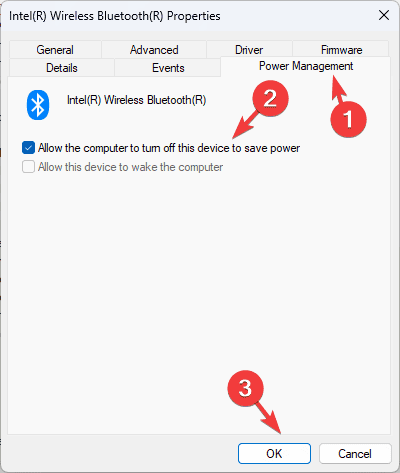
- In the Properties window, go to the Power Management tab.

- Remove the checkmark next to Allow the computer to turn off this device to save power.
- Click OK to save the changes.
3. Check the BIOS settings
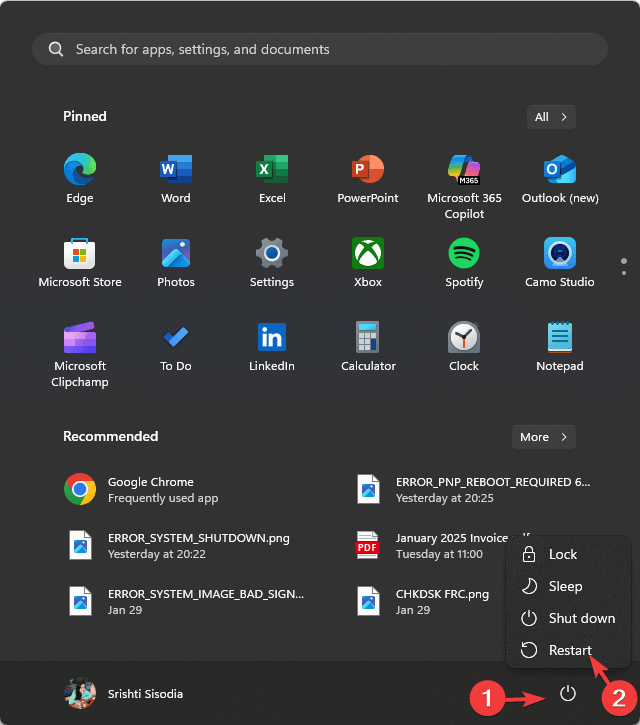
- Click the Windows key, click the Power icon, and select Restart.

- As the computer boots up, press F2, Del, Esc, F10, or any other designated key to enter the BIOS setup.
- Once in BIOS, look for any settings related to CardBus, PCMCIA, or Legacy Support.
- If the settings are available, try to switch it to Enabled if it is Disabled. If it is enabled, select Disabled.
- Press F10 to save & exit, then boot your computer.
4. Run the Windows troubleshooter
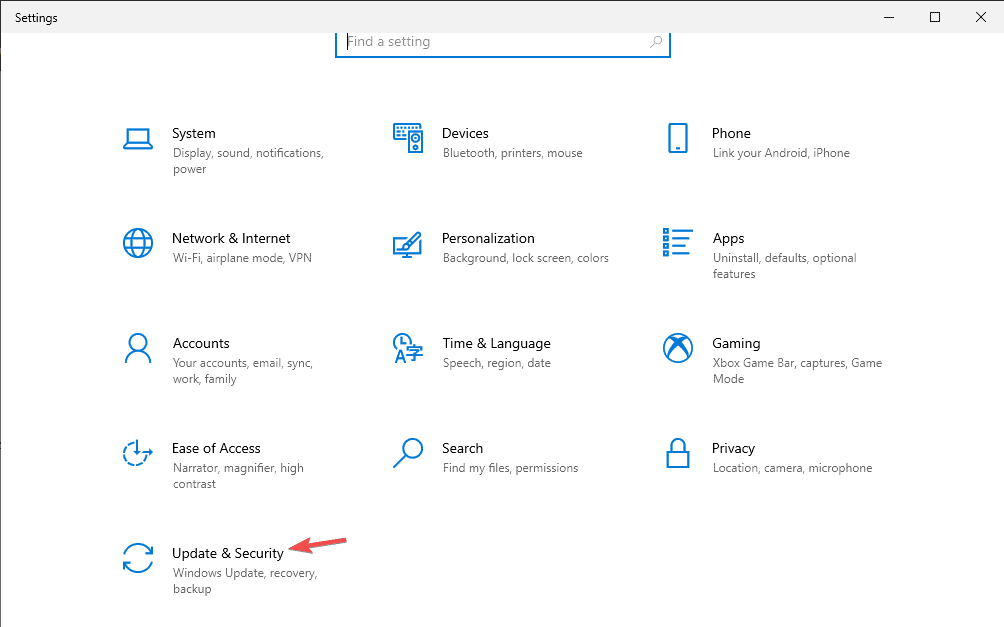
- Press Windows + I to open the Settings app.
- Click Update & Security.

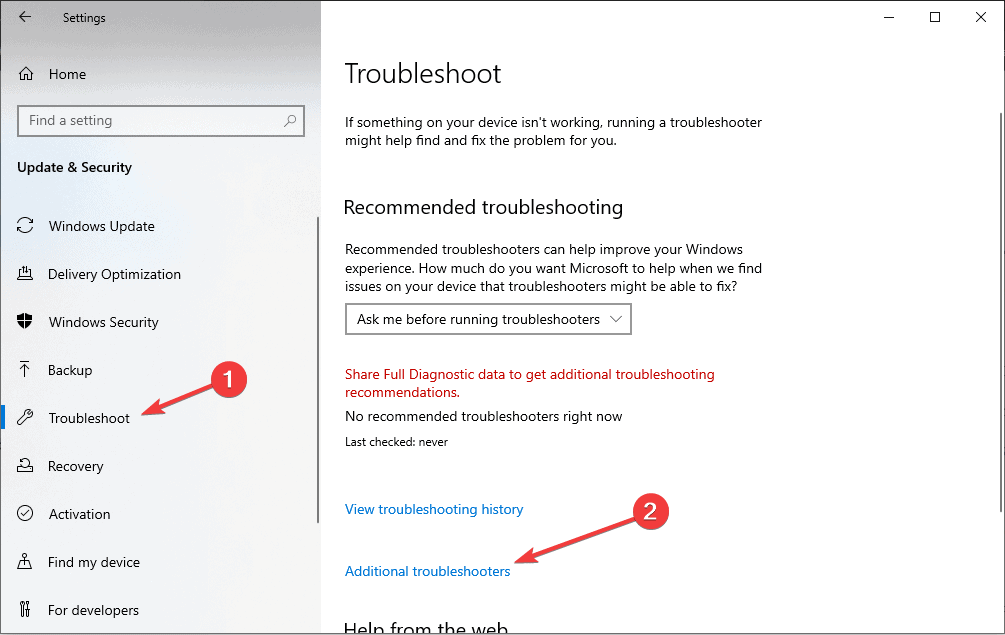
- Select Troubleshooters, then click Additional troubleshooters.

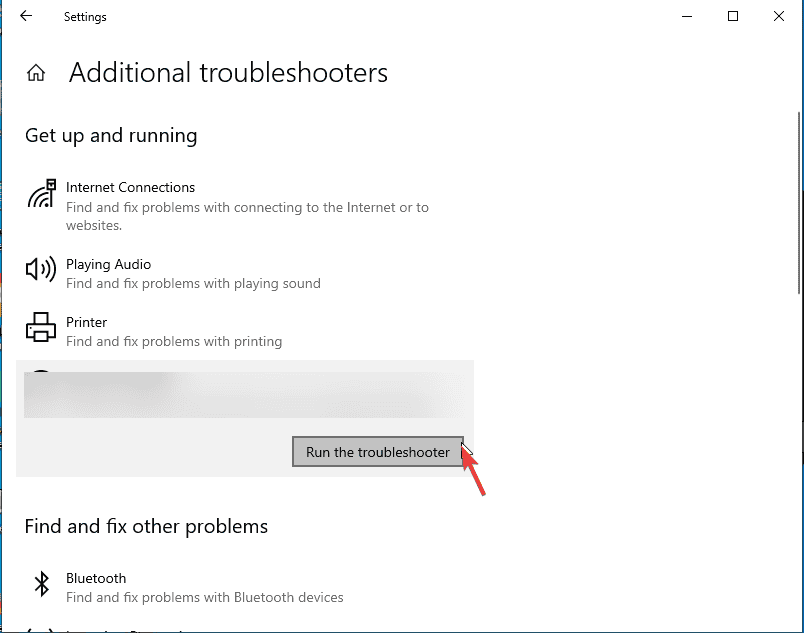
- Locate Hardware and Devices, then click it and choose Run the troubleshooter.

- Follow the on-screen instructions to complete the process.
5. Restore your PC to an older version
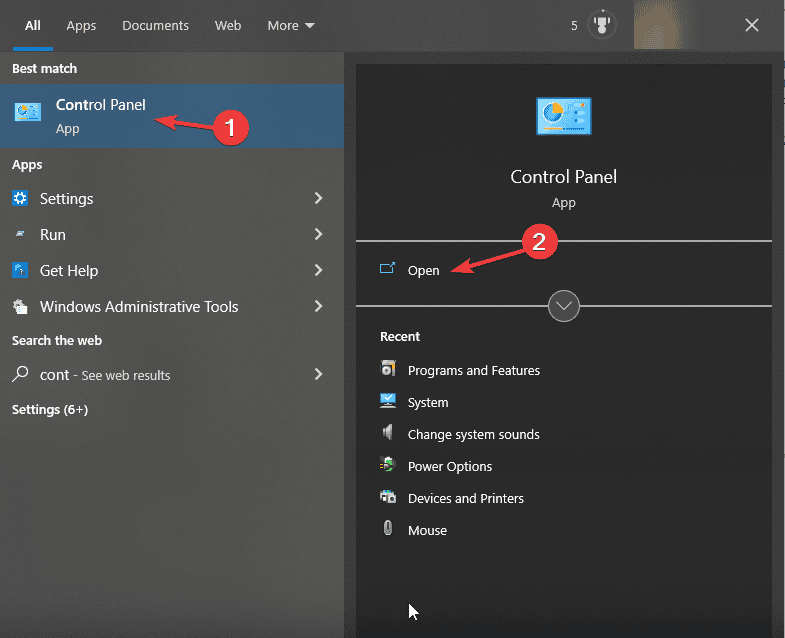
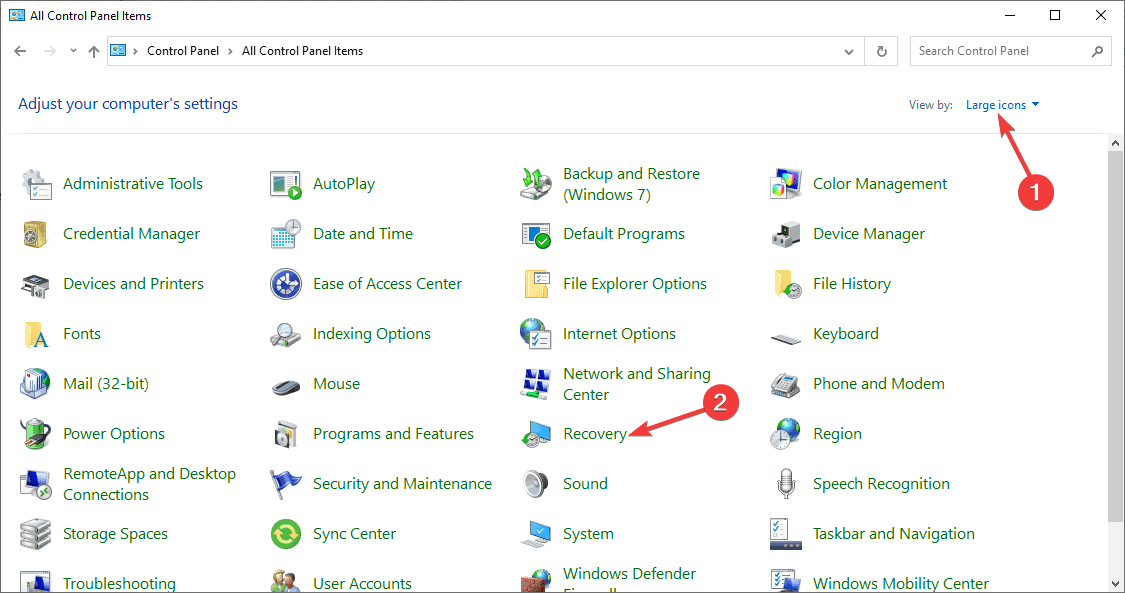
- Press the Windows key, type control panel in the search box, and click Open from the list of options to launch Control Panel.

- Select Large icons for View by and click Recovery.

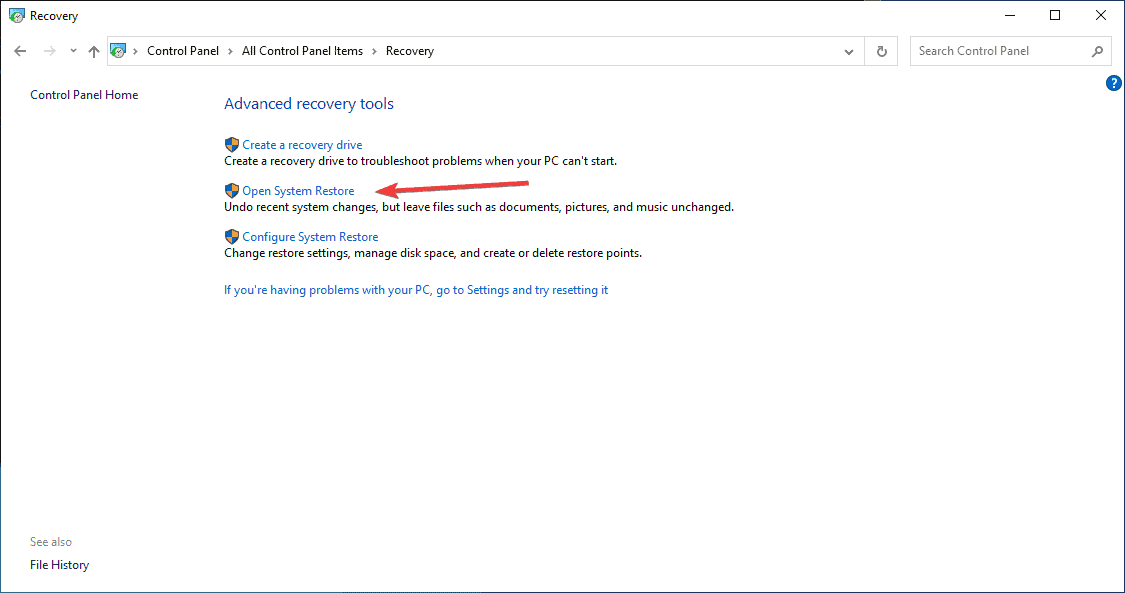
- Click Open System Restore.
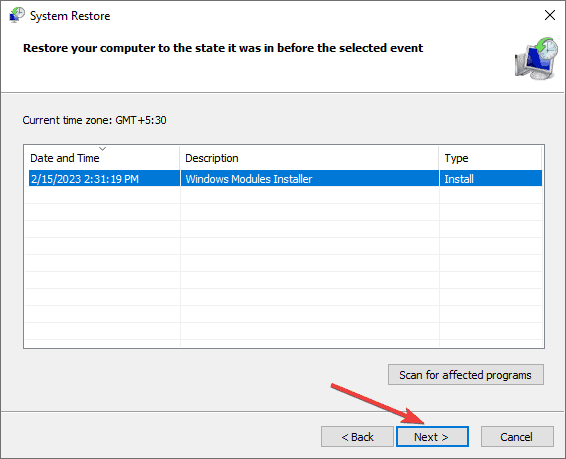
- In the System Restore wizard, select Choose a different point and click Next.
- From the list of available restore points, select the one created before ERROR_CARDBUS_NOT_SUPPORTED appeared, then click Next to proceed.

- Click Finish to initiate the process.
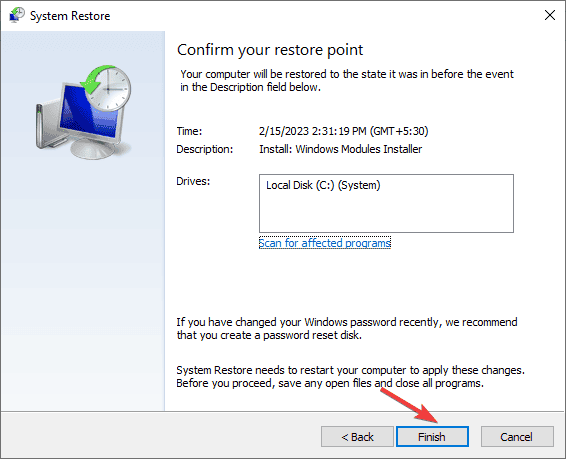
Windows will restart and restore your system settings to the chosen point. However, if it fails, and you get System Restore did not Complete Successfully message after restart due to the conflicting drivers, or corrupted system files on your computer.
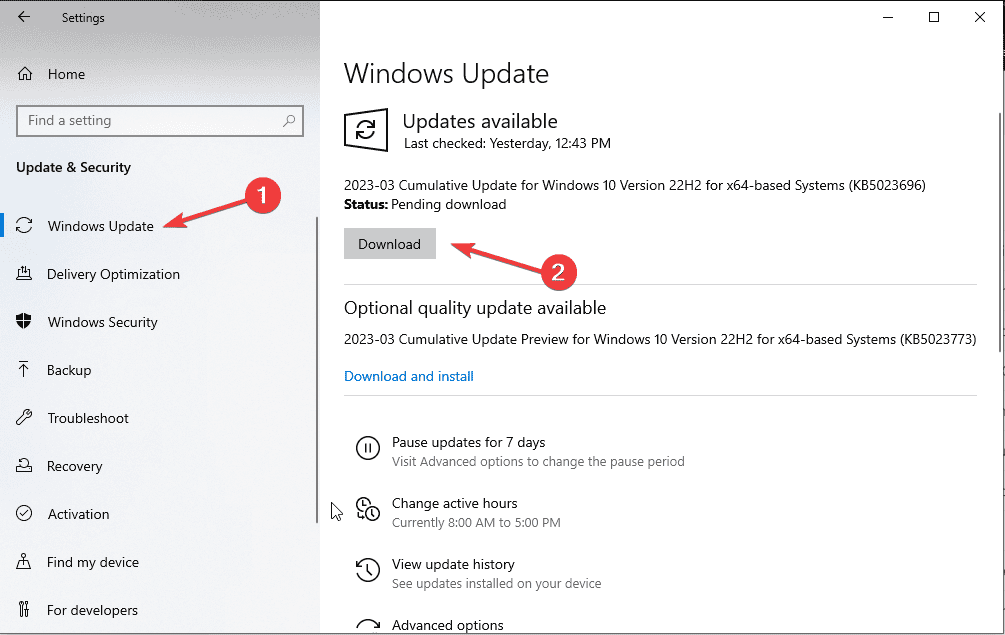
6. Install Windows updates
- Press Windows + I to open the Settings app.
- Click Windows Update.
- Select Check for updates.

- If there is an update available, click Download & install.
- Now go to Advanced options.
- Go to Additional options, and select Optional updates.
- If an update is available, select it and click Download & install.
- Select Restart to install the updates.
Installing Windows updates can also help you avoid other BSoD errors like ERROR_SYSTEM_SHUTDOWN; read this guide to learn more.
In conclusion, to fix ERROR_CARDBUS_NOT_SUPPORTED with error code 724 (0x2D4), you can update/reinstall the driver, check the power settings and bios settings, run the Windows troubleshooter, restore your PC to an older version, or install pending Windows updates.
If you have any questions or suggestions about the BSoD error, feel free to mention them in the comments section below.


User forum
0 messages