DHCP is Not Enabled for Ethernet: 5 Ways to Fix It
Enabling DHCP Client service can help resolve the issue
3 min. read
Updated on
Read our disclosure page to find out how can you help Windows Report sustain the editorial team. Read more

If you are stuck with a DHCP not enabled for ethernet warning message on the Network troubleshooter window, your DHCP server cannot assign an IP address. No matter how complex that sounds, the fixes to the problem are relatively simple.
In this guide, we will walk you through some troubleshooting steps to resolve this error right after discussing the reasons for the issue’s occurrence.
How do I fix DHCP not enabled for ethernet?
Begin by restarting your PC and router. Next, disable any VPN or proxy and remove any network-related extensions from your browser. If the issue persists, follow the steps below.
1. Enable the Obtain an IP address and DNS server automatically option
- Press Windows + R to open the Run window.
- Type ncpa.cpl and hit Enter to open Network Connections.
- Go to active connection, right-click it, and select Properties from the context menu.
- From This connection uses the following items option, locate and double-click Internet Protocol Version 4 (TCP/IPv4).
- From the next window, click on the radio buttons beside Obtain an IP address automatically and Obtain DNS server address automatically.
- Click OK and then click OK.
2. Use the Command Prompt
2.1 Enable DHCP
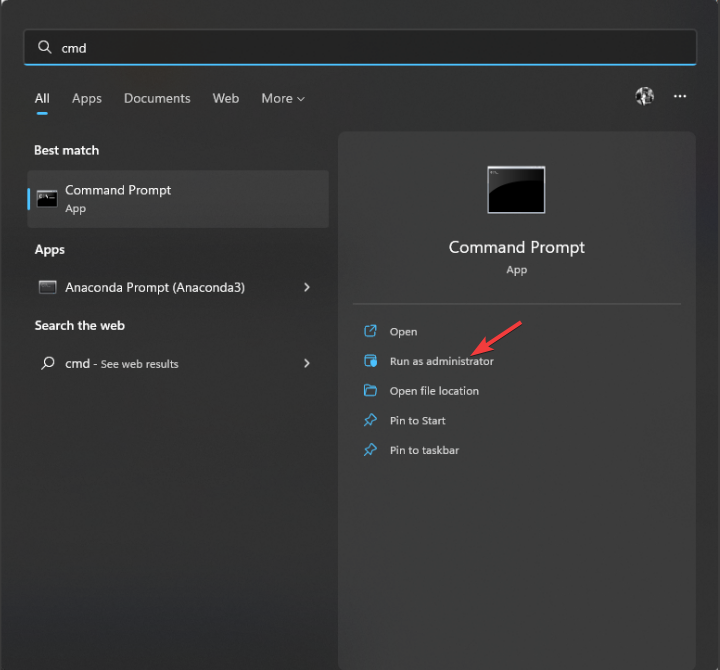
- Press the Windows key, type CMD, and click Run as administrator.
- Type the following command and press Enter:
Netsh Interface IP Set Address "Ethernet" DHCP - Once the process is complete, close the window. Restart your PC.
2.2 Reset the network
- Press the Windows key, type CMD and click Run as administrator
.
- Copy and paste the following commands and press Enter after every command:
ipconfig/releaseipconfig/flushdnsipconfig/renew - Type the following commands and press Enter after every command:
netsh int ip resetnetsh winsock reset - Close the window and restart your PC.
3. Restart the DHCP Client service
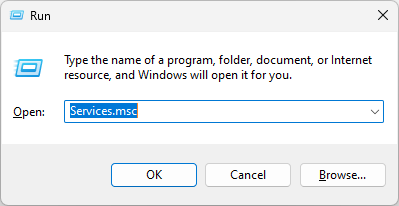
- Press Windows + R to open the Run window.
- Type services.msc and hit Enter to open Services.
- Locate and double-click the DHCP client.
- Go to Startup type, and select Automatic.
- For Service status, click Start.
- Click Apply and OK.
4. Enable DHCP via router
- Launch your preferred browser and go to your router settings page. Here we have used the TP-Link router settings to show you the process.
- Enter your credentials to access router settings.
- From the left pane, click DHCP.
- Now select the radio button beside the Enabled option for the DHCP server.
- Click Save or OK as per your router.
- Restart your modem.
5. Update the Network driver
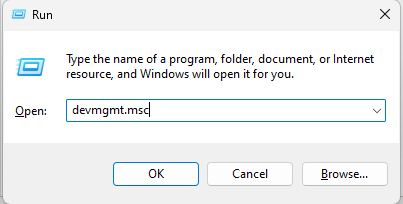
- Press Windows + R to open the Run window.
- Type devmgmt.msc and hit Enter to press Device Manager.
- Click on the arrow next to Network adapters to expand.
- Right-click the Network adapter and click Update driver.
- On the next window, click Search automatically for drivers.
- Follow on-screen prompts to complete the process.
- Restart your PC.
Other than updating your drivers manually, you can use a specialized tool like PC Helpsoft Driver Updater that can do that automatically by scanning your PC for outdated drivers and replacing them with the latest options.
The DHCP is not enabled for Ethernet means may occur if the DHCP is not configured correctly. Additionally, if your device is set to use a static IP address or DHCP is disabled, you may encounter this issue.
Regardless the steps above should help you fix this error. Feel free to let us know which worked for you in the comments section below.


User forum
2 messages