How to Enable TPM 2.0 From BIOS on an ASRock Motherboard
Follow this step-by-step guide to get the ASRock TPM 2.0 update
3 min. read
Updated on
Read our disclosure page to find out how can you help Windows Report sustain the editorial team. Read more
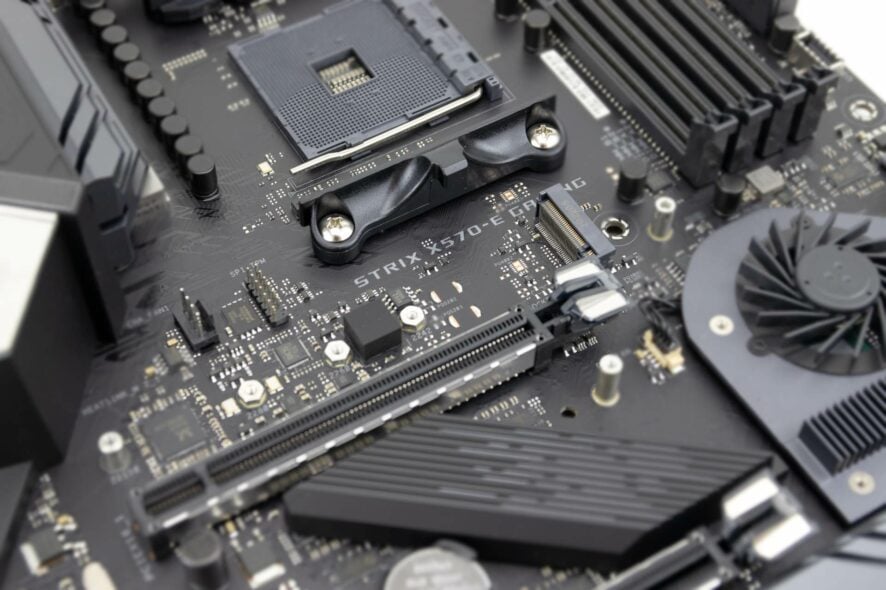
If you’re using an ASRock motherboard and need to enable TPM 2.0, follow the guidelines below. This will help if you want to upgrade your system, as per the Windows 11 hardware requirements.
First things first:
What does TPM do?
TPM stands for Trusted Platform Module and it’s a crypto processor that is used for disk encryption and ensuring the integrity of your platform.
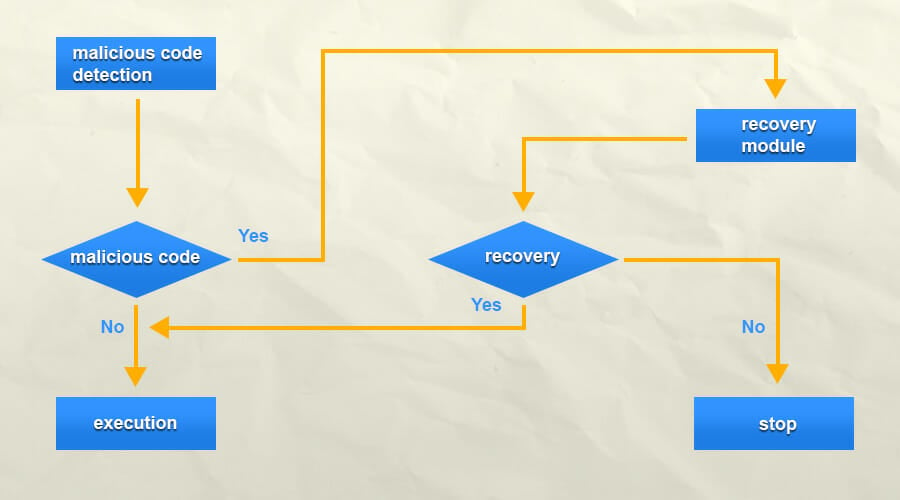
This allows only the approved software to boot your PC, thus preventing bootloaders and other malware from infecting your PC.
The differences between TPM 1.2 and TPM 2.0 include TPM 2.0’s enhanced security features, which offer stronger cryptographic algorithms and better support for modern hardware compared to the more basic protection provided by TPM 1.2.
Here’s how you enable it:
How can I enable TPM in BIOS on ASRock?
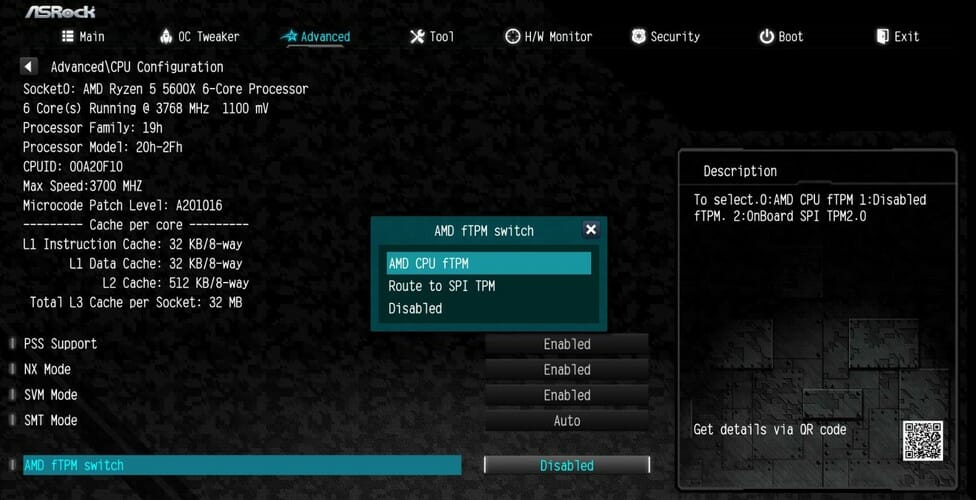
1. ASRock motherboards with AMD CPU
- While your PC boots keep pressing F2 to access BIOS. The key might be different depending on your model, so be sure to check the motherboard manual.
- Once you enter BIOS, go to the Advanced tab.
- Select CPU Configuration.
- Select AMD fTPM switch and set it to AMD CPU fTPM.
- Navigate to the Security tab.
- Set Secure Boot to Enabled. If you can’t enable Secure Boot, set the Secure Boot Mode to Standard and try again.
- Go to Exit and select Save Changes and Exit.
- Click Yes to confirm.
If you have any issues accessing BIOS, be sure to check our guide on how to change BIOS settings on Windows 11 for more information.
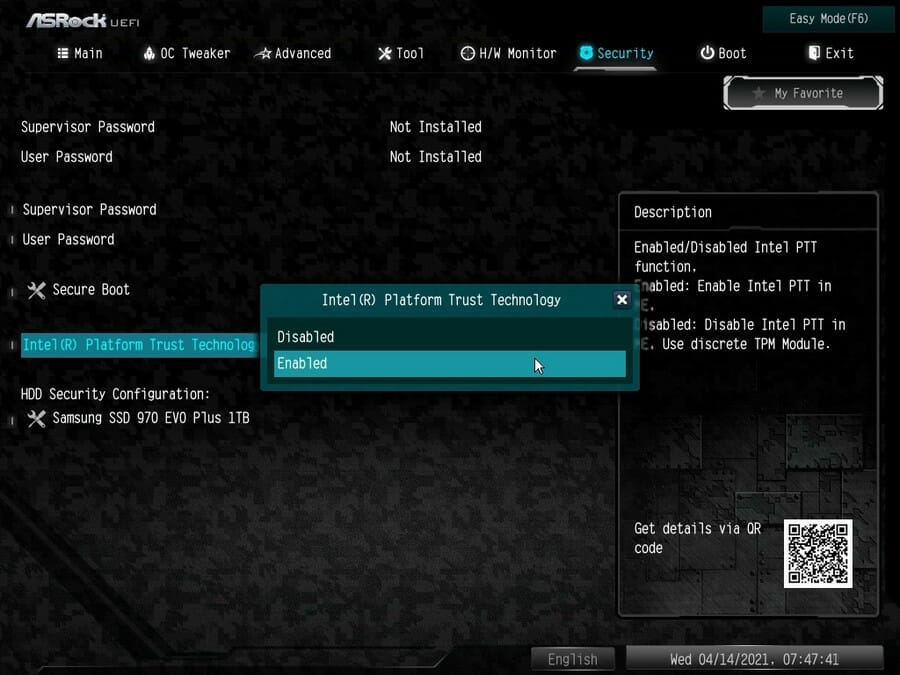
2. ASRock motherboards with Intel CPU
- Enter BIOS by pressing F2 during the boot process.
- Go to Advanced mode.
- Now head to the Security tab.
- Locate Intel Platform Trust Technology and set it to Enable.
- Go to Exit and select Save Changes and Exit.
- Select Yes to confirm.
How do I check if TPM is enabled?
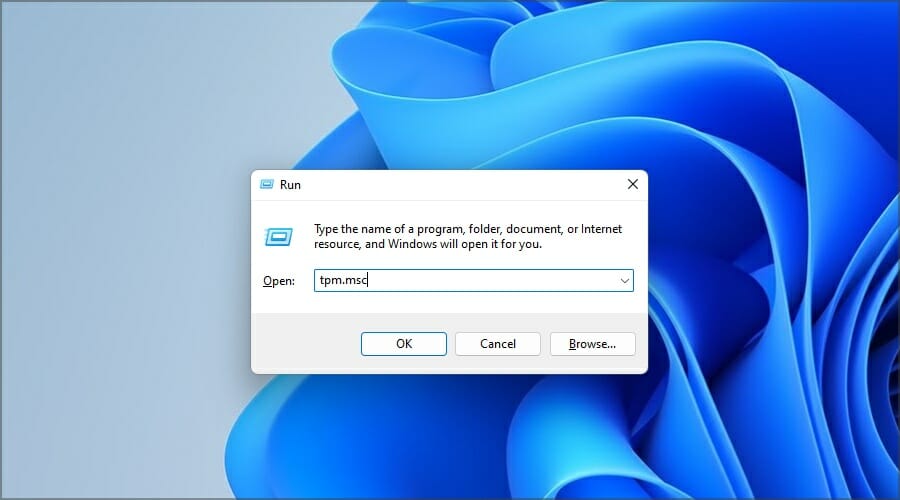
- Press Windows Key + R to open the Run dialog.
- Enter tpm.msc and press Enter.
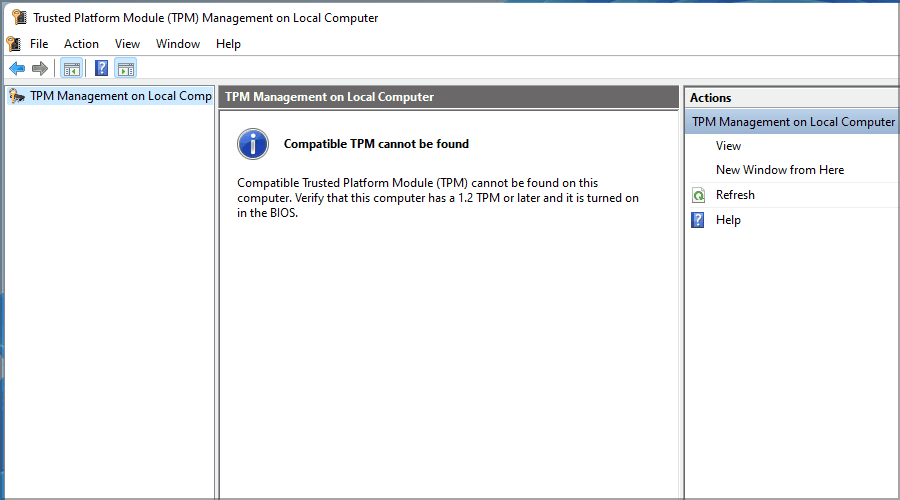
- Now you should see the status of the TPM.
How does fTPM work?
fTPM is a version of a crypto processor for AMD devices. Instead of having a separate chip on your motherboard, this feature is implemented in system firmware.
This doesn’t affect your performance in any way, and it works almost identically to a dedicated chip.
However, some experts believe that fTPM isn’t as safe as its hardware counterpart, but for the vast majority of users, it should provide enough protection.
Can I install Windows 11 without TPM?
To install Windows 11, your device needs to support this feature, but you don’t have to keep it enabled if you don’t want to.
Many users reported TPM 2.0 errors that have prevented them from installing the operating system. This is because the required security component isn’t detected.
There’s a way to install Windows 11 without TPM, but if Microsoft fixes this workaround, your only option would be to buy the hardware that meets the security standards.
Windows 11 does its best to improve user security, and we hope that you managed to enable TPM in BIOS on ASRock motherboards after reading this article.
As you can see, the process is pretty simple, and if your hardware supports it, you should be able to turn it on in a matter of minutes.
What are your thoughts on this feature? Are you using it on your PC? Let us know in the comments section below.




User forum
0 messages