ePSXe Keeps Crashing: 5 Ways to Get It to Work
Fix ePSXe crashing by following these quick solutions
4 min. read
Updated on
Read our disclosure page to find out how can you help Windows Report sustain the editorial team Read more
Key notes
- ePSXe crashing often occurs when the CPU overclocks at a high rate.
- Running ePSXe as an administrator and in compatibility mode is an alternative solution for the problem.
- Updating your graphics driver can also fix the issue.
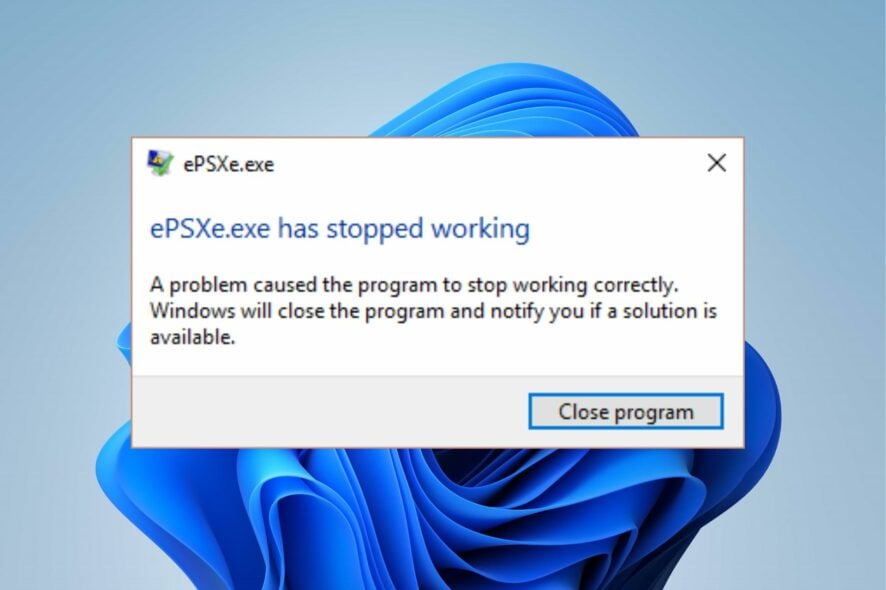
ePSXe is a PlayStation video game console emulator for Windows. It is considered the best emulator for Windows PCs. Regardless, many users complain that the ePSXe keeps crashing or stops working when loading a game. Likewise, users complain about other emulators not running fast on Windows.
Why is ePSXe not working?
The most common cause is the outdated graphics driver on your PC. When your graphics cards are not updated, they can affect the emulator you’re trying to play.
Furthermore, other factors that may be responsible for ePSXe crashing or not working on your PC are:
- CPU overclock issues on your PC – You can experience ePSXe crashing or not working due to issues with your CPU Overclocking system. Setting a limit that is too high for your CPU can cause it to crash, causing the emulator to crash.
- Interference with newly installed drivers – Users can encounter ePSXe crashing frequently on their devices if it is not compatible with new drivers installed on the device. If the drivers don’t support the emulator program, it can cause it to crash or not work.
The causes listed above are common factors that can cause ePSXe to keep crashing. Nonetheless, we’ll take you through some general fixes as we go forward.
What can I do if ePSXe keeps crashing?
Before trying any advanced troubleshooting on your PC, we recommend you go through the following quick methods:
- Turn off background apps on your computer.
- Temporarily disable antivirus software on your PC.
- Restart Windows in Safe Mode and check if the ePSXe issues persist.
If you’re not able to fix the issue, try the solutions below.
1. Run ePSXe as an administrator and compatibility mode
- Open File Explorer by clicking the Windows + E keys.
- Locate the ePSXe client, right-click it, and select properties from the drop-down.
- Navigate to the Compatibility tab, check the box for the Run this program as an administrator, Run this program in compatibility mode for option, and choose a Windows version.
- Click OK to save the changes.
Running ePSXe as an administrator will fix permission issues or settings affecting it. Check what to do if running as administrator is not working on Windows 10/11.
2. Reset the CPU Overclock on your PC
- Left-click the Start button, type ePSXe main execution in the search space, and launch it.
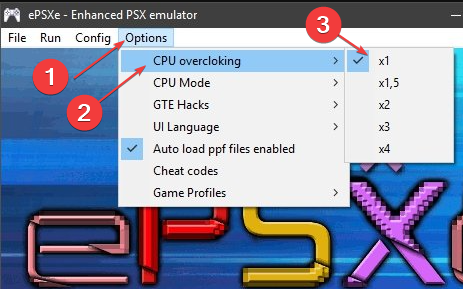
- Click the Options button at the top bar, then click on the CPU overclocking entry.
- Click on the x1 option to mark it.
- Close the window and check if the issue persists.
Setting Overclock to x1 will fix issues triggered by the CPU overclocking option in the in-app settings.
Readers can check our recommendations for the best Overclocking stress test software to download in 2022.
3. Update your graphics driver
- Press Windows + R key to prompt the Run dialog box, type devmgmt.msc in the text box, and click OK.
- Click on the Display adapters, right-click on your graphics card, and select Update driver from the drop-down.
- Select Search automatically for drivers.
- Restart your computer after the update process is complete, then check if the issue persists.
If you can’t update your driver through the steps above, check how to update drivers on Windows 11 for other methods.
Outbyte Driver Updater can be a great method because it is an automatic tool that scans your device for outdated drivers and eventually finds the latest updates from its repository.

Outbyte Driver Updater
Try this reliable tool when you want to easily update your device drivers with the newest updates.4. Run System Restore
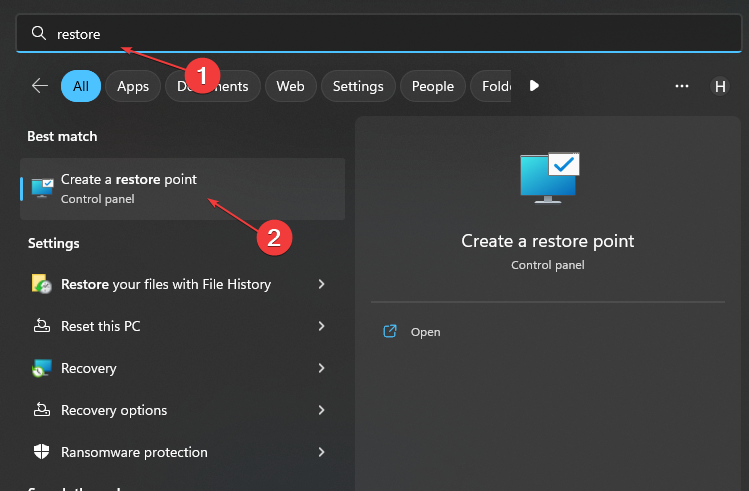
- Left-click the Start button and type Restore, then click ENTER.
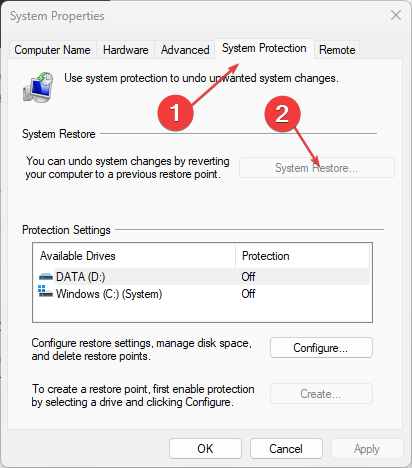
- Click the System Protection tab and hit the System Restore button.
- Select the Choose a different system restore option and click Next to choose a specific Restore Point.
- Select the last time ePSXe worked on your PC, and click Next.
- Click the Finish button.
Performing a system restore will backdate your computer and remove the issues affecting ePSXe. Should the Restore Point fails to work, check our guide for ways to fix it.
5. Uninstall the recent Windows update
- Press Windows + I key to open the Settings app.
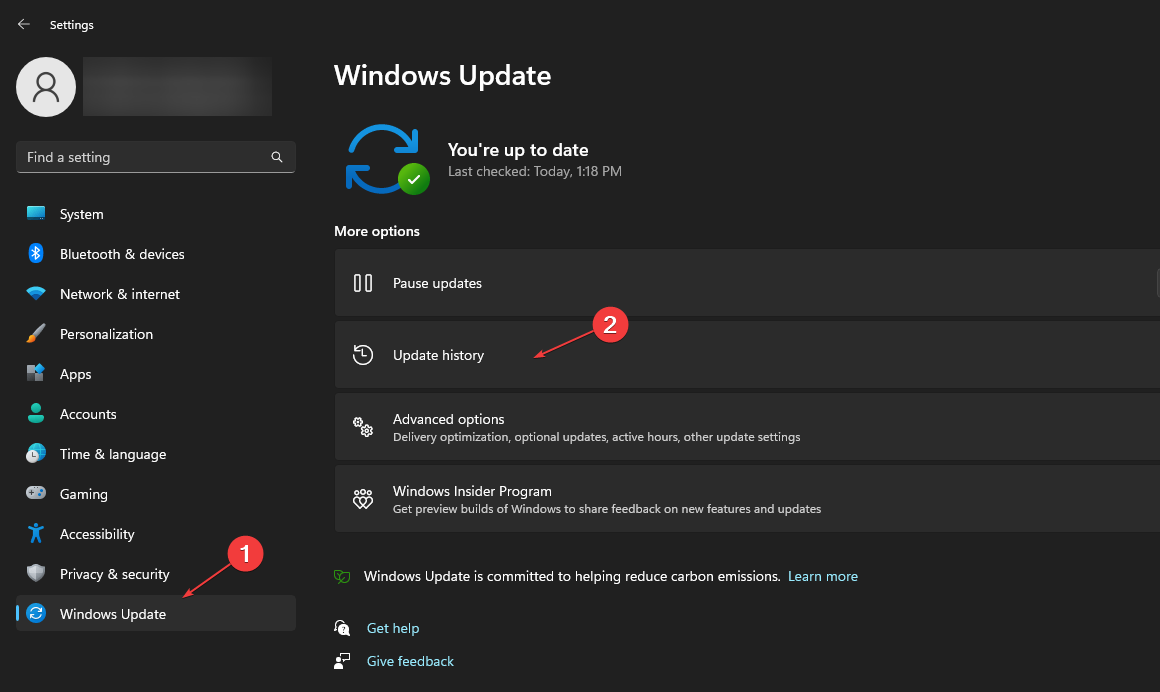
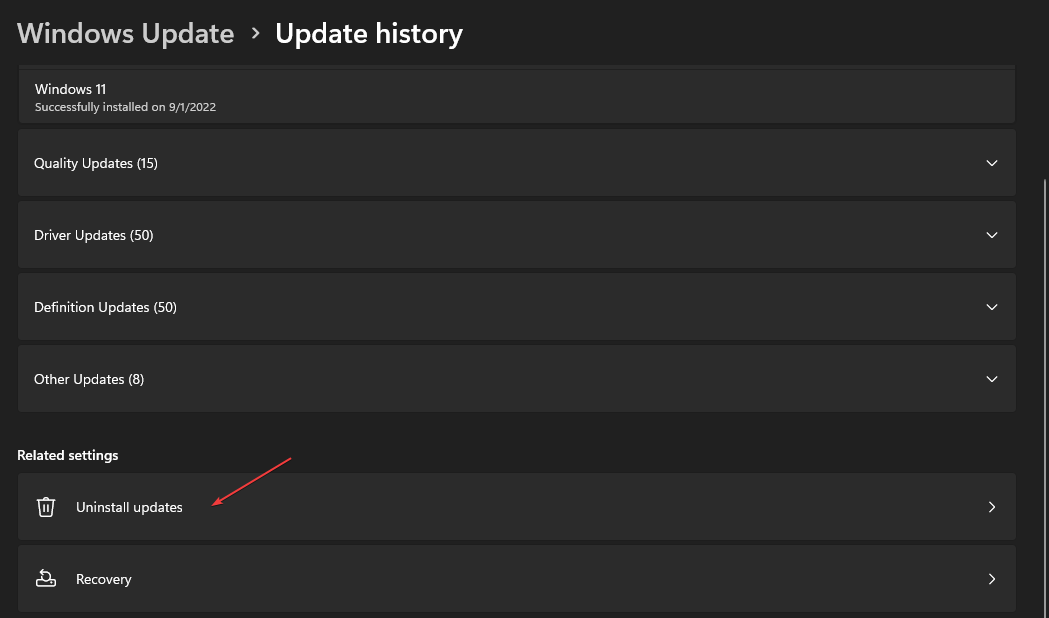
- Go to the Windows Update tab and select Update history.
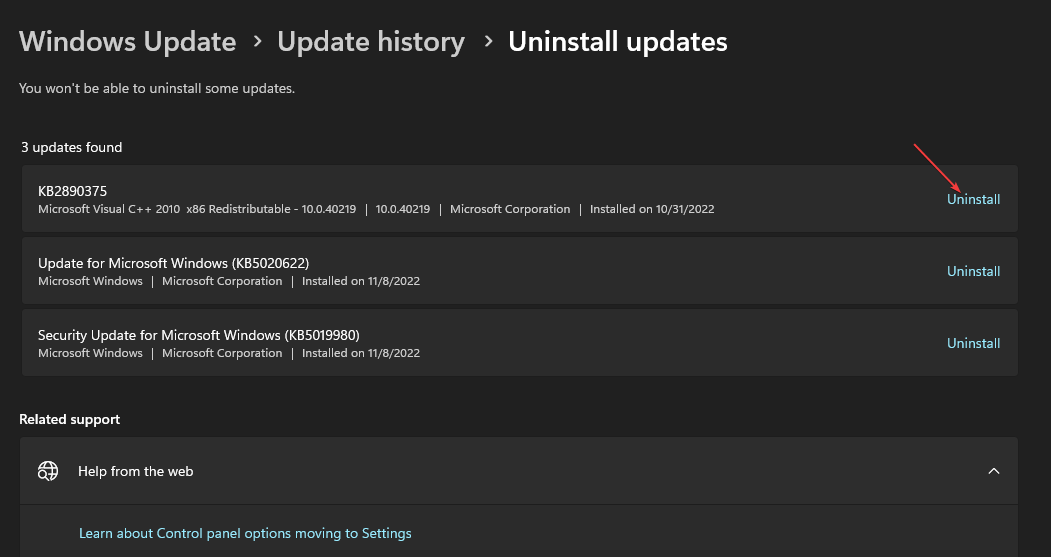
- Click Uninstall updates.
- Select the most recent update and click on Uninstall.
Uninstalling the recent Windows update can help fix the issue for some users. You can also check for other ways to uninstall an update on Windows 11 if you can get through the steps above.
In conclusion, we have a detailed list of the best PS4 emulators you can download on your PC.
If you have questions or suggestions, kindly drop them in the comments section.


