Solved: WHEA UNCORRECTABLE ERROR BSoD - 7 Tested Solutions
Get back to using your PC without errors by trying these methods
7 min. read
Updated on
Read our disclosure page to find out how can you help Windows Report sustain the editorial team. Read more
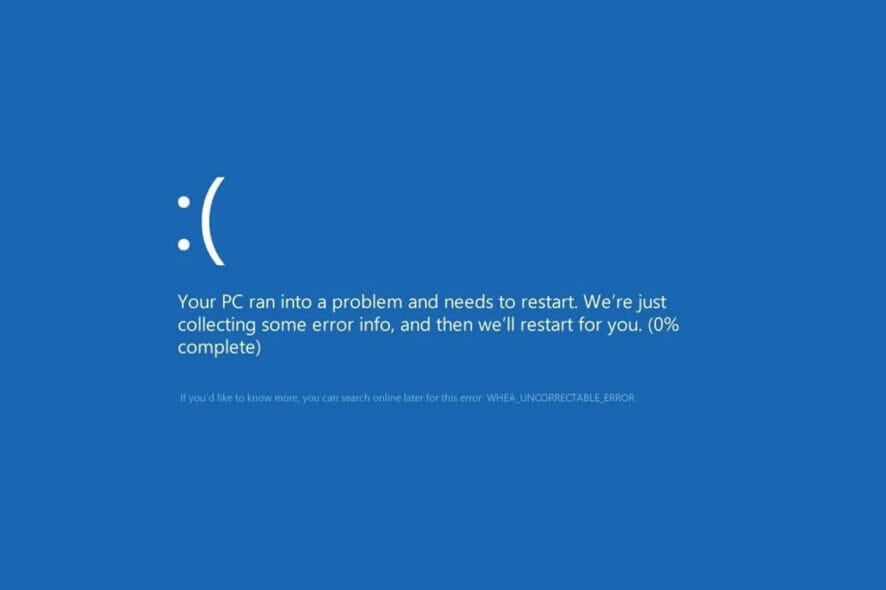
The WHEA UNCORRECTABLE ERROR is a Blue Screen error that can appear on any version of Windows.
This issue, you either have a hardware failure or problems with your driver, or it might be that the service is incompatible with your operating system. However, this could also be caused by overclocking, SSD, RAM or mainboard issues.
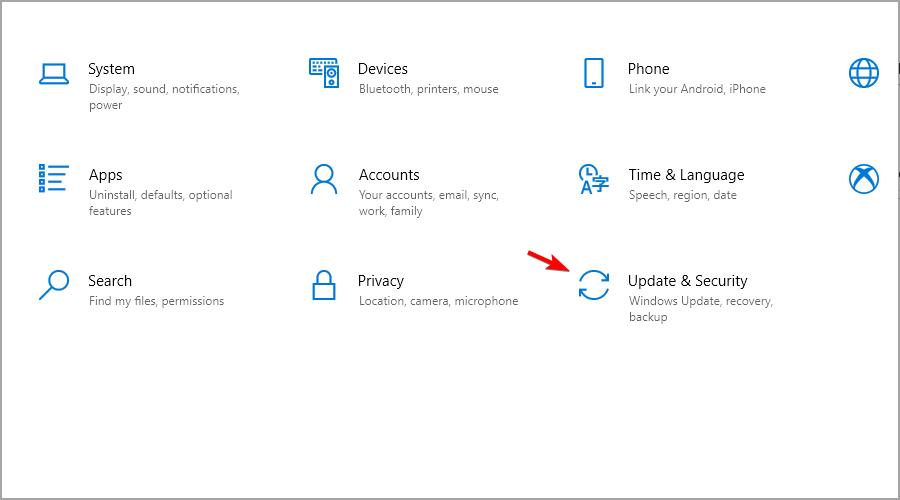
Before anything else, go to Settings > Update & Security and install all the latest Windows updates.
How do I fix the WHEA UNCORRECTABLE ERROR BSoD?
1. Press Windows key + I to open the Settings app.
2. Go to Update and Security.
3. Navigate to the Recovery tab. Click on Restart now in Advanced startup.
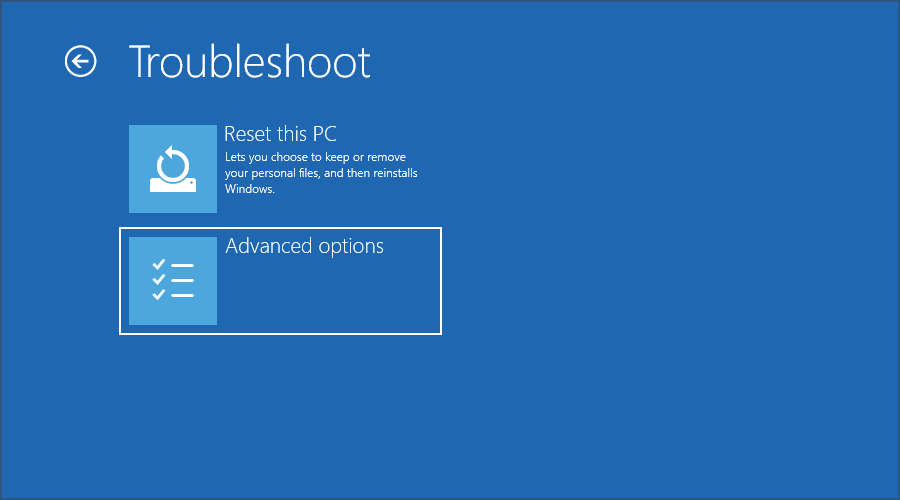
4. On Advanced startup, go to Troubleshoot, then Advanced options.
5. Select UEFI Firmware Settings. Click Restart.
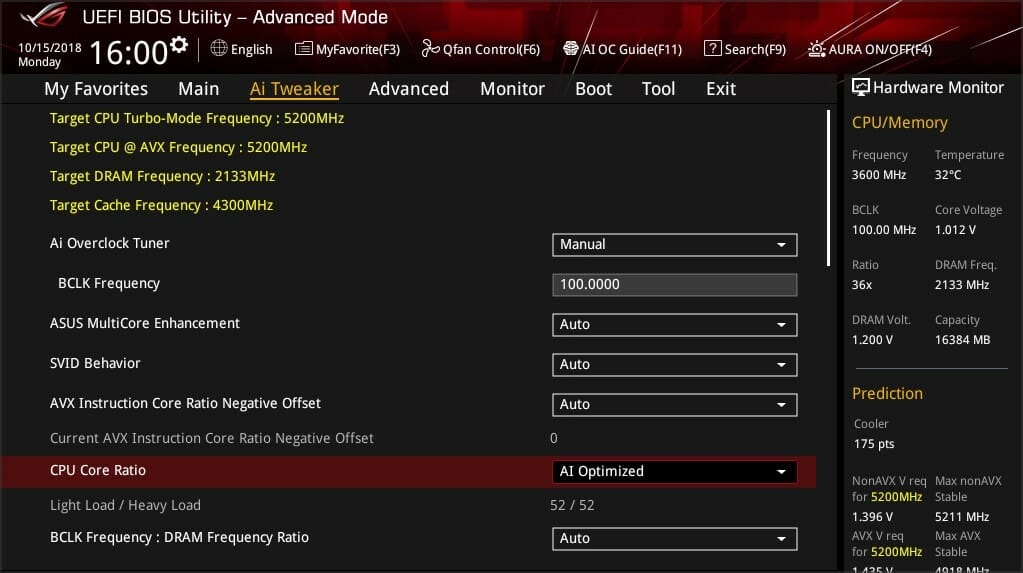
6. After the computer is restarted, it should open BIOS automatically, so go to Advanced tab.
7. Navigate to Performance, and look for Overclocking.
8. Check if overclocking is disabled. If it is not, disable it.
9. Save changes to BIOS (by pressing F10 on your keyboard), and start your computer normally.
1. Disable overclocking to fix Whea Uncorrectable Error
WHEA Uncorrectable Error is often caused by overclocking. Here are the steps to disable it from BIOS:
If you had problems following these solutions, visit our guide on accessing BIOS for detailed instructions and alternative methods.
Also, make sure to disable overclocking software if you have installed one for gaming.
2. Check if there are any hardware issues
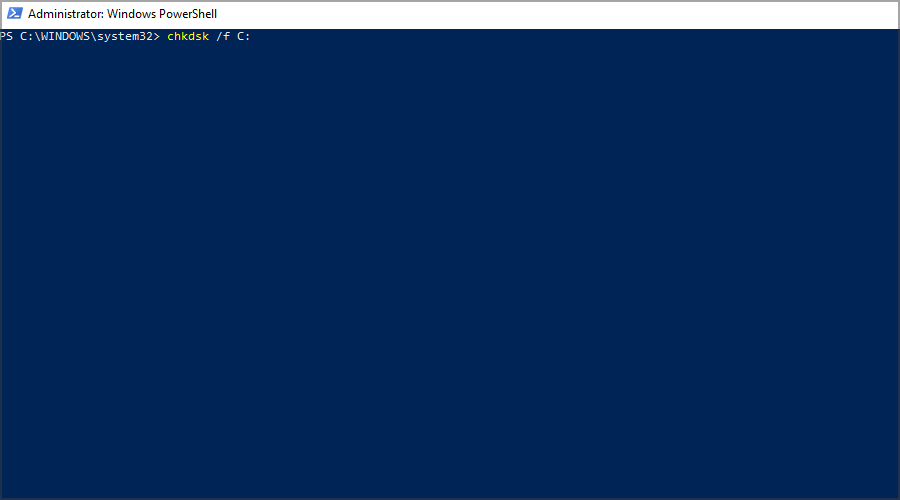
- Press Windows key + X and select Windows PowerShell (Admin).
- Now run the following command:
chkdsk /f C: - Press Y to schedule a restart.
- Restart your PC and wait for the scan to finish.
SSD problems often cause Whea Uncorrectable Error. Therefore we suggest using specialized BSOD repair software to fix it.
3. Run Windows Memory Diagnostics
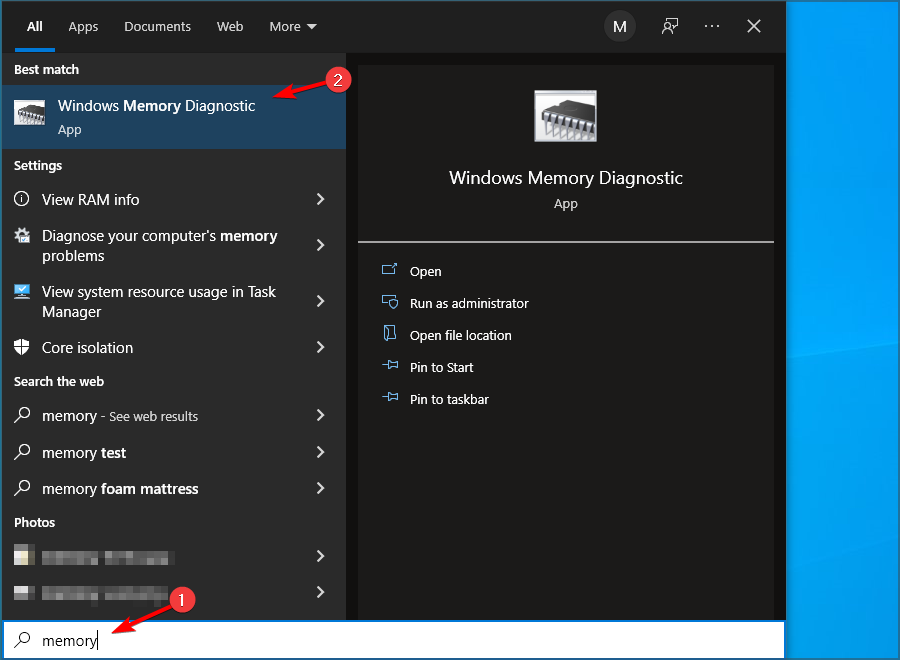
- Press Windows key + S and type memory. Select Windows Memory Diagnostic.
- Select Restart now and check for problems.
- If you get any stops along the way, like in the hard drive, check with errors, then try to replace the memory.
If you suspect any additional issues with the hardware, we suggest using hardware diagnostic software to pinpoint the cause.
4. Update your drivers
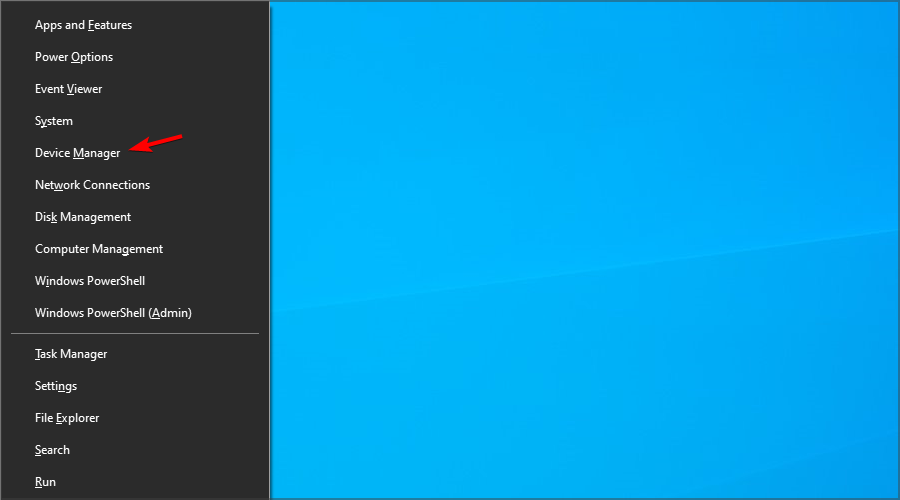
- Press the Windows key + X and select Device Manager.
- Locate the driver you think is causing the problem, right-click it, and choose Update driver.
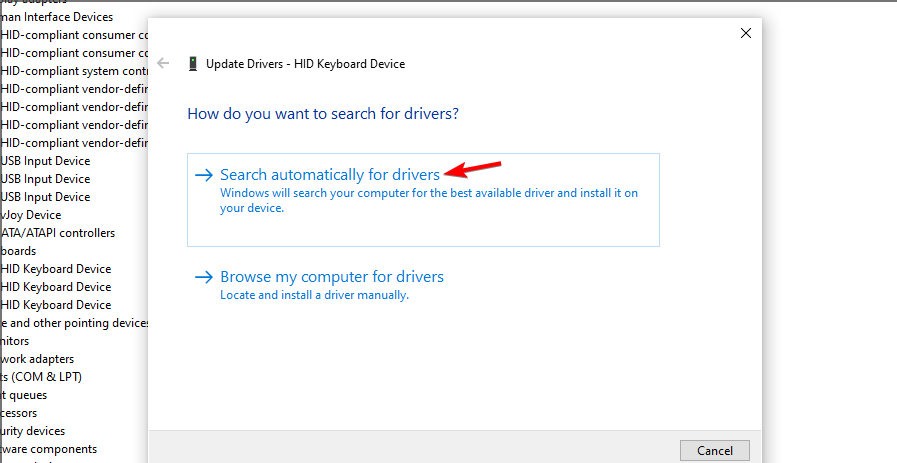
- Select Search automatically for drivers and wait for the process to finish.
- Repeat this for all drivers that you believe are responsible for this issue.
Drivers can lead to BSOD Whea Uncorrectable Error, so keeping them up to date is crucial.
Updating drivers manually can be tedious, especially if you need to update several of them. Still, you can make this process a lot faster by using driver updater software.
Outbyte Driver Updater is a diagnostic application designed to help you download and update Windows drivers automatically.
Unlike security or system optimization programs, this utility is an excellent choice to find and replace corrupted, missing or outdated drivers for graphics cards, controllers, printers and other hardware components.
5. Uninstall the problematic Windows Updates
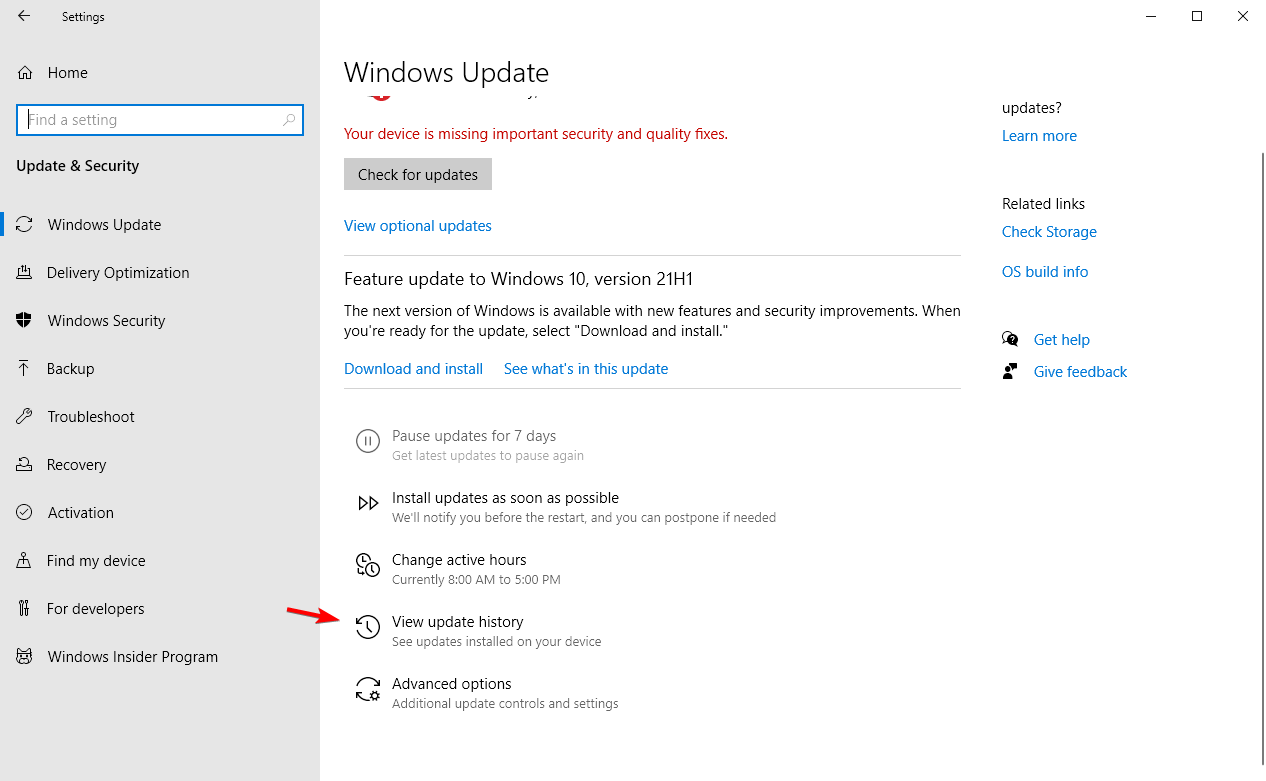
- Press the Windows key + I to open the Settings app.
- Now go to the Update & security section.
- Click on View update history.
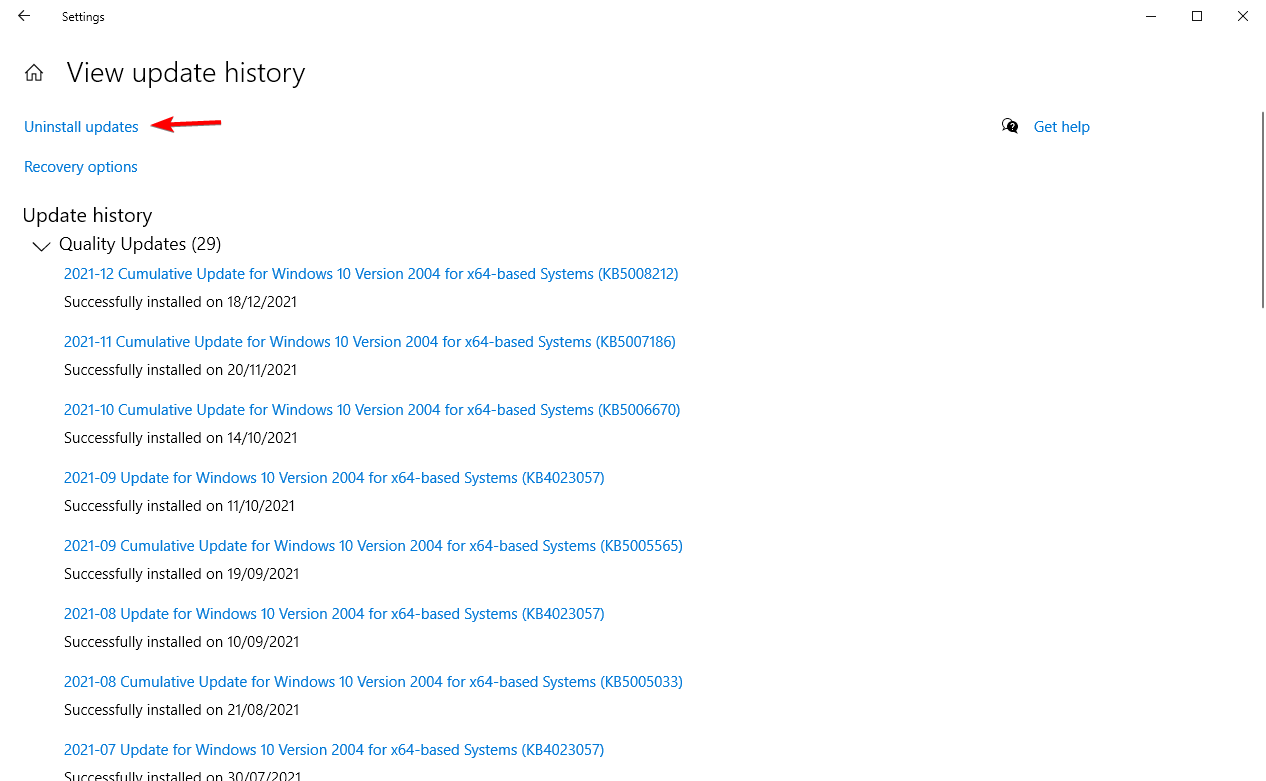
- Now click on Uninstall updates.
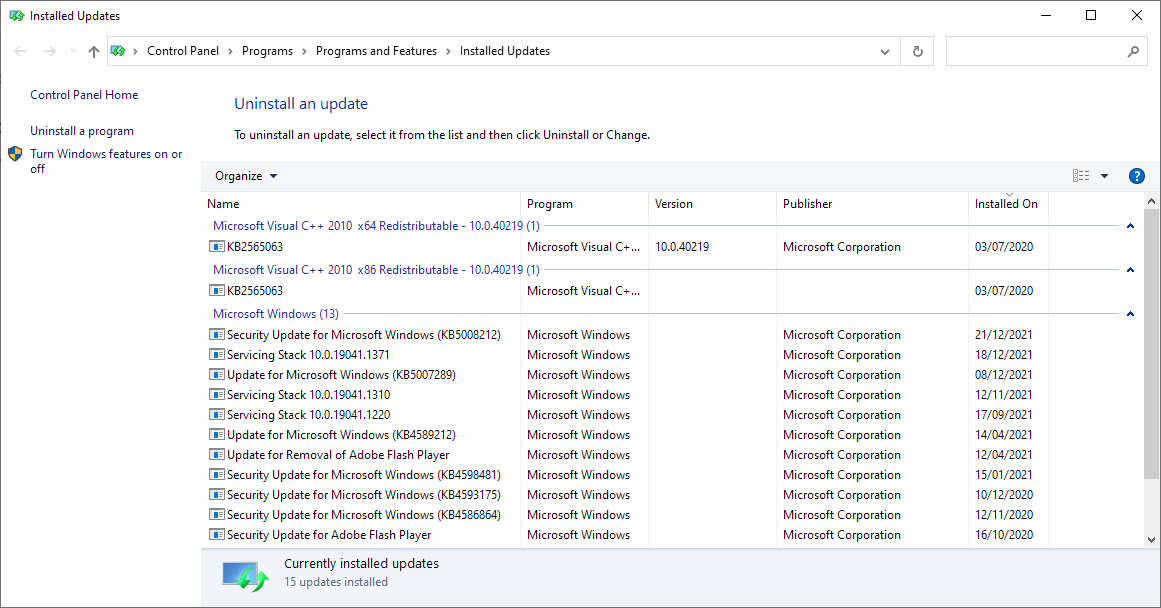
- A list of updates will now appear.
- Double-click on a specific update to remove it.
According to users, the Whea Uncorrectable Error can sometimes appear due to problematic Windows updates. For more information, visit our guide on how to remove failed Windows updates.
6. Disable the Turbo Boost feature in BIOS
- Restart your PC and keep pressing F2 to enter BIOS.
- Once you enter it, look for the Turbo Boost option.
- Disable it and save changes.
 NOTE
NOTE
7. Disable additional audio devices
- Press Windows key + S and enter sound. Now pick Change system sounds.
- When the Sound window opens, go to the Playback tab. Next, right-click each non-default audio device and choose Disable.
- Repeat the same steps for all recording devices as well.
- After doing that, click on Apply and OK to save changes.
Some users are also recommending disabling additional audio devices from Device Manager. To do that, follow these steps:
- First, press Windows key + X and choose Device Manager.
- Locate your audio devices and disable all devices except your default one.
- To disable a device, right-click it and choose Disable device from the menu.
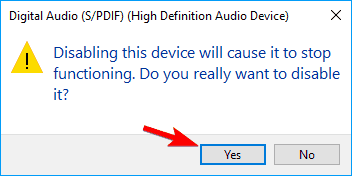
- When the confirmation message appears, click on Yes.
According to users, the Whea Uncorrectable Error message can appear due to your audio devices. Therefore, you need to find and disable additional audio output and input devices to fix the problem.
After disabling all non-default devices, the problem should be resolved.
How can I fix the Whea Uncorrectable Error on Windows 11?
Use System Restore
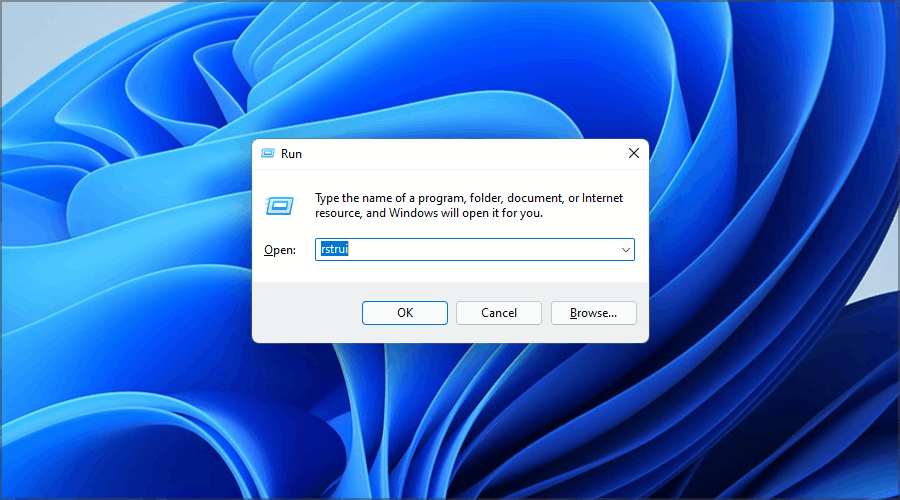
- Press Windows key + R and type rstui.
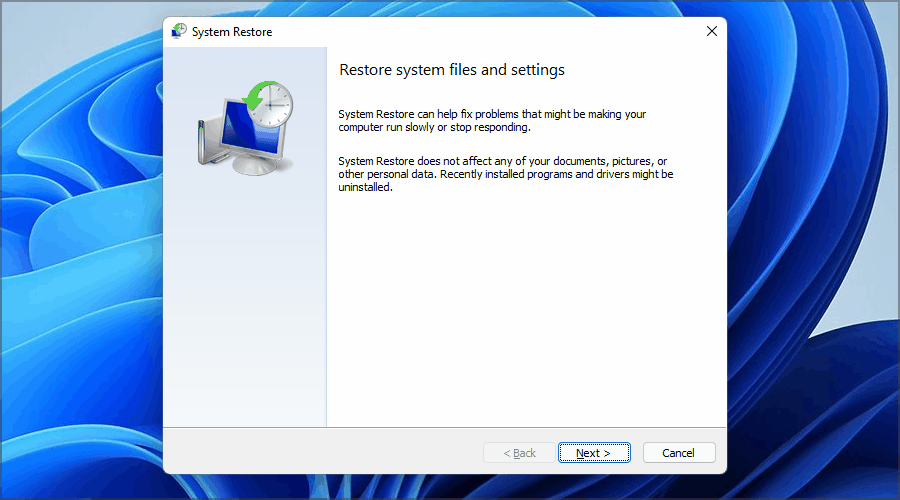
- Now click Next to proceed.
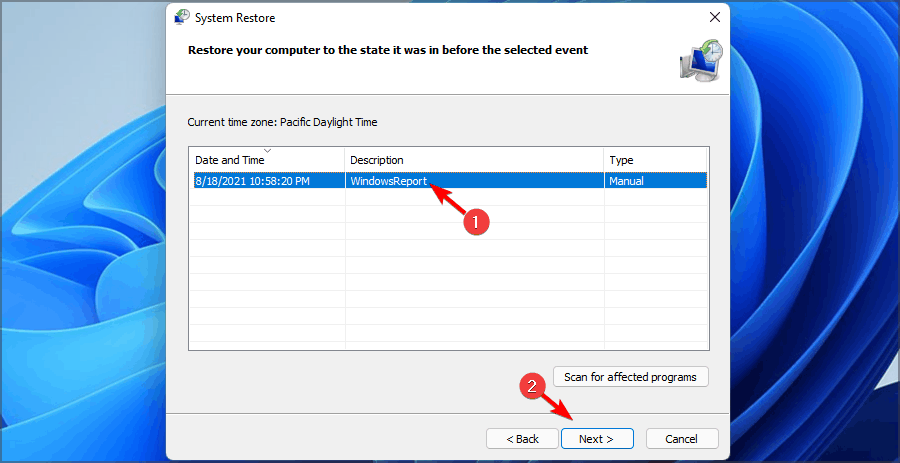
- Select the desired restore point and click Next.
- Follow the instructions on the screen to complete the process.
If the WHEA_UNCORRECTABLE_ERROR BSOD in Windows 10 error is still there, here are more solutions to fix the Whea Uncorrectable Error in Windows 11.
Moreover, here are some error variations that you may encounter, but nonetheless, fix with the solutions provided:
- WHEA_UNCORRECTABLE_ERROR Windows 10 Sysprep – According to users, sometimes this error can occur while using Sysprep.
- Overclock WHEA_UNCORRECTABLE_ERROR – Many users reported that this error started appearing after overclocking. To fix the problem, try changing or removing your overclock settings.
- WHEA_UNCORRECTABLE_ERROR hal.dll, ntoskrnl exe, msdn bugcheck – In some cases, this error can be caused by specific files.
- Overheat WHEA_UNCORRECTABLE_ERROR – WHEA uncorrectable error overheating – Can WHEA uncorrectable error be caused by overheating? Yes, it can. If your PC overheats, try cleaning it or check if your fan is working correctly.
- WHEA_UNCORRECTABLE_ERROR startup – To fix this problem, you’ll need to use one of our solutions above while in Safe Mode.
- BIOS update WHEA_UNCORRECTABLE_ERROR – Can BIOS cause WHEA uncorrectable error? Yes, ti can. To fix the problem, you might have to go back to the older version of BIOS.
- WHEA_UNCORRECTABLE_ERROR in Windows 11 on MSI – MSI users can attend to all the above solutions to fix this issue.
- Windows 10 SSD WHEA_UNCORRECTABLE_ERROR – SSD components can become corrupt or damaged due to lousy laptop handling.
- WHEA_UNCORRECTABLE_ERROR in Windows 10 on HP, Dell laptop – This is the general error message our users reported to us. Don’t worry, as one of the above solutions will do the trick.
- WHEA Uncorrectable Error while gaming, Warzone – While there are many potential culprits ranging from driver conflicts to faulty RAM and everything in between, gamers are a particularly vulnerable category of users.
- Whea Uncorrectable Error appear on startup – Sometimes this issue will prevent you from booting to Windows. However, there are ways to fix that, and to learn more, visit our guide on the blue screen loop.
- Whea Uncorrectable Error stuck at 0 – Check for hardware issues before moving on to more complex solutions.
Is WHEA’s uncorrectable error serious?
If you have any physical hardware damage, the error could have catastrophic consequences. If this is the case, you will need to fix or replace your components with new ones.
Aside from that, the problem can be fixed, and we have compiled a list of eight potential alternatives for you to consider.
We also encourage you to check more solutions on how to fix the Whea Internal Error in Windows 10.
Can RAM cause a WHEA error?
The WHEA uncorrectable issue may manifest on your computer if the memory stick is not inserted into the RAM slot in the correct orientation.
When the computer casing is opened, you should be able to gain access to the motherboard. Thereafter, you can remove the RAM sticks from the contact points on your motherboard using alcohol and cotton. Do this as cautiously as possible.
Besides the physical cleaning of your RAM, you should also ensure its software. Thus check out our post with the seven best RAM cleaners and optimizers for Windows 10 & 11.
Let us know which methods worked best for you by leaving us a message in the comments below.










User forum
19 messages