Getting your app into the Microsoft Store: tips and tricks
4 min. read
Published on
Read our disclosure page to find out how can you help Windows Report sustain the editorial team. Read more
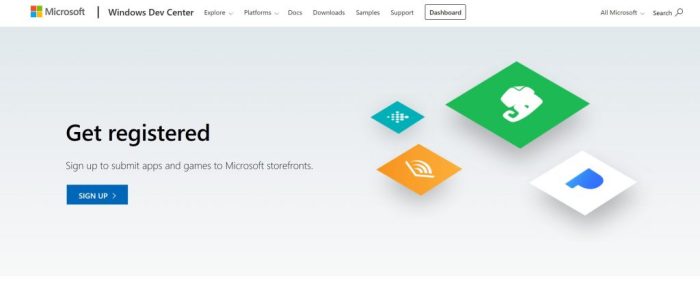
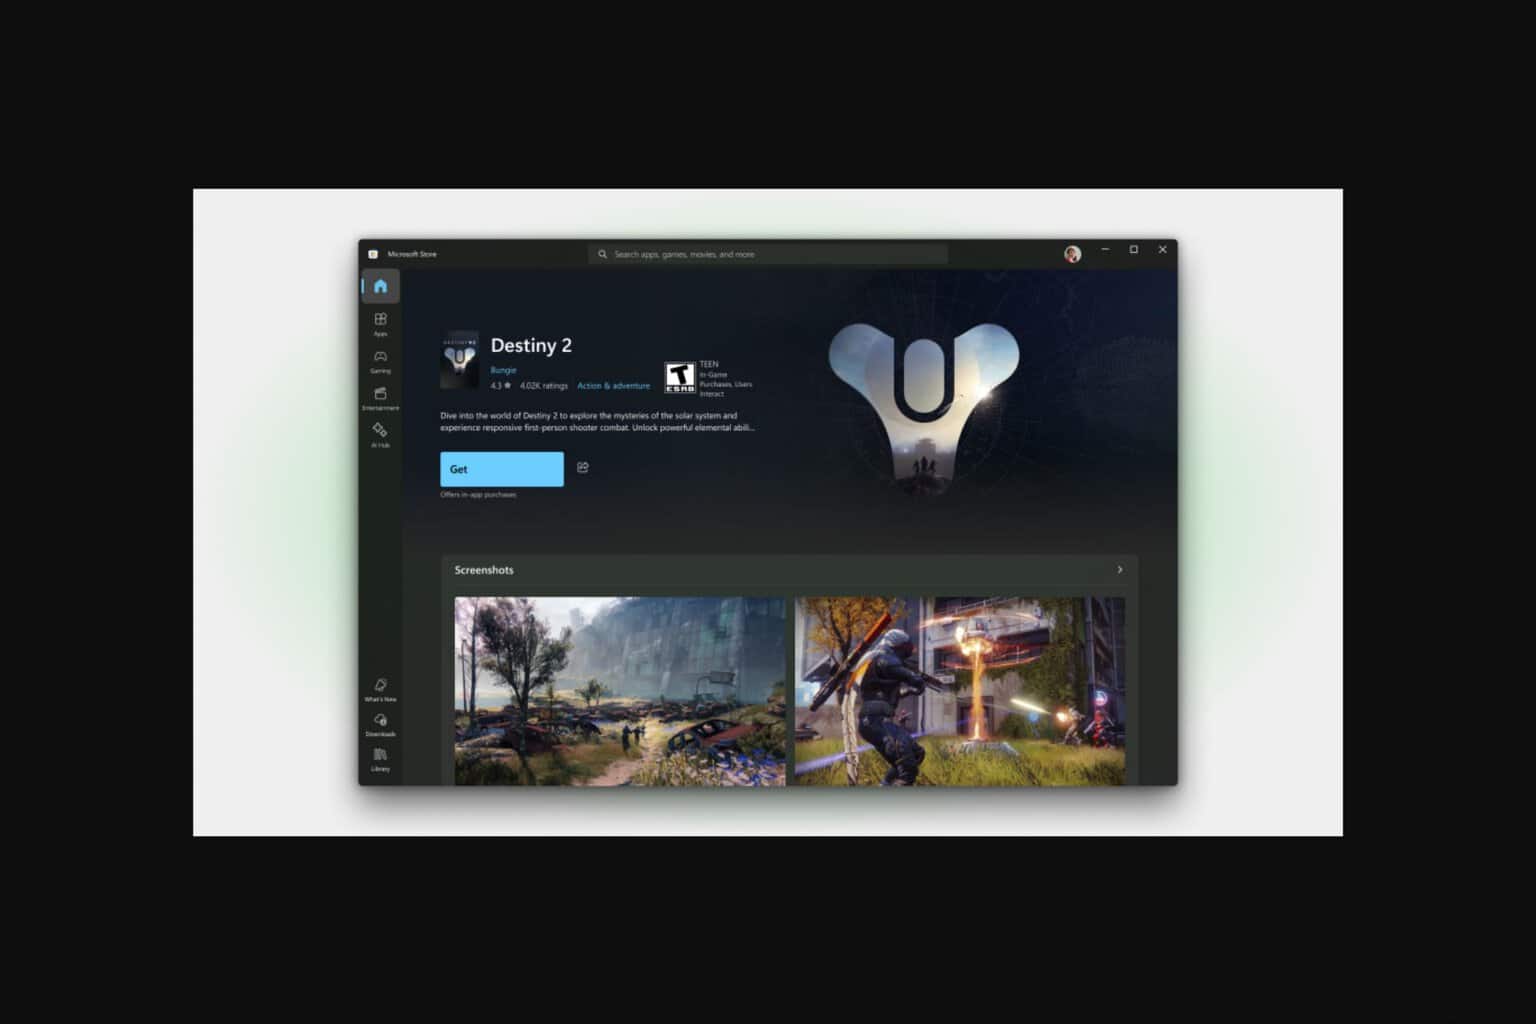
So you have a great idea for a Windows app, you spent many sleepless nights building it and now its ready for launch. What’s next? well glad you asked because we are going to go through the steps necessary to get your app published and in the hands of your users!
Love them or hate them app stores have given developers a vehicle to get their applications into the hands of hundreds of thousands of users with very little effort, this however comes at a cost. You are restricted to the app stores rules while also having to give them a cut of your sales if your app happens to not be free. Aside from this, the benefits most times outweigh the drawbacks.
Registering as an app developer
The first step is getting registered as an app developer. Microsoft has made this process extremely easy. You simply head over to their Partner Portal and register using your Microsoft account, if you don’t have one, you will have the opportunity to create one before signing up. The process after that is fairly simple, you provide your name, address and subsequently a payment method to cover your developer account cost. As for the price, well they have made the program very accessible, you pay $19USD as an individual or $99USD as a company. These prices can vary by region.
Creating a new app
After you’ve completed the registration process you will be greeted by the Create an app screen. It is at this point you get to check if your application name is available and reserve it. It is also in this section where you will define things like pricing and market availability, as well as many other properties for your app like which devices it targets, category and any other specific system requirements.
Uploading your application package
Hopefully you already have an application package ready for submission because one of the steps will require you to upload the package for review. The process is very simple, you simply upload it from your computer. If everything checks out, you will now be able to submit your app for review. This process can take anywhere between 48-72 hours on a first time submission. But subsequent releases will be approved much quicker as the initial verification would have already been, for the most part, done.
Tips and Tricks
Application Name
After you spend hours, weeks or months thinking of the perfect name, you log into the developer portal and try to register your app, only to find out the name is taken. To avoid this heartbreak, make sure you reserve your application name as soon as you figure it out. It is also a good idea to make sure you reserve a domain name to match. This is very important, a name can make or break how successful an application is, don’t risk having to settle for second best.
Pricing
The most successful applications are usually free. If you are thinking about charging for your app, make sure its unique and comparably priced. Your app could be amazing and much better than the competition, but users will usually download free apps first, if they adequately fulfill their needs, more often than not, your app will be overlooked.
In-app advertisements and In-app purchases
As mentioned above, most successful apps are usually free, however there are still ways for you to make money from your hard work. One of those is with in-app advertisements, these are not going to make you rich overnight, but they will provide a steady revenue stream which can help offset your development costs and fees. With that said, be careful, try not to go overboard with these as users tend to shy away from apps cluttered with ads.
Another approach is to provide users with extra features or perks which are activated through in-app purchases. Locking features behind paid tiers in your application can be a sound approach, provided the basic free functionality is robust enough to entice users to feel comfortable about upgrading.
I hope this information, tips and tricks can save you time and help you on your journey to building the next great universal windows application! Tell me if I missed anything in the comments below. Also check the official Microsoft documentation on getting started.



User forum
0 messages