Forgot PIN & Password for Windows 11: How to Bypass Login
You can also enable the Windows auto login using the Settings app

While a password is critical for the security of your system, it could be possible that you lost or forgot the same and now have no clue how to bypass the Windows 11 login screen.
Forgetting the PIN and password is common; hence, in this post, we will explain how to bypass the Windows 11 login screen and enter the desktop.
But, if you are unable to remove PIN in Windows 11, here’s a quick guide for you to help you fix the issue.
How do I bypass the Windows 11 login screen?
1. Bypass the Windows 11 login screen using another admin account
- If you have another Windows 11 account with administrator rights, log in to this account.
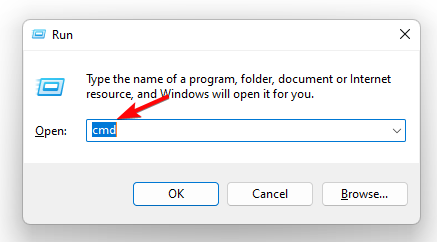
- Press the Win + R keys together to launch the Run dialog. Type cmd and press the Ctrl + Shift + Enter keys to launch the elevated Command Prompt.
- Now, run the below command in the Command Prompt (Admin) window and hit Enter:
net user accountname newpassword
- Make sure to replace accountname and newpassword with the new credentials.
Once you see the success message, shut down the Command Prompt window, restart your PC, and enter the new username and password to log in to your system.
 NOTE
NOTE
2. Use safe mode with Command Prompt
- Start Windows 11 in safe mode using the 5th method in the post.
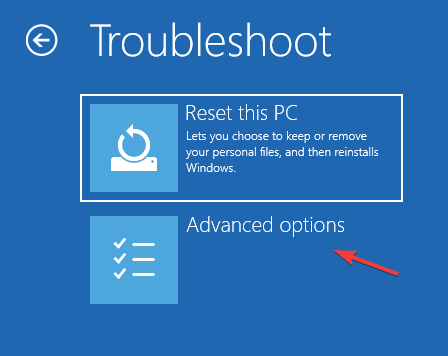
- As your PC boots up, under Choose an option, select Troubleshoot.

- On the next screen, click on Advanced Options.
- In the Advanced options window, select Startup Settings.

- Next, press the Restart button.

- As the PC boots, press F6 to get into Safe Mode with Command Prompt.

- In the Command Prompt window, run the below command and hit Enter:
net user username newpassword - Make sure to replace the username and newpassword respectively.

- Now, restart your PC and use the new password you just created to enter your Windows 11 PC.
3. Set Windows 11 Auto Login from Settings
- Launch the Windows Settings app by pressing the Win + I keys simultaneously, click on Accounts on the left, and then select Sign-in options on the right.

- Next, under Additional settings on the right, go to For improved security, only allow Windows Hello sign-in screen for Microsoft accounts on this device, and turn it off.

- You will now see a pop-up window. Here, enter the password of the user account and press Yes.
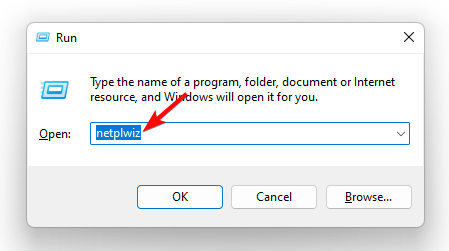
- Next, press the Win + R shortcut keys to open the Run dialog, type netplwiz, and hit Enter.
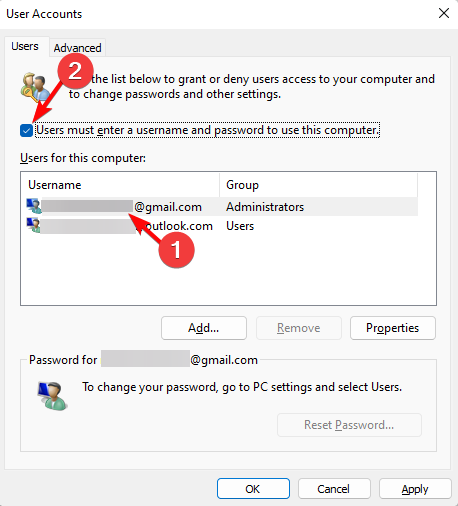
- In the user Accounts dialog, uncheck the box next to User must enter a username and password to use this computer. Press OK. This will enable auto login in Windows 11.

- If you want to disable Windows 11 auto login, check this option again.
- Now, in the Automatically sign-in window, enter your username and password. Press OK and Apply.
Now, reboot your PC, and Windows will automatically log in. So, if you were wondering how to bypass the Windows 11 login screen, the auto login should help you with that.
How to enable/disable the password option in Windows 11?
NOTE
- Press the Win + R shortcut keys simultaneously to open the Run console. Type netplwiz and hit Enter to open the User Accounts dialog.
- Next, select the account you want to use to automatically log in, and check the box next to Users must enter a username and password to use this computer. Press OK.

- Type in your password once, then enter it once again to confirm it. Press OK again. This will enable the Windows 11 auto-login feature.
- To disable auto-login, simply uncheck the box next to Users must enter a username and password to use this computer and press OK.

Now, restart your PC, and the password for the Windows 11 login screen will be skipped successfully, and it will directly take you to the desktop. This may become important when Windows throws the Your organization requires you to change your PIN error.
Alternatively, you can follow our detailed post on enabling auto login in Windows 10 (also applicable to Windows 11) to turn the feature using the Registry Editor method.
You can also visit the Microsoft password reset page to change the Microsoft Account password; this is how you can bypass the Windows 11 login screen.
Or, you can download Microsoft’s Autologon tool to enable/disable the Windows 11 auto login feature. You can even log in without default Windows 11 password, and we have a guide that shows you how to do that.
If you’re still on Windows 7, you might want to check our guide on how to reset Windows 7 password without logging in.
For any other issues related to the Windows 11 login feature, do let us know in the comments section below.
Read our disclosure page to find out how can you help Windows Report sustain the editorial team. Read more


Improve this guide


User forum
0 messages