Installing Windows 10/11 on unsupported Macs? Here's how
Do you happen to have a Windows 10 laptop and a Mac OS X (or macOS) desktop? If you prefer Windows 10 to Mac OS X, you can install Win 10 on Intel-based Mac systems thanks to the Boot Camp Assistant multi-boot utility. That’s a utility which enables users to install Windows platforms on Mac desktops or laptops, and Apple has updated it to support 64-bit Windows 10. This is how you can install USB flash versions of Windows 10 on Macs.
First, note some of the things you’ll need to install Windows 10 on a Mac system. You’ll need to have a more update Intel MacBook Pro, iMac, MacBook or MacBook Air that doesn’t predate 2012. A blank USB 2 flash drive with at least 16 GB of storage will also be needed. That will include the 64-bit Windows 10 ISO, and you’ll also need a valid Windows 10 product key, which this Windows Report article tells you how to find.
In addition, make sure your startup Mac drive has at least 55 GB of storage space. If that’s the case, you can now add Windows 10 to a Mac as follows.
- First, download the 64-bit Windows 10 ISO to your Apple Mac desktop or laptop from this page, which will probably take a few hours.
- Secondly, you should update your macOS, Boot Camp Assistant and Mac firmware if required. To do so, open the Mac’s App Store app and select Update to check for updates.
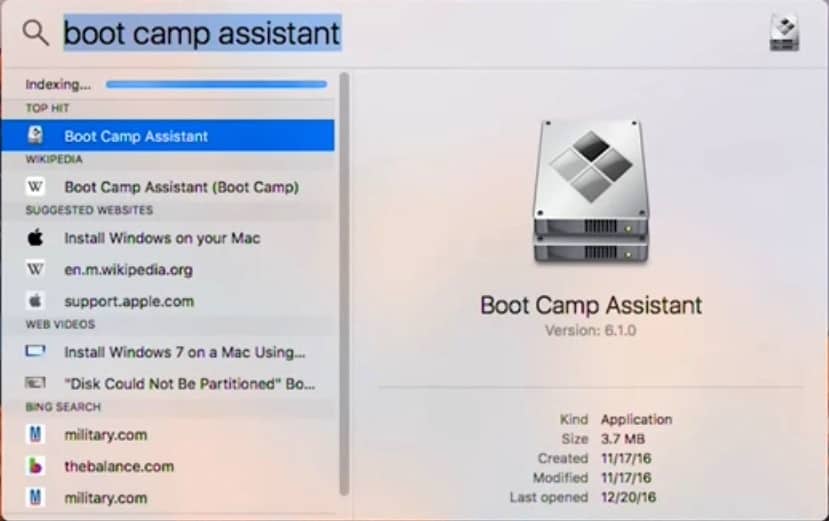
- Now open the Boot Camp Assistant utility in your Mac’s Applications > Utilities folder.
- Next, you should select the Create a Windows 10 install disk option. Also select the Install Windows 10 check box.
- Insert the USB flash drive in one of your Mac‘s USB slots.
- Now you can select the Windows 10 ISO file in Boot Camp Assistant by pressing the Choose button. Boot Camp will then turn your USB drive into a Windows 10 boot disk with all the required Boot Camp drivers copied to it.
- Then you’ll need to create the hard drive partition for Windows 10 with the Boot Camp Assistant’s slider. Set aside at least 30 GB for the hard drive partition so you can also add extra software to it.
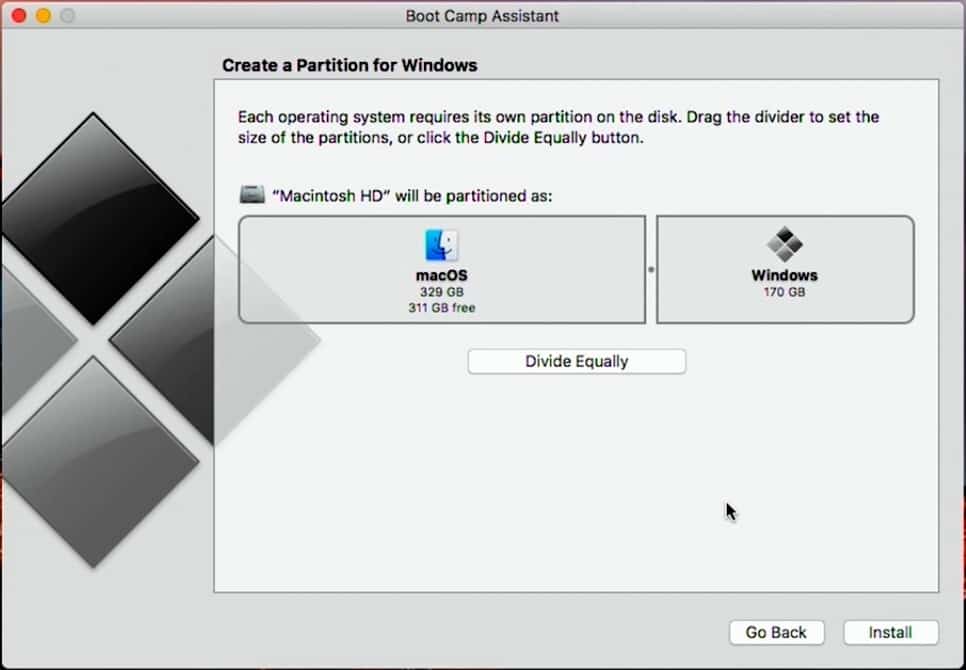
- Press the Install button after you’ve selected the required partition space. Do not remove the USB drive from Mac.
- Once you’ve finished the assistant, the Mac will restart to the Windows installer.
- First, select the required language, time and currency formats for Windows.
- Then you’ll need to enter your Windows 10 product key. If you skip entering it, you can only use Windows 10 on the Mac for a 30-day trial period.
- Next, you should select to install Windows 10 to the BOOTCAMP partition and click Format. Then you can press OK and Next to confirm.
- The Windows setup process will continue for up to about 30 minutes. Thereafter, the Mac will boot up in Windows 10 and you can set up a user account.
- Finally, you’ll also need to install Boot Camp’s drivers on the USB drive. So you should open the USB flash drive in File Explorer and then double-click the setup.exe in BootCamp folder to install the drivers.
- You can switch between Windows 10 and your Mac platform by pressing the Option key on the Apple Mac startup. Alternatively, you can also click the Boot Camp system tray icon and then select Restart in OS X.
- Note that you might also need to configure Windows 10 as your default Mac platform with the Boot Camp Control Panel.
So now Windows 10 is on your Mac! That’s how you can add Windows 10 to Macs with a USB drive, and you can also use a DVD installation disc (which might be essential for less update Macs).
RELATED STORIES YOU NEED TO CHECK OUT:
- How to create a Mac OS bootable USB Media on Windows 10
- Over 60% of Windows users would switch to MacOS for more privacy
Read our disclosure page to find out how can you help Windows Report sustain the editorial team. Read more


Improve this guide


User forum
0 messages