How to Fix the Outlook Autoarchive Settings Greyed Out
Run Office 365 support and recovery assistant
![]() 4 min. read
4 min. read
![]() Updated on
Updated on
Share this article
Improve this guide
Read our disclosure page to find out how can you help Windows Report sustain the editorial team. Read more
If your Outlook Autoarchive Settings are greyed out, it could be due to permission issues or the feature being unavailable on your Windows edition.
The first step is to check if your mailbox is an Exchange on-premise one or Exchange online, then check if you have logged in with an account with administrator privileges.
How can I fix the Outlook AutoArchive Settings greyed out?
1. Ensure AutoArchive is enabled globally
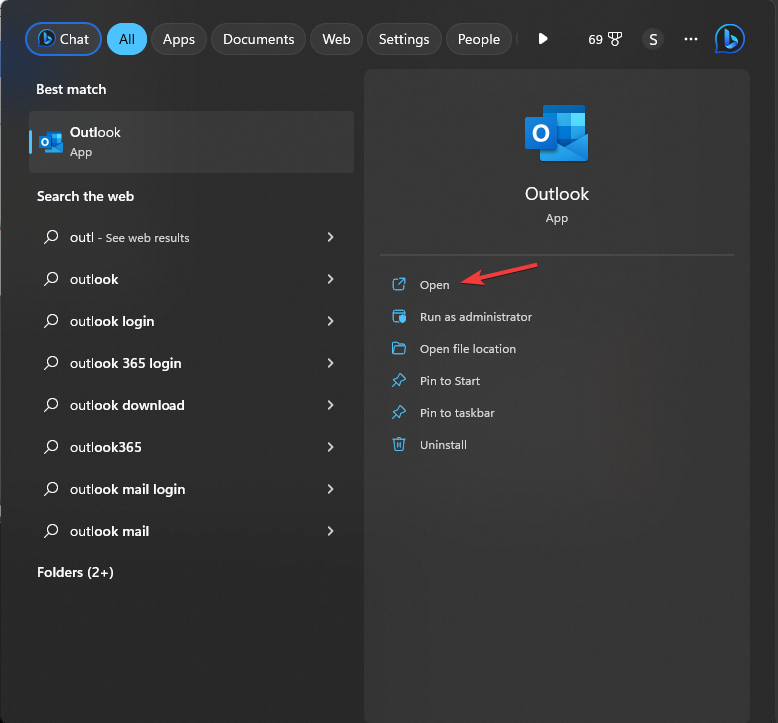
- Press the Windows key, type outlook, then click Outlook from the list.

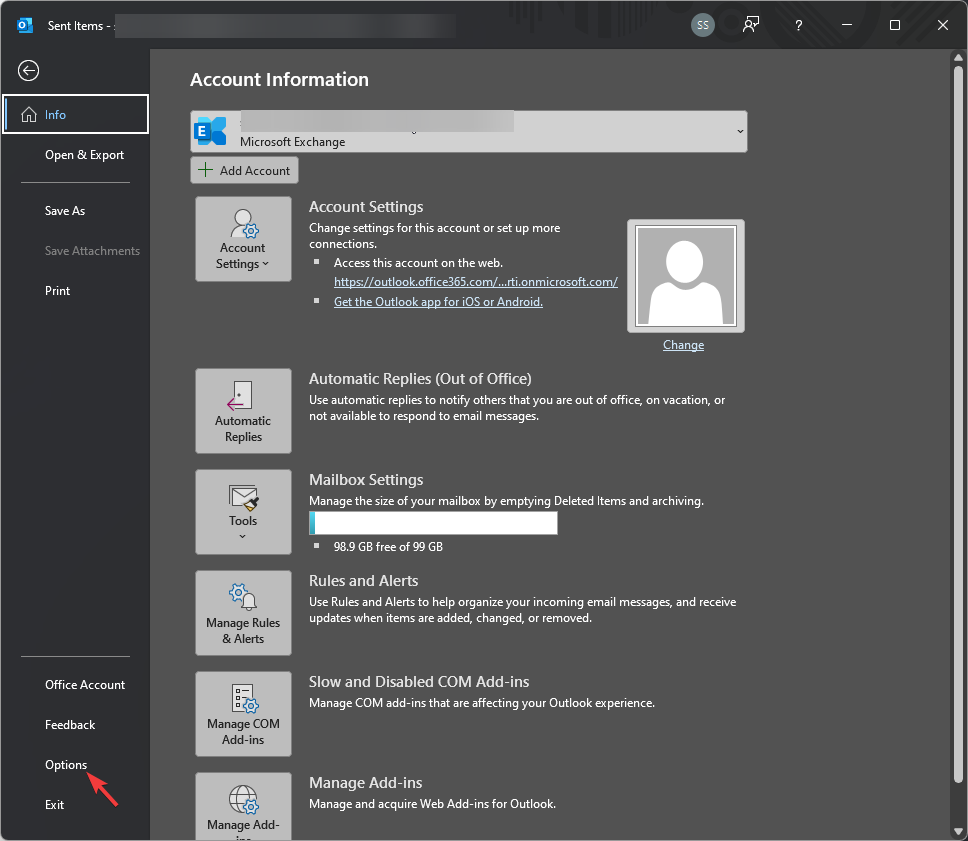
- Go to the File tab and click Options.

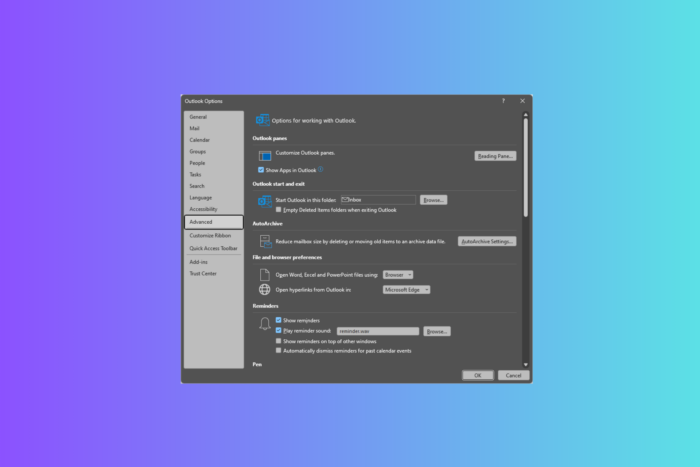
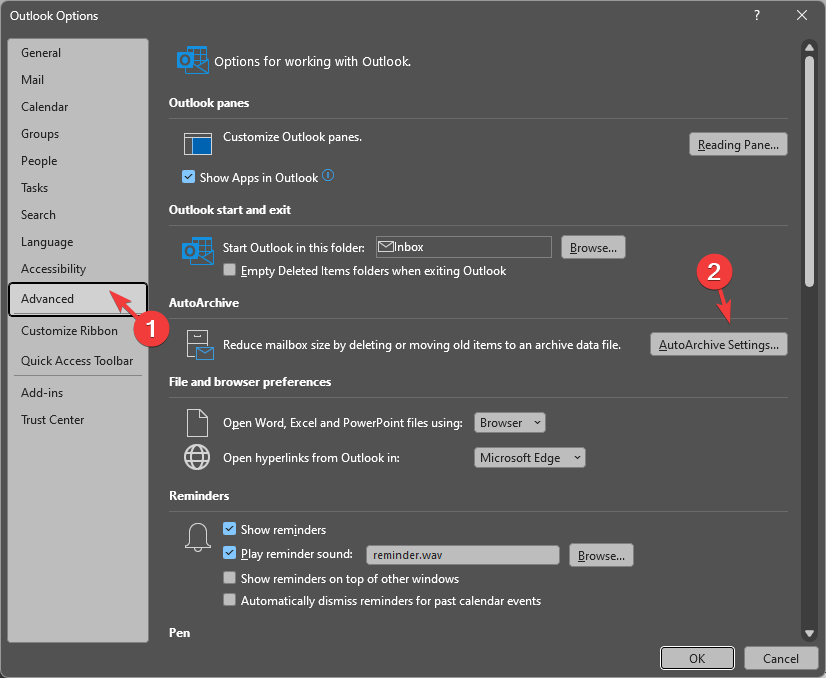
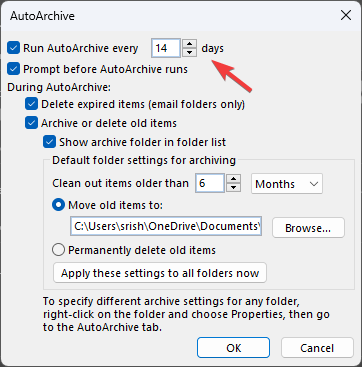
- Click Advanced, then locate AutoArchive Settings.

- Locate Run AutoArchive every 14 days is selected. If not, proceed with the next step.

2. Check Group Policy Settings (for Office 365 or Exchange accounts)
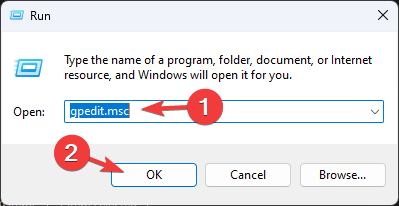
- Press Windows + R to open the Run window.

- Type gpedit.msc and click OK to open the Group Policy Editor.
- Navigate to this path:
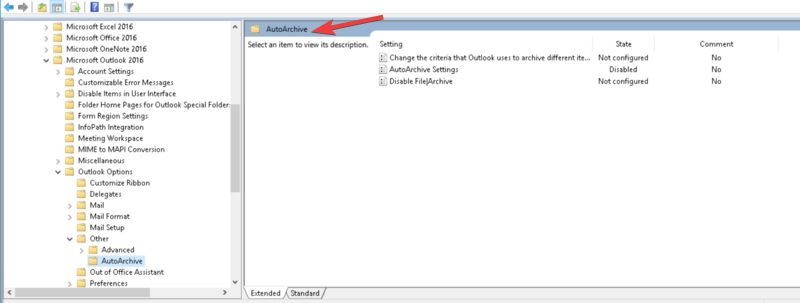
User ConfigurationAdministrative TemplatesOffice 2016 Microsoft Outlook 2016Outlook OptionsOtherAutoArchive - Double-click the AutoArchive policy to open its Properties.

- Now check if the policy is set to Disabled or Enabled. If it is Enabled, the AutoArchive settings in Outlook will be greyed out.
- So select Disabled, then click OK to access these settings. However, if you want to disable the entire policy, select Not Configured.
3. Check if the mailbox is connected to an Exchange server
- Press the Windows key, type outlook, then click Outlook from the list.
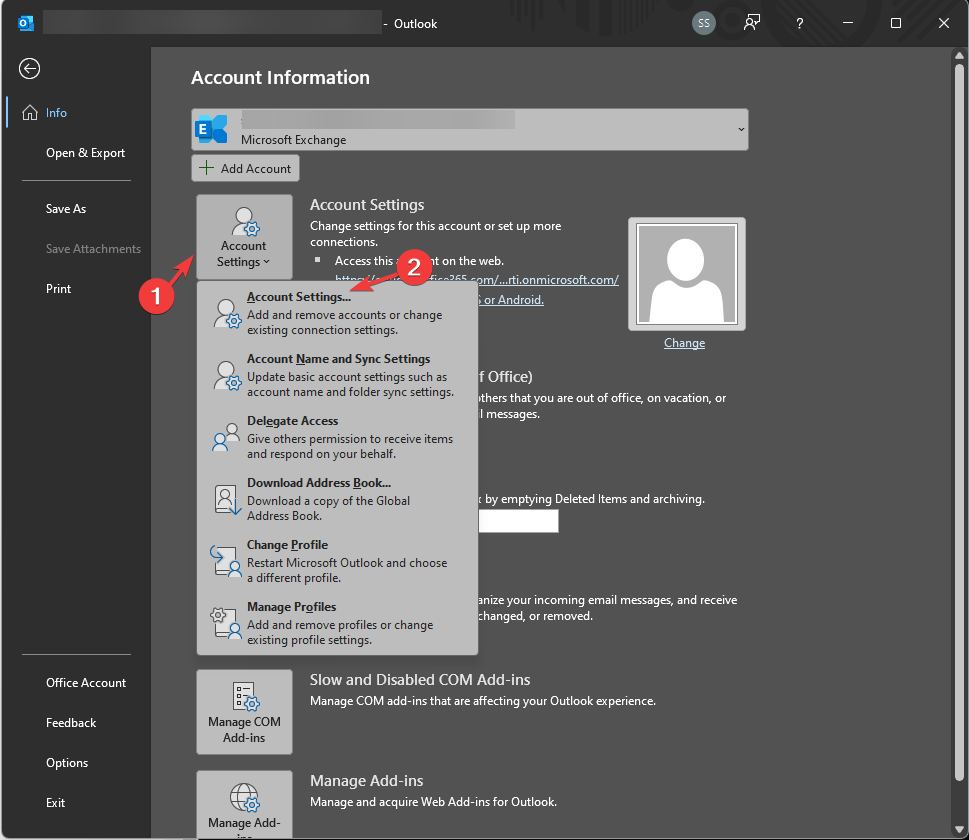
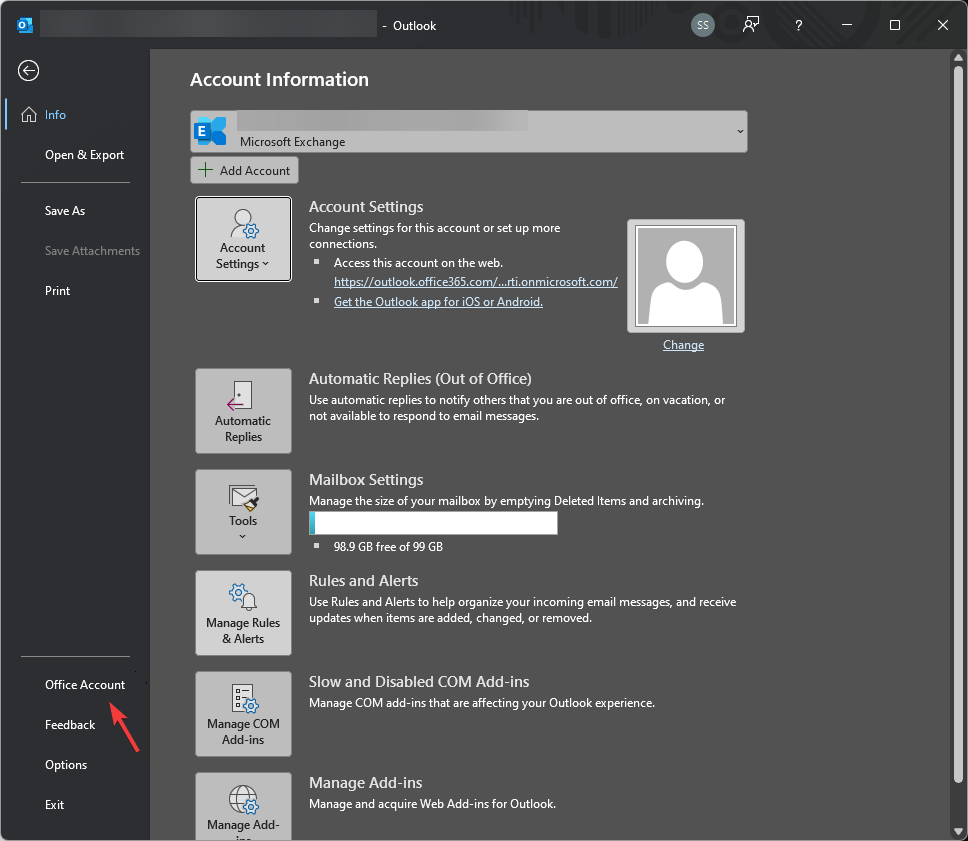
- Go to the File tab.
- Click Account Settings, then select Account Settings from the drop-down menu.

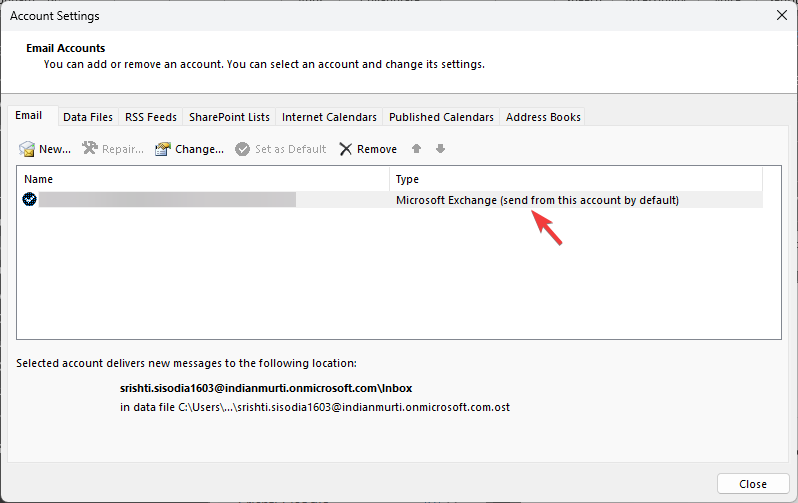
- You will see a list of email accounts configured in Outlook in the Account Settings dialog box.
- Go to the Email tab. Under Type, you will see the type of account. Your mailbox is connected to an Exchange Server if it says Exchange or Microsoft Exchange.

- Click Change to check the Exchange Server to which your mailbox is connected. Once verified, click Close or Cancel to exit the settings.
4. Repair the Microsoft Office
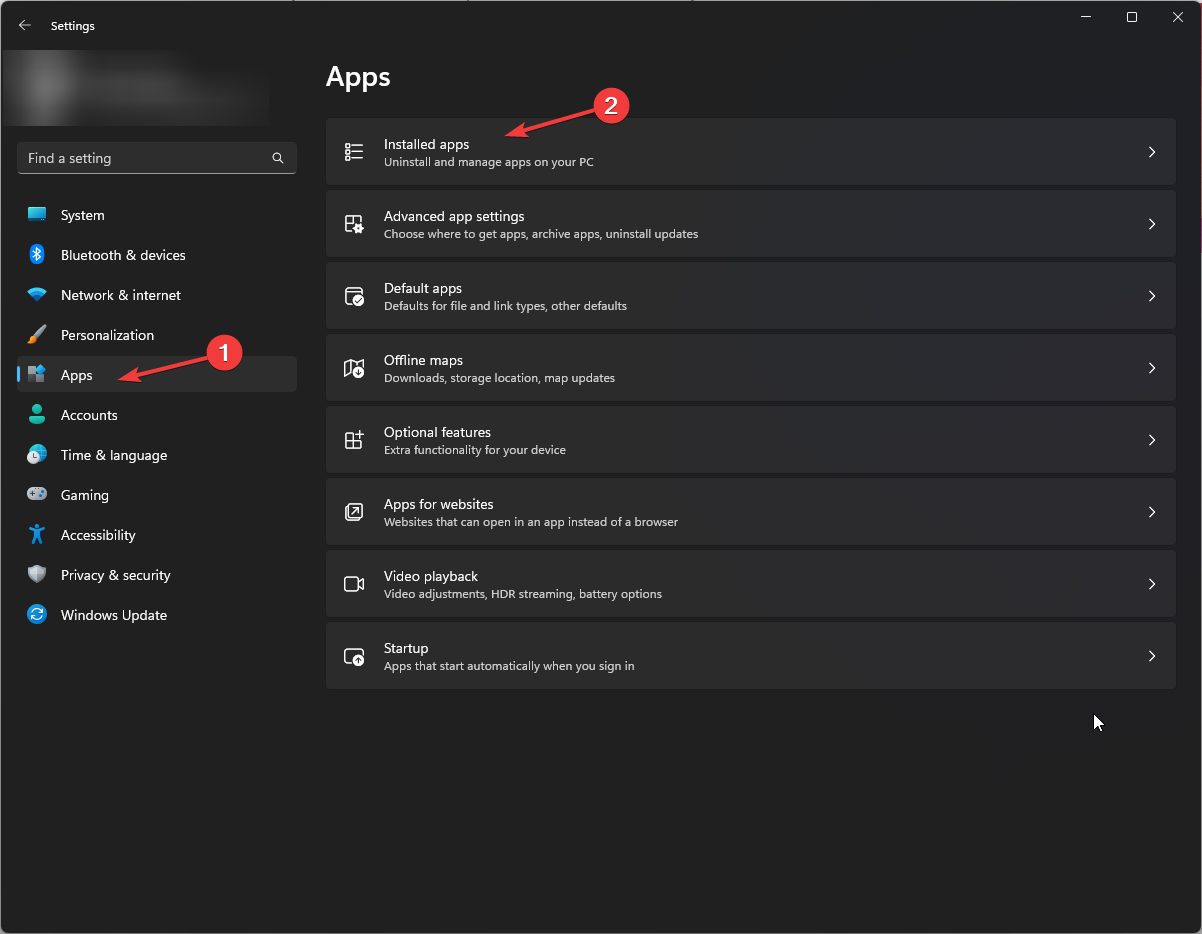
- Press Windows + I to open the Settings app.
- Go to Apps, then select Installed apps.

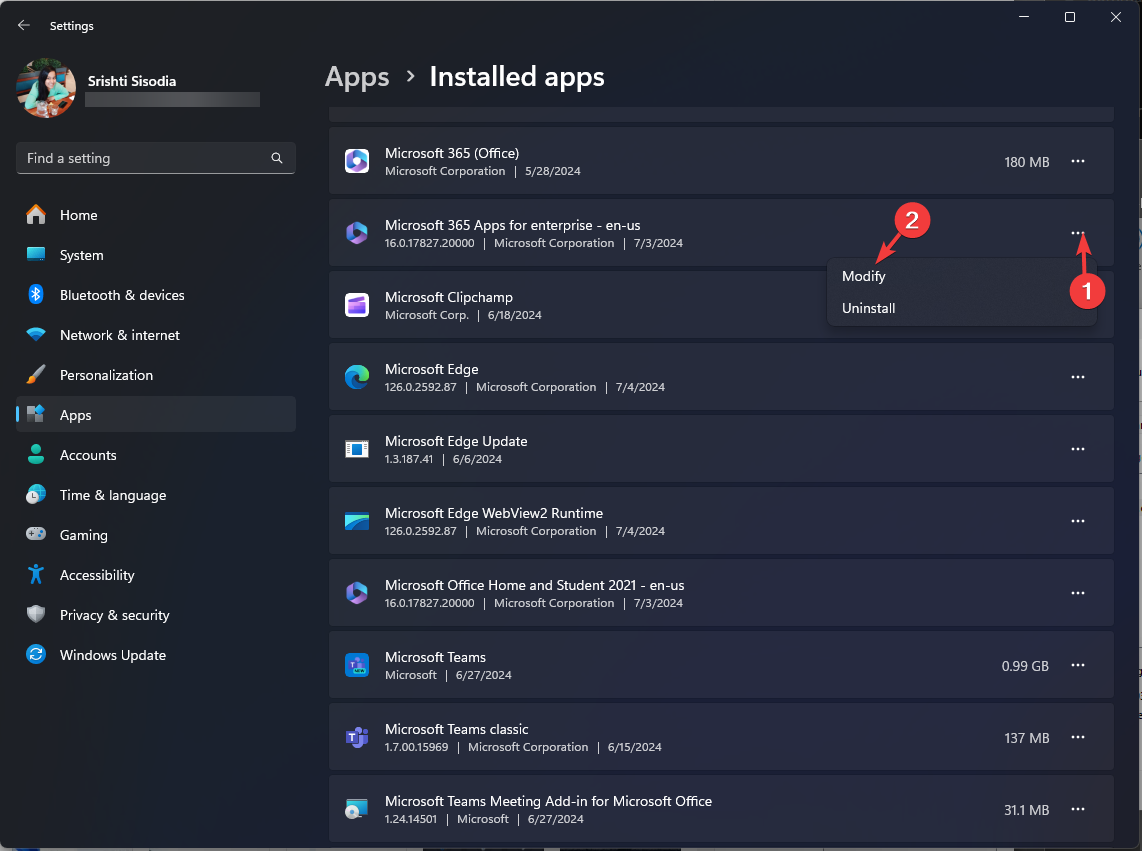
- Locate the Microsoft Office app, click the three-dot icon, and choose Modify.

- Click Yes on the UAC prompt.
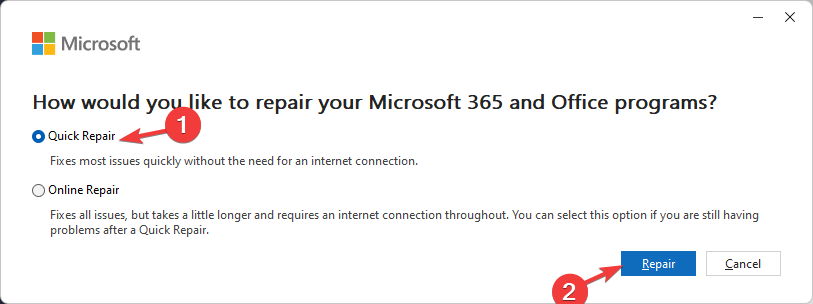
- Select Quick Repair, then click the Repair button.

5. Update/Reinstall your Outlook app
- Press the Windows key, type outlook, then click Outlook from the list.
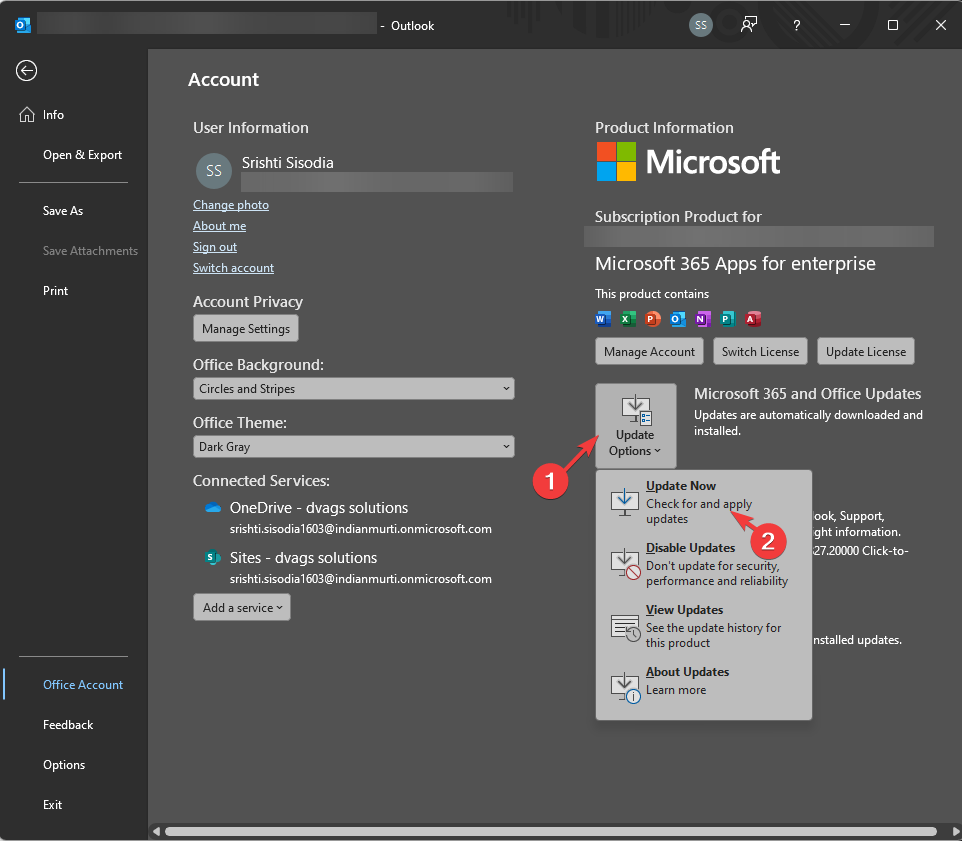
- Go to the File tab.
- Next, click Office Account.
- Click Update Options, then select Update Now.

If there is no update available, you need to reinstall it. For that, follow these steps:
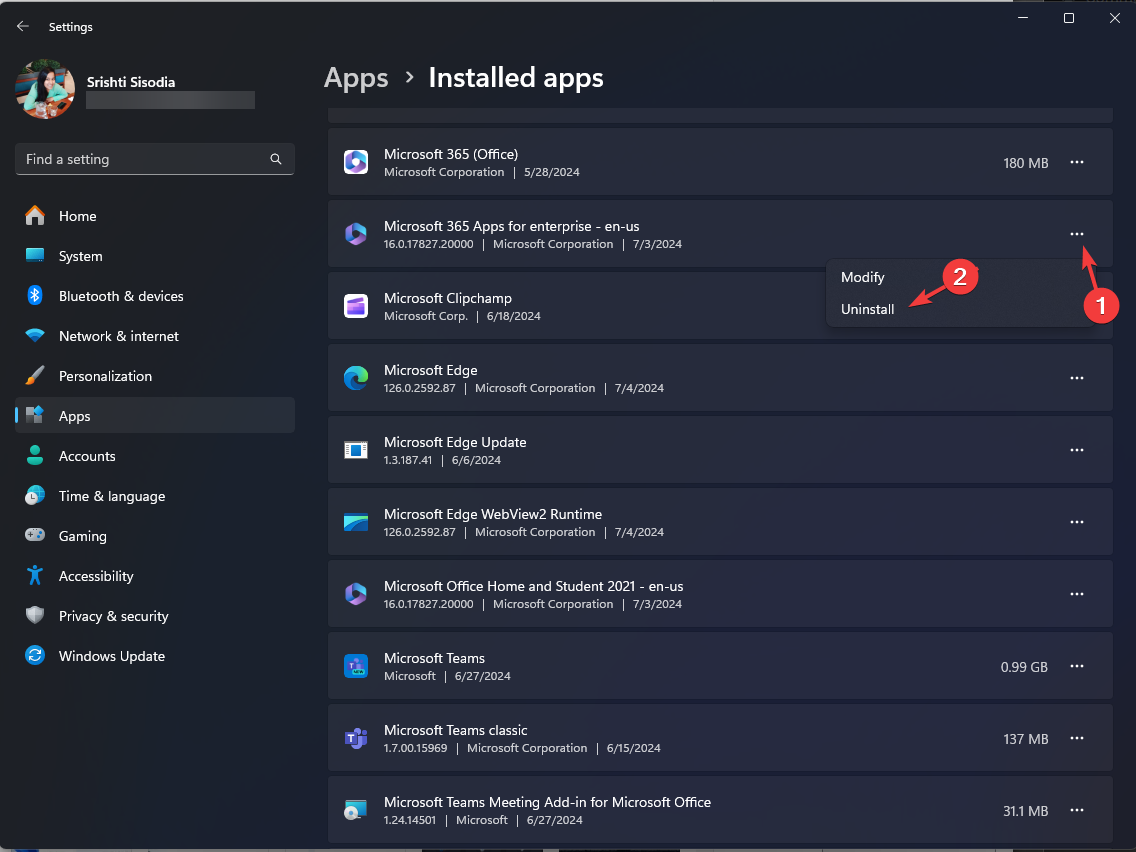
- Press Windows + I to open the Settings app.
- Go to Apps, then select Installed apps.
- Locate the Microsoft Office app or Outlook (if you’re using the new one), click the three-dot icon, and choose Uninstall.

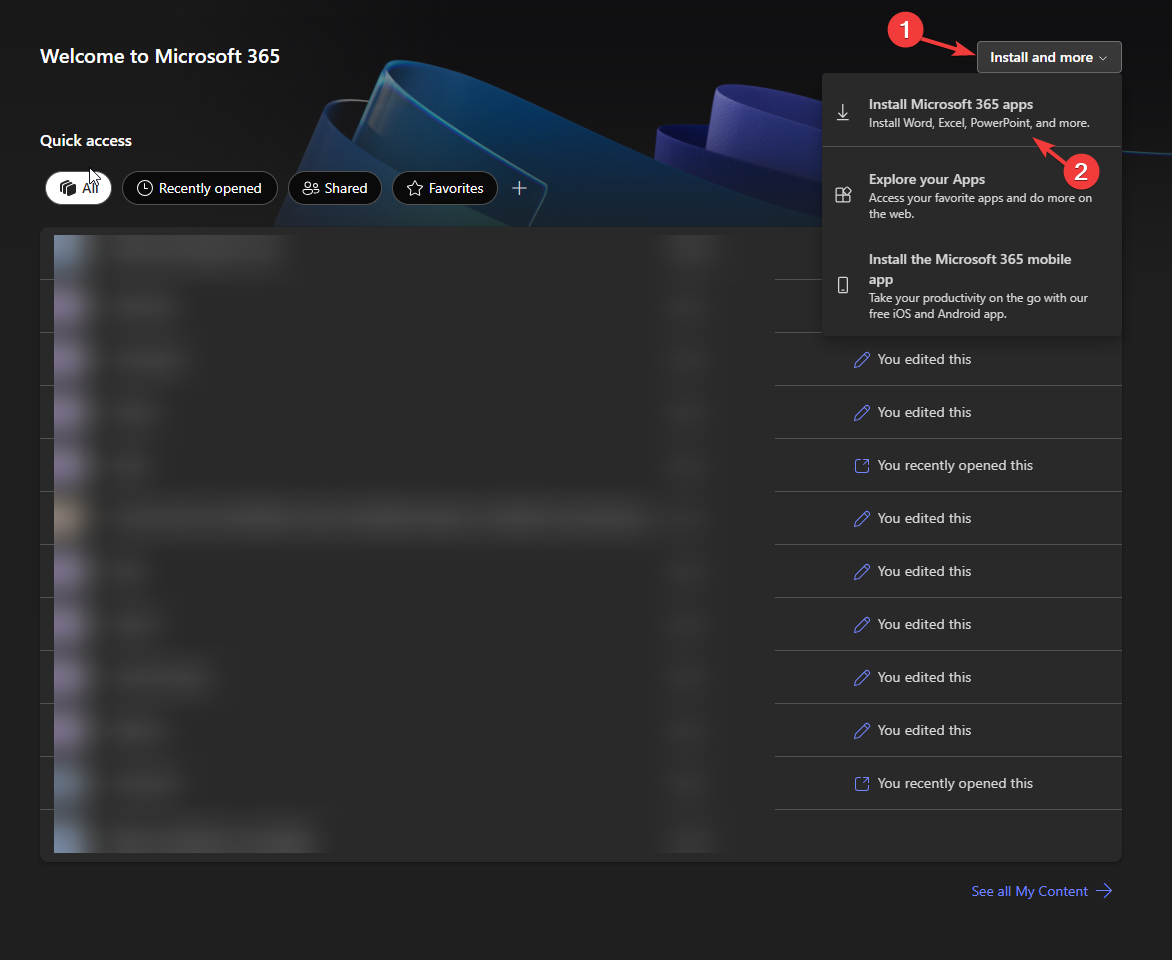
- Go to office.com and click Install and more.
- From the drop-down menu, select Install Microsoft 365 apps.

- Once you get the setup, double-click the file and initiate the installation.
- Follow the on-screen instructions to complete the process.
Reinstalling Outlook will help fix issues like Outlook won’t open in Windows 11; read this guide to learn more.
6. Create an Outlook profile
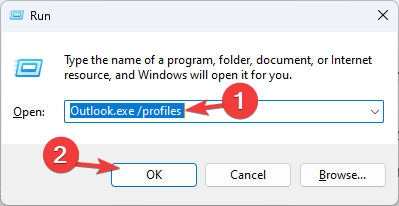
- Press Windows + R to open the Run window.
- Type Outlook.exe /profiles and click OK.
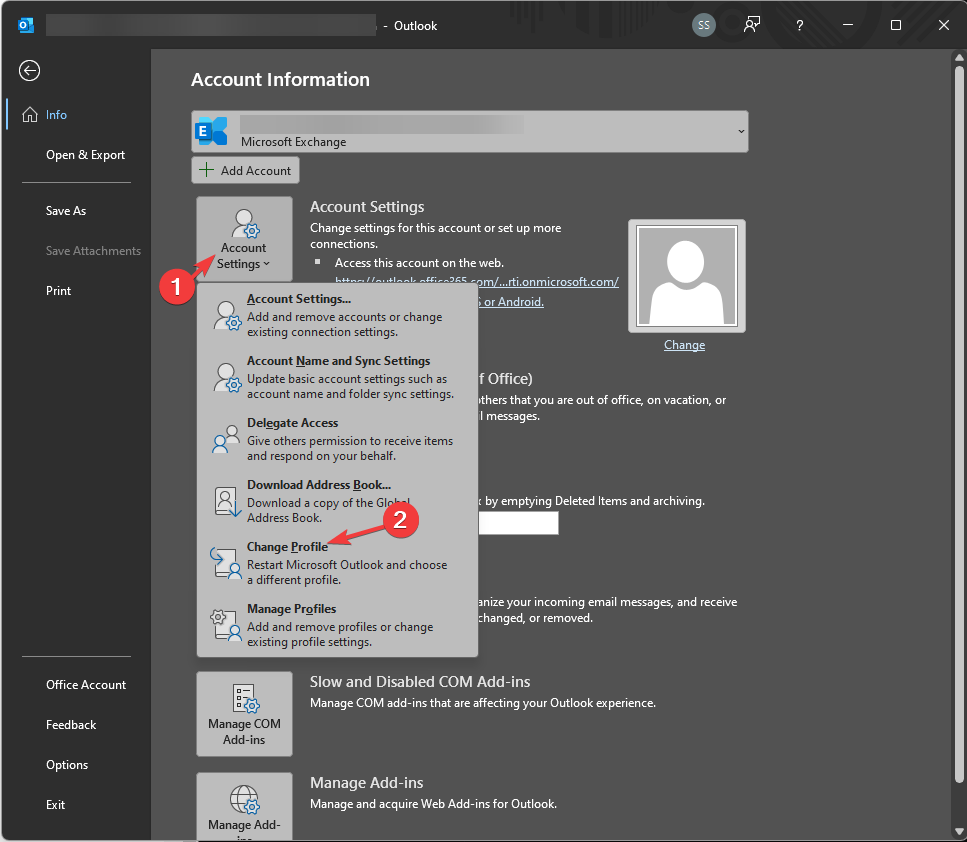
- Go to the File tab.
- Select Account Settings, then click Change Profile.

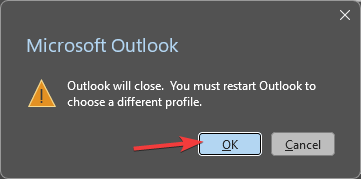
- You will be notified that Outlook will restart; click OK to proceed.

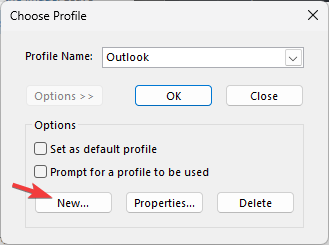
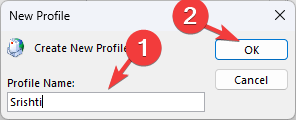
- Click New.

- Type in the new Outlook profile name and click OK.

- Once the profile is created, enter the email account to the profile and click Connect.
7. Add a Registry entry
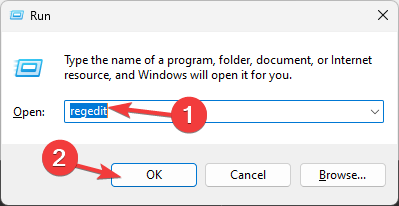
- Press Windows + R to open the Run window.
- Type regedit and click OK to open the Registry Editor.
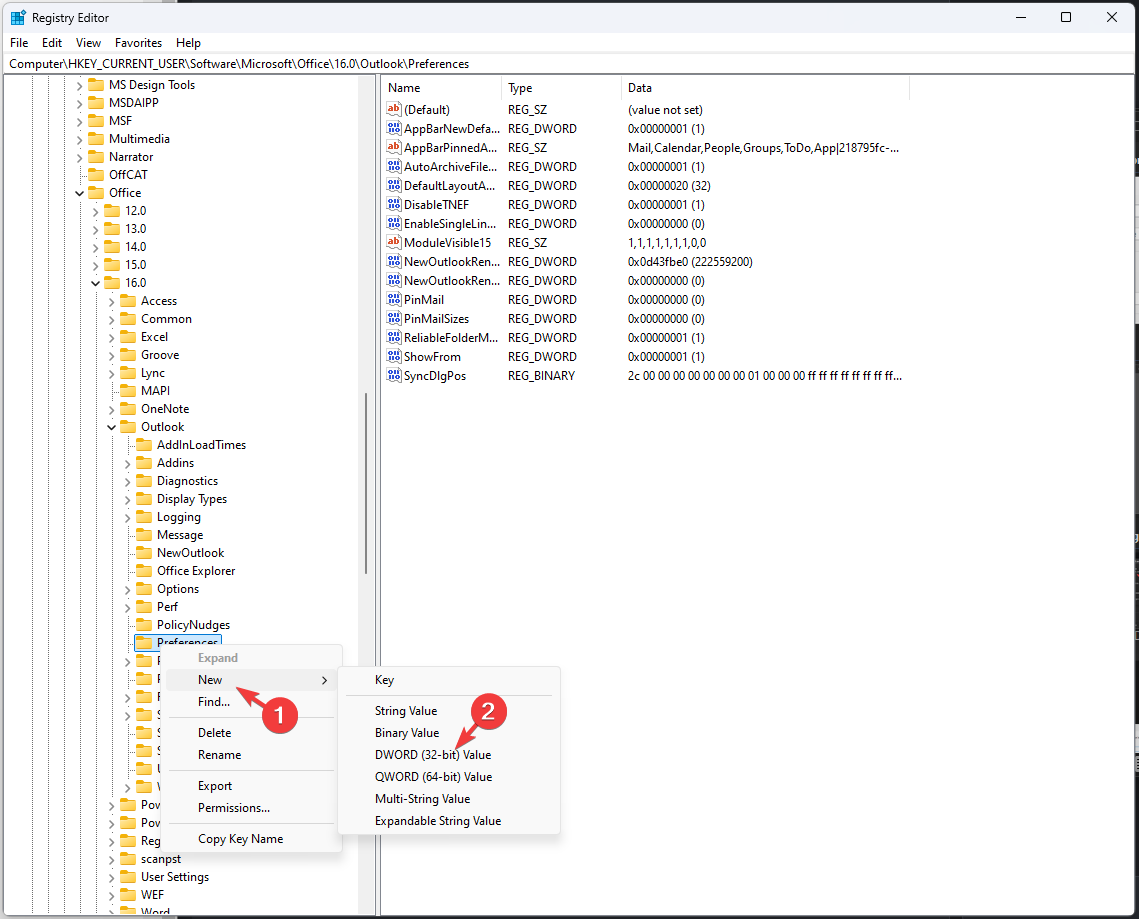
- Navigate to this path:
Computer HKEY_CURRENT_USERSoftwareMicrosoftOffice16.0OutlookPreferences - Right-click Preferences, then select New>DWORD 32-bit Value.

- Name it disablemanualarchive.
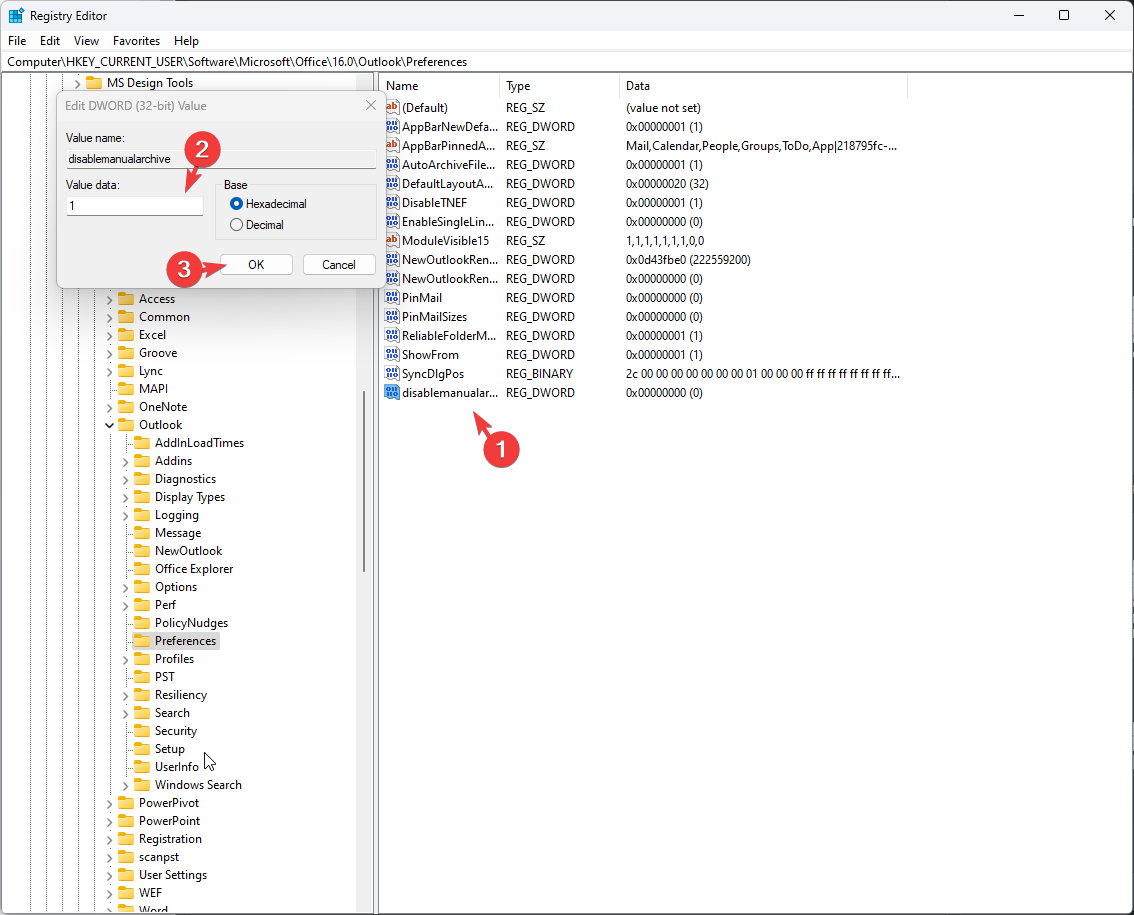
- Double-click the DWORD, set the Value data to 1, and then click OK to save the changes.
- Restart your computer.
Remember that AutoArchive Settings used to be enabled with Outlook 2003 and 2007; however, the feature is turned off by default in Outlook 2010 and newer versions.
Another thing to note is that if you have the AutoArchive feature enabled in Outlook 2003 or 2007 and upgrade to Outlook 2010 or later versions, it remains enabled.
If nothing works for you, you can contact Microsoft support and describe the issue and the steps taken to fix it for further assistance.
In case the issue is fixed, you can also check out our guide with detailed steps to archive Outlook emails. Also, you can check out this article if you have mistakenly deleted or archived Outlook messages. Moreover, if you can’t encrypt or sign your messages, we have just the guide for you.
Did we miss a step that helped you fix the Outlook AutoArchive settings that were greyed out? Share it with our readers in the comments section below, and we will add it to the list.


User forum
0 messages