Exclamation Mark on Printer: Use These 4 Fixes to Remove It
Check expert solutions to get rid of the warning
4 min. read
Updated on
Read our disclosure page to find out how can you help Windows Report sustain the editorial team Read more
Key notes
- There's often an exclamation mark on the printer in the Device Manager or the Printer section of the Control Panel, a problem often perceived to be caused by a corrupt driver.
- Several users reported that it was their antivirus that triggered the warning, and uninstalling it did the trick.
- You can try reinstalling the printer drivers or getting the latest one from the manufacturer's website.
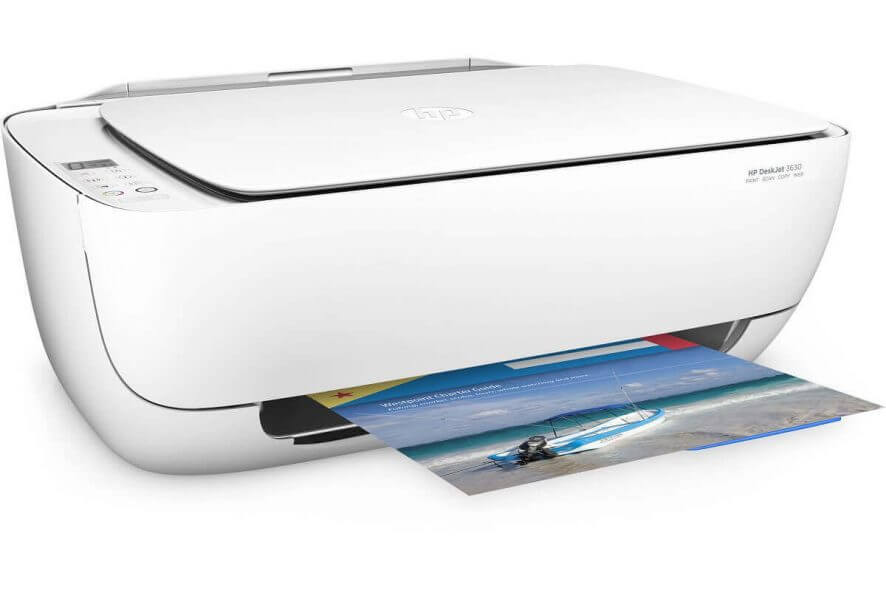
Device Manager is a Windows utility that displays the peripherals and devices connected to the computer. When users see the yellow exclamation mark beside the printer, it means that there’s a printer error.
Remember, it’s often a signal of an impending stage where the printer stops working. And some quick troubleshooting at this stage prevents a major hassle later on. So, let’s find out what to do when there’s an exclamation mark on an HP printer or those by other manufacturers.
Why does my printer have an exclamation mark?
Here are a few reasons you are facing the problem:
- Issues with the driver: When an exclamation mark appears for a printer in the Device Manager, it’s most likely due to a corrupt driver.
- Antivirus conflicting with the printer: In some cases, users reported that their third-party antivirus conflicted with the printer software or driver, triggering the warning sign.
- Misconfigured policies: The Local Group Policy Editor in Windows allows users to make complex changes to the PC seamlessly, and the relevant policies here, when misconfigured, can even lead to issues.
How can I fix the exclamation mark on the printer?
Before we head to the slightly complex changes, here are a few quick ones to try:
- Restart the computer and the printing device and verify whether the exclamation mark on the printer goes away.
- Install any pending Windows updates since these often hold newer printer driver versions.
- Disable any third-party antivirus installed on the PC. In case that does the trick, we recommend you switch to a Windows-friendly antivirus solution.
If none work, move to the solutions listed next.
1. Reinstall the printer driver
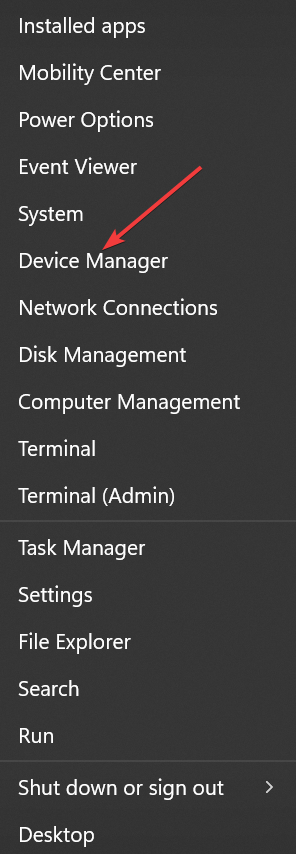
- Press Windows + X to open the Power User menu, and select Device Manager from the list.
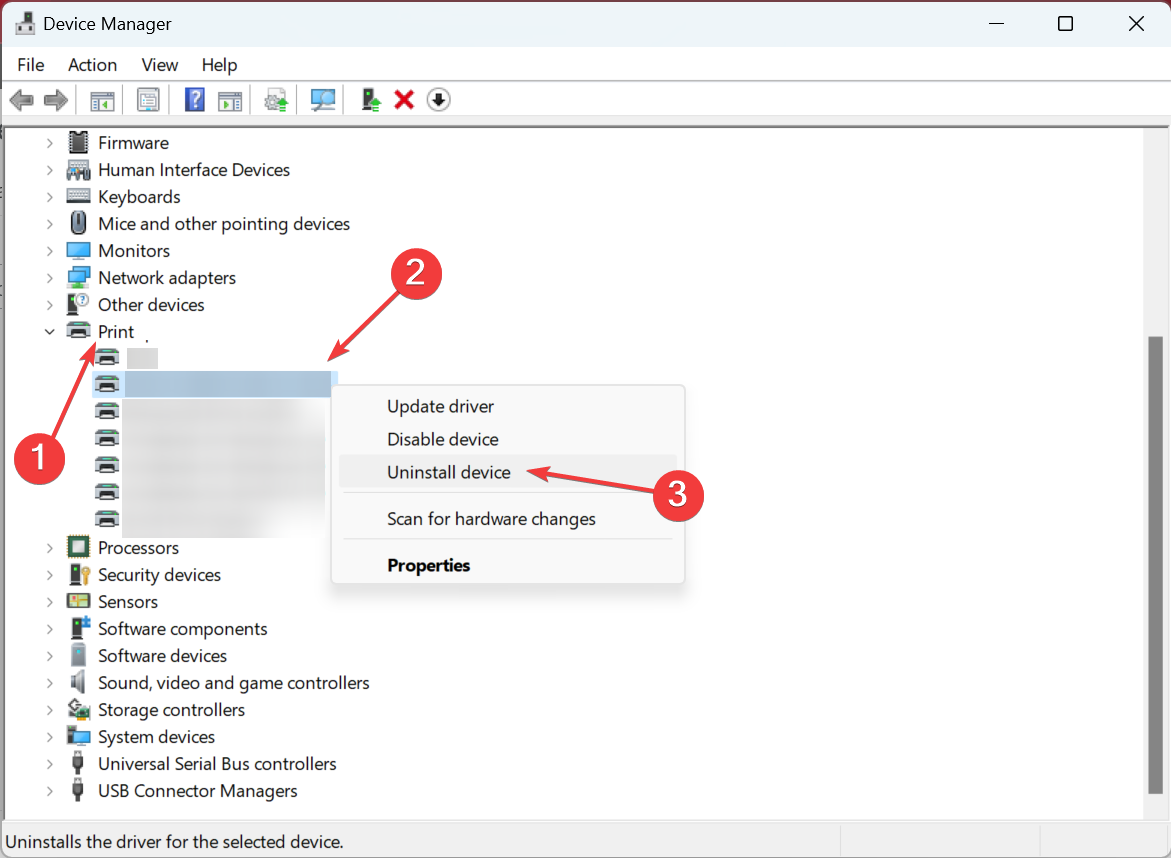
- Expand the Printers entry, right-click on the device with the exclamation mark, and select Uninstall device.
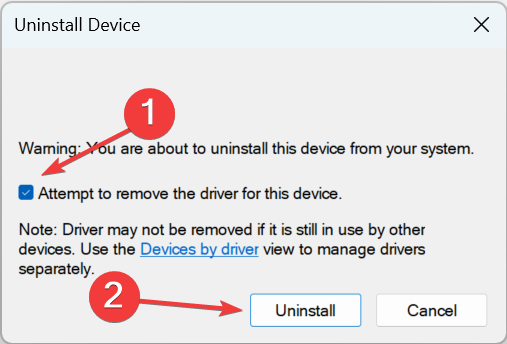
- Tick the checkbox for Attempt to remove the driver for this device, and click Uninstall.
- Now, restart the computer, and Windows will automatically install a fresh copy of the driver.
A simple and, undoubtedly, the most effective solution when the printer has an exclamation mark is to reinstall the driver. When you do that, Windows removes the corrupt/problematic one and installs a new driver.
2. Manually install the printer driver
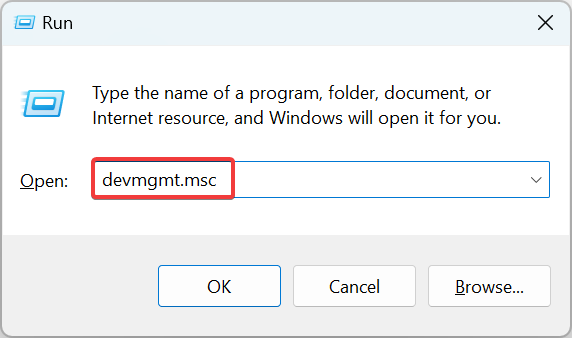
- Press Windows + R to open Run, type devmgmt.msc, and hit Enter.
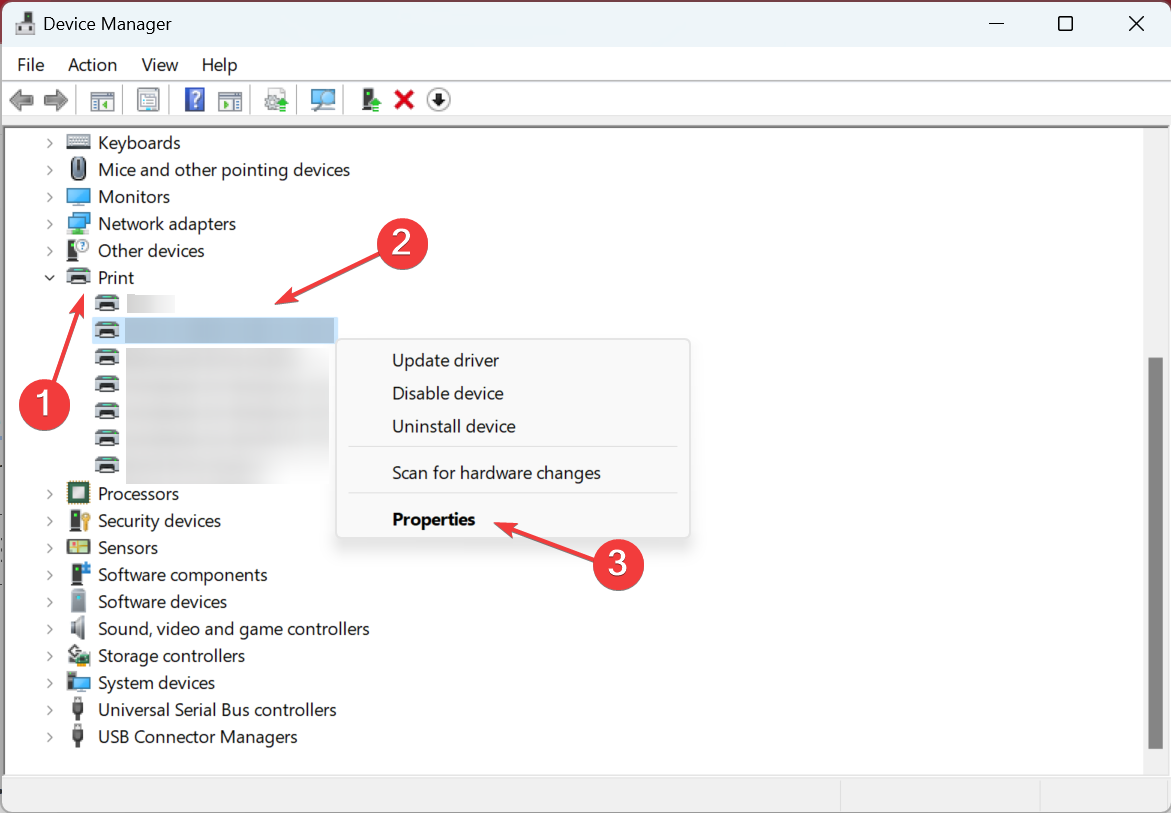
- Expand Printers, right-click on the one with the exclamation mark, and choose Properties.
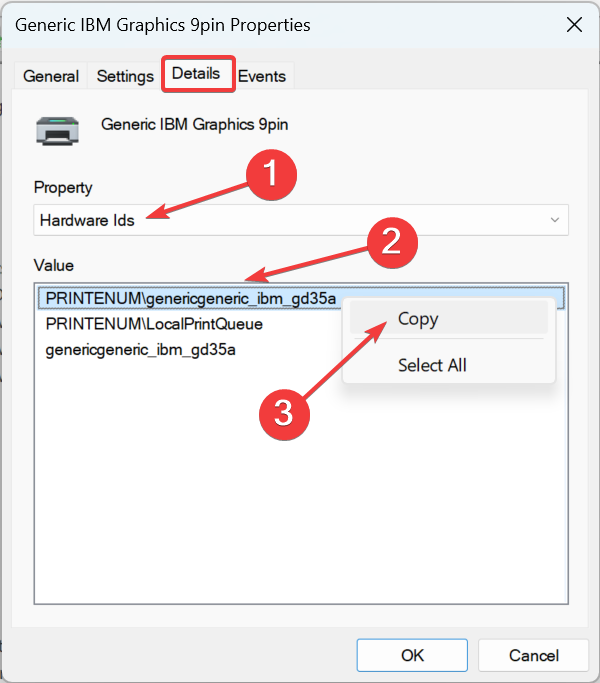
- Head to the Details tab, choose Hardware Ids from the Property dropdown menu, right-click on the relevant Hardware Id, and select Copy. If there are several hardware IDs listed, you may have to try different ones until it works out.
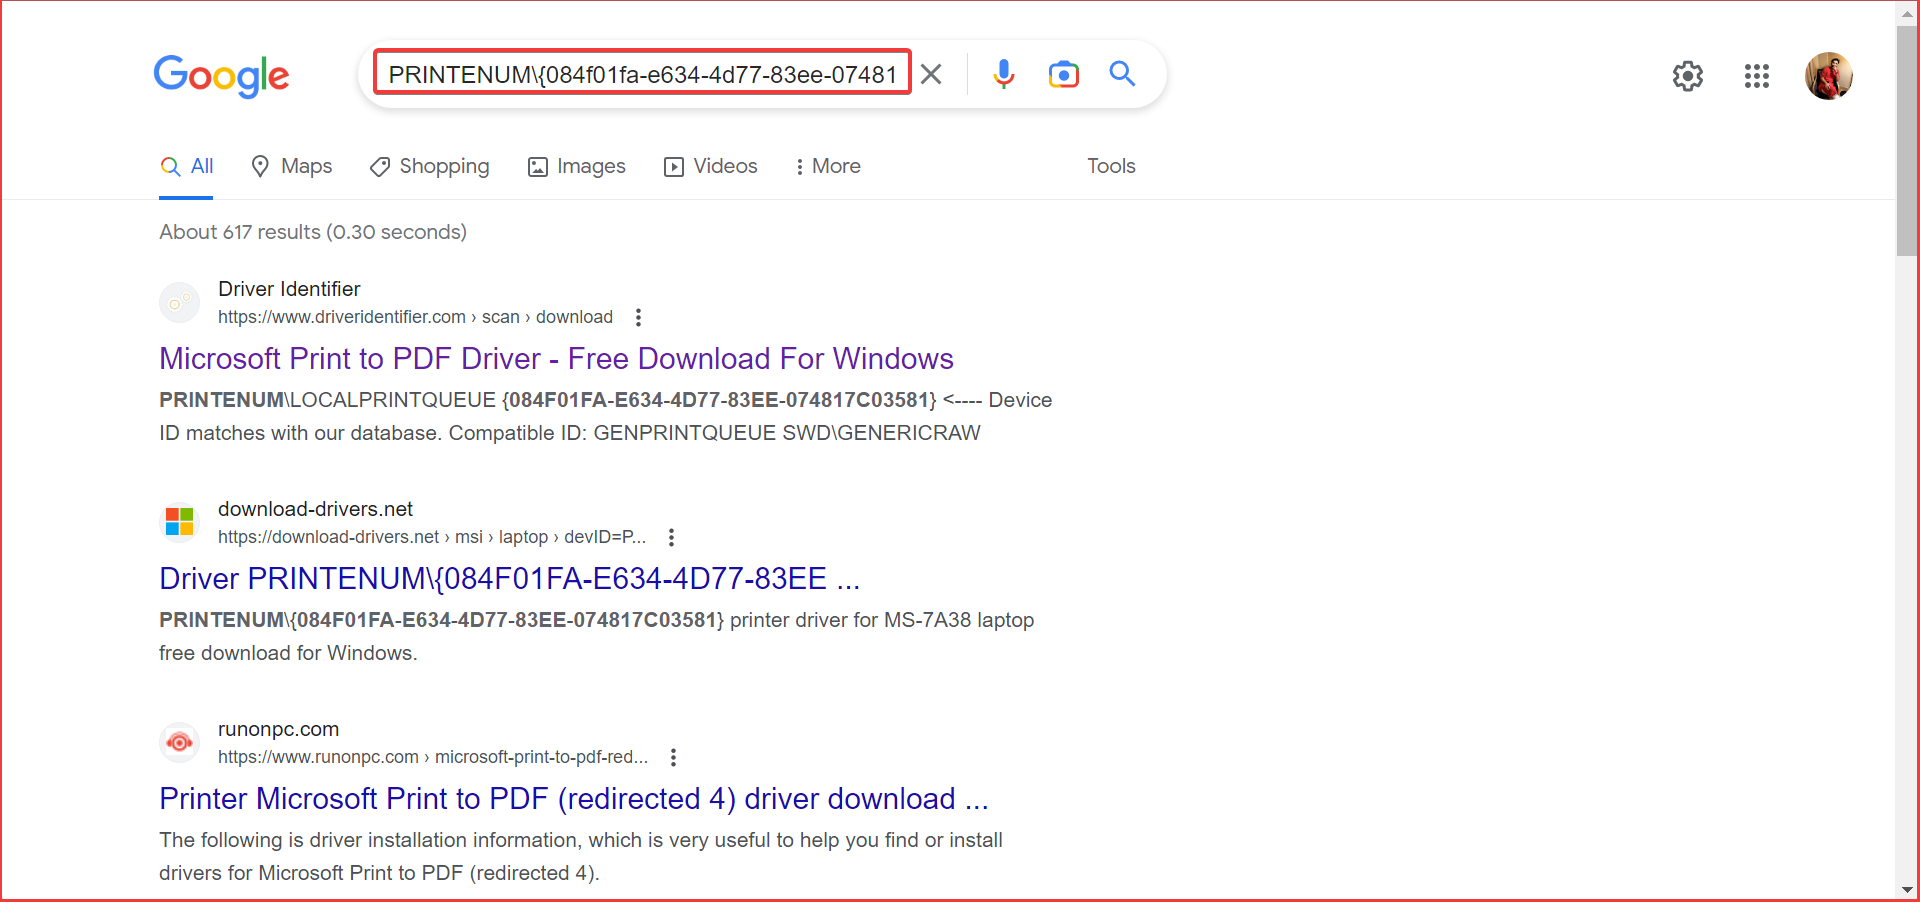
- Now, go to Google, and search for the hardware ID.
- Head to the manufacturer’s website, download the relevant driver, run the setup, and follow the on-screen instructions to complete the process.
Updating to the latest printer driver is often challenging, but it helps fix a range of errors and, sometimes, improves the device’s performance as well. And manually installing the driver is usually the recommended approach because you get to the latest available version.
Also, you can update your PC drivers correctly without harming your system by installing the wrong drivers. Thus, take advantage of the following software to handle any drivers safely and automatically.
3. Uninstall the antivirus
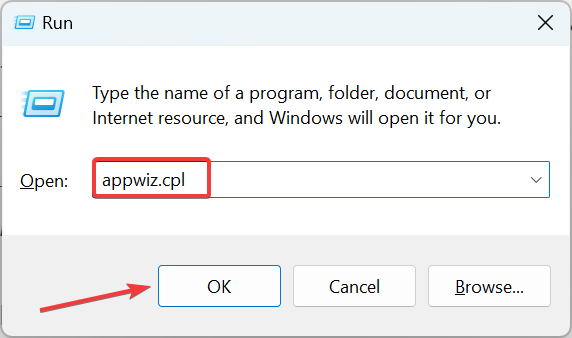
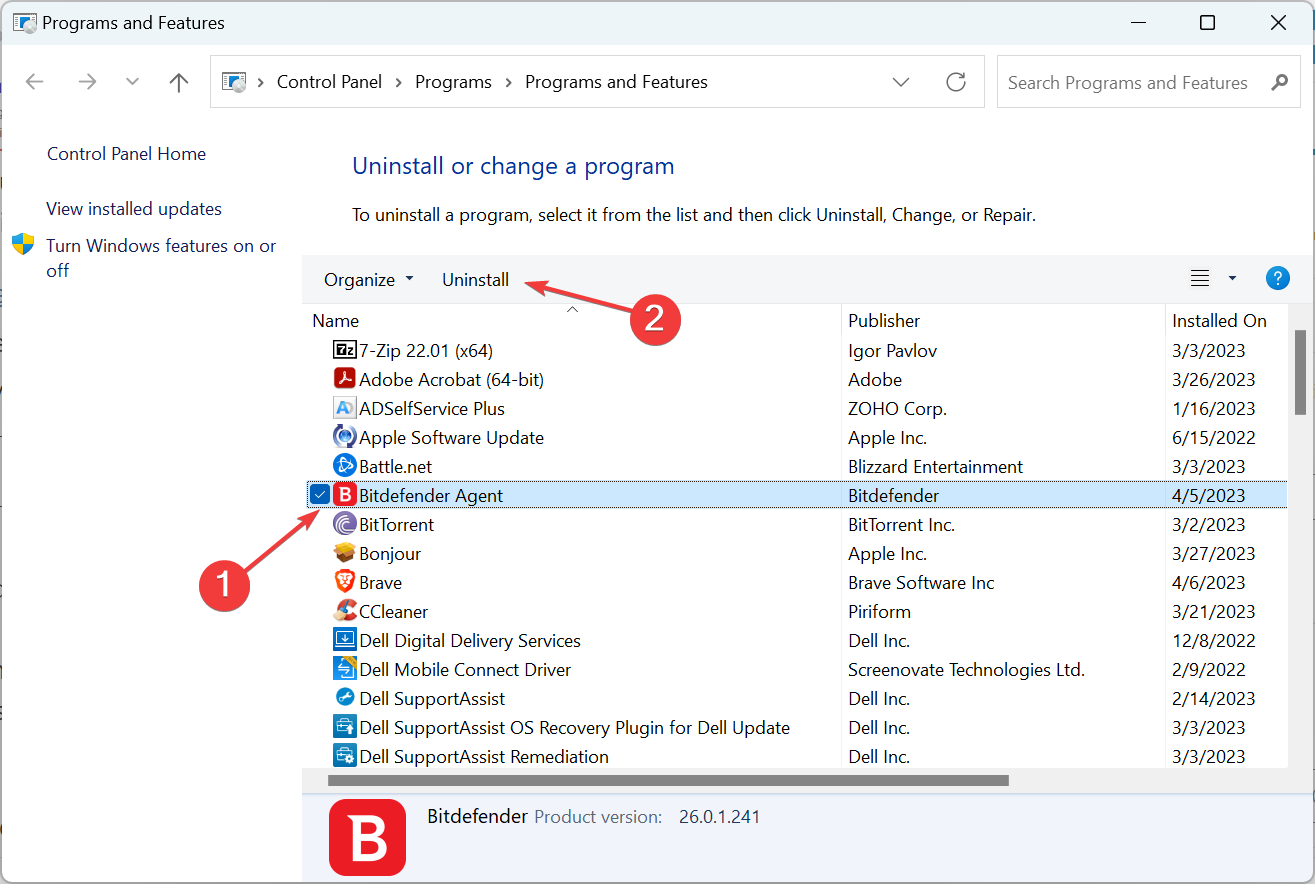
- Press Windows + R to open Run, type appwiz.cpl in the text field, and click OK.
- Select the third-party antivirus installed on the PC and click Uninstall.
- Follow the instructions to complete the uninstall process.
- Now, check whether the exclamation mark on the printer disappears.
- For some users, reinstalling the antivirus also worked, so you may try that as well.
4. Reconfigure the Local Group Policy Editor
 Tip
Tip
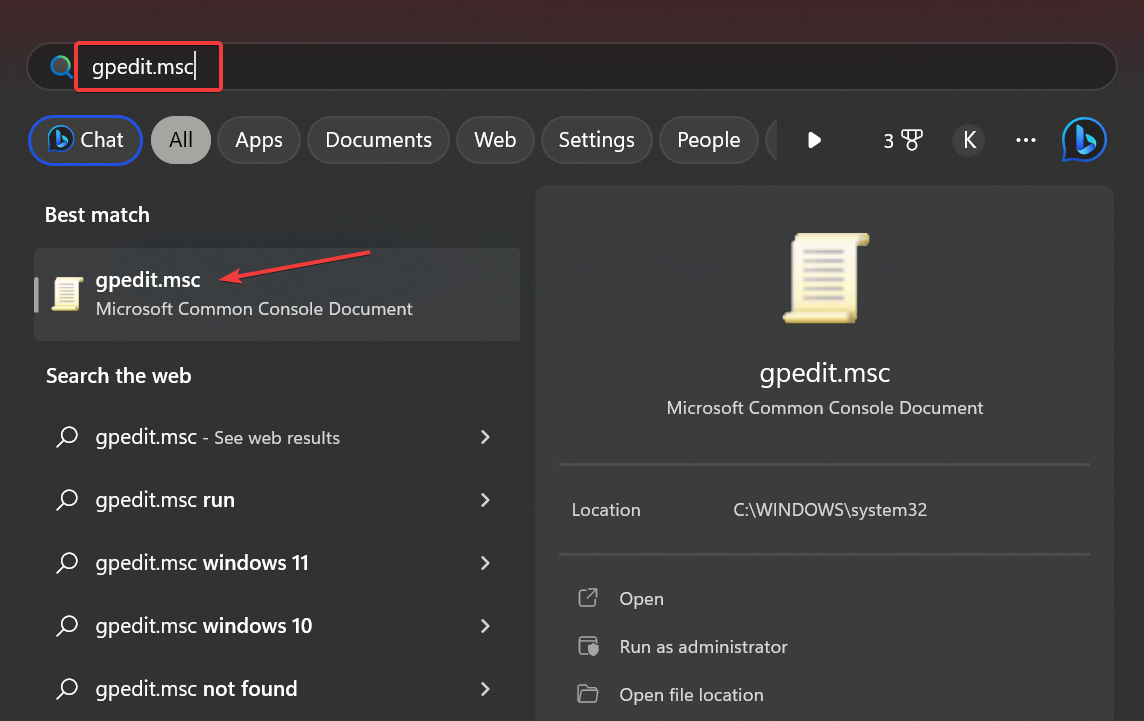
- Press Windows + S to open Search, type gpedit.msc, and click on the relevant search result.
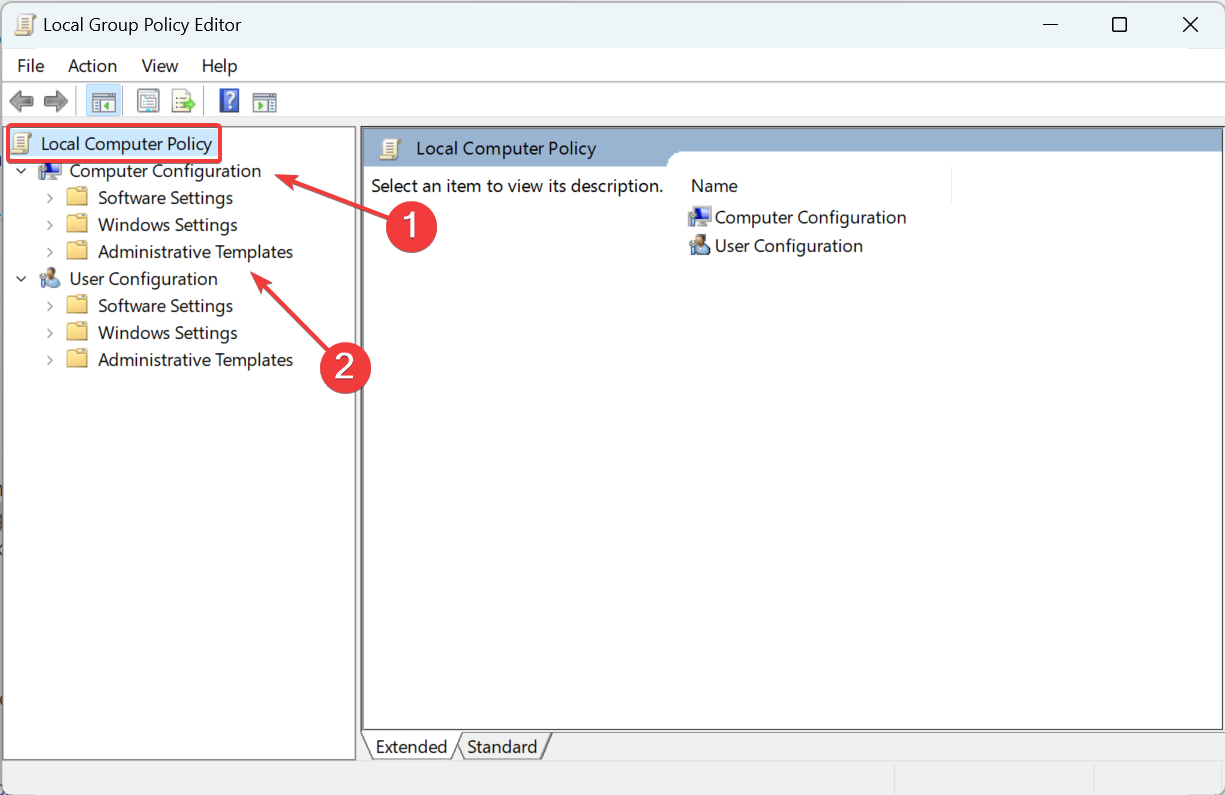
- Now, under Local Computer Policy, expand Computer Configuration, and then choose Administrative Templates.
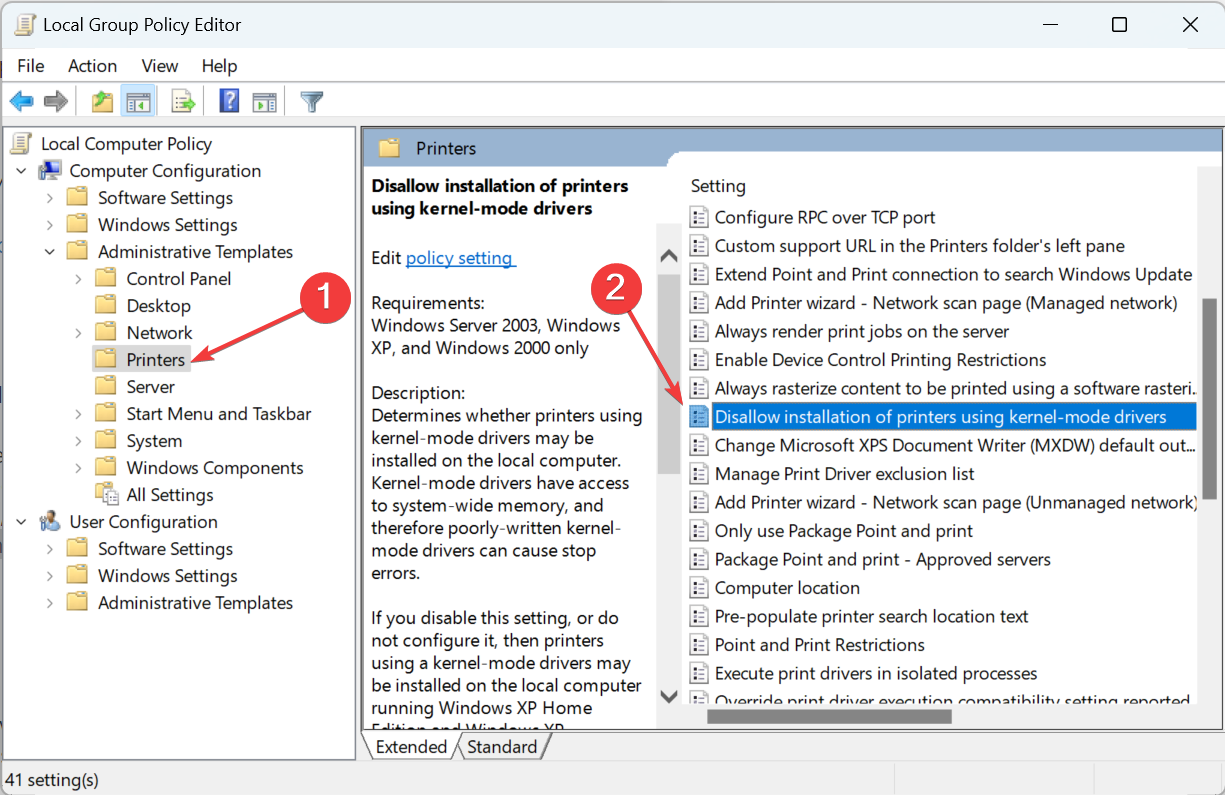
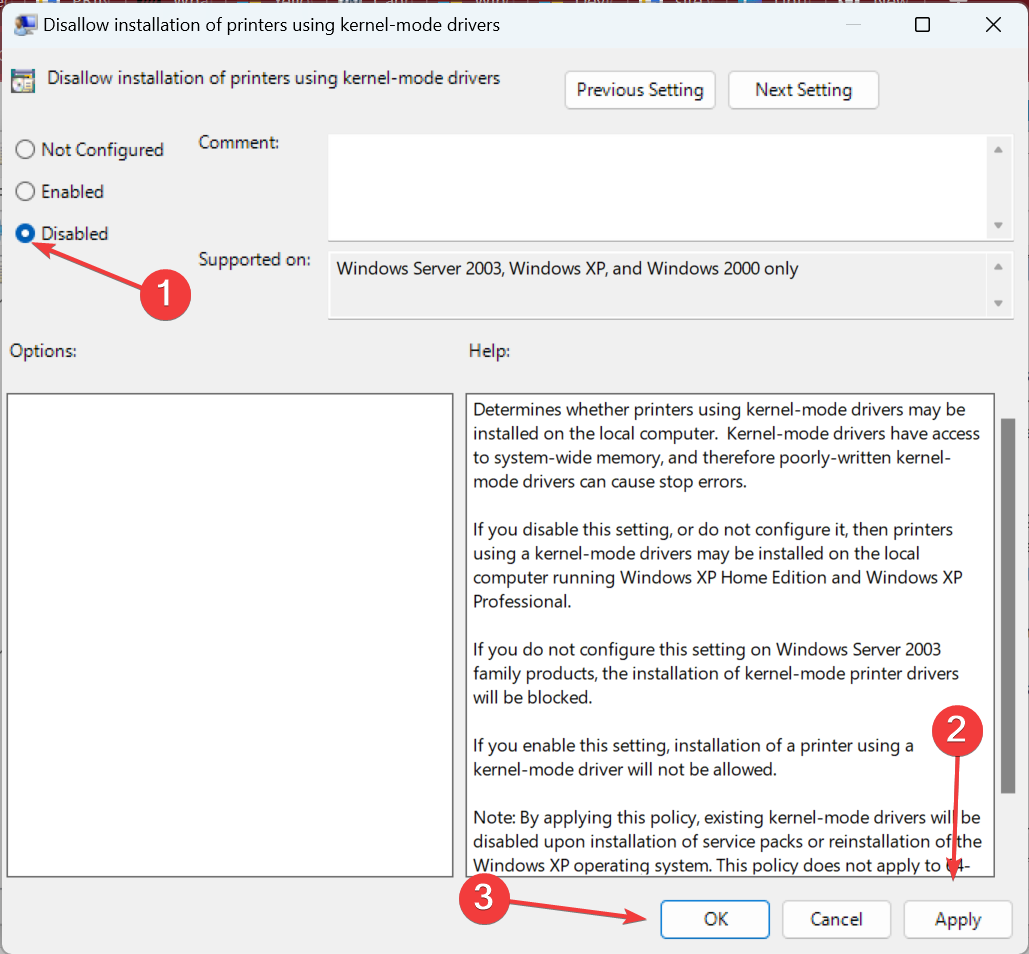
- Next, select Printers, and then double-click on Disallow installation of printers using kernel-mode drivers on the right.
- Select Disabled, and then click on Apply and OK to save the changes.
- Finally, restart the computer
If the previous solutions didn’t work, disabling the Disallow installation of printers using kernel-mode drivers policy should get things up and running when you have a yellow exclamation mark on the Epson printer or even the other ones.
Before you leave, check the best printer software in Windows and get one today for a seamless printing experience.
Tell us which fix worked for you in the comments section below.

