FIX: PROCESS1 INITIALIZATION FAILED error in Windows 10/11
Key notes
- PC users will sometimes encounter the PROCESS1 INITIALIZATION FAILED error.
- When the process initialization has failed in Windows 10, update your drivers to fix it.
- If your Windows 10 initialization failed, you should use professional driver management software.
- Windows Troubleshooter is also useful if you activate it and let it perform its functions.

STOP errors, also known as Blue Screen of Death errors, are probably one of the most problematic errors on Windows 10.
These types of errors are often caused by faulty hardware or a software issue, and since these errors restart your PC whenever they appear they can be rather troublesome.
There is a wide range of these errors available, and since these types of errors are so problematic, today we’re going to show you how to fix the PROCESS1_INITIALIZATION_FAILED BSoD error.
How can I fix PROCESS1 INITIALIZATION FAILED error?
- Update Windows 10 and your drivers
- Run the BSOD Troubleshooter
- Run the SFC scan
- Run DISM
- Delete your antivirus
- Run chkdsk scan
- Delete the Bootcat.cache
- Disable Secure Boot
- Check your hardware
1. Update Windows 10 and your drivers
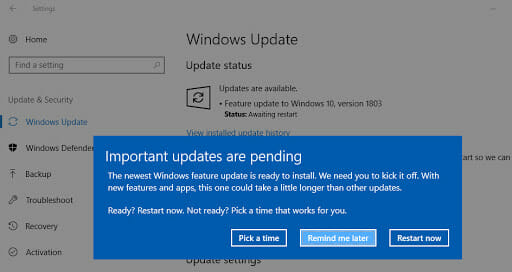
Windows 10 is constantly getting better with new improvements and features.
In order to get the latest features, it’s important to run Windows Update on a regular basis and download all pending updates.
In addition to new features, there are many security improvements and various bug fixes related to both hardware and software.
Since BSoD errors such as PROCESS1 INITIALIZATION FAILED can be caused by hardware or software incompatibility, be sure to download Windows updates as often as you can to prevent these types of issues.
Downloading Windows updates is an important step for system security and stability, but it’s just as important to keep your drivers up to date.
Outdated or incompatible drivers won’t be able to work with your hardware and that can cause a BSoD error.
In order to avoid these types of issues, it’s recommended that you download and install the latest drivers for your hardware.
In order to update a certain driver, you just need to head over to your hardware manufacturer’s website and download the latest drivers. We also recommend you an alternative: an automatic driver update.
Using an automatic driver updater will certainly save you from the hassle of searching for drivers manually, and it will always keep your system up to date with the latest drivers.
Make your computer’s hardware perform at its maximum capacity. With PC HelpSoft Driver Updater, you can update all your drivers with just one click and enjoy optimum gaming performance.
This professional software scans your computer and offers you a detailed report with updated, outdated, and damaged drivers. After that, it is up to you to download and install one or all the newest drivers available.
⇒ Get PC HelpSoft Driver Updater
2. Run the BSOD Troubleshooter
- Go to the Settings app.
- Head over to Updates & Security, and select Troubleshoot from the menu on the left.
- Select BSOD from the right pane and click Run the troubleshooter.
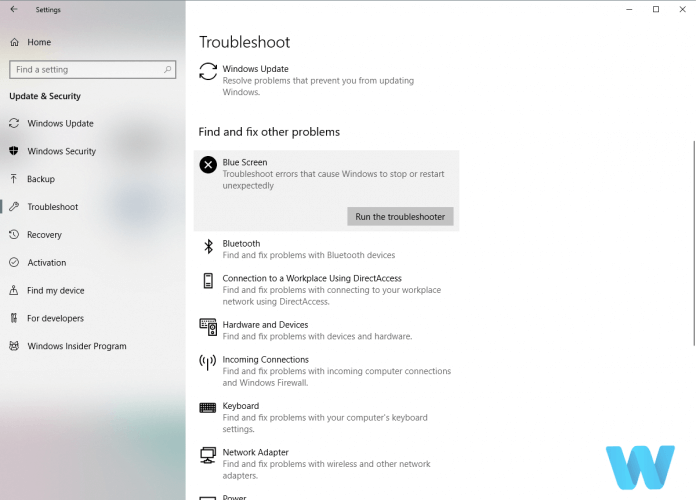
- Follow further on-screen instructions to complete the troubleshooting process.
If updating your drivers didn’t get the job done, let’s try and run Windows 10’s built-in troubleshooting tool. This tool is designed to address all kinds of system errors.
So, trying to resolve the PROCESS1_INITIALIZATION_FAILED error is a logical next step.
3. Run the SFC scan
- Right-click on the Start Menu button, and open Command Prompt (Admin).

- Enter the following line and press Enter:
sfc/scannow - Wait until the process is done (it may take a while).
- If the solution is found, it will automatically be applied.
- Now, close the Command Prompt and restart your computer.
The next troubleshooting tool we’re going to try here is the SFC scan. This is a command-line tool that scans your system for corrupt files and repairs them.
So, if a corrupt system file is a reason you’re getting the ROCESS1_INITIALIZATION_FAILED, the SFC scan will likely resolve the problem.
4. Run DISM
Standard way
- Right-click Start and open Command Prompt (Admin).

- Paste the following command and press Enter:
DISM /Online /Cleanup-Image /RestoreHealth
- Wait until the scan is finished.
- Restart your computer and try updating again.
And the third troubleshooter we’re going to use here is DISM. This tool re-deploys the system image, which usually leads to resolving various problems.
In that manner, DISM could also be helpful when dealing with the PROCESS1_INITIALIZATION_FAILED error.
We’ll walk you through both standard and the procedure that utilizes the installation media.
With the Windows installation media
- Insert your Windows installation media.
- Right-click the Start menu and, from the menu, choose the Command Prompt (Admin).
- In the command line, type the following commands and press Enter after each:
dism /online /cleanup-image /scanhealthdism /online /cleanup-image /restorehealth
- Now, type the following command and press Enter:
DISM /Online /Cleanup-Image /RestoreHealth /source:WIM:X:SourcesInstall.wim:1 /LimitAccess
- Make sure to change an X value with the letter of the mounted drive with Windows 10 installation.
- After the procedure is finished, restart your computer.
5. Delete your antivirus
Antivirus software can often cause PROCESS1_INITIALIZATION_FAILED and many other types of BSoD errors, so in order to fix this issue, you’ll have to uninstall your antivirus software.
It’s worth mentioning that any third-party antivirus program can cause this error, so be sure to uninstall every antivirus software from your PC.
Bear in mind that uninstalling the antivirus software might not fix the problem, therefore you’ll have to use a dedicated uninstaller tool.
Many security companies offer these tools for their software, so be sure to download one for your antivirus program.
If removing your antivirus fixes the Blue Screen of Death error, you can now download and install the latest version of the antivirus software that you were previously using.
Alternatively, you can download and install one of the best antivirus programs for Windows 10.
6. Run chkdsk scan
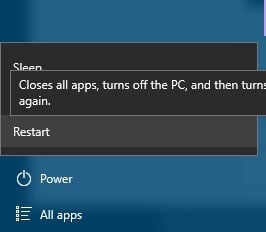
- Restart your computer few times while it boots in order to start Automatic Repair. Alternatively you can just press and hold Shift and click the Restart button.
- Choose Troubleshoot > Advanced options > Command Prompt.
- When Command Prompt starts, enter
chkdsk /f /r C: - Press Enter to run it.
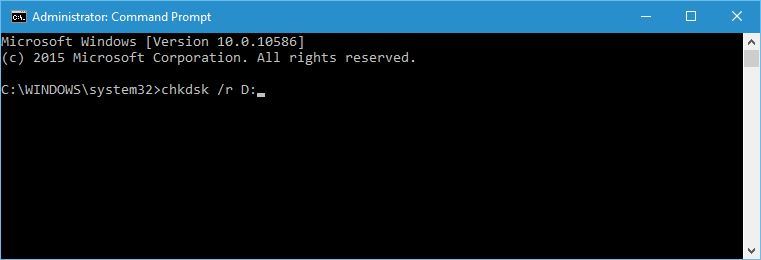
- Wait for the scan to finish.
Bear in mind that you might need to scan all hard drive partitions, so be sure to repeat the scan and replace C with a letter that matches a certain partition.
BSoD errors such as PROCESS1_INITIALIZATION_FAILED can sometimes be caused by corrupted files on your hard drive.
In order to fix this problem, you have to run chkdsk scan.
7. Delete the Bootcat.cache
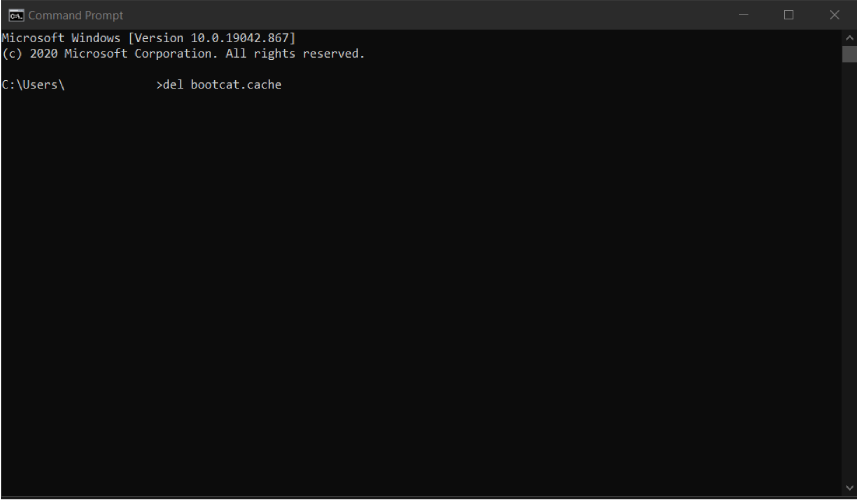
- Start Automatic Repair, choose Troubleshoot > Advanced options > Command Prompt. For detailed instructions check the previous solution.
- When Command Prompt starts, enter the following lines and press Enter after each line in order to run it:
C:cd windows/system32/codeintegritydel bootcat.cache
- Enter exit and press Enter to close Command Prompt.
After you delete the Bootcat.cache file, Windows 10 will recreate it and the PROCESS1_INITIALIZATION_FAILED error should be fixed.
Sometimes Bootcat.cache file can get corrupted and that will give you PROCESS1_INITIALIZATION_FAILED BSoD error.
This error can prevent Windows 10 from starting, so you’ll have to delete the problematic file using Command Prompt.
If you don’t feel comfortable using Command Prompt you can always use Linux from a USB flash drive to locate and delete the file manually.
It’s worth mentioning that some users managed to fix this problem by copying Bootcat.cache files from another identical operating system, so you should try that as well.
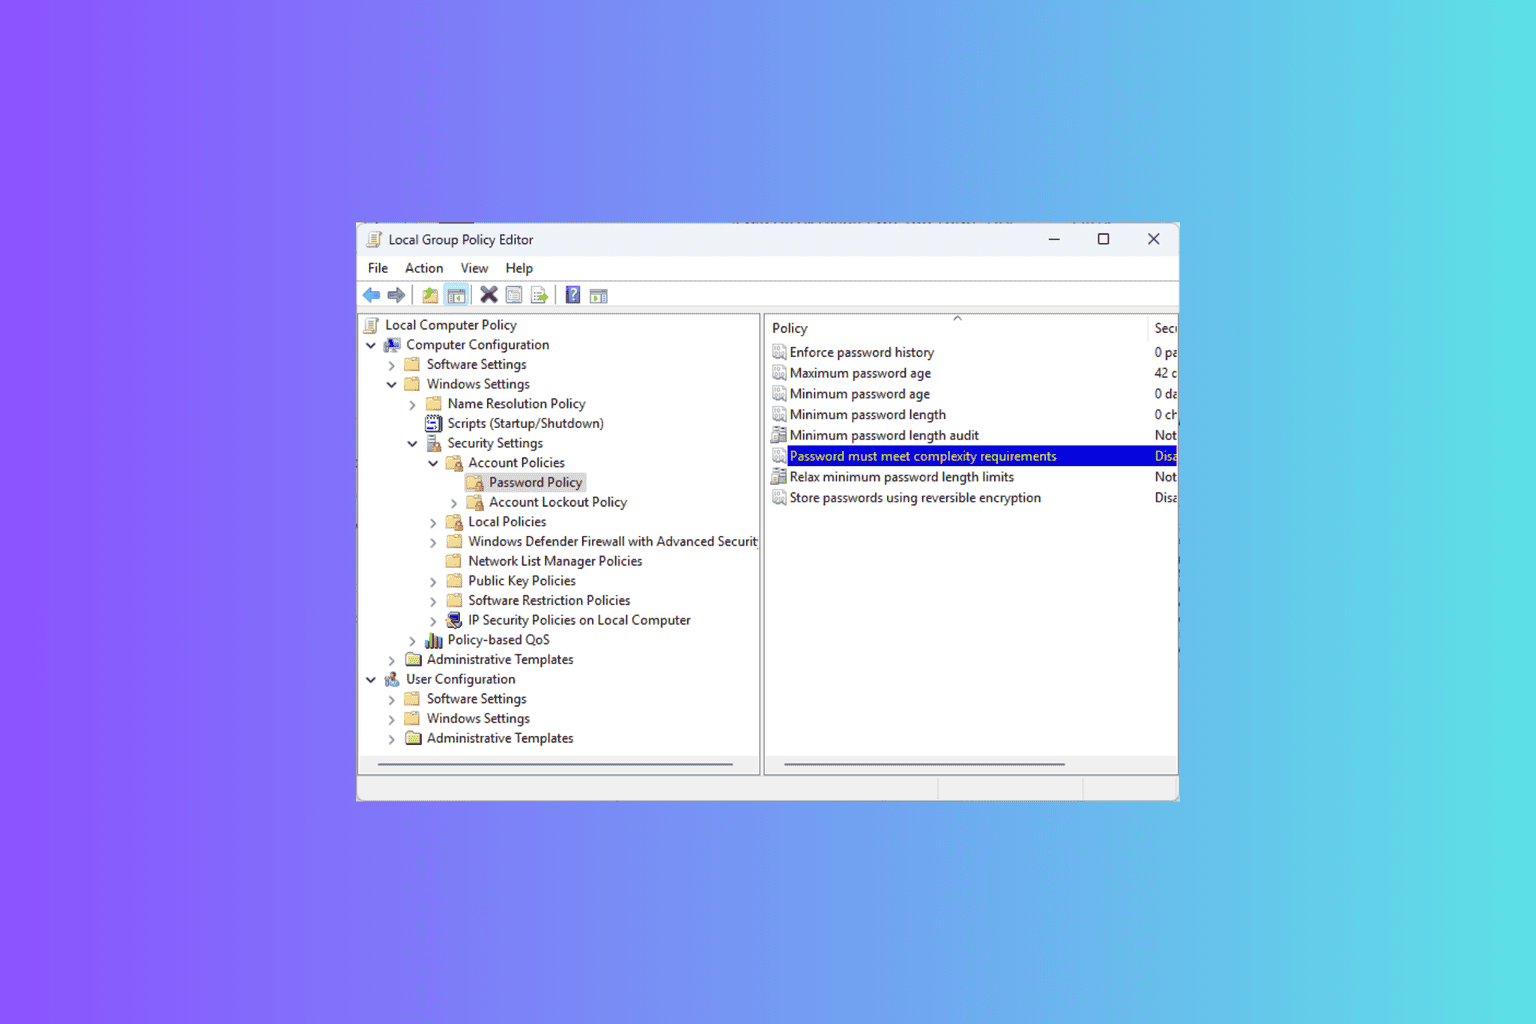
8. Disable Secure Boot
Many users reported that disabling Secure Boot fixed the PROCESS1_INITIALIZATION_FAILED errors for them. To disable Secure Boot you’ll have to enter BIOS and disable this feature.
For detailed instructions on how to do that, check your motherboard manual.
9. Check your hardware
PROCESS1_INITIALIZATION_FAILED and many other BSoD errors are often caused by hardware.
Therefore be sure to remove and replace any recently installed hardware since it might not be compatible with your PC.
If new hardware isn’t causing the problem, be sure to check other hardware components.
A common cause for BSoD errors is RAM, and in order to test your RAM, you can just remove all but one RAM module and try them one by one.
It’s also recommended to download and run MemTest86+ in order to thoroughly test your RAM.
Users also reported that a hard drive can be the often cause for this error, so be sure to check it as well.
If none of these components are faulty be sure to check all other remaining components.
PROCESS1_INITIALIZATION_FAILED BSoD error can be problematic, but users reported that they managed to fix this problem mostly by replacing or deleting the corrupt Bootcat.cache file or by disabling Secure Boot.
If these solutions don’t work for you, feel free to try other solutions from this article.
Read our disclosure page to find out how can you help Windows Report sustain the editorial team. Read more


Improve this guide


User forum
1 messages