Remove Account from Windows 11: Best Ways to Properly Do It
Upon deleting a user's account, also delete all associated files
Key notes
- If you don’t want clutter on your system, learn how to remove users’ accounts in Windows 11 easily.
- After you do so for an account, delete the user’s profile folder, as described below.
- Whether you want to do any of the procedures, note that administrative privileges are a must.

One of the good things about PCs is that you can create different user accounts for different purposes. However, some users are enquiring how to remove a user account on Windows 11 instead.
This guide will show you different ways to do this, irrespective of the type of account you want to delete.
What is a local user account, and why do you need it?
A local user account is another instance of the operating system with its own settings, software, and, most of all, different management rights.
In other words, as an administrator of the system, you can create different local accounts for multiple users and, at the same time, limit their rights to manage some resources. For instance, you can block their right to install apps or set some rules.
This is particularly important when you set up a local account for your children or family. So, if you’re using the same computer as your family, it’s best to have an account for each one. This way, you will avoid clutter, and everyone will have their own privacy.
But if you are removing accounts due to privacy or performance-related issues, it’s wise to simply sign out other users in Windows 11. Or you may also consider removing accounts used by other apps to avoid unnecessary notifications.
How can I remove an account from Windows 11?
1. Create a local account
First, you need to know that you cannot remove a Microsoft account from the PC if you don’t have another available Microsoft or local account with administrative privileges in place.
So, if the account you’re trying to remove is the only one on your computer, you will need to create a local account.
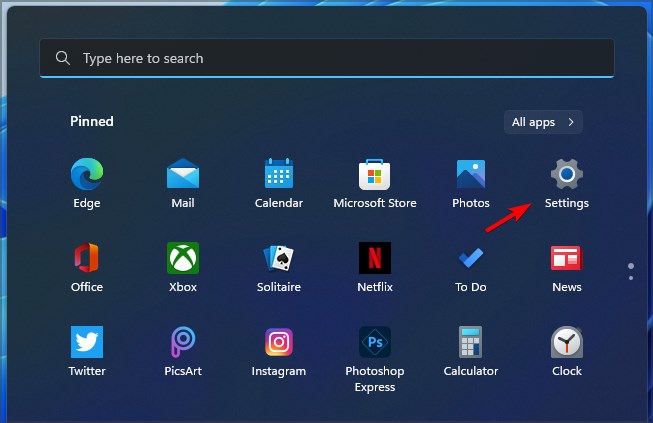
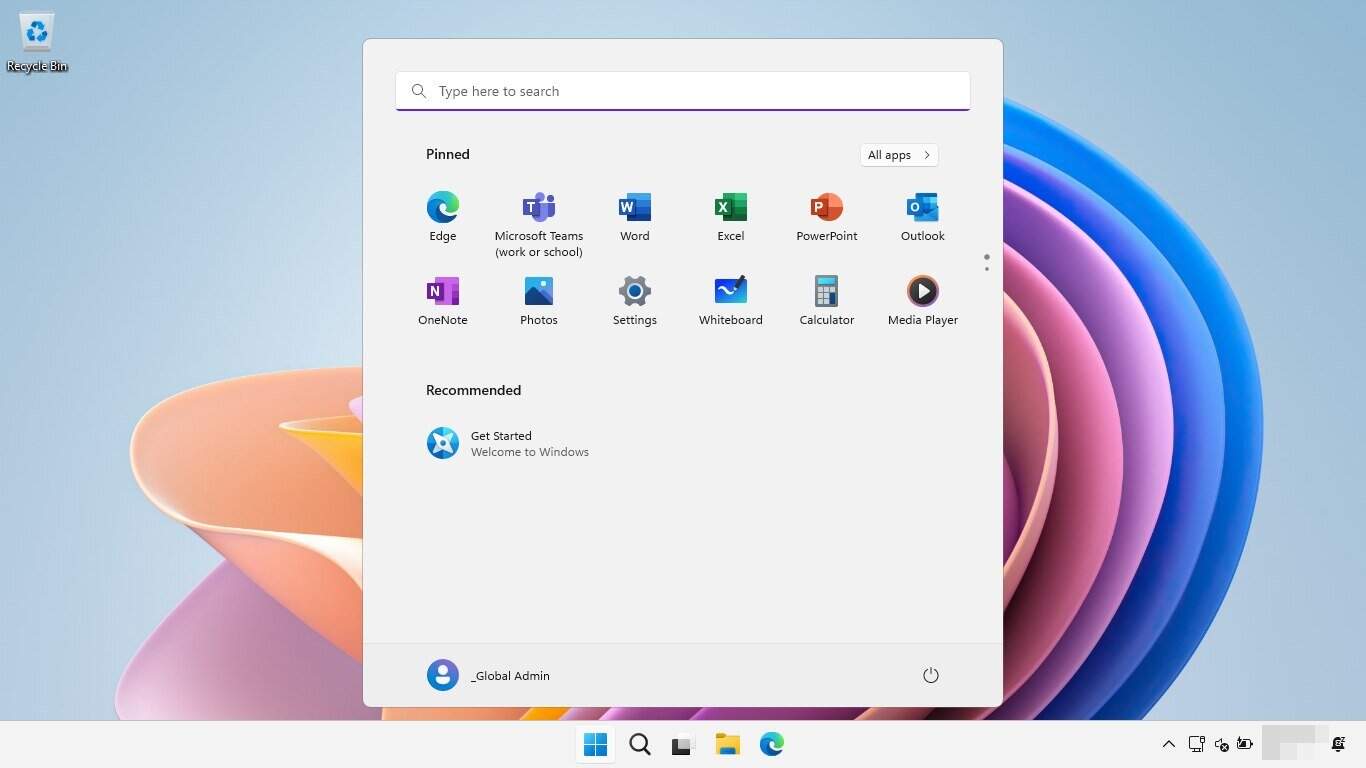
- Click on the Windows button and select Settings.
- Now choose Accounts from the left pane and click on Family & other users from the right.
- Look down at the Other users section and hit the Add account button.
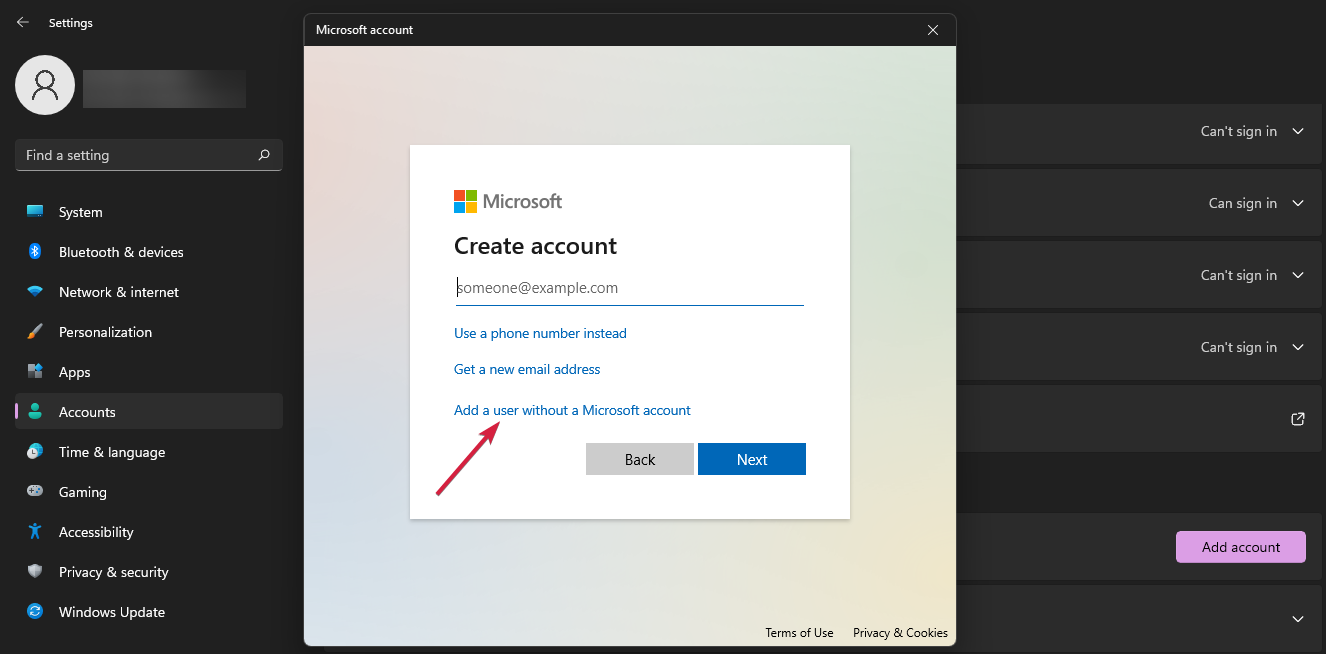
- Click on I don’t have this person’s sign-in information.
- Select Add a user without a Microsoft account.
- Now you need to complete the username. You can also add a password but it’s not imperative. If you leave the password fields blank, the user will just log in by pressing the Enter key.
- As you can see in our screenshot, the account was created, but it’s a standard one, so we need to change it into an Administrator account.
- Click on the Change account type option.
- In the next windows, click on the Standard User field and select Administrator instead, then hit OK.
 NOTE
NOTE
2. Remove a Microsoft account using Settings
1. Make sure you are logged in as an administrator in Windows 11. If you are not, do so.
2. Click on the Windows button and then choose Settings.
3. Choose the Accounts option from the left, then select Family and other users from the menu on the right.
4. Navigate to the Other users section.
5. Select the user you want to delete. In our case, we want to remove the account called WindowsReport.
6. Click the Remove button to delete it.
7. Next, press the Delete account and data button.
Now that you have deleted the user’s account, you need to also manually remove the user’s profile folder.
8. Press the Windows key + E to open File Manager.
9. Navigate to This PC and double-click on the C: drive.
10. Now, double-click on the Users folder.
11. Right-click on the user account folder that you want to delete, in our case, WindowsReport, and select the Delete icon.
Now, you can manually remove a local user’s account on your Windows 11 device via Settings. From there, you can configure all the accounts on your computer. Moreover, you can delete all the associated data with that account.
It’s important to know that it’s not enough to delete a user’s account from the Computer Management console. You also need to delete the user’s profile folder.
By doing so, you will free up a lot of space in the process. The procedure is pretty easy to follow, so just apply the steps above to get it done quickly.
In some cases, you might not want to fully delete an account but only disconnect it. For that scenario, see our step by step guide on how to sign out a school account in Windows 11.
3. Remove a Microsoft account using User Accounts
- Press the Windows key + R to start Run.
- Type netplwiz and click OK or press Enter.
- Now, click on the account you want to delete and hit the Remove button.
- You will be prompted again to accept the deletion of the account and the user data.
4. Remove a Microsoft account using Control Panel
 NOTE
NOTE
- Click the Search icon on the Taskbar, then type control panel and select the Control Panel app from the results.
- Select User Accounts.
- Click on the Remove user accounts option.
- Next, choose the account that you want to remove.
- Click on Delete the account.
- In the next window, you can choose whether to keep or delete the files from the account. If you choose to keep them, they will be stored online in the user’s account.
The last option of deleting the Microsoft account is better because it offers a way of backing up the data in the user’s account.
How do I delete an administrator account in Windows 11?
The methods of removing an administrator account on Windows 11 are the same as the ones shown above. However, you need to have another administrator account to do this. You can temporarily enable the hidden admin account and once you have created a new admin account, you can disable it.
We have reached the end of this guide on how to remove an account on Windows 11. You can always try any of our methods, as they all work effectively.
Similarly, if you want to know how to change the password and username in Windows 11, check our detailed guide to do it quickly.
Did you succeed in deleting the user account? If you need more information, please leave us a note in the comments section below.
Read our disclosure page to find out how can you help Windows Report sustain the editorial team. Read more







User forum
0 messages