How to Zip a Folder in Windows 10 and Mac
If the built-in compression tool does not satisfy you, let a third-party software do the job
2 min. read
Updated on
Read our disclosure page to find out how can you help Windows Report sustain the editorial team. Read more
Key notes
- Zipping files and folders is extremely useful to archive your documents in suitable formats for safe-keeping or sharing.
- Moreover, compressed files and folders take up less space on the disk, which can boost its performance.
- In today's article, we'll talk about dedicated tools, as well as about a built-in compression feature available on both Windows 10 PCs and Mac devices.

Compressing files and folders is really important especially if you want to gain or free more space or if you want to safely store or transfer your personal data.
Since Microsoft changed the Windows UI, you might have experienced problems while trying to complete basic operations such as compressing files or folders.
So, if you are trying to zip a folder on a Windows OS or Mac but you can’t manage to complete this task, check out the guidelines below.
How can I zip folders on Windows 10 or Mac?
1. Use file compression software
There are tens of file compression tools available on the market, but today we are recommending WinZip.
It’s not just about the popularity of this tool, but it is really more than a just simple compression tool. It also allows users to share, manage, protect, and back up files.
WinZip can compress and unzips all major file formats, such as Zip, Zipx, RAR, 7z, TAR, GZIP, VHD, XZ and more.
Other notable features of WinZip include finding, opening, editing, moving, and sharing the files stored on PCs, networks, or cloud services.
WinZip also encrypts files to secure information and data and can create read-only PDFs and add watermarks to deter copying.
The tool is integrated with Dropbox, G-Suite, or OneDrive.
”WinZip”
”Compress,2. Use the built-in compression feature on Windows 10
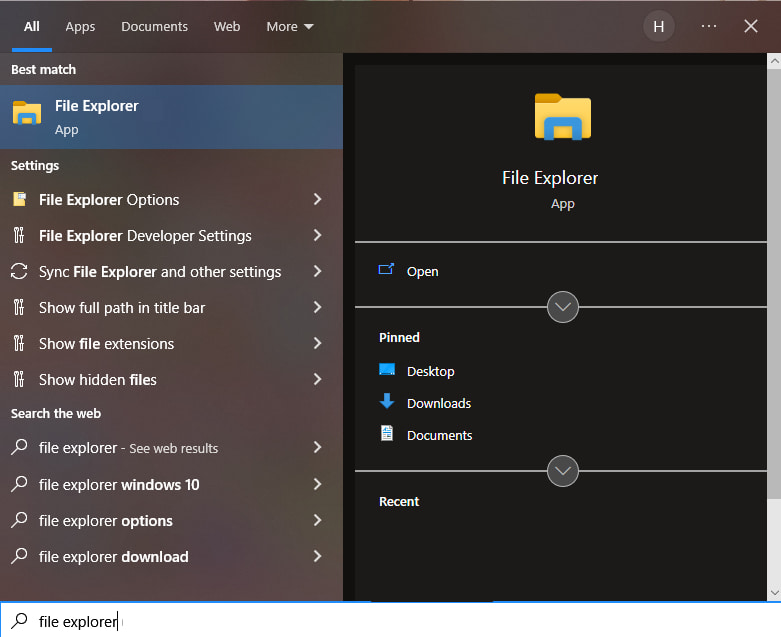
1. Open File Explorer window on your device – you can do that by typing File Explorer in the search bar.
2. Now navigate to the file location of the files or folders you want to compress.
3. Right click on the folder/folders you want to zip.
4. Click or tap on send to and select Compressed zipped folder.
5. Next, a compressed folder will be automatically created in the same location you are currently located and with the same name as the file/folder you zipped.
6. You can add new files or folders to the zipped folder at any time by drag & dropping the data you want to be compressed.
A fast and reliable solution on how to zip folders is to use the built-in compression feature. This way, you no longer have to rely on external software, you simply use what you already have on your PC.
3. Use the built-in compression feature on Mac
- Select the file or folder in the Finder.
- Right-click or control-click on the file to bring up the pop-up menu.
- Select Compress (filename).
- The compressed file is created in the same location, next to the original document.
There you have it, that’s how you can compress or zip a folder or file on your device.
If you’ve got additional tips and tricks on how to zip files and folders on a Windows computer, do share your suggestions in the comments below.


User forum
0 messages