How to Boot VMware from a USB drive
A comprehensive step-by-step guide to boot via USB
2 min. read
Updated on
Read our disclosure page to find out how can you help Windows Report sustain the editorial team. Read more
Key notes
- Users are unable to boot from USBs in VMware using traditional methods, as this is not a supported feature.
- It is important to be able to boot VMware using USB in case anything goes wrong with it.
- Depending on your VM version, you have two different ways of booting via USB, and we will show them to you.

If you’re wondering how to boot from a USB drive in VMware, you’re very close to finding a definitive answer. All you need to do is read through this article to find it.
Being able to boot from a USB drive inside VMware is extremely important, allowing you to access your VM even if the virtual system becomes corrupted.
Is it safe to boot a VM from USB?
It is worth mentioning that booting from a USB device is not part of the VMware characteristics of the older versions, as it is considered a possible threat to the integrity of your system.
Even though that is the case, there is a trick that you can apply to get access to this feature even with an older version of VMware.
If you want to find out the trick mentioned above and the updated steps you need to take in order to boot from a USB device inside VMware’s latest release, read on.
Check out our dedicated article to find out how to use dual monitors in VMware.
How can I boot from USB in VMware?
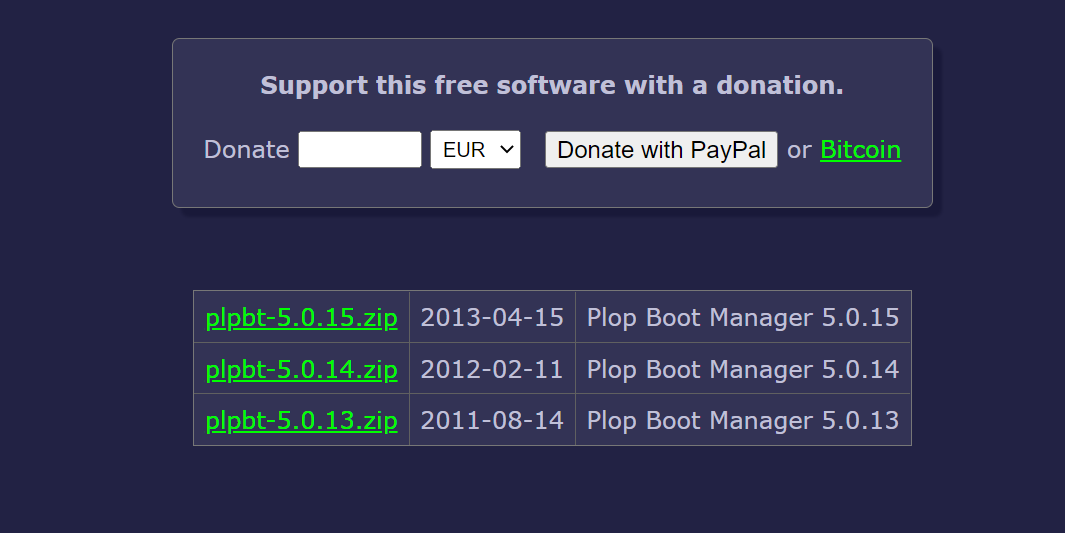
1. Download the latest version of Plop Boot Manager from the official website. The downloaded file will be in ZIP format and contain an .ISO file, which is the one we need.
2. Plug the USB drive in a USB port on your PC.
3. Open VMware, click File and select New Virtual Machine. This will start the New Virtual Machine Wizard.
3. Choose the Typical option and then click Next.
4. Now it’s time to navigate to the location of your ISO file.
5. Click Installer Disc Image File (ISO) and then press Browse.
6. In the Browse window, navigate to the location of Plot Boot Manager.
7. Select the .ISO file and click Open.
8. Set the guest OS as Linux, then, under the Version section, choose Ubuntu and click Next.
9. Choose a name for your virtual machine and click Next.
10. Select the desired disk size and click Next.
11. Click the Customize Hardware button and select USB Controller from the left side menu.
12. Tick the box next to the option Automatically connect new USB devices and then click Finish.
1. Boot VMware from USB using Plop Boot Manager
As you cannot directly boot from USB in VMware, you need to use a trick. The workaround for this is using a dedicated third-party tool called Plop Boot Manager.
The tool is free and easy to use, and can do the job for you in a few simple clicks. This is the only method that works for VM versions that came out before VMware 11.
2. Boot VM from USB using the Boot with EFI option
- Double-click the VMware Player icon to open it.
- Open the Virtual machine settings menu.
- Click the Options tab -> and choose the Advanced option found at the bottom of the left side table.
- Enable the option Boot with EFI instead of BIOS -> press Ok.
- Start your VM.
- Right-click the USB disk icon found inside your taskbar -> choose Connect (Disconnect from Host).
- Turn off your VM.
- Right-click the VM -> Power -> choose the option Power On To Firmware.
- Inside the Boot Manager -> select the EFI USB device -> press Enter.
This method is recommended to use with newer VMware versions. On them, you do not need to rely on third-party apps.
In today’s article, we explored the best methods that allow you to boot from a USB drive inside VMware. But did you know that it’s possible to access files on USB from Hyper-V using passthrough?
If these methods helped you answer your question, please let us know. You can share your thoughts with us by using the comment section below.


User forum
1 messages