Ethernet Works But Not WiFi? How to Fix it [Solved]
A quick restart might sometimes help with this issue
4 min. read
Updated on
Read our disclosure page to find out how can you help Windows Report sustain the editorial team. Read more
Key notes
- Switching to a different wireless band can solve this issue.
- Keeping your drivers up to date will prevent this issue from occurring.

If Ethernet works but not WiFi, you won’t be able to use a wireless connection, and you’ll be stuck in a single location.
This is a major problem for laptop users, so let’s see how we can fix this issue.
What can I do if Ethernet works but not WiFi?
Before we start, try using 2.4GHz frequency because it has a better range than 5GHz.
1. Check the router
- Restart your PC.
- Restart your router and modem. Power it off and wait for some time before you turn it on again.
- Check the physical Wi-Fi switch. Every router has a dedicated Wi-Fi switch, so make sure the Wi-Fi is enabled.
- Also, inspect your laptop for Wi-Fi switches. This also concerns FN button (Function button).
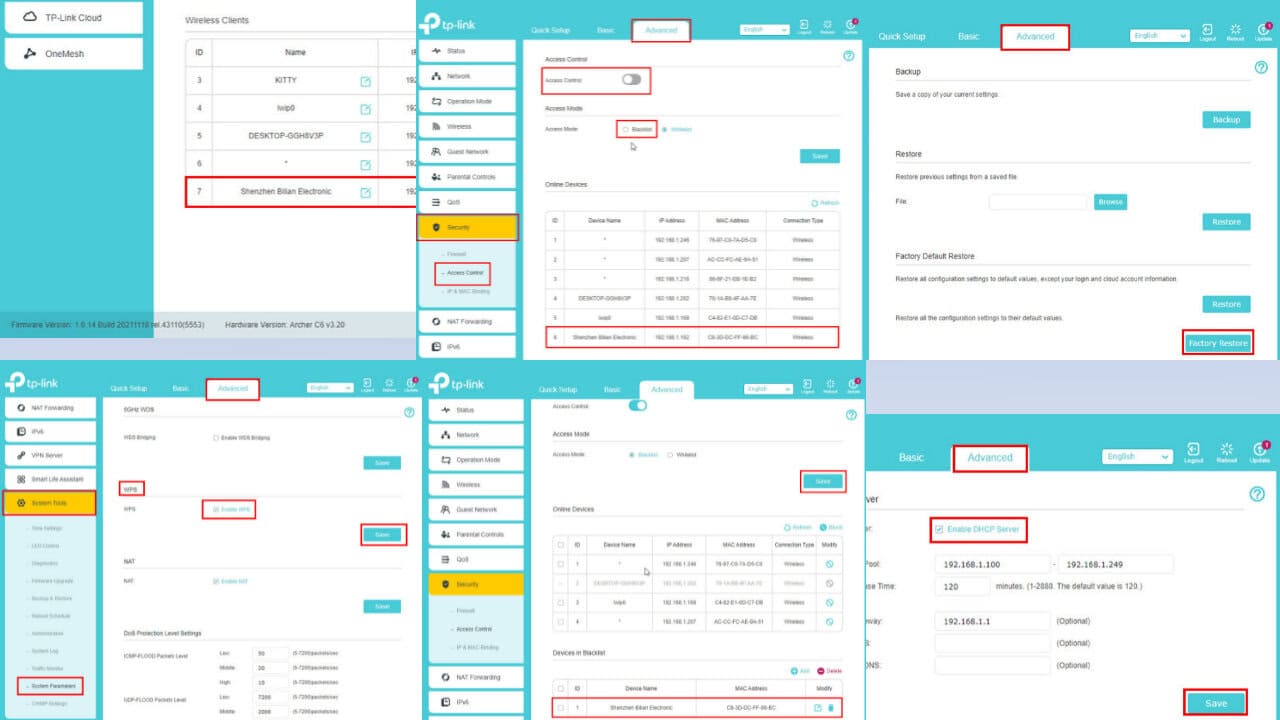
- Hard reset router and modem. You can do so with the small physical button positioned on the bottom or within the router settings.
- Update router firmware.
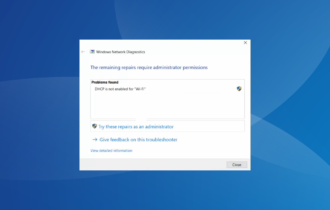
2. Use Windows Troubleshooter
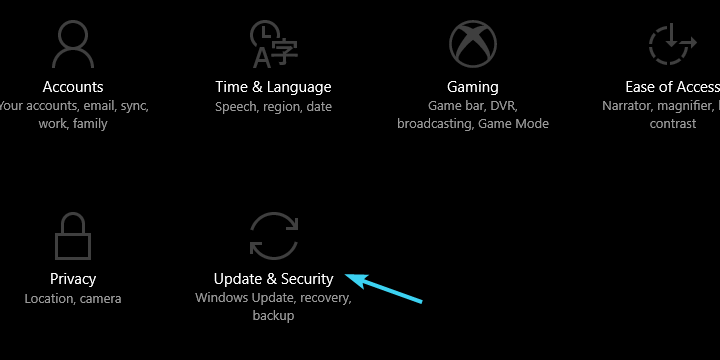
- Press Windows + I to open Settings.
- Open Update & Security.
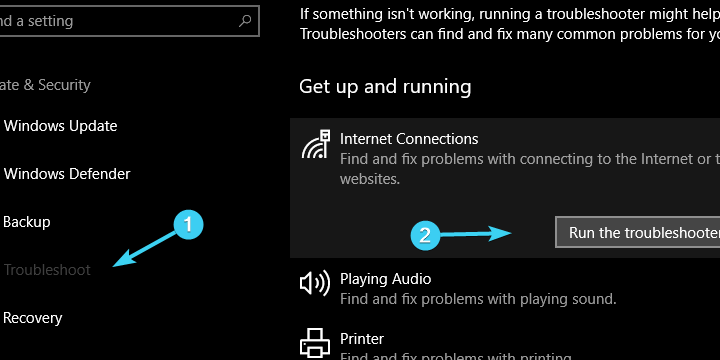
- Select Troubleshoot from the left pane.
- Highlight the ”Internet connections” troubleshooter and Run the troubleshooter.
- Wait for the troubleshooter to finish and, hopefully, resolve the issue with the Wi-Fi connection.
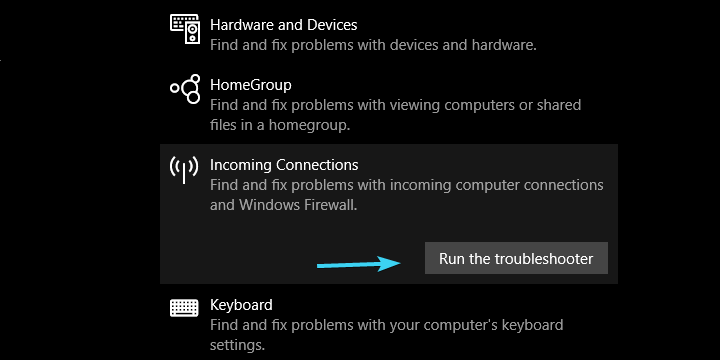
- You can also run the ”Incoming connections” troubleshooter.
- Check whether the Ethernet works but no WiFi connection is available issue is gone from your Windows 10 device.
3. Reinstall drivers
- Right-click Start and open Device Manager.
- Expand Network adapters.
- Right-click on Wireless Network Adapter and update it.
- Restart your PC.
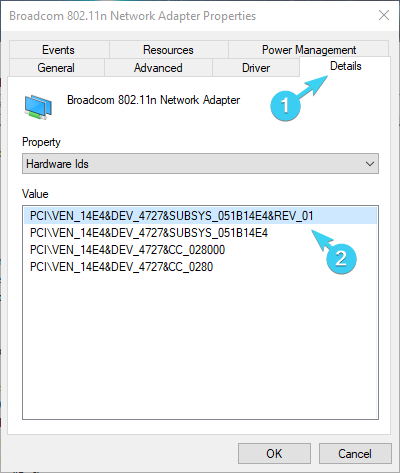
- If that isn’t sufficient, right-click on Wireless Network Adapter again and open Properties.
- Open the Details tab.
- Select Hardware Ids from the drop-down menu.
- Copy the first line and paste it into your browser.
- Locate OEM’s official support site in the result and download the driver.
- Install the driver and reboot your PC.
3.1. Update drivers automatically
To speed up the operation, and ensure a proper version is updated, we suggest you do this automatically by using a dedicated driver updating software. Thus, you will prevent file loss and even permanent damage to your computer.
The solution below it’s quite easy to use and will repair and update all your drivers in a single run with only one click so make sure you try it out.
4. Flush DNS
- Press the Windows key + S to summon the Search bar.
- Type cmd, right-click Command prompt and run it as an administrator.
- In the command line, type the following commands and press Enter after each:
- ipconfig /release
- ipconfig /renew
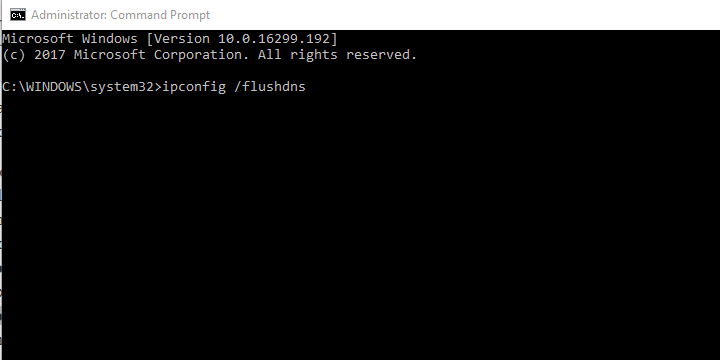
- After the process ends, type in this command and press Enter:
- Close Command Prompt and try connecting to Wi-Fi again.
5. Reset Winshock and IP stacks
- Type cmd in the Windows Search bar, right-click Command Prompt and run it as admin.
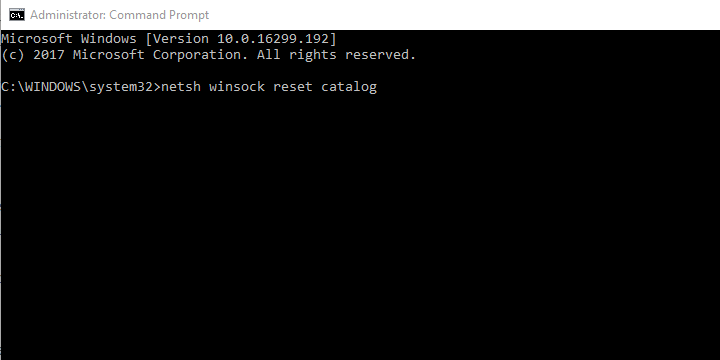
- In the command line, enter the following command and press Enter:
- After that, insert these commands to reset IPv4 and IPv6 stacks and press Enter after each:
- netsh int ipv4 reset reset.log
- netsh int ipv6 reset reset.log
- Close the elevated command line and restart your PC.
If the issue is persistent, continue with the steps below.
6. Use a different channel
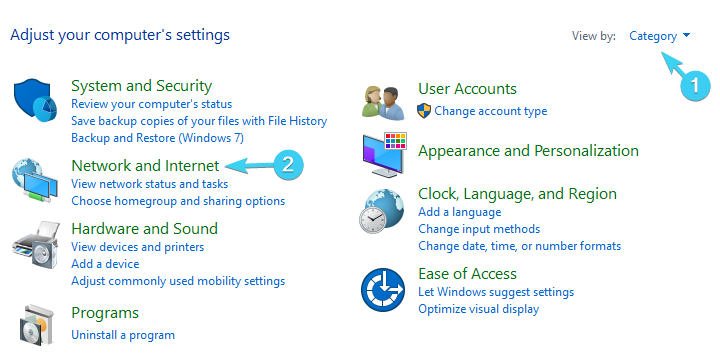
- In the Windows Search bar, type Control, and open Control Panel.
- Open Network and Internet.
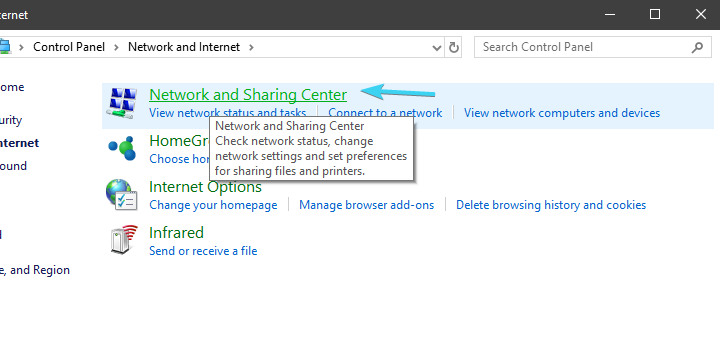
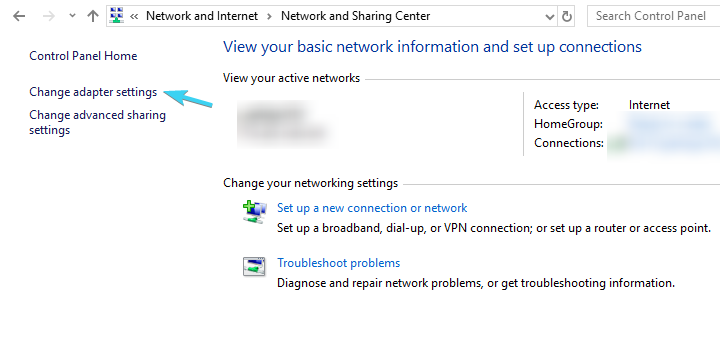
- Select Network and Sharing Center.
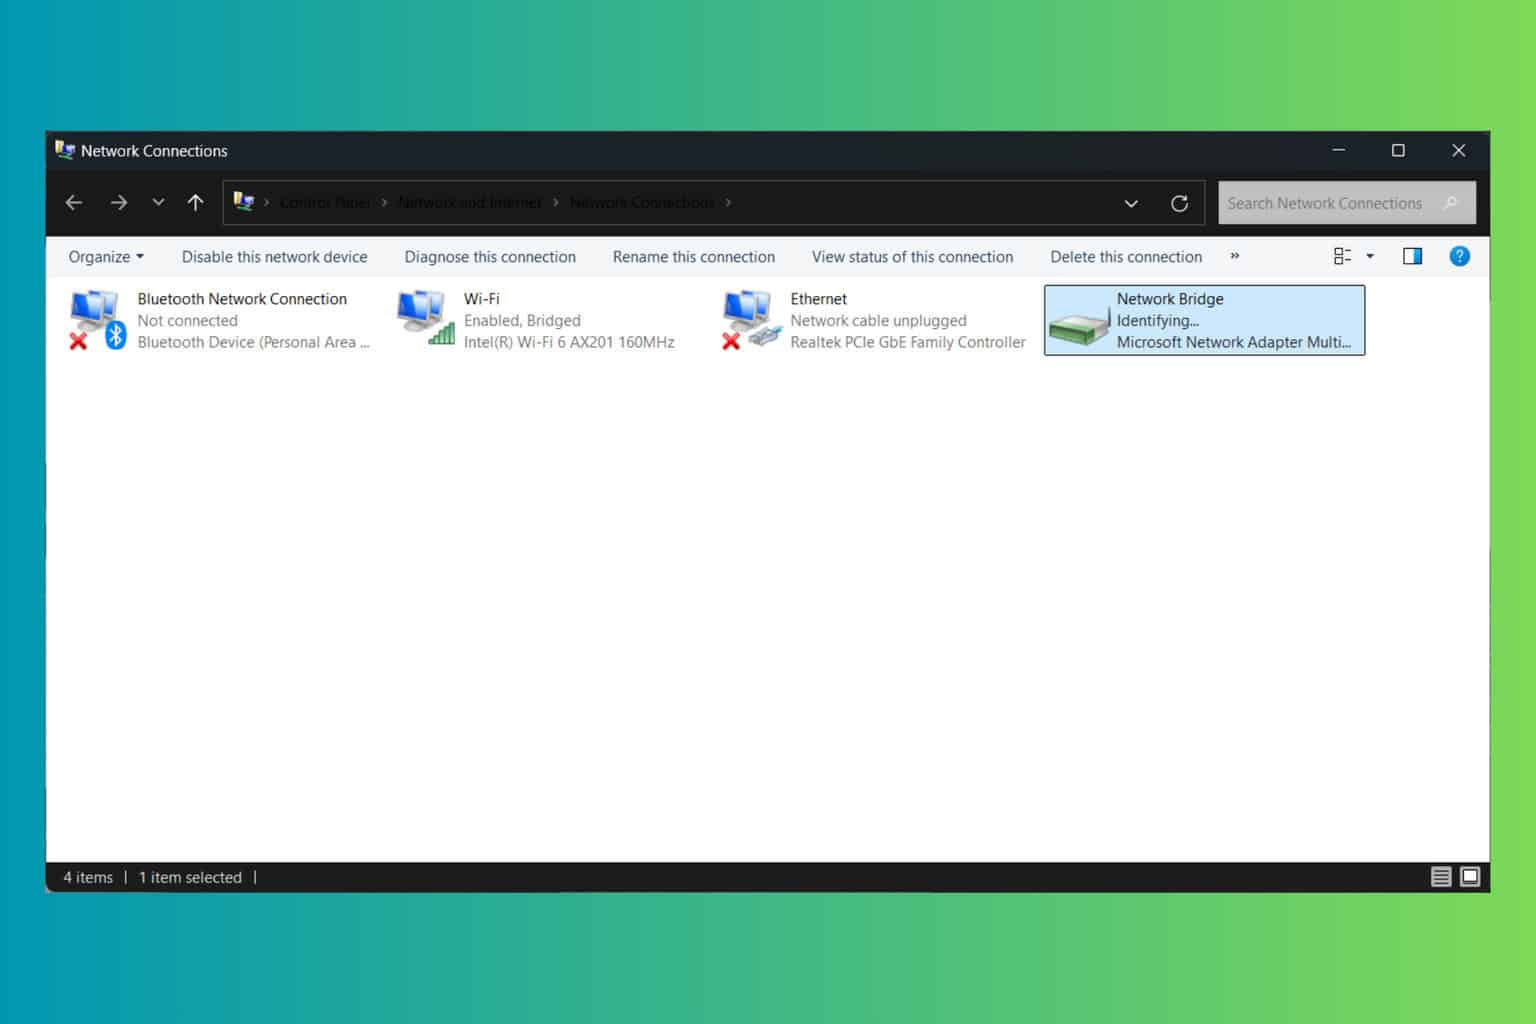
- Click on ”Change adapter settings” on the left list.
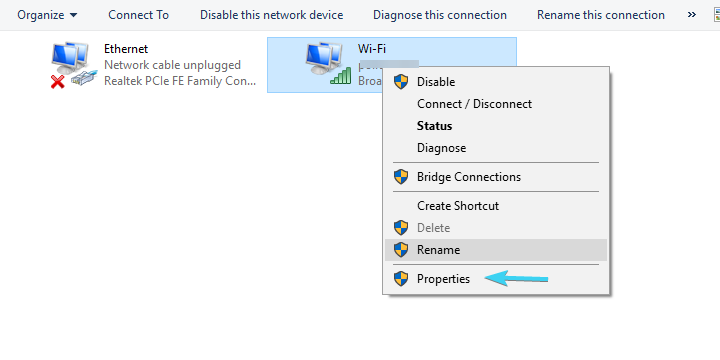
- Right-click on your Wi-Fi adapter and open Properties.
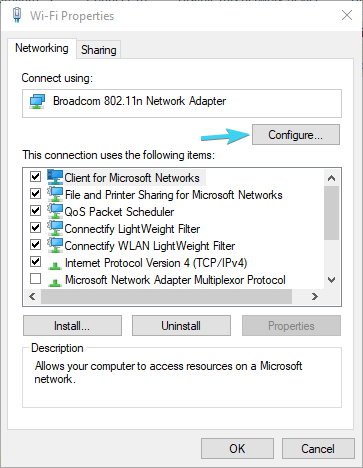
- Click on ”Configure”.
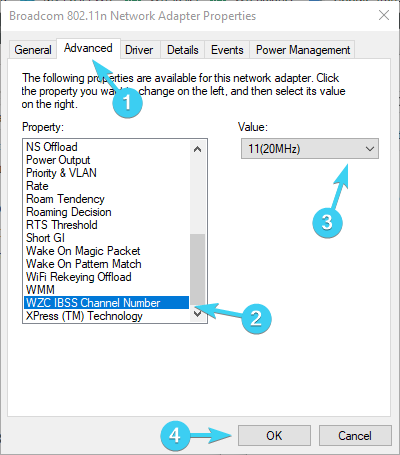
- Select the Advanced tab.
- In the scrollable list, scroll to WZC IBSS Number Channel.
- From the right drop-down menu, choose channels 1, 6, or 11 and confirm changes.
7. Use IPv4 or IPv6 solely
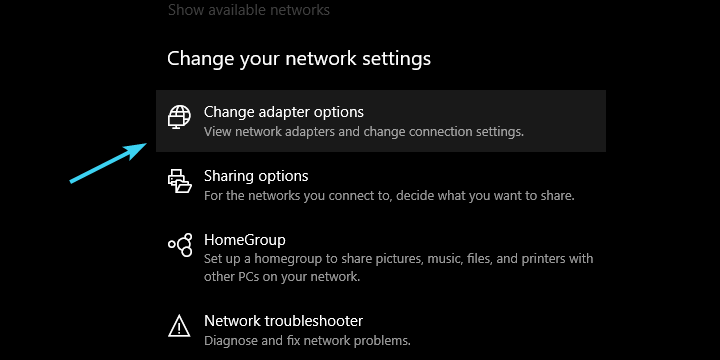
- Right-click on the Wireless icon in the taskbar’s notification area and Open Network & Internet settings.
- Click on Change adapter options.
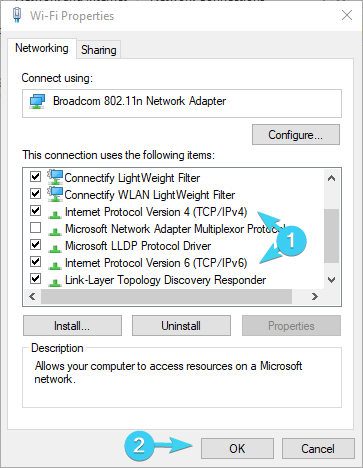
- Right-click on your Wi-Fi adapter and open Properties.
- Disable IPv6, confirm changes, and look for improvements.
- If the problem persists, re-enable IPv6 and disable IPv4.
That’s it. If none of the aforementioned steps helped you connect to the Internet via Wi-Fi, we advise you to contact your ISP’s tech support. The router is probably faulty and you’ll need a replacement.
We hope that the issue of WiFi not working but Ethernet does is gone by now. There are similar issues you can experience, and we wrote about the Wi-Fi adapter not working in a separate guide.
Many also reported that the laptop cannot detect Wi-Fi and that no Wi-Fi networks were found, but we covered those topics in their own guides.
Also, don’t forget to share your questions or suggestions with us and other users in need. The comments section is just below and we’ll appreciate your opinion on the subject.


User forum
0 messages