Disable Fast Startup on Windows 10 with these simple steps
6 min. read
Updated on
Read our disclosure page to find out how can you help Windows Report sustain the editorial team. Read more
Key notes
- Some users can't find the Fast Startup feature in the Shutdown settings so they can't disable Fast Startup in Windows 10.
- We made sure to shed some light and show you how to get it back or, even better, disable it with 3 different methods ignoring the missing UI option.
- What is Fast Startup? What does it do? You can find answers to these and many other questions in our Windows 10 Fast Startup section.
- Have you seen our Tech Tutorials Hub? It's a huge collection of guides, tips, and tricks. It's worth bookmarking.

The Fast Startup has a few positive things going for it. However, since its introduction, many users switched to SSD storage or have a dual-boot system configuration.
Especially if you want to shut down your PC instead of putting it into a hibernate mode (which Fast Startup does).
However, even though users disable it, Microsoft boldly re-enables it with a new major upgrade.
To make things even worse, some users can’t find the Fast Startup feature in the Shutdown settings. Thus, they can’t disable Fast Startup in Windows 10.
We made sure to shed some light and show you how to get it back or, even better, disable it with 3 different methods ignoring the missing UI option.
Make sure to check the solutions we listed below if you can’t disable Fast Startup.
How to definitely disable Fast Startup on Windows 10?
- Try with the standard approach
- Check BIOS
- Try with Local Group Policy Editor
- Check whether Hibernation is enabled
- Run SFC and DISM
- Use the BAT file
- Disable Fast Startup via Registry Editor
1. Try with the standard approach
You’ve probably tried it already but we should give it another go. Firstly, reboot your PC as the problem might be caused by a temporary bug.
This wouldn’t be the first time for a system feature to go missing, especially if you’ve only recently installed the system. Also, the same can happen if you’ve made upgrades to the latest Windows 10 version.
Those usually re-enable Fast Startup by default but nothing is certain when it comes to Windows 10 and optimization.
On the other hand, if the Fast Startup option is still missing from the Shutdown settings section, move to additional steps.
2. Check BIOS
The next step is to inspect related BIOS/UEFI settings. There might be something related to Fast Startup and it’s disabled by default. If you can’t see the Fast Startup option, you can be sure it’s disabled.
However, if you want to utilize the system UI to tweak your boot settings, we’ll need to start from BIOS.
If you’re not sure how to boot into BIOS/UEFI settings, follow these steps:
- Press Windows key + I to open Settings.
- Choose Update & Security.
- Select Recovery from the left pane.
- Under the Advanced startup, click Restart now.
- Choose Troubleshoot.
- Select Advanced options.
- Choose UEFI Firmware Settings and click Restart.
- Once there, enable Fast Boot and save changes.
- Exit and reboot your PC.
3. Try with Local Group Policy Editor
The second method besides BIOS (only applicable on Pro and Enterprise versions of Windows 10) concerns changing some Local Group Policy settings.
The Local Group Policy Editor allows you to take complete control over almost anything on your PC in order to limit permissions.
This, of course, requires the users to have administrative permission in order to make changes.
Here’s how to disable Fast Startup within the Local Group Policy Editor:
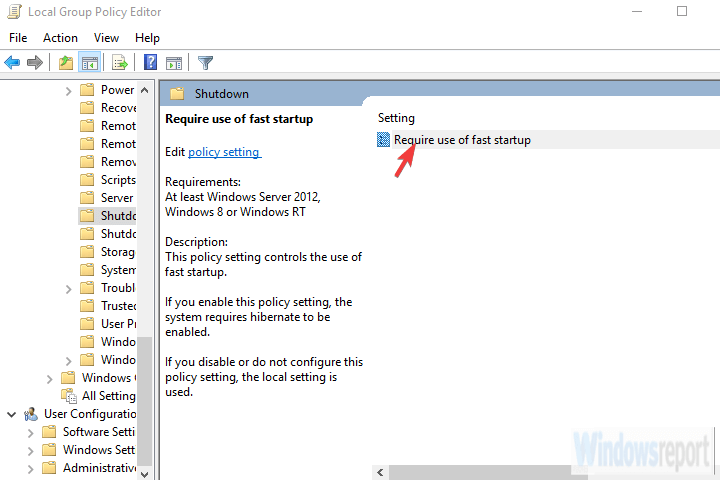
- In the Windows Search bar, type Group Policy and open Edit group policy.
- Navigate to Computer Configuration > Administrative Templates > System > Shutdown.
- Right-click on the Require use of fast startup line and click Edit.
- Make sure that you choose either Disabled or Not configured in order for Fast Startup to be accessible in local settings.
- Confirm changes and navigate to Power Options > Choose what power buttons do > Change settings that are currently unavailable and disable Fast Startup.
- If you set it to Enabled, the Fast Boot will be enabled by default and you won’t be able to disable it from within the System settings.
4. Check whether Hibernation is enabled
As you might know, Fast Startup won’t work if you’ve disabled Hibernation. Without the ability to hibernate, Windows 10 won’t be able to utilize the Fast Startup feature.
There’s a simple way to check whether Hibernation is indeed enabled or not on your PC. It requires Command Prompt run as administrator.
Follow these steps to re-enable Hibernation if disabled:
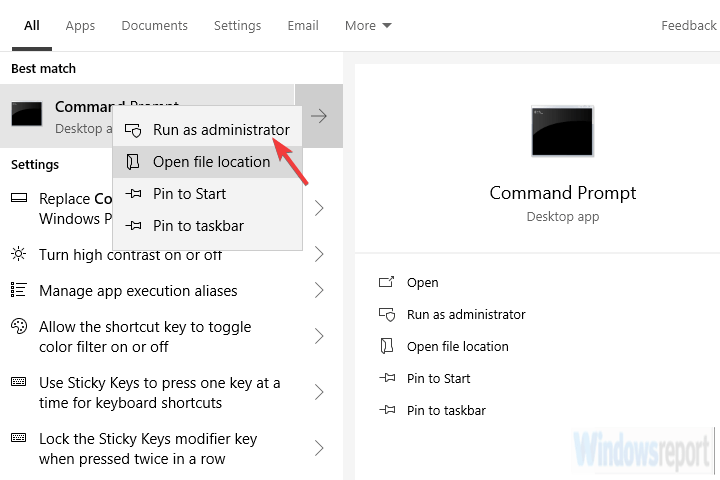
- In the Windows Search bar, type Command.
- Right-click on the Command Prompt and run it as admin.
- In the command line, type the following line and press Enter:
- powercfg.exe /hibernate on
- Close the Command Prompt and disable Fast Startup through the Windows UI.
Once you’ve enabled hibernation, navigate to Power Options > Choose what power buttons do > Change settings that are currently unavailable and disable Fast Startup. Just uncheck the box beside it and you’re good to go.
5. Run SFC and DISM
This solution is more of a precautionary measure. In the case of system corruption, even some essential power settings might get unavailable. And there’s always a possibility something broke, especially after a major update.
If that happens, there’s a well-known combo, System File Checker and Deployment Image Servicing and Management tools. Both tools check for corruption in system files.
DISM is more reliable in applying fixes, while SFC will provide you with a better general insight into the problem.
Here’s how to run SFC and DISM in a succession:
- Type cmd in the Windows search bar, right-click on the Command Prompt and run it as an administrator.
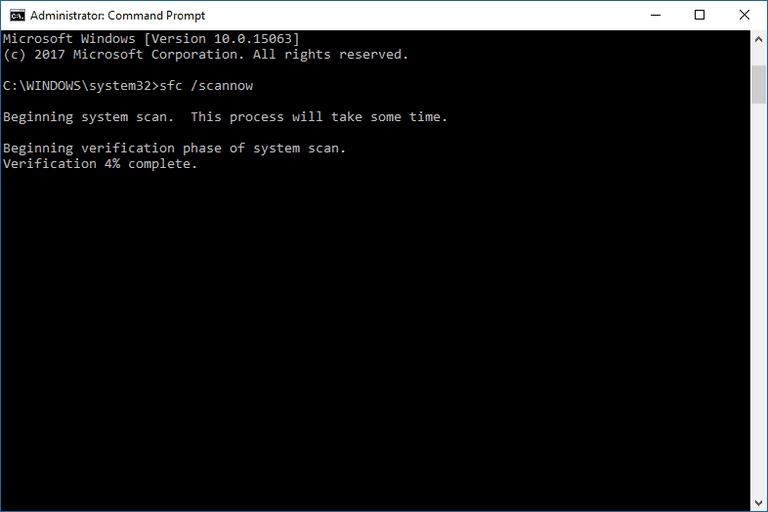
- In the command line, type sfc /scannow and press Enter.
- After that, copy paste these lines one by one and press Enter after each:
- DISM /online /Cleanup-Image / ScanHealth
- DISM /Online /Cleanup-Image /RestoreHealth
- Wait until the procedure ends (it might take up to 10 minutes).
- Restart your PC.
6. Use the BAT file
And now, we have finally come to 2 different methods to disable Fast Startup despite the option is not available in Shutdown settings. The first and probably the easiest method is utilized by running a preset BAT file which will do everything for you.
You won’t need to meddle with Registry on your own in order to disable it.
Here’s how to disable Fast Startup with the BAT file:
- Download the BAT script file, here.
- Right-click on the file and run it as an administrator.
- Wait until the changes are made and reboot your PC.
7. Disable Fast Startup via Registry Editor
Finally, the second method we can suggest relies on disabling Fast Startup by editing the Registry. Now, we strongly suggest backing up your Registry before making any changes to it.
Also, make only recommended changes and don’t meddle with the Registry unknowingly.
Follow these instructions to disable Fast Startup via Registry Editor:
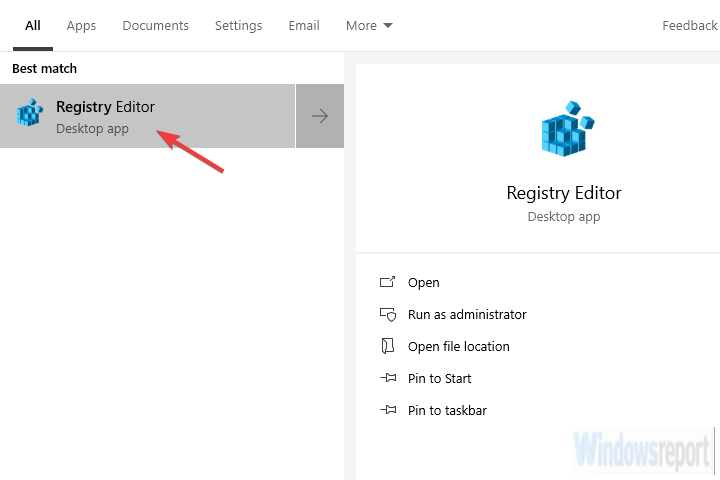
- In the Windows Search bar, type Registry and open Registry Editor.
- Navigate to
HKEY_LOCAL_MACHINESOFTWAREPoliciesMicrosoftWindowsSystem
- Right-click in the right pane and create a new DWORD.
- Name it HiberbootEnabled and set its value to 0.
- Exit Registry and you should be good to go.
With that said, we can conclude this article. In case you have any questions or suggestions, feel free to tell us in the comments section below. We look forward to hearing from you.


User forum
0 messages