5 Ways to Fix ODBC Issues on Control Panel in Windows 10
Key notes
- Issues with ODBC in Windows 10 are not that common and generally appear due to misconfigured settings, bugs in the OS, or the firewall conflicting with it.
- First, try disabling SMB1 and enabling SMB2 instead, and check if that works.
- Also, you may install the latest version of ODBC drivers, amongst the other methods here.

ODBC is quite useful for application access routines, especially for professional users. And, seemingly, there are a plethora of ODBC issues on Windows 10, when launching it through Control Panel or executing tasks.
The issues are all different here. For some, ODBC, both 32-bit and 64-bit, failed to load altogether, while others faced issues working on it. It’s generally encountered by users who either upgraded from Windows 7 or updated the Windows 10 version to the latest release.
This puts users in a fix since there’s not much information available on the web. If you’re one of them, check the solutions listed below for ODBC issues on Control Panel in Windows 10.
How do I fix the Control Panel ODBC issues in Windows 10?
1. Remove SMBv1 and enable SMBv2
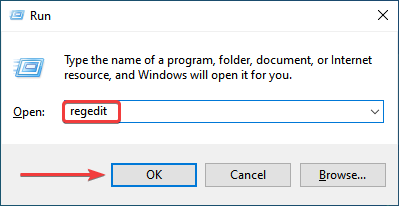
- Press Windows + R to launch the Run command, enter regedit in the text field, and either click on OK or hit Enter to launch the Registry Editor.

- Click Yes on the UAC (User Account Control) prompt that pops.

- Now, paste the following path in the address bar at the top, and hit Enter:
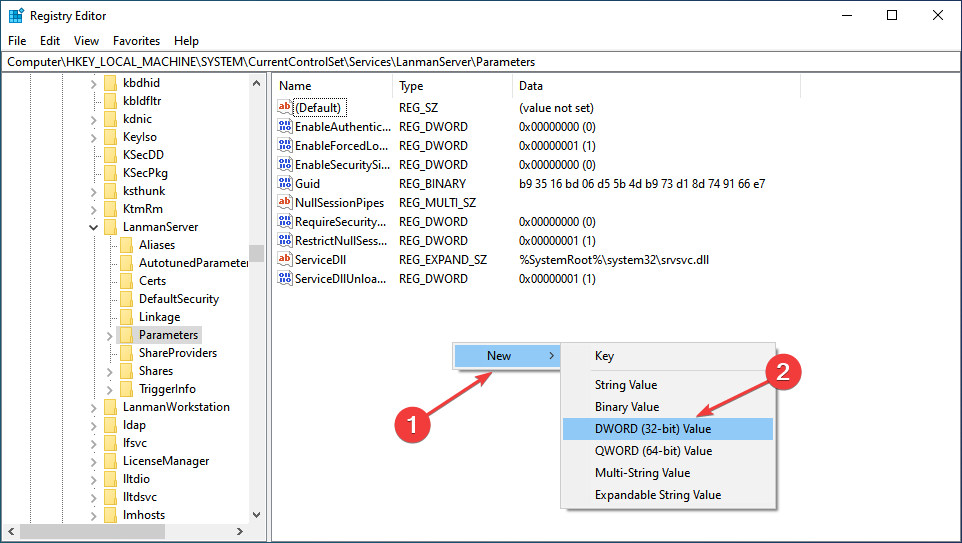
Computer\HKEY_LOCAL_MACHINE\SYSTEM\CurrentControlSet\Services\LanmanServer\Parameters
- Right-click on the empty space, hover the cursor over New, select Dword (32-bit) Value, and name it SMB1.

- Next, double-click on the newly created entry to modify the value data.
- Enter 0 in the Value data text field, and click on OK to save the changes.

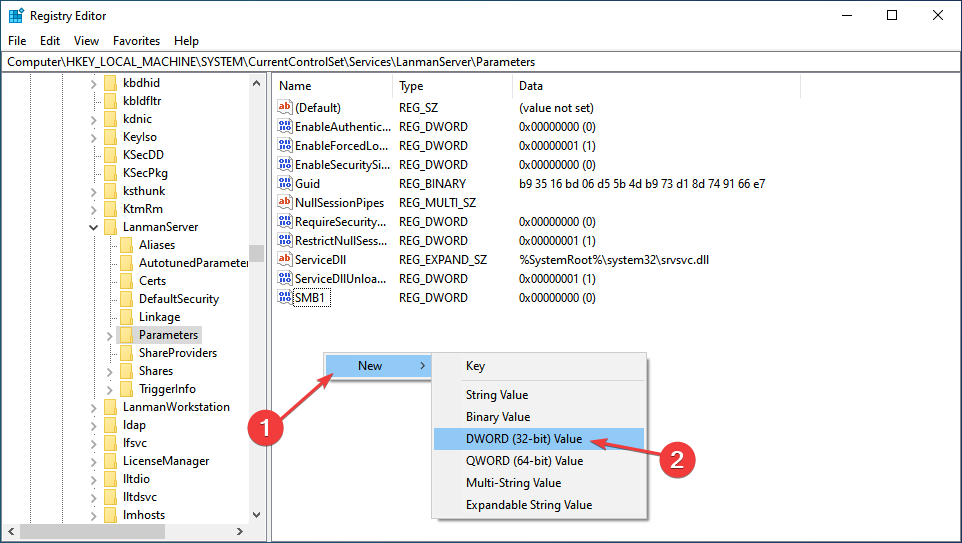
- Again, right-click on the empty space, hover the cursor over New, select DWORD (32-bit) Value, and name this one SMB2.

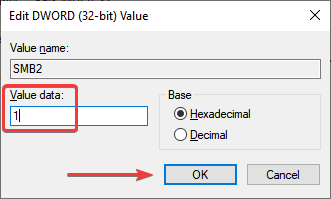
- Now, double-click on it to open the Properties.
- Enter 1 under Value data and click on OK.

- Close the Registry Editor.


After making the changes, restart the computer for these to fully come into effect. This is one of the quickest ways to repair ODBC control panel issues in Windows 10.
2. Disable Windows Firewall
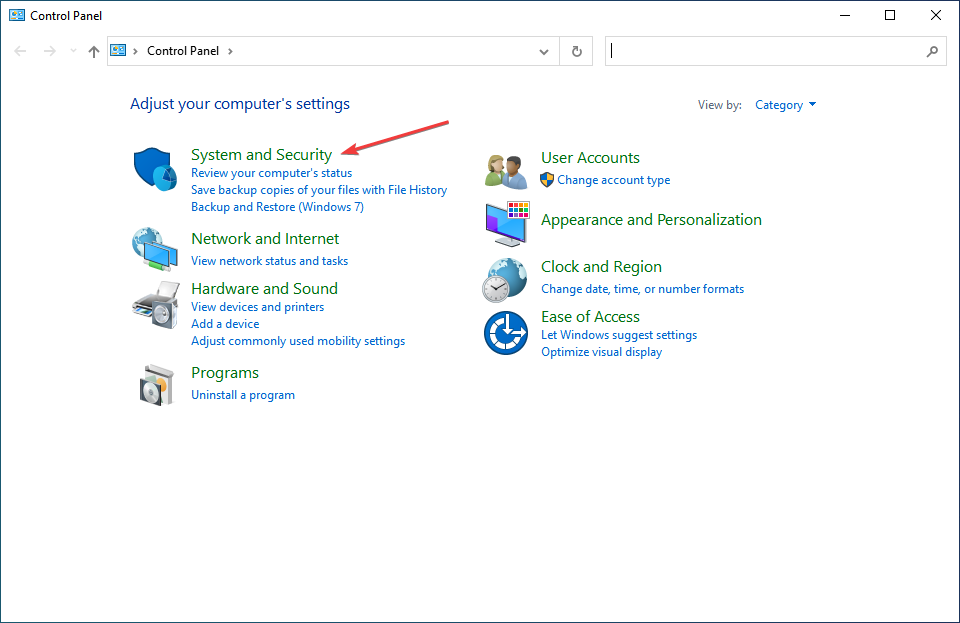
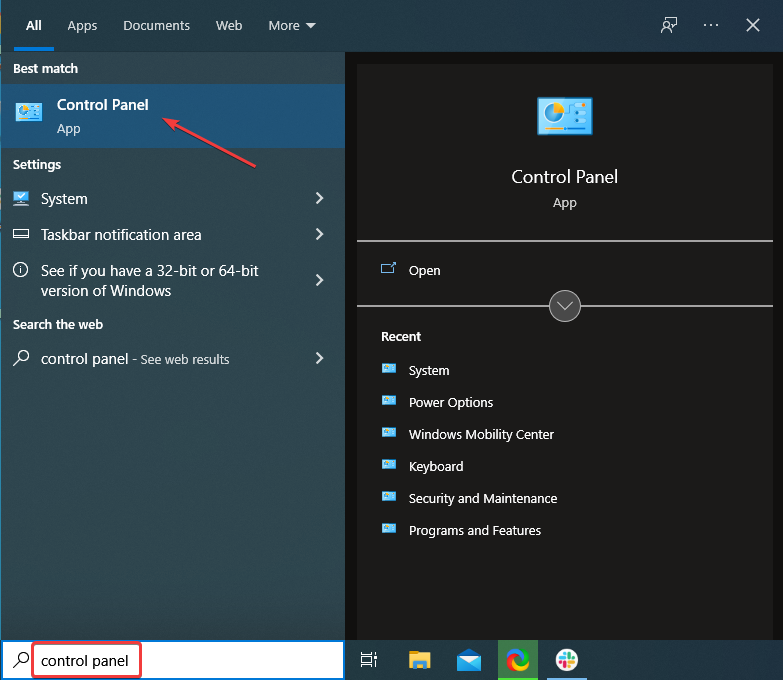
- Press Windows + S to launch the Search menu, type Control Panel in the text field, and click on the relevant search result.

- Select System and Security from the options listed here.

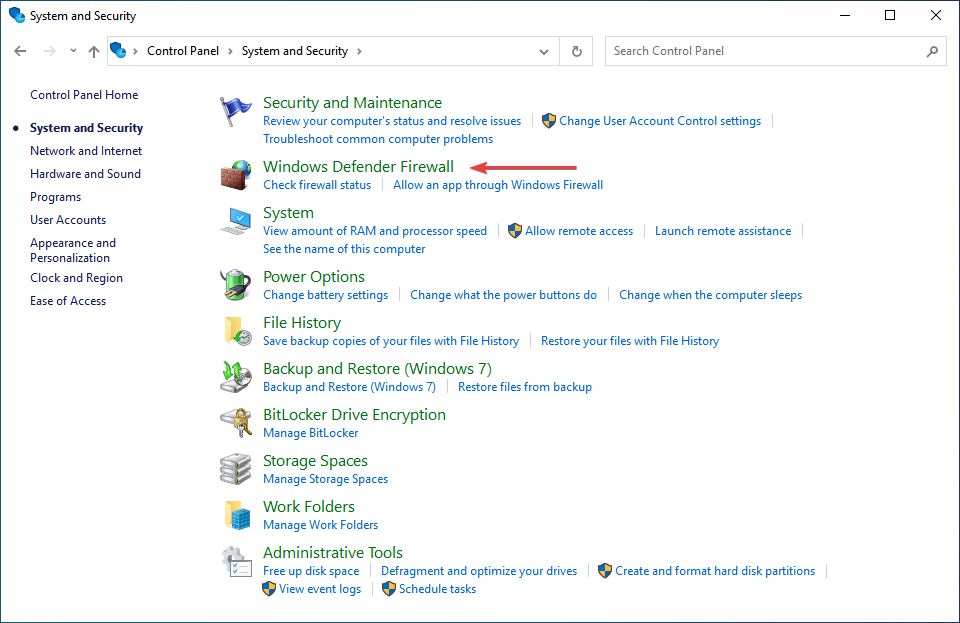
- Next, click on Windows Defender Firewall.

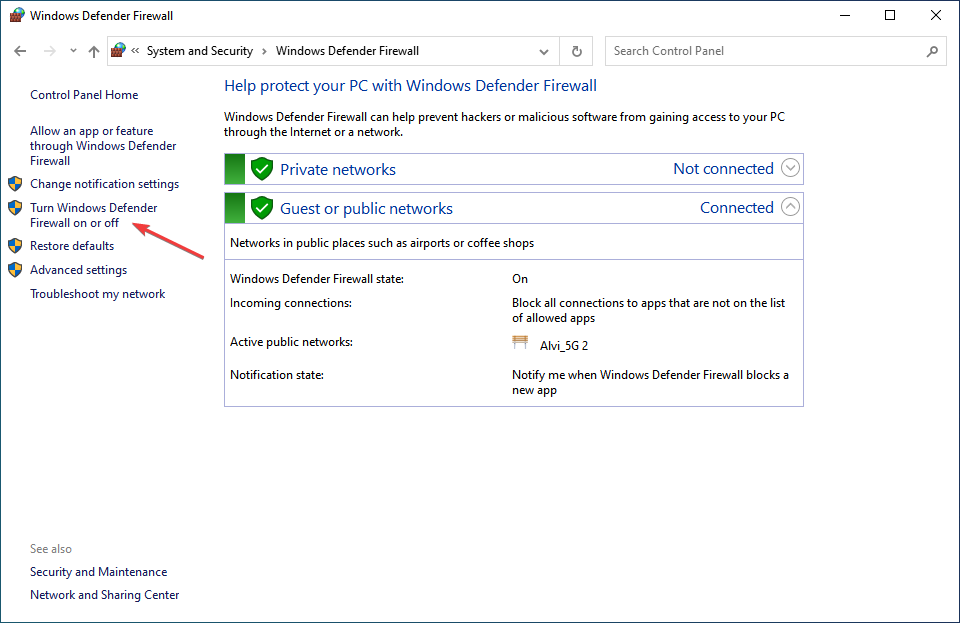
- Click on Turn Windows Defender Firewall on or off from the options listed on the left.

- Now, tick the checkboxes for Turn off Windows Defender Firewall (not recommended) under both Private network settings and Public network settings, and click on OK to save the changes.


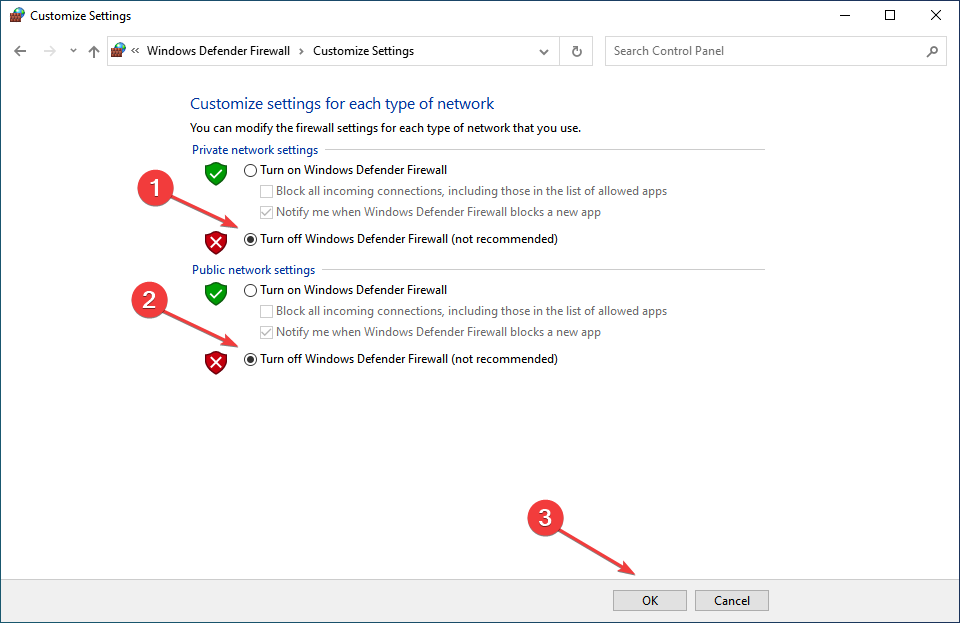
In some cases, users found that it was the configured firewall causing issues with ODBC in Control Panel on Windows 10, and disabling it did the trick.
Remember, the steps listed here are for the Windows Defender Firewall. In case you have a third-party firewall installed, make sure to disable it.
3. Update drivers
Oftentimes, you will need to manually install an ODBC driver if Windows does not include them. And there are several of these, for instance, the ODBC driver for Oracle or the ODBC Driver 17 for SQL Server.
The process here is not the same as updating the device drivers. It’s a lot more intricate and requires a proper understanding of the process before you proceed. But once you are done updating the ODBC driver in Windows 10, there shouldn’t be any issues with it in the Control Panel.

Also, remember that while updating the ODBC driver, you would be provided the option to overwrite the one already installed, but it’s recommended that you first remove it, and then install the latest version.
To speed up the process and ensure you install the correct ODBC driver version, you can use dedicated software. Outbyte Driver Updater for instance can automatically detect what driver you need and install it using its own up-to-date database.
4. Update Windows 10
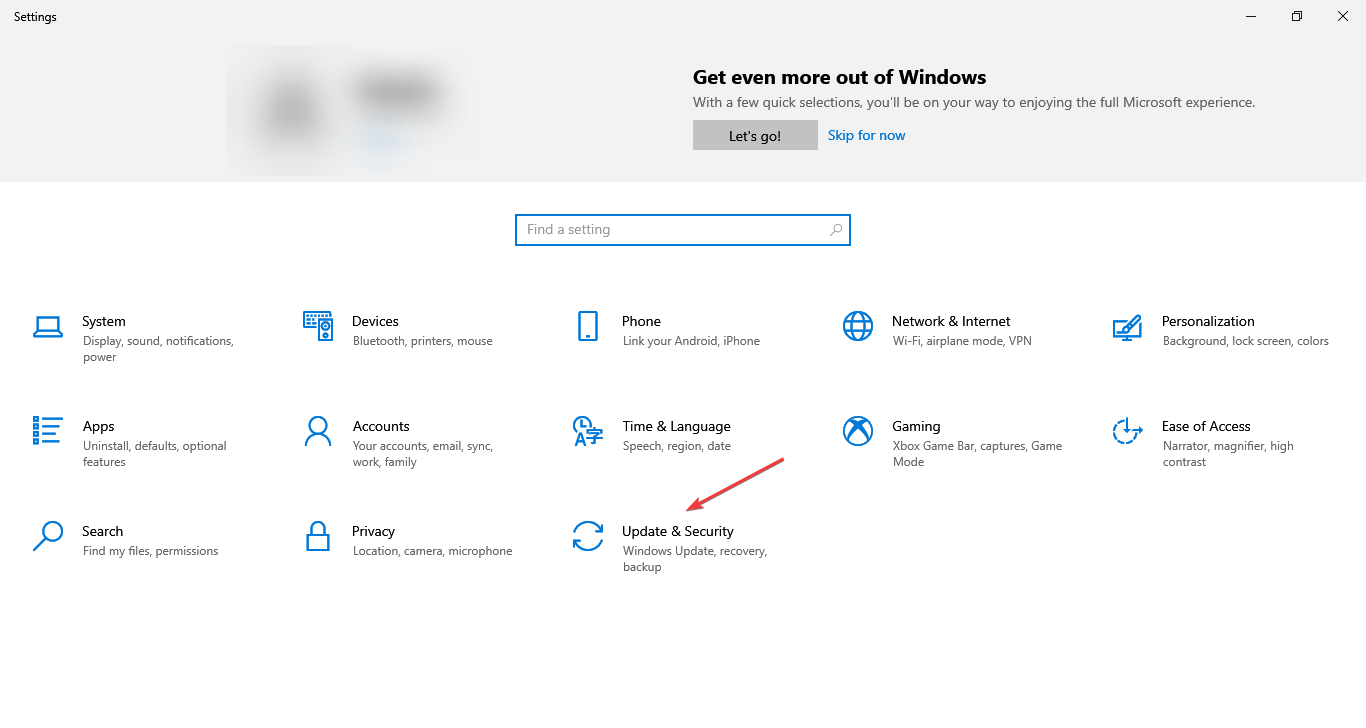
- Press Windows + I to launch Settings, and select Update & Security from the options listed here.

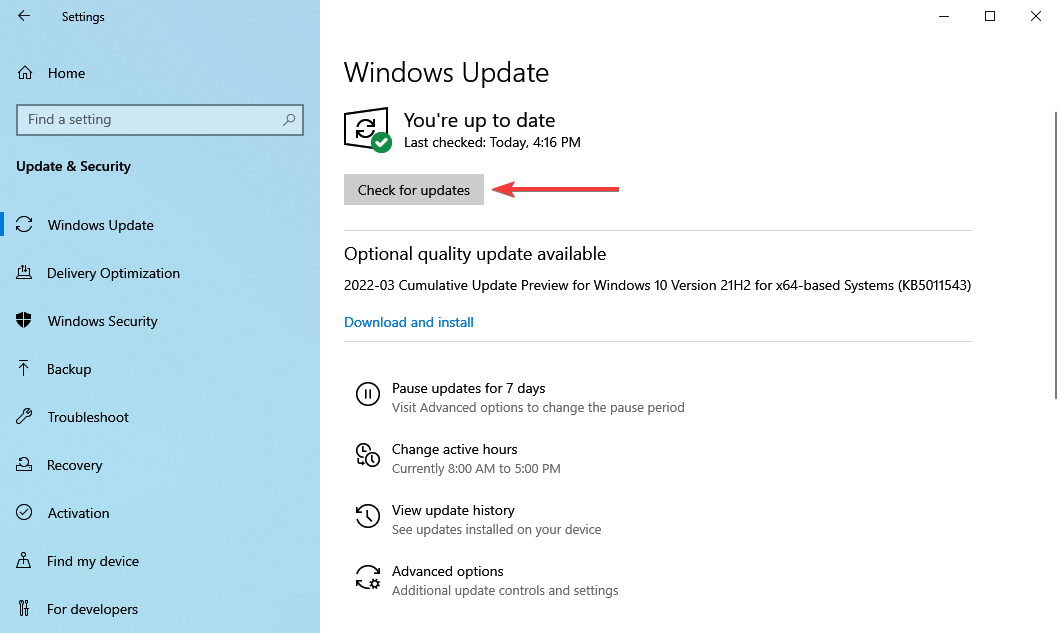
- Click on the Check for updates button on the right in the Windows Update tab.

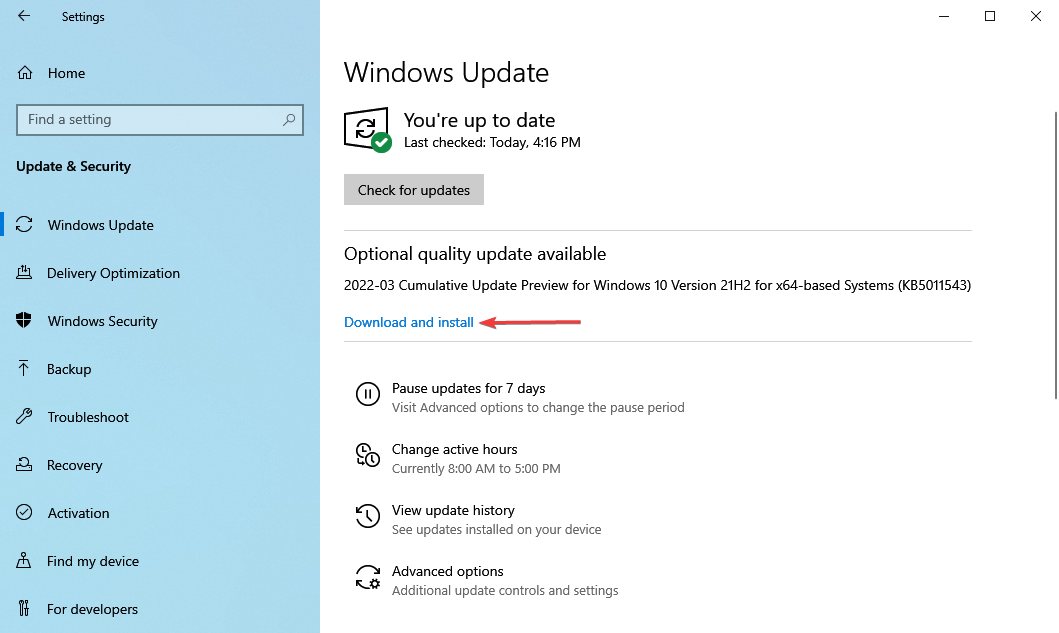
- If an update is listed after the scan, click on the Download and install button to get it.


If you are running an outdated version of Windows 10, there is a chance of encountering issues with ODBC in the Control Panel.
Also, if the error started after installing an update, the best way here is to check if there’s a newer version available since it would most likely have a patch for the issue. If there are no updates available, head to the next method.
5. Uninstall the recent Windows update
- Press Windows + I to launch the Settings app, and select Update & Security here.

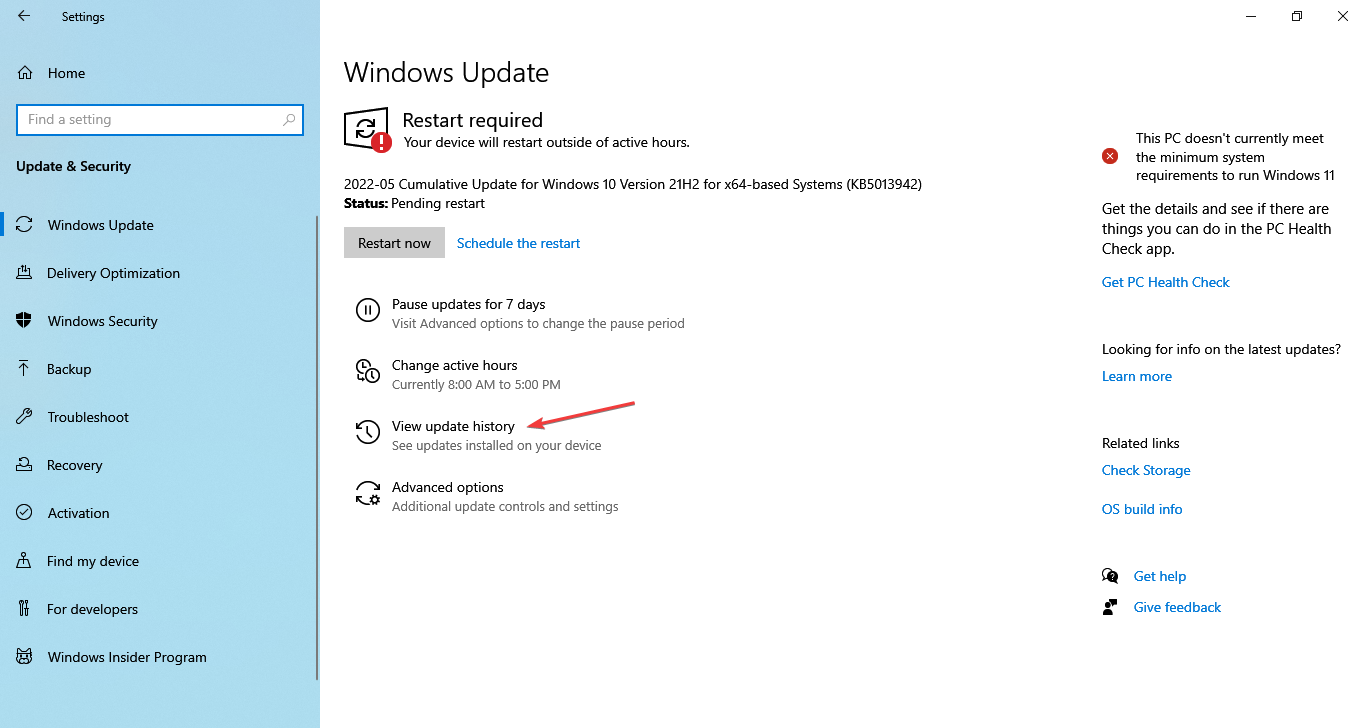
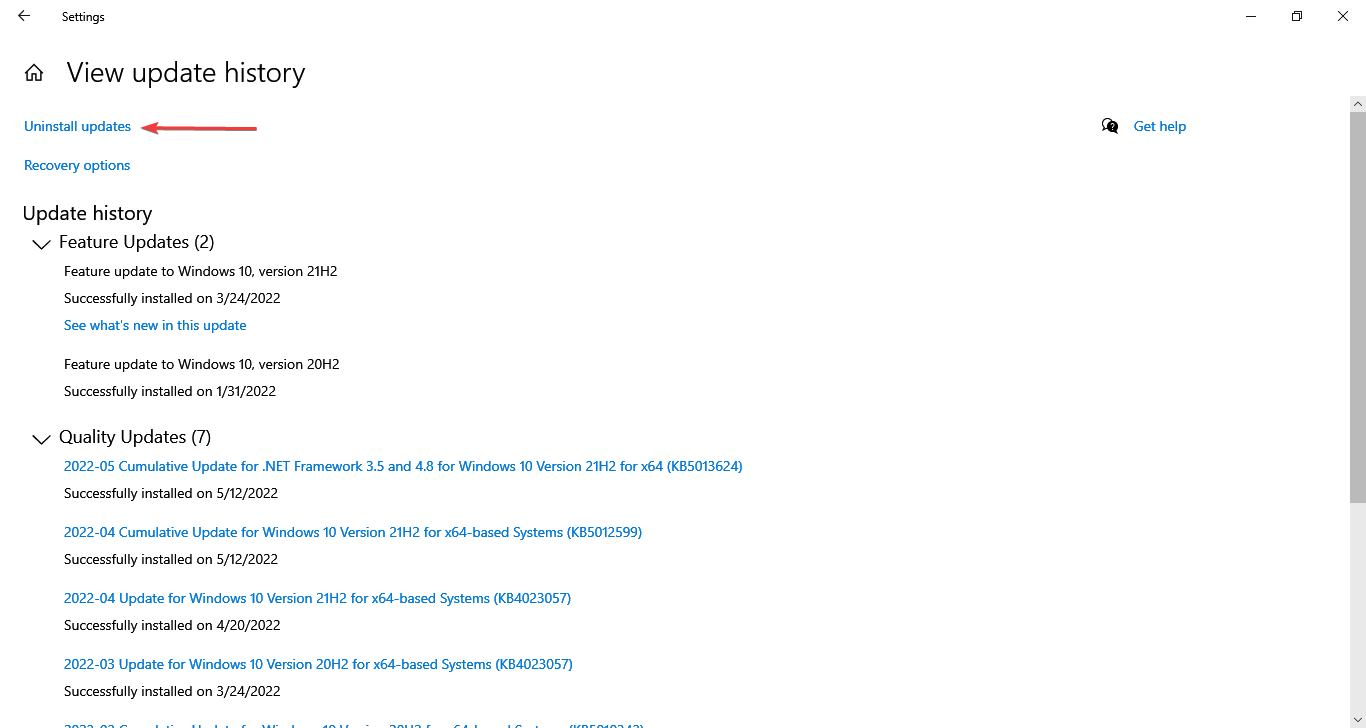
- Now, click on View update history on the right in the Windows Update tab.

- Click on the Uninstall updates option.

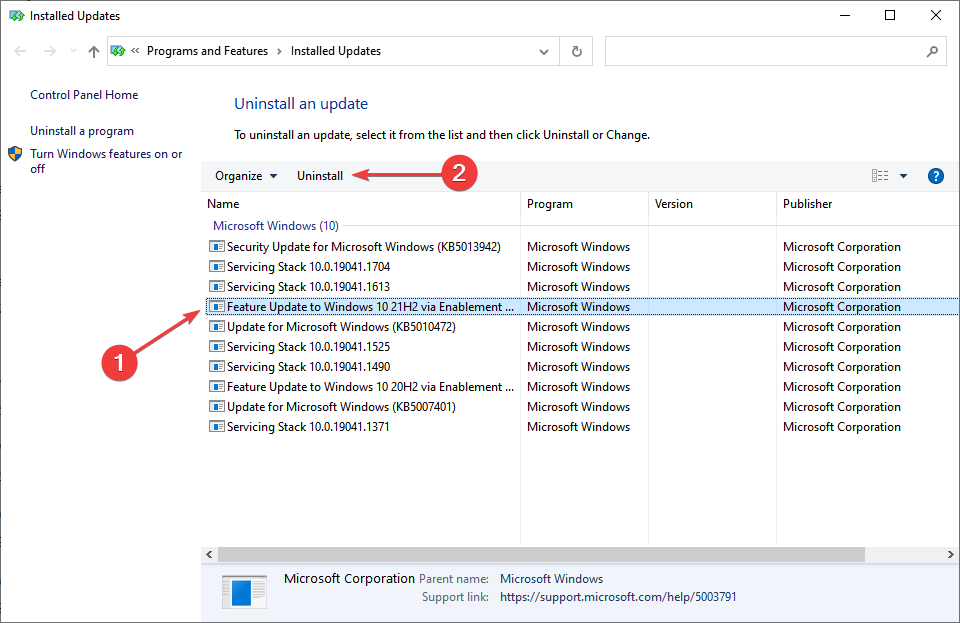
- Locate the problematic update, select it, and click on Uninstall.

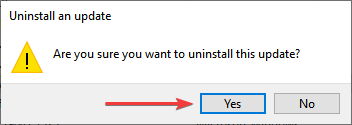
- Click Yes in the confirmation prompt that pops up.

If the problem started after installing an update for Windows, the easiest way out here is to uninstall it and wait for the next one before making the upgrade. Once done, the issues with ODBC Data Base Administrator in Windows 10 would be eliminated.
How do I open ODBC in Control Panel on Windows 10?
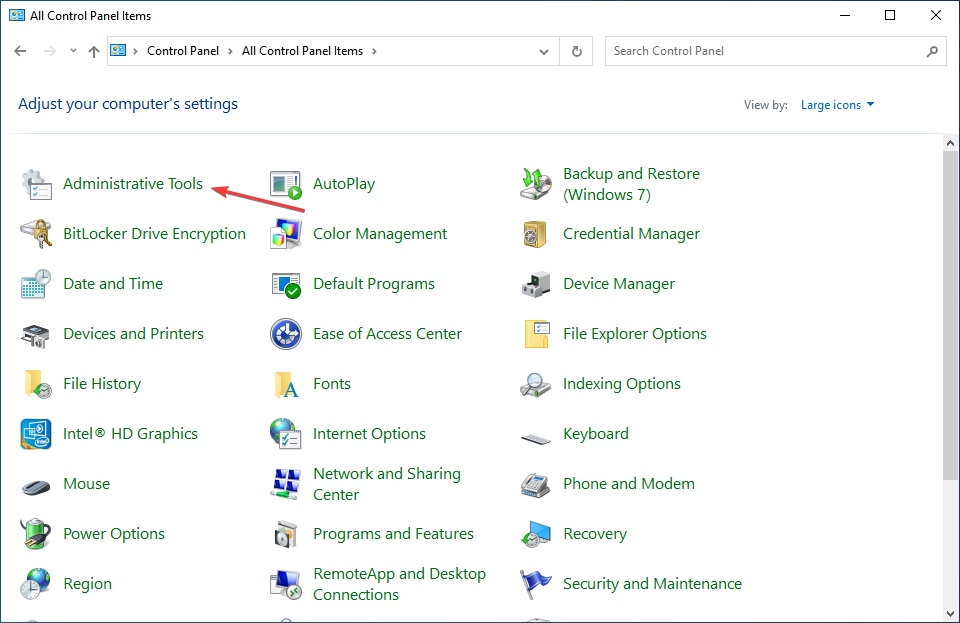
- Type Control Panel in the Search bar, and click on the relevant search result.

- Click on the View by dropdown menu, and select Large icons from the list of options.

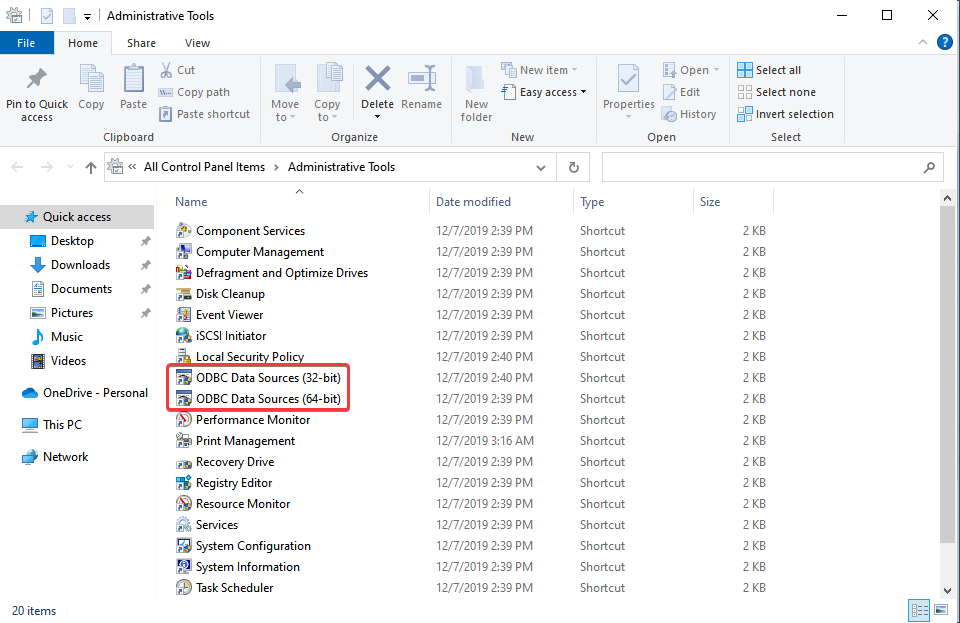
- Now, locate and click on Administrative Tools here.

- You will now find the ODBC 64-bit and 32-bit options listed here depending on the architecture of the OS installed.


There are other methods as well to open the ODBC manager in Windows, but this is probably the simplest of all.
These are all the ways you can fix a plethora of issues with ODBC. Also, the methods listed here would help eliminate problems with ODBC in Control Panel on Windows 7 and Windows 11 as well. Though on the latest iteration, it is listed under Windows Tools.
Also, find out how to install and configure the MySQL ODBC driver.
Tell us which fix worked for you in the comments section below.
Read our disclosure page to find out how can you help Windows Report sustain the editorial team. Read more


Improve this guide


User forum
0 messages