How to Check Windows 10 Update History Easily
Keeping track of your updates in Windows 10 is essential if you want to troubleshoot problems or confirm that your system is running the latest patches. In this guide, you will learn step-by-step methods to view your update history so you always know exactly what is installed on your PC.
How do I check Windows 10 update history?
Table of contents
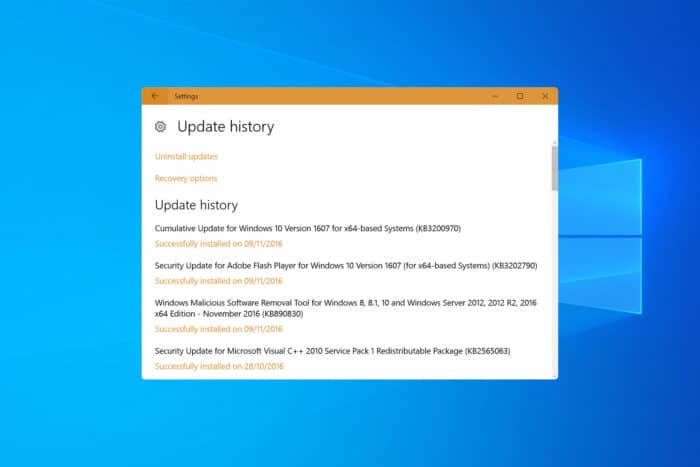
1. Through settings
- Press Win + I to open Settings.
- Go to Update & Security > Windows Update.
- Click View update history to see all installed updates.

For more details, see how to check if a specific Windows update is installed.
2. Using Command Prompt
- Open Command Prompt as Administrator.
- Type:
wmic qfe list brief /format:table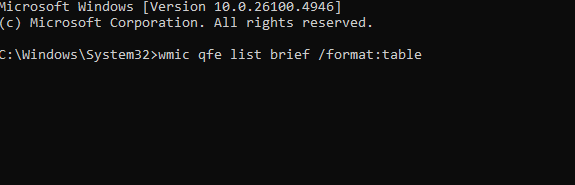
- Press Enter to list all installed updates with their KB numbers.
3. Via PowerShell
- Launch PowerShell as Administrator.
- Run the command:
Get-HotFix
- Press Enter to display a complete list.
Want deeper PowerShell methods, filters, and export options for update history? Read the full guide here: Windows Update History with PowerShell.
4. From the update log
- Open PowerShell as Administrator.
- Run:
Get-WindowsUpdateLog
- Save and open the file to check details.
Step-by-step instructions are available in this guide on how to find the Windows 10 update log.
Windows 10 version history
Windows 10 has gone through several major feature updates, each with its own version number. Knowing your version helps identify compatibility and support timelines.
Check the full Windows 10 version history to see when updates were released and what features they included.
Viewing your Windows 10 update history is simple whether you prefer Settings, Command Prompt, or PowerShell. By knowing what is installed on your system, you can quickly troubleshoot problems, confirm patches, and ensure your PC is running smoothly.
Read our disclosure page to find out how can you help Windows Report sustain the editorial team. Read more


Improve this guide


User forum
0 messages