Fix: Windows 11 is Not Assigning Drive Letter Automatically
Manually assign drive letters to your hard drive
Key notes
- If you have a hard drive, you can access your files and folders, and it comes with a drive letter assigned to it.
- Automatic drive letter assignment is the best option because it will assign the drive letter based on the order in which you plug in your devices.
- Sometimes, this may fail due to a corrupt drive or other underlying issues.
When you connect a new drive to a computer, the operating system assigns it a letter automatically. A drive letter is a unique identifier used to identify a specific disk drive or partition. It’s often used as a shortcut for the physical device name and can be seen in File Explorer or Disk Management tool.
However, this may not always be the case, and sometimes, your drive may be missing a letter. This is a normal occurrence, and it happens because Windows does not recognize your SSD among other reasons. If you’re facing something similar, we have some answers below on how to fix this issue.
Why is Windows 11 not assigning a drive letter automatically?
If you have inserted a USB mass storage device and it’s not showing a drive letter, it could be because of one or more of the following reasons:
- BIOS is unable to detect a drive – It’s possible that the BIOS isn’t recognizing an optical disc drive in your computer. This can be caused by a faulty device driver, or the CD-ROM is not working.
- Old OS – The computer might be using an older operating system and doesn’t support assigning drives automatically. You may have to upgrade to Windows 11.
- Virus/malware – It is possible that the system is infected with malware or viruses that prevent it from assigning drives automatically especially if you don’t have a comprehensive antivirus solution.
- Improper disk formatting – If the disk you are using is not properly formatted, Windows 11 won’t be able to read the sd card and hence can’t find the drive letter. You must format the drive before you can assign it a drive letter.
- Disabled automatic drive assignment – In some earlier versions of Windows, the option to automatically assign drive letters is not enabled by default.
- Incompatible hardware – This can happen if you have an old hard drive that is incompatible with the new operating system, or an old laptop or desktop computer that has been upgraded to Windows 11 without meeting the system requirements.
When you create a new drive letter in Windows, the operating system automatically assigns the letter to that drive. But if you want to assign a different drive letter to a particular drive, you can do so using the following methods.
How do I assign drive letters in Windows 11?
1. Use Settings
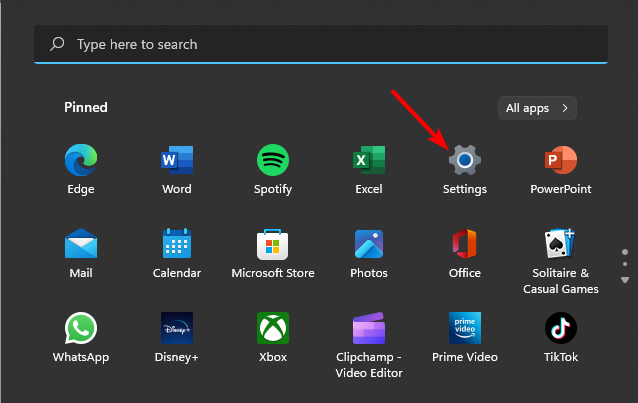
- Hit the Windows key and select Settings.
- Click System on the left pane and select Storage on the right pane.

- Select Advanced storage settings under Storage management and click on Disks & volumes.

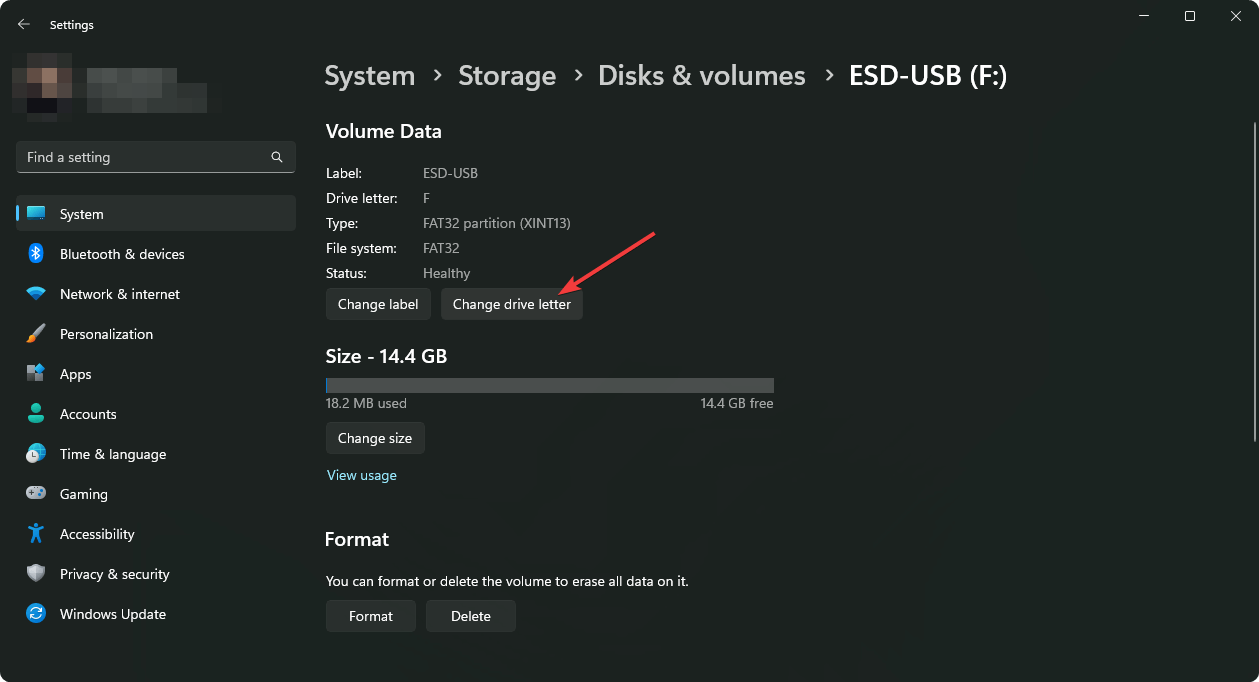
- Click on the drive you wish to change and hit the Properties button.

- Select Change drive letter.
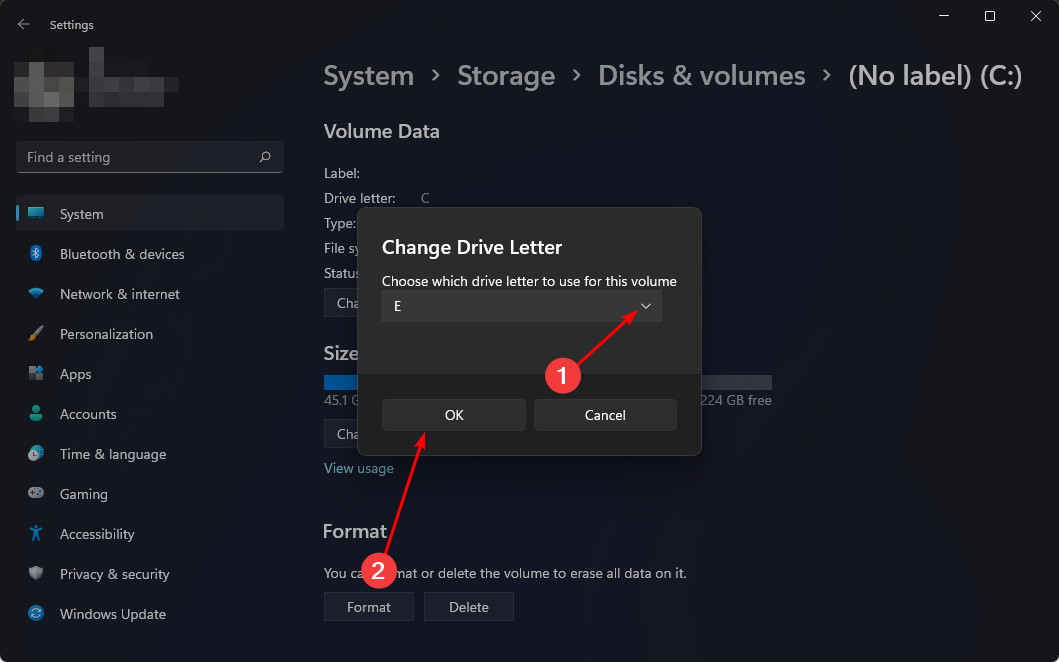
- From the drop-down, select the new drive letter and press OK to save changes
2. Use Disk Management
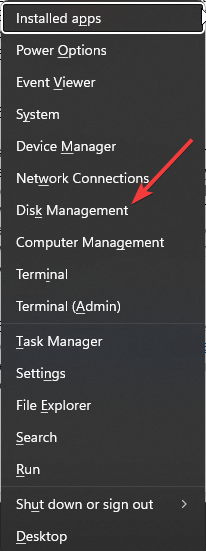
- Right-click on the Start Menu icon and select Disk Management.
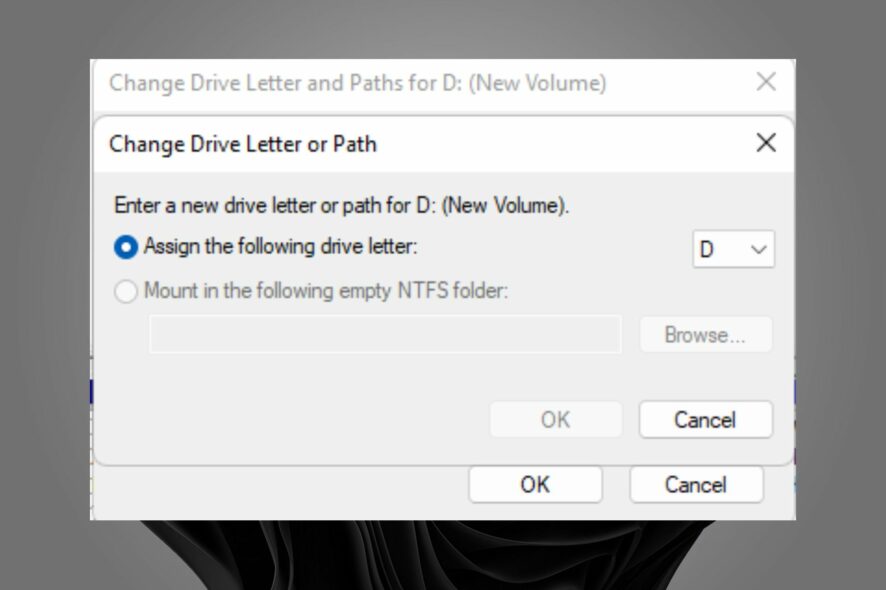
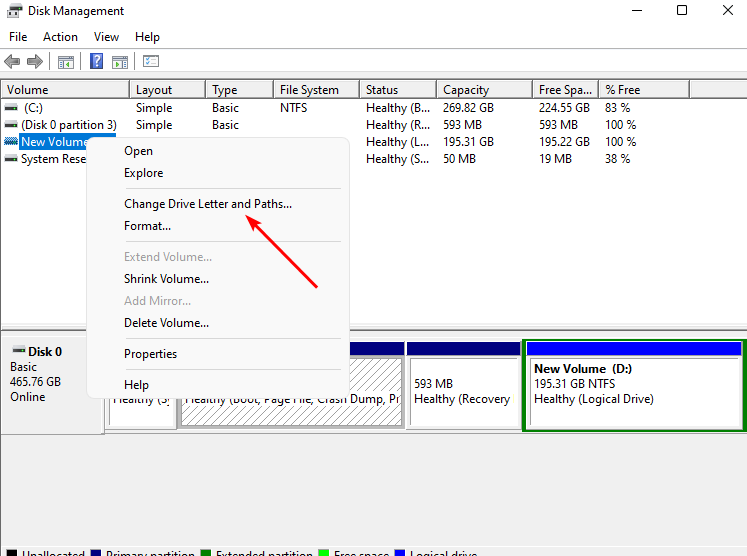
- Next, right-click the drive you wish to assign and select Change Drive Letter and Paths.
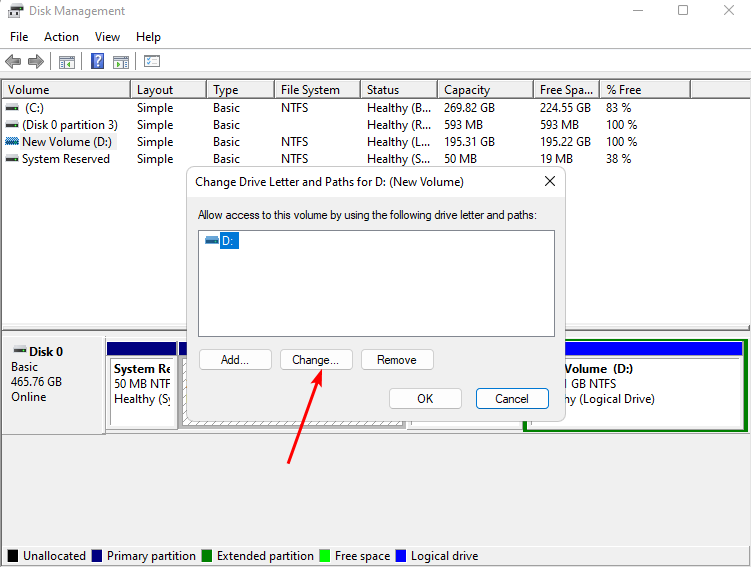
- In the pop-up window that appears, click on the drive and hit Change.
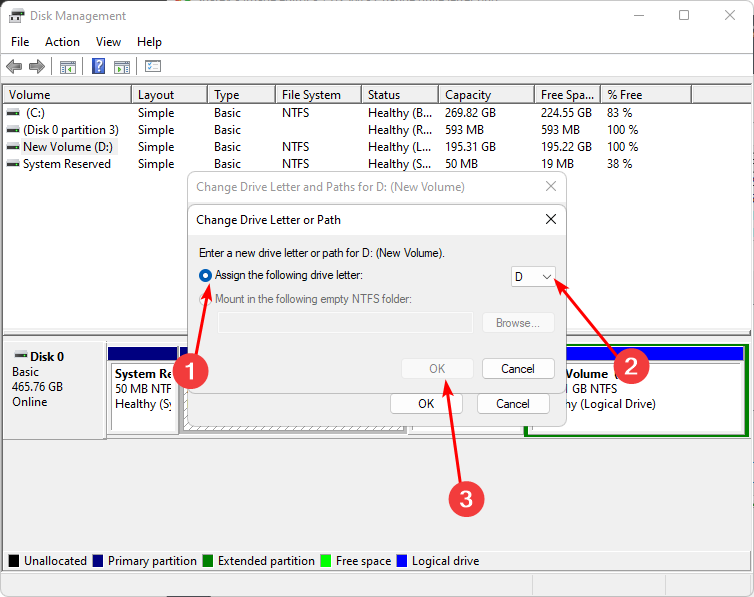
- Select the Assign the following drive letter option and in the drop-down, select a new drive letter and click OK.
- If there’s still no drive letter in disk management, you may have to enable it via Command Prompt.
3. Use Command Prompt
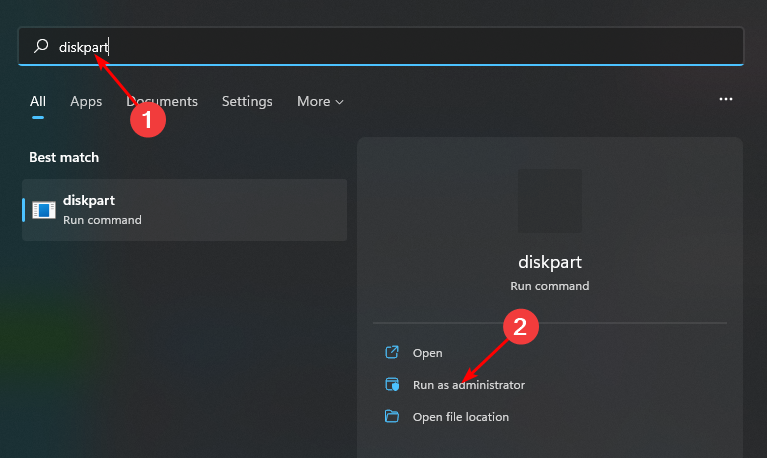
- Hit the Windows key, type Diskpart in the search bar, and click Run as administrator.
- Type in the following command to list the number of drive partitions:
list volume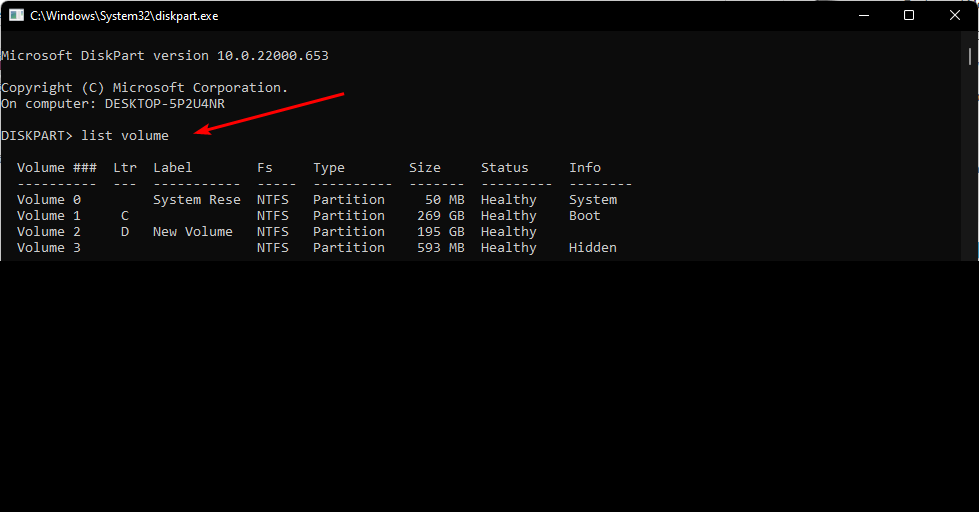
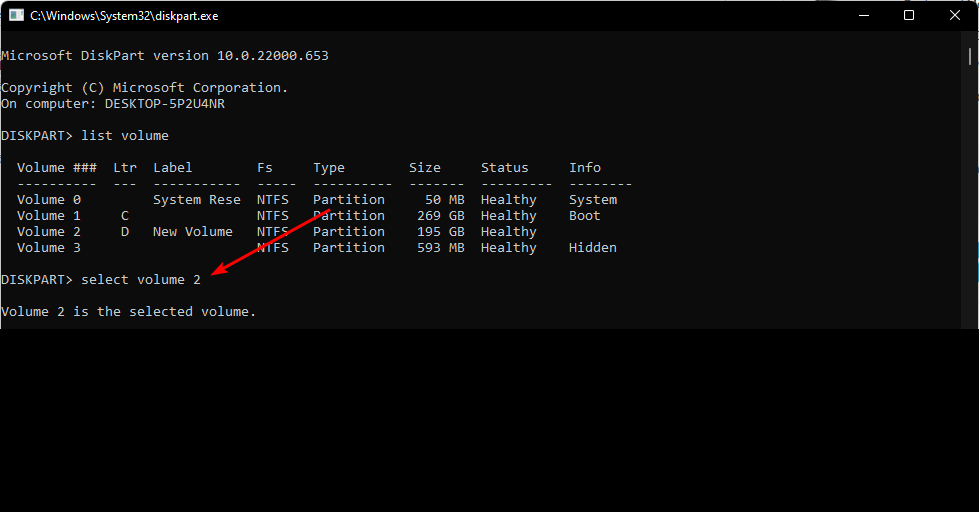
- Next, type in select volume Y replacing Y with the corresponding drive you wish to change.
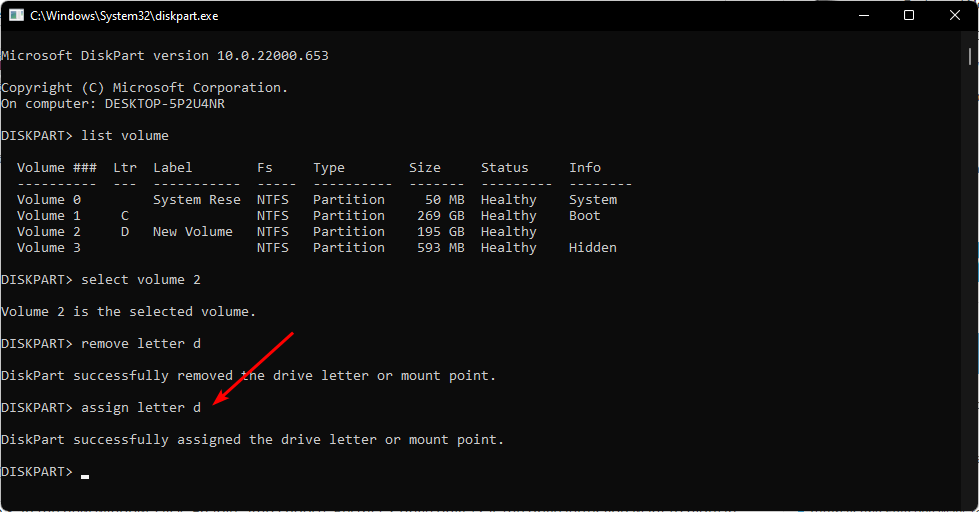
- Now type assign letter X and replace X with the letter you wish your new drive to be named as.
4. Use Powershell
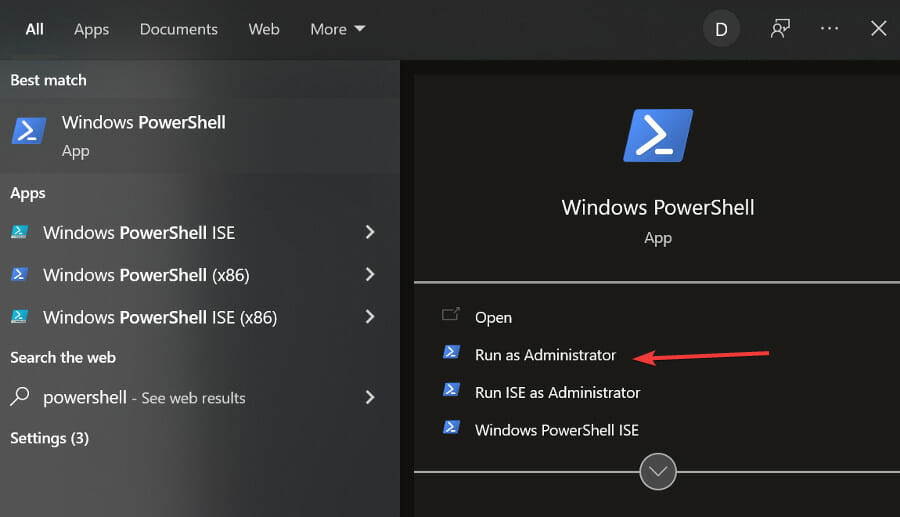
- Hit the Windows key, type Powershell in the search bar, and click Run as administrator.
- Type the following command to list the drives in your system:
Get-Disk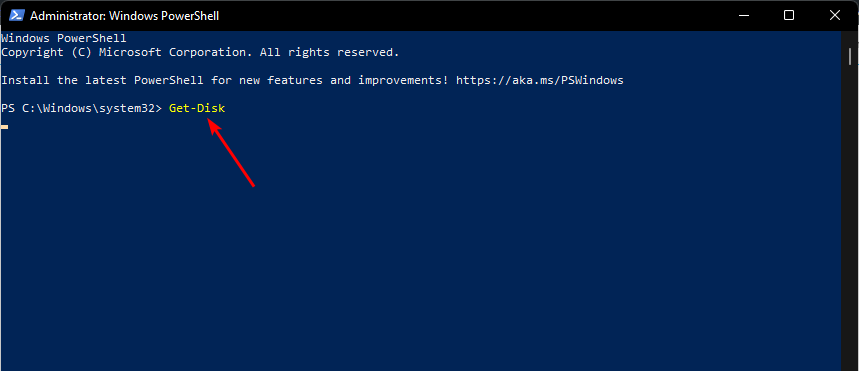
- Next type the following command replacing 0 with the corresponding drive number and F with the new letter you wish to assign the drive:
Get-Partition -DiskNumber 0 | Set-Partition -NewDriveLetter F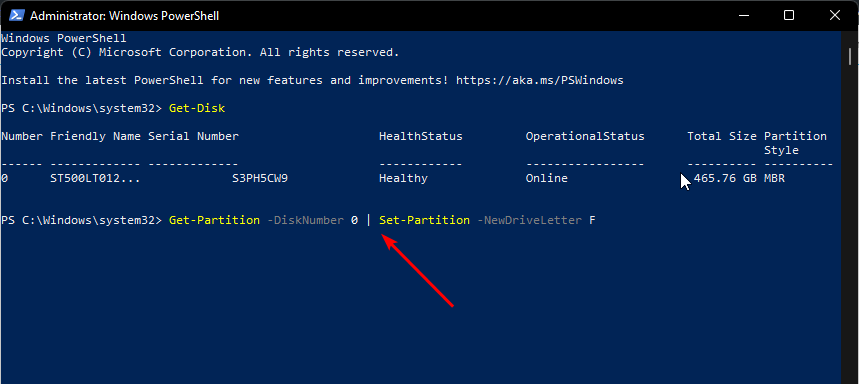
How do I force a drive letter to assign?
A few preliminary checks that may help include:
- Ensure you have inserted the hard drive properly.
- Check that your connections. It could be that your USB ports are not working.
- Scan your system for viruses to ensure there are no external interferences.
- Finally, try restarting your PC.
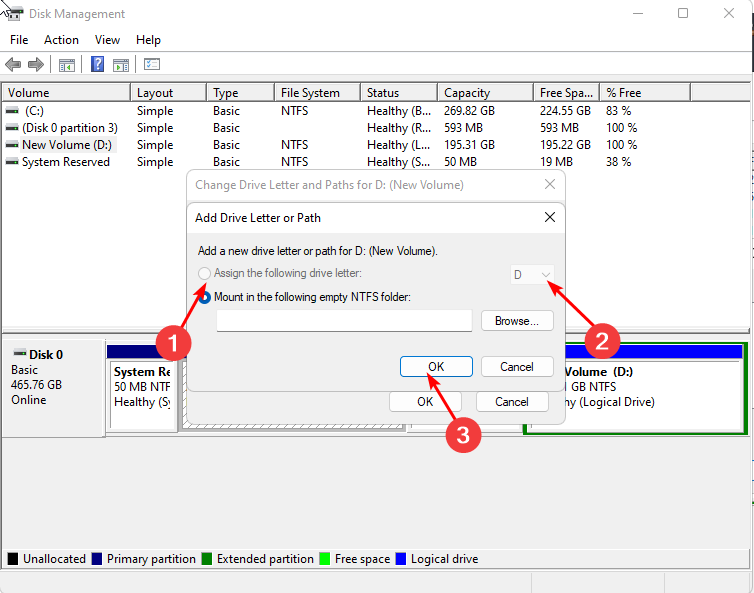
1. Assign the drive letter manually
- Right-click on the Start Menu icon and select Disk Management.
- Next, right-click on the drive you wish to assign and select Change Drive Letter and Paths.
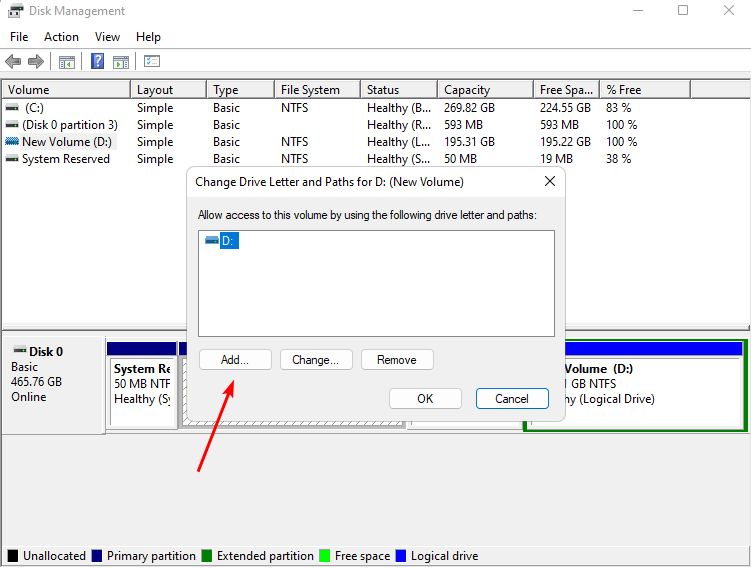
- In the pop-up window that appears, click on the drive and hit Add.
- Click on Assign the following drive letter option and in the drop-down, select a new drive letter and click OK.
2. Enable the auto-mount option
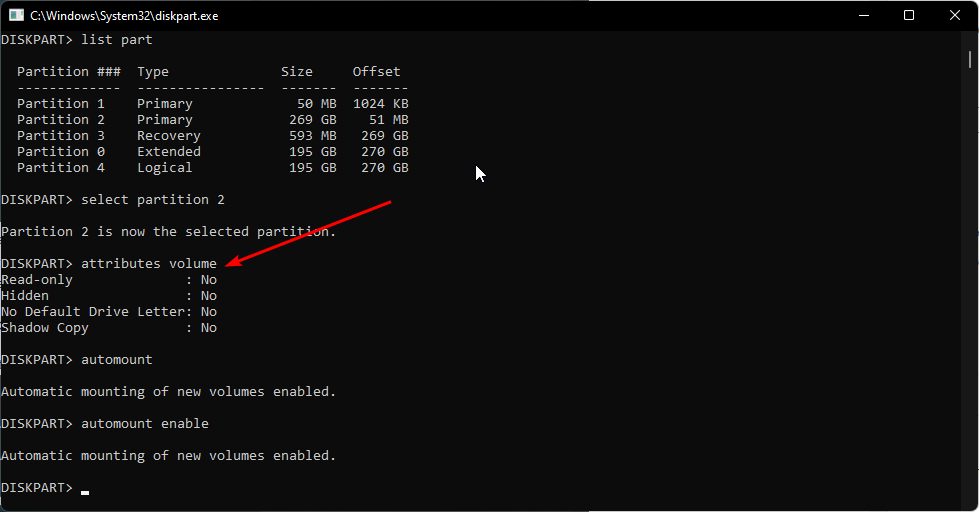
- Hit the Windows key, type Diskpart in the search bar, and click Run as administrator.
- Type and Enter the following commands:
automountautomount enable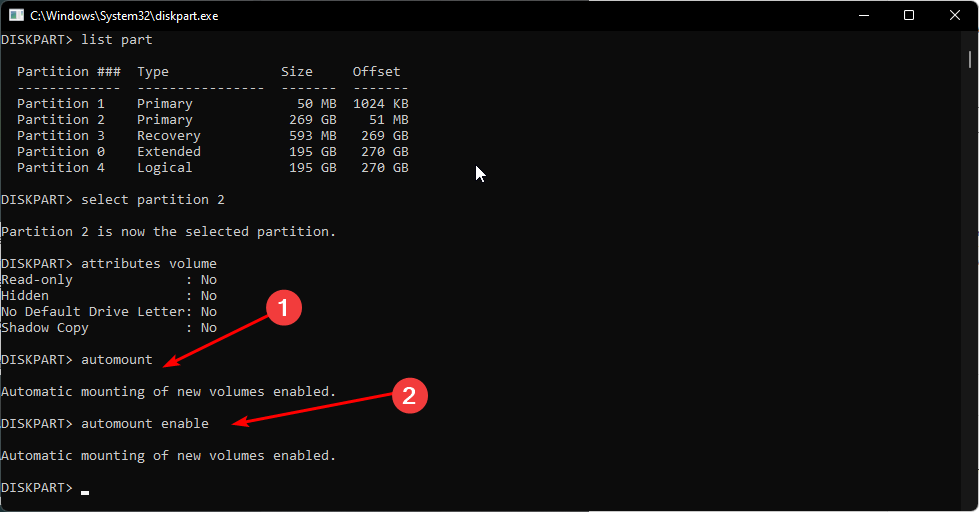
- Next, type exit to leave the diskpart command and check whether your drive has been assigned a letter.
3. Disable hidden/missing default drive letter attributes
- Hit the Windows key, type Diskpart in the search bar, and click Run as administrator.
- Type in the following command to list the number of drive partitions:
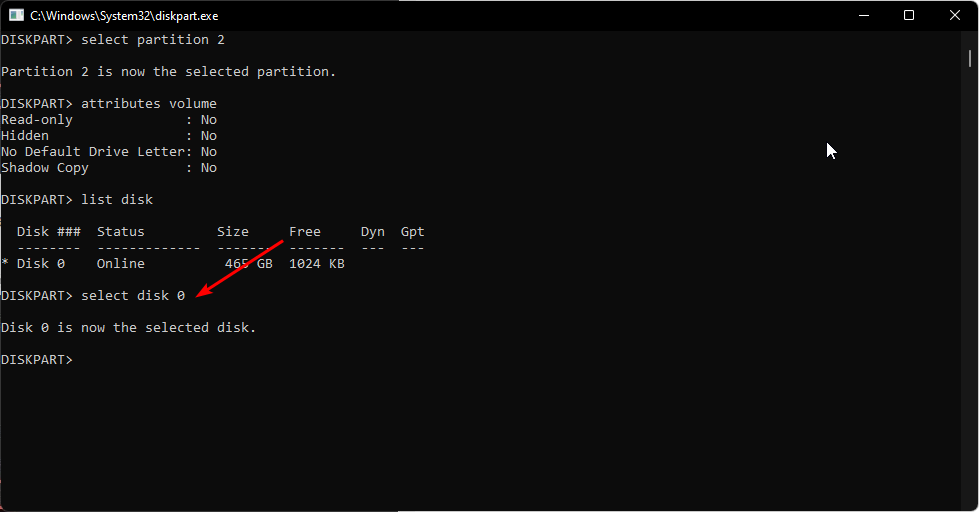
list disk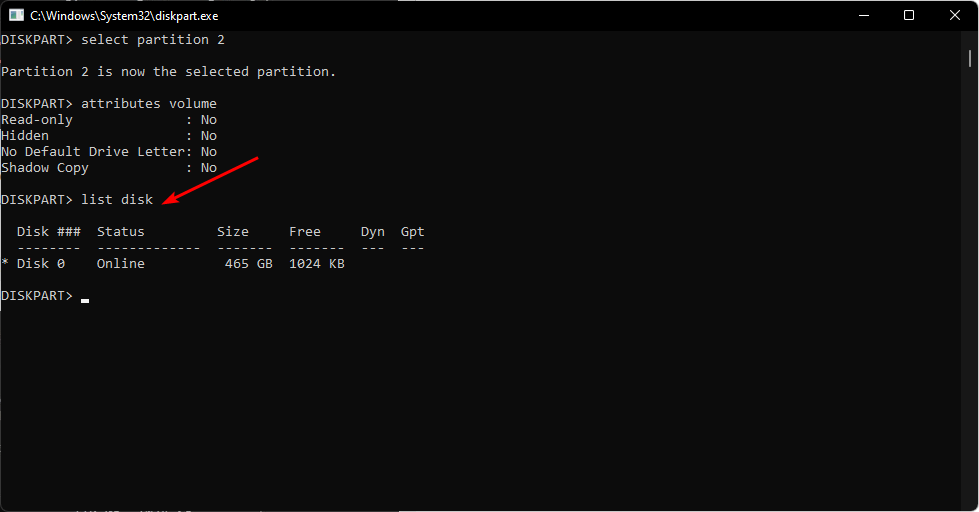
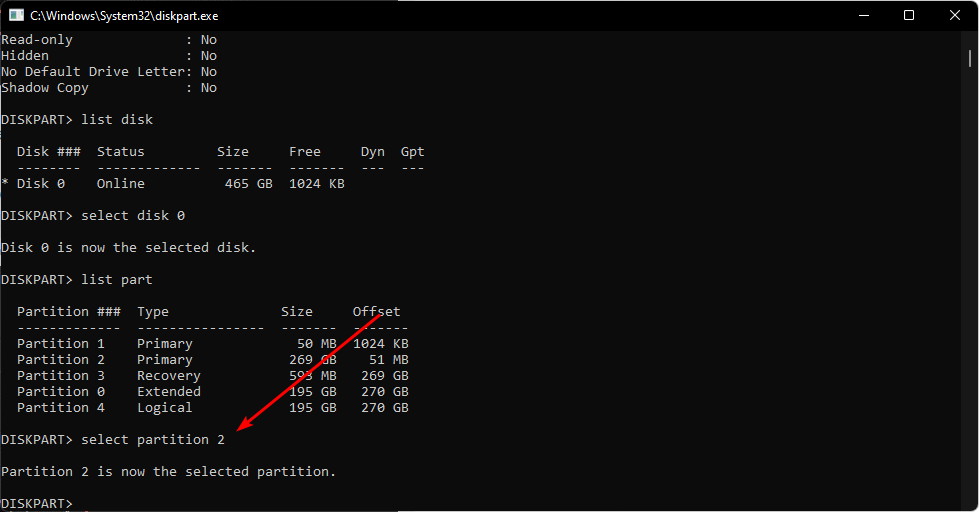
- Next, type select disk X replacing X with the corresponding number of the drive in question.
- Now type list part to display the number of partitions available for that disk.
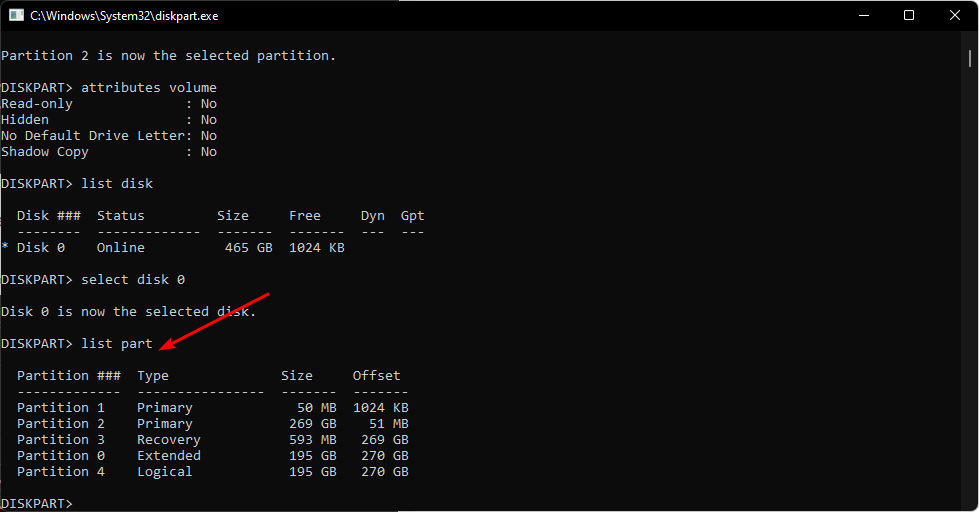
- Type select partition Y and replace Y with the corresponding number of the partition in question.
- Next type attributes volume. If the Hidden and No Default Drive letter options come with a Yes, proceed to the next command.
- Type in the following commands and press Enter after each one to disable:
attributes volume clear hiddenattributes volume clear no default drive letter
And that’s how to fix the issue where Windows 11 is not assigning a drive letter to your drives. Elsewhere, if you’d like to show drive letters before drive names, we have an expert article detailing how to go about it.
We also show you how to remove non-existent CD drives from your system that may appear but lead to a dead end when you click on them.
If Windows was not assigning drive letters automatically, we’d love to know which method worked out for you. Leave us a comment down below.
Read our disclosure page to find out how can you help Windows Report sustain the editorial team. Read more


Improve this guide


User forum
0 messages