Windows Update Error 0x80010108 [SOLVED]
![]() 9 min. read
9 min. read
![]() Updated on
Updated on
Share this article

Improve this guide
Read our disclosure page to find out how can you help Windows Report sustain the editorial team Read more
Key notes
- Users have reported encountering this error message when checking for new updates.
- Some of the first solutions you should try out are running the Windows Update troubleshooter and restarting the Windows Update service.
- Another handy solution involves re-registering the wups2.dll file.

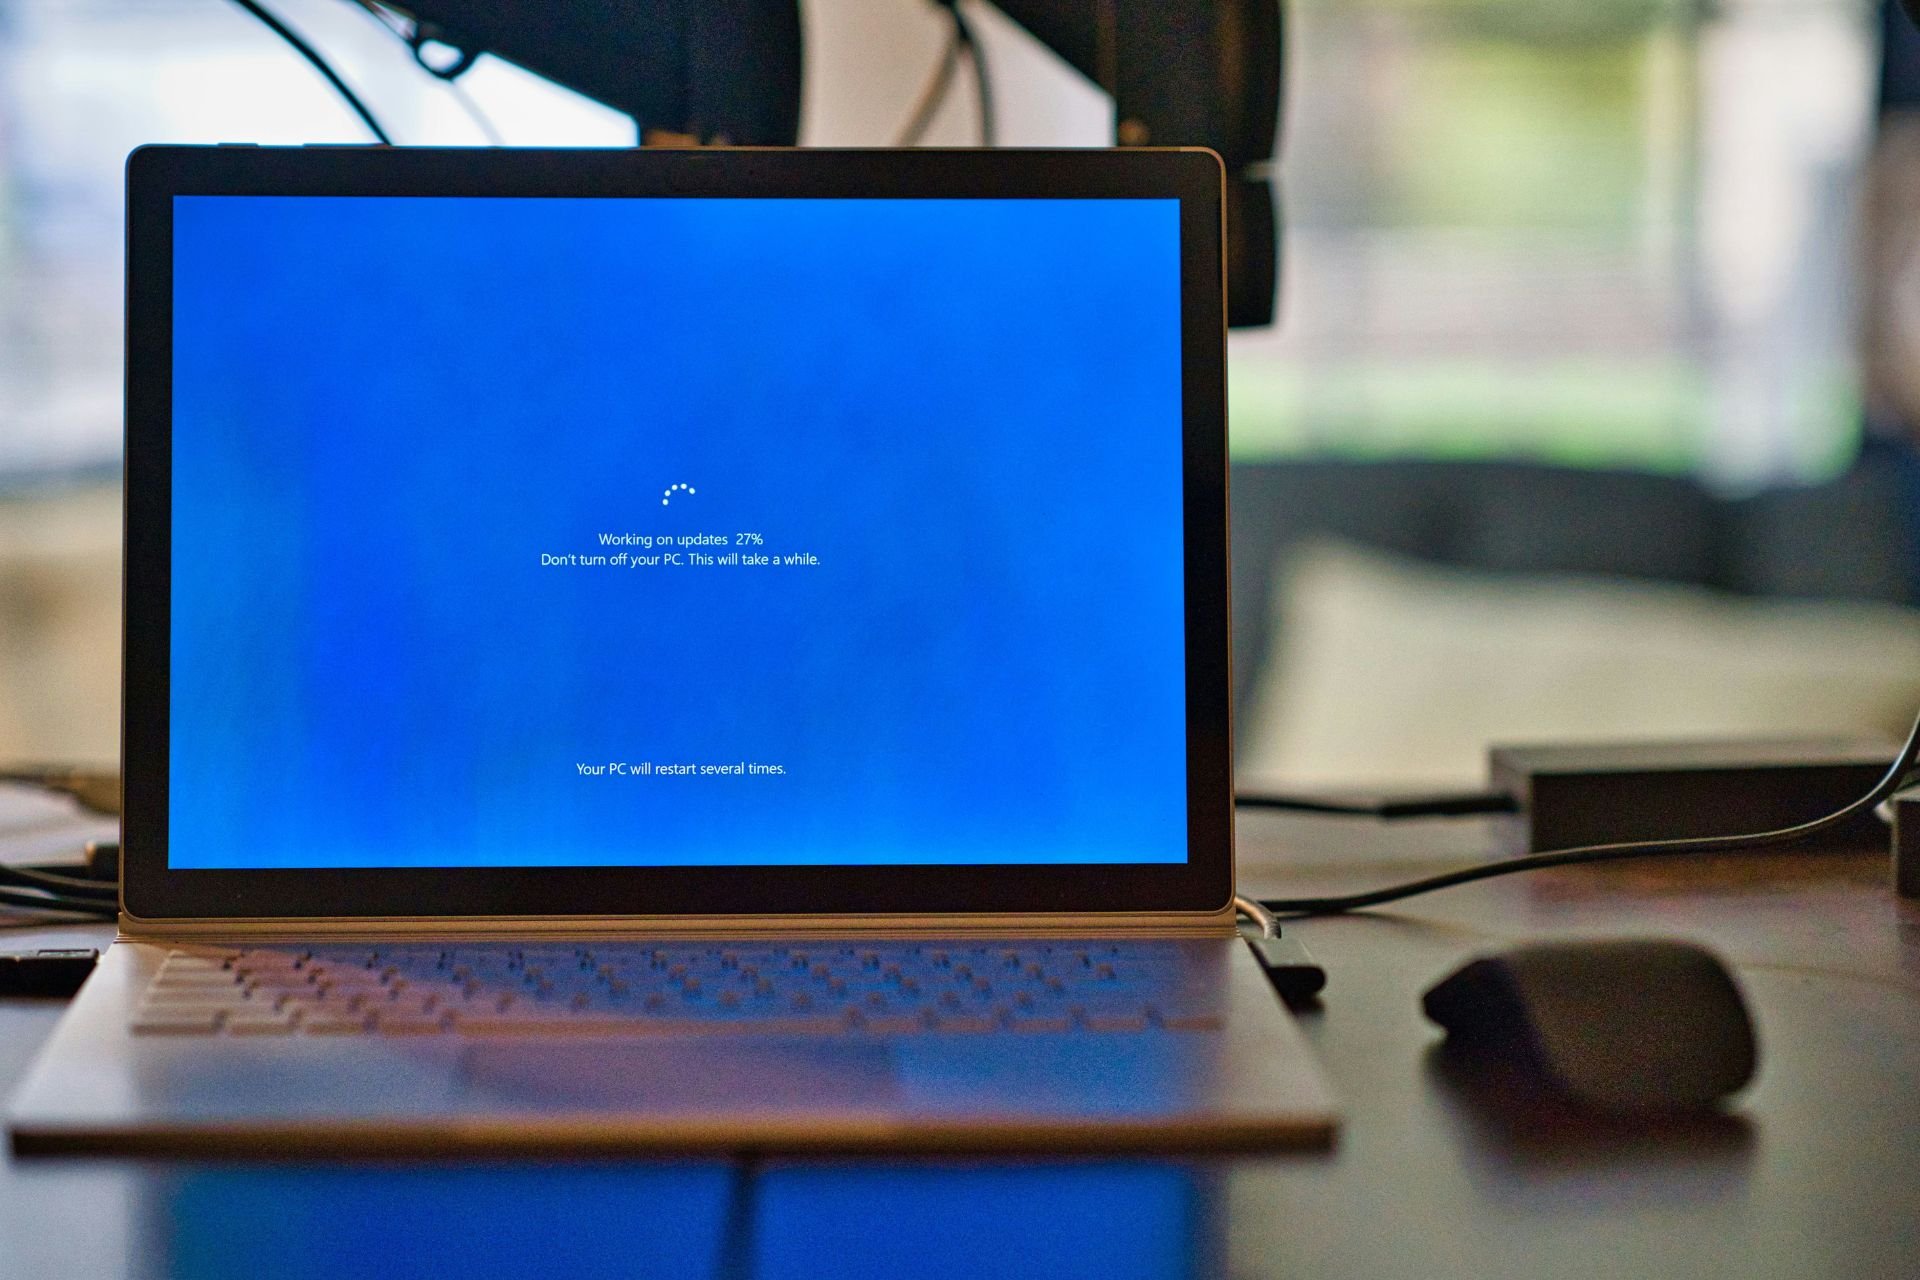
Computer errors can happen at any time, and speaking of errors, Windows 10 users reported a 0x80010108 error.
This error appears while trying to search for updates, so let’s see how to fix this problem.
How can I fix the error 0x80010108?
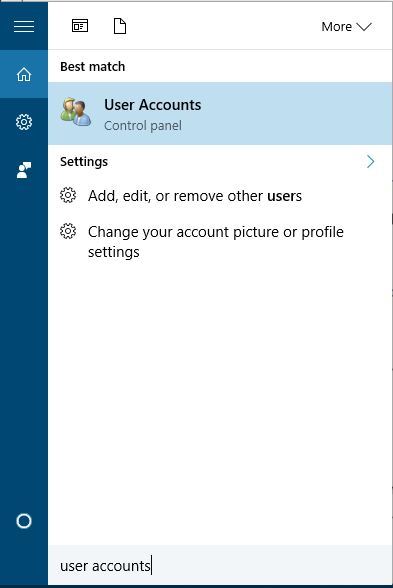
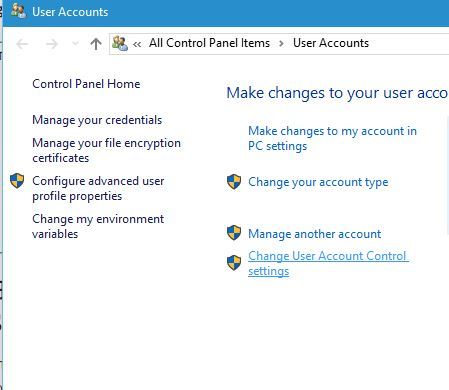
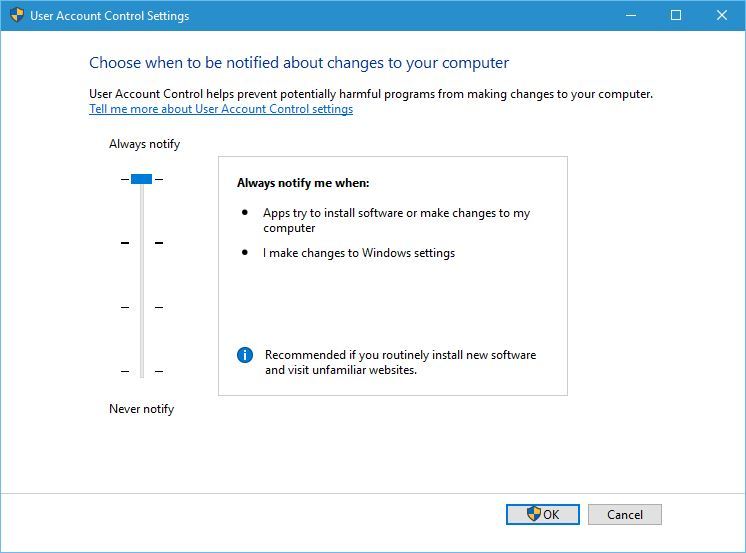
1. Turn on User Account Control
User Account Control is a security feature of Windows 10 that notifies you when you or any other application tries to perform certain action that requires administrator privileges.
Many users tend to turn off this feature due to its frequent notifications, but it seems that you can fix error 0x80010108 by turning on User Account Control. To turn this feature on, follow these steps:
- Press Windows Key + S and enter user accounts. Select User accounts from the menu.

- Click the Change User Account Control settings.

- Move the slider all the way up to the Always Notify. Click OK to save changes.

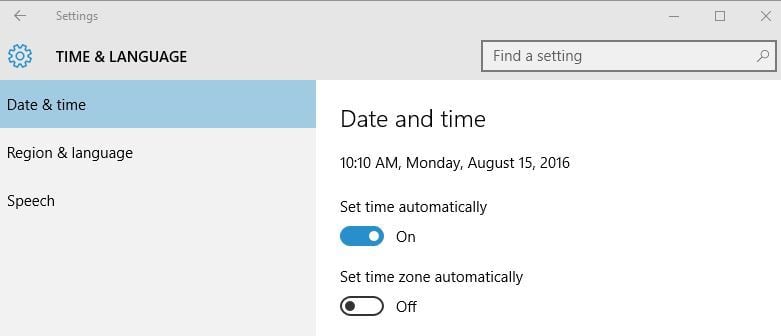
2. Check your date and time
Sometimes these problems can occur if your date or time are incorrect. Incorrect date and time can occur due to broken motherboard battery, and if you’re getting error 0x80010108 we advise you to check your time and date. If date or time is wrong, do the following:
- Click the clock in the bottom right corner. Choose Date and time settings.

- Turn Set time automatically option off and then turn it back on. This should automatically fix your time and date.


3. Clear the Windows Store Cache
This is a simple procedure, and you can do it by following these steps:
- Press Windows Key + R and enter wsreset.exe.

- Wait for the process to complete and check if the problem is resolved.

Many Windows Store problems can be fixed simply by resetting the cache, so be sure to try this solution.
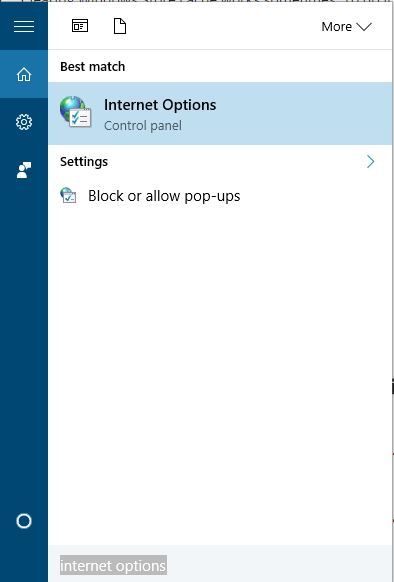
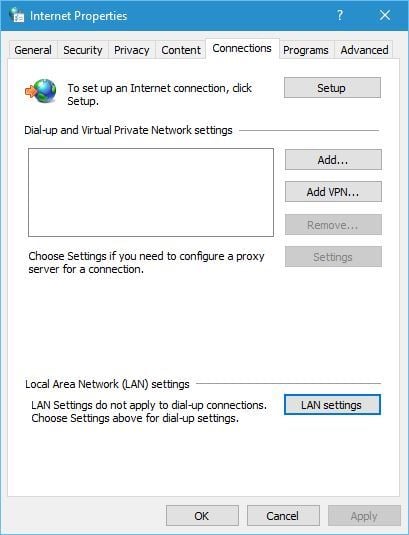
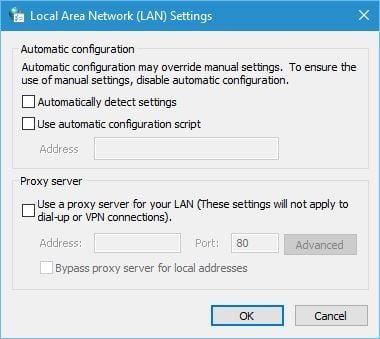
4. Turn off proxy
According to users, this error can occur if you’re using proxy, therefore be sure to turn it off. To do that, follow these steps:
- Press Windows Key + S and enter internet options. Select Internet Options from the menu.

- Go to Connections tab and click on LAN settings.

- When settings window opens, uncheck Automatically detect settings and Use a proxy server for your LAN options. Click OK to save changes.

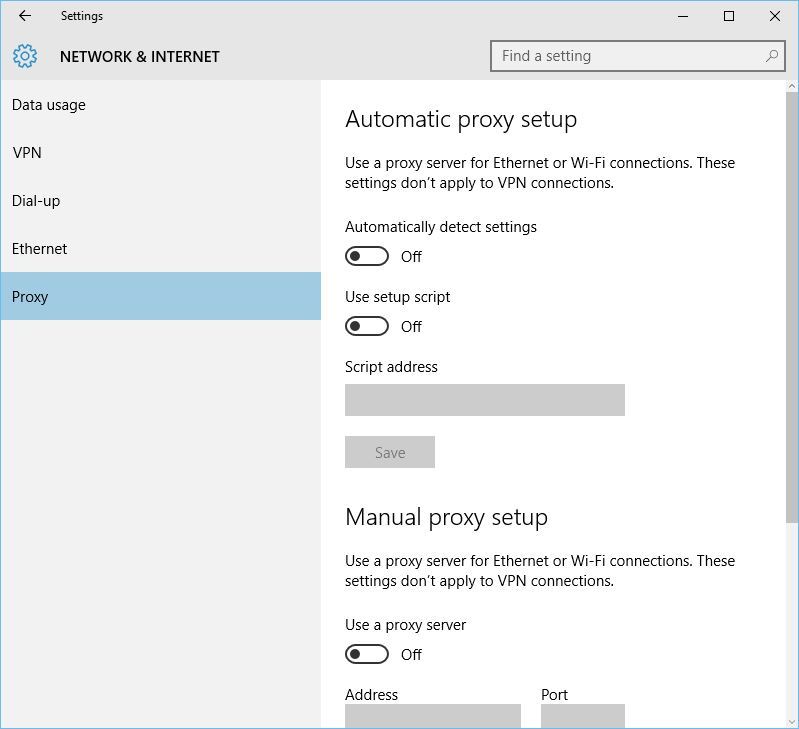
You can also do the same thing with Settings app. To turn off proxy using the Settings app, follow these steps:
- Open the Settings app and go to Network & Internet section.
- Go to the Proxy tab and turn off Automatically detect settings and Use Proxy server options.

5. Turn off VPN
VPN software is great if you want to protect your privacy online or bypass certain limitations, but sometimes VPN software can cause 0x80010108 error to appear. To fix this problem, it’s recommended that you disable VPN software on your PC. If that doesn’t work, you might have to remove all installed VPN clients and check if that fixes the problem.
6. Clean the DNS cache
In some cases your DNS can cause 0x80010108 error, and to fix this issue you need to clear the DNS cache. To do that, follow these steps:
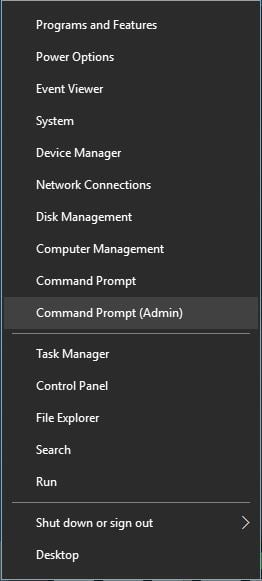
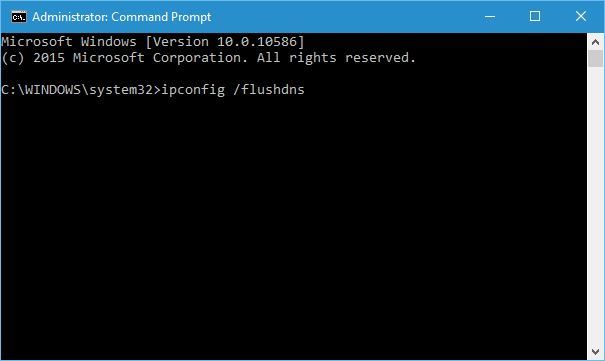
- Open Command Prompt as administrator. To do that, press Windows Key + X to open Power User Menu and choose Command Prompt (Admin).

- When Command Prompt opens, enter ipconfig /flushdns and press Enter.

- After the process is completed, close Command Prompt and check if the issue is resolved.
7. Reset Windows Store
The next thing we’re going to try is also one of the most common solutions for Store-related problems. And that’s, of course, resetting the Store. To reset the Microsoft Store, all you have to do is to run one command. And here’s how to do that:
- Go to Search, type wsreset, and open the WSReset.exe script.
- Wait for the script to finish loading and restart your computer.
8. Perform a Clean Boot
Third-party applications and services can sometimes interfere with Windows Store and cause various problems, therefore, you might want to perform a Clean Boot. To do that, follow these steps:
- Press Windows Key + R and enter msconfig.
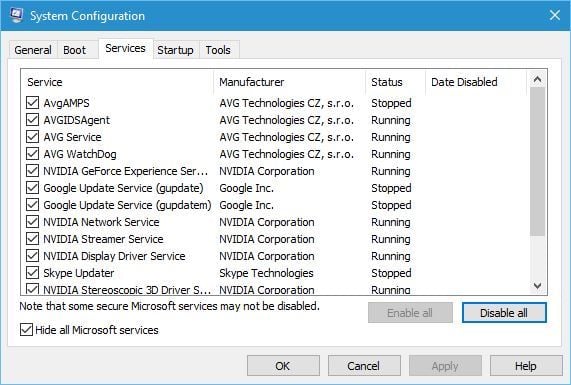
- When System Configuration window opens, go to Services tab and check Hide all Microsoft services. After that click the Disable all button.

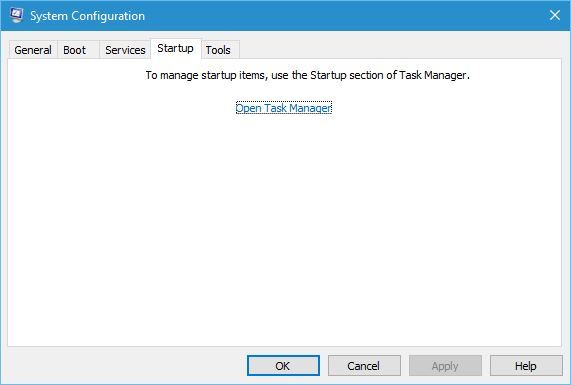
- Go to Startup tab and click Open Task Manager.
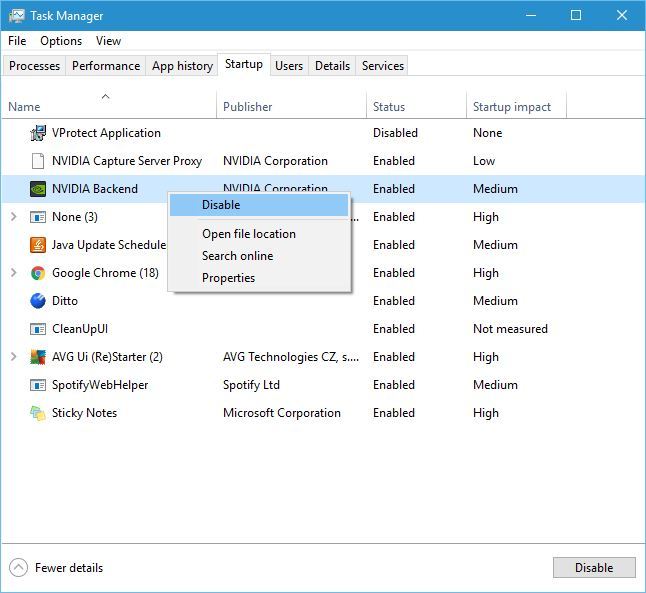
- When Task Manager opens, select each Startup application, right click it and choose Disable. After disabling all applications close Task Manager and click Apply and OK in System Configuration window.

- Restart your PC and check if the problem is resolved.

If the problem is fixed, it means that one of the third-party applications was causing it. To find which application caused this problem, repeat the same steps, but be sure to enable applications and services one by one until you find the one that is causing this issue.
9. Perform the SFC scan
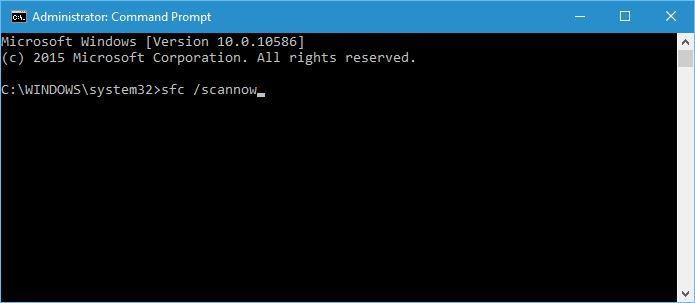
This error might appear if your installation is corrupt, and in order to fix it, you need to run sfc scan. To do that, follow these steps:
- Open Command Prompt as administrator.
- When Command Prompt opens, enter sfc /scannow and press Enter.

- Wait for the process to complete.
10. Disable your antivirus software
Sometimes third-party antivirus software can interfere with Windows Store and cause all sorts of problems, therefore it’s recommended that you try disabling your antivirus tool. Bear in mind that almost any antivirus software can cause this issue to appear, therefore be sure to disable all third-party antivirus tools that you have installed. If disabling the antivirus doesn’t help, we suggest that you temporarily uninstall it and see if that fixes the problem. If you’re concerned about your safety, you should know that Windows 10 comes with Windows Defender pre-installed, so your PC won’t be completely defenseless.
11. Re-register wups2.dll file
According to users, you can fix error 0x80010108 by re-registering wups2.dll. To do that, follow these steps:
- Start Command Prompt as administrator.
- Enter the following lines and be sure to press Enter after each line in order to execute it:
- net stop wuauserv
- regsvr32 %windir%system32wups2.dll
- net start wuauserv
- Close Command Prompt and check if the problem is resolved.
12. Restart Windows Update service
Few users reported that restarting the Windows Update service fixed the problem for them, and to do that, you need to follow these steps:
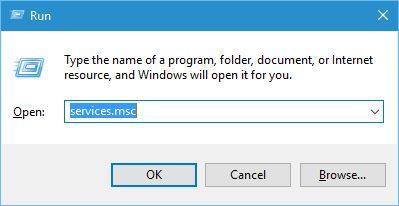
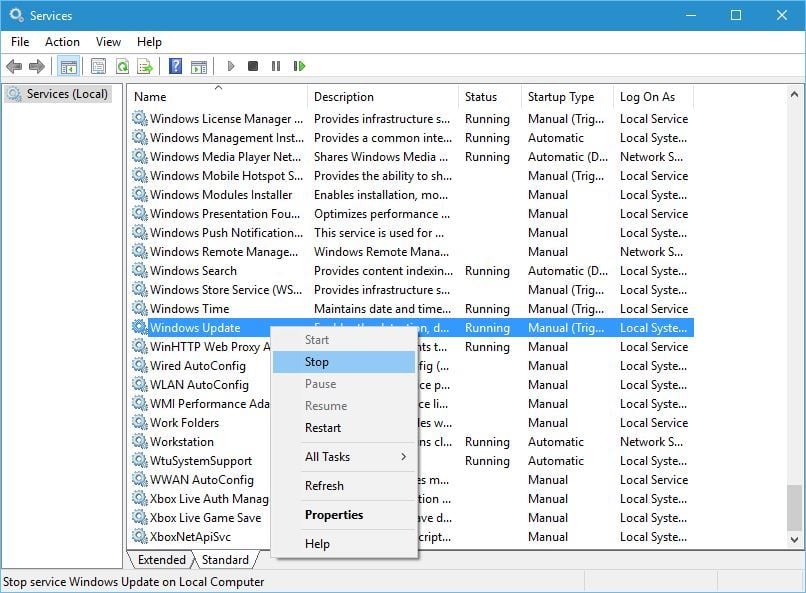
- Press Windows Key + R and enter services.msc.
- When Services window opens, locate Windows Update service, right click it and choose Stop.

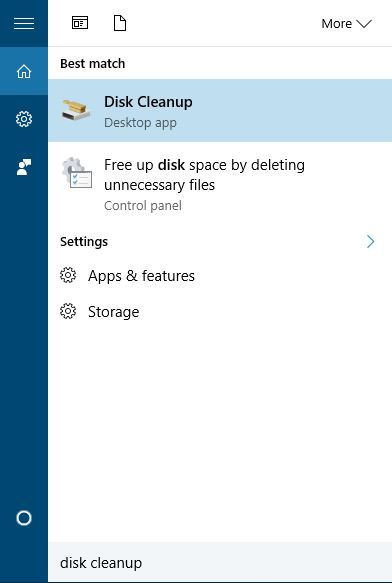
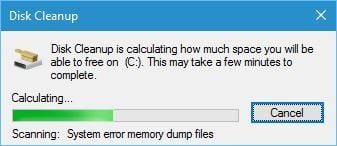
- Don’t close Services window. Press Windows Key + S and enter disk cleanup. Select Disk Cleanup from the menu.

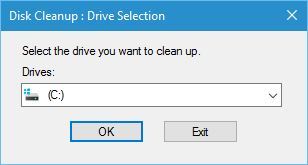
- Select your default partition, in our case it’s C, and click OK.

- Wait until Disk Cleanup scans your C drive.

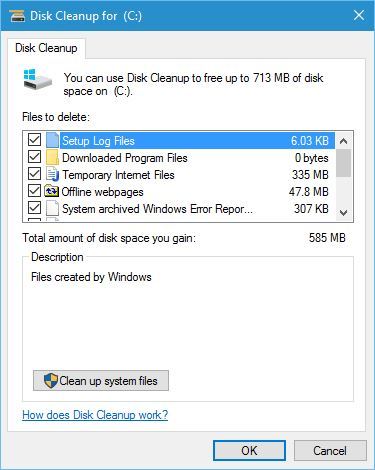
- Select the types of files you want to remove. In our case we selected all types of files.
- After you’re done, click the OK button to clean the files.

- After the cleaning process is completed, go back to Services window, right click Windows Update service and choose Enable from the menu.
- Try to download the latest updates again.
13. Install the latest version of Windows Essentials
Sometimes this error can be caused by other applications, especially if you have Windows Essentials installed. To fix this problem it’s advised that you remove Windows Essentials from your PC and install the latest version.
14. Uninstall latest Windows updates
There’s also a possibility that some Windows Update actually disrupted the Store. If you suspect that might be the case, go on and delete the troublesome update. Here’s how to do that:
- Press Windows Key + I to open the Settings app.
- Once the Settings app opens, navigate to Update & security section.
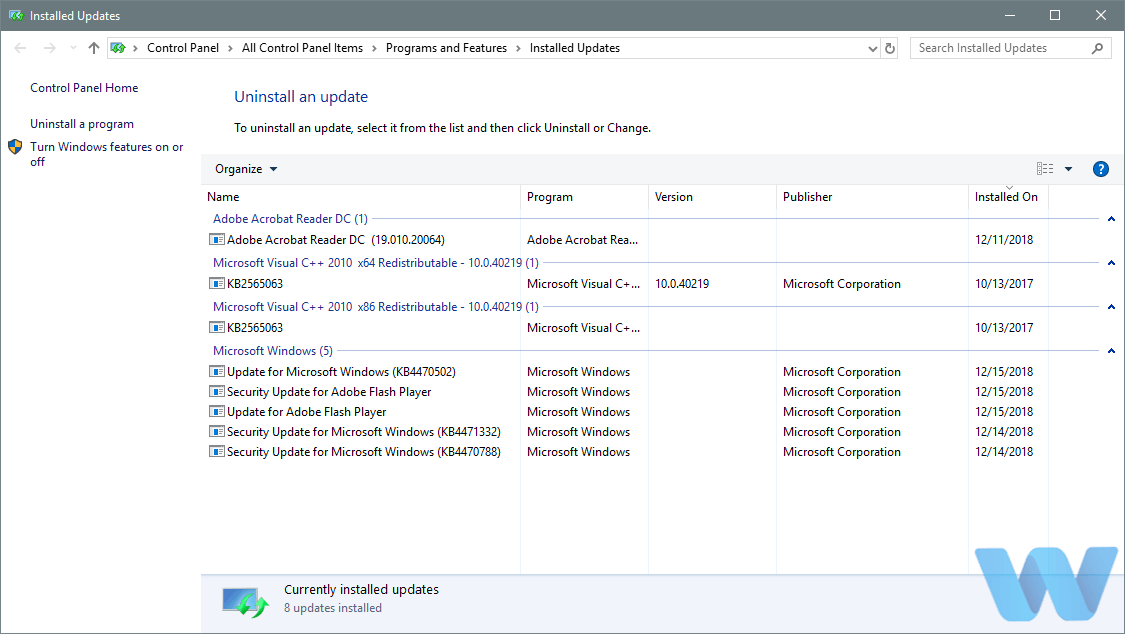
- Go to Windows Update tab and click on Update history.

- Click on Uninstall updates.
- List of installed updates will now appear. Select the problematic update that you want to remove and click the Uninstall button.
- After removing the update, restart your PC.
15. Run the Update troubleshooter
Windows 10 also features its own troubleshooting tool. This tool can be used for dealing with all sorts of issues, including the probems with Windows Store apps and the Store itself. So, if none of the previous solutions resolved the issue, try running the troubleshooter.
Here’s how to run Windows 10 troubleshooter:
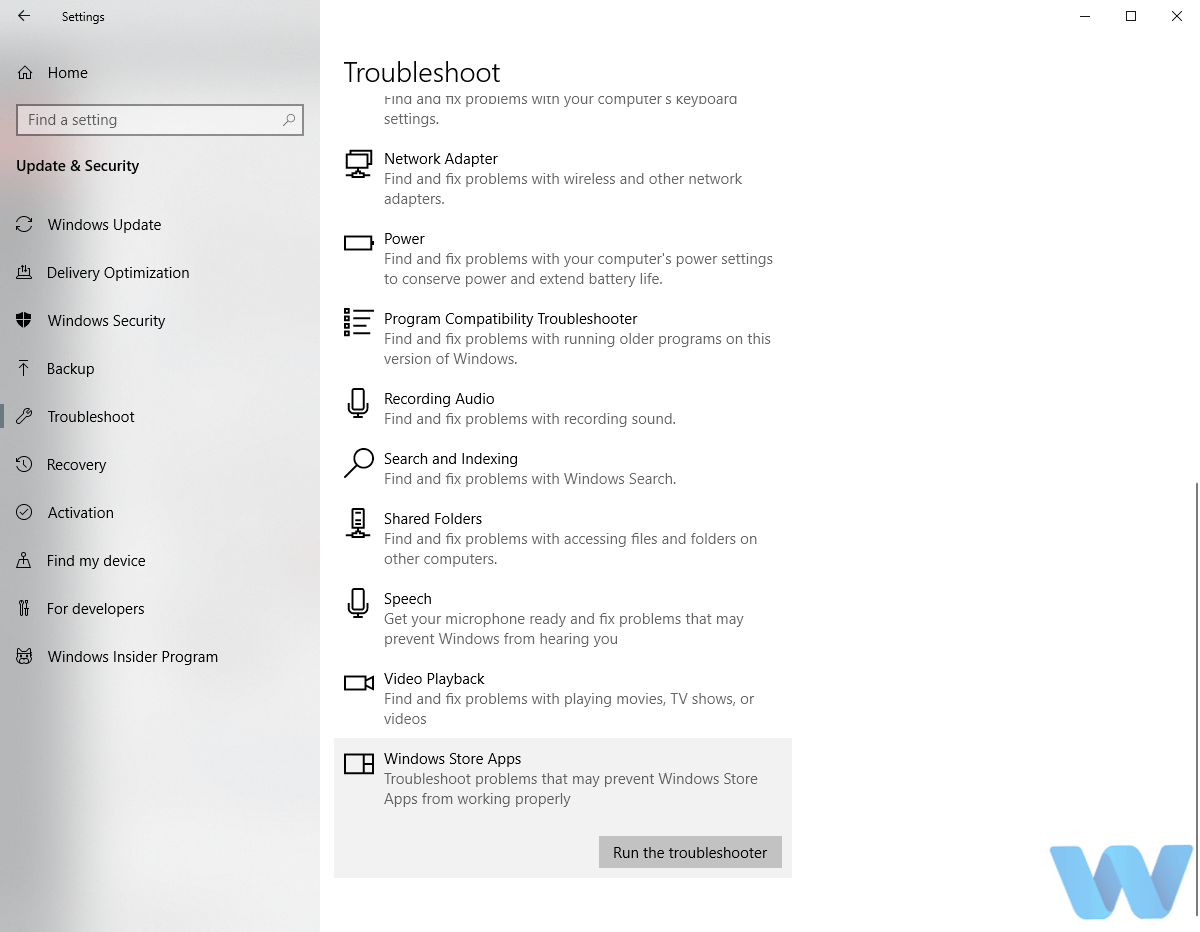
- Open the Settings app and go to Update & Security section.
- Select Troubleshoot from the menu on the left.
- Select Windows Store Apps from the right pane and click Run the troubleshooter.

- Follow the instructions on the screen to complete the troubleshooter.
16. Run DISM
And finally, if none of the previous solutions resolved the problem, let’s re-deploy the system image using the DISM (Deployment Image Servicing and Management) tool. Hopefully, this tool will resolve the problem for good.
We’ll walk you through both standard and the procedure that utilizes the installation media below:
- Standard way
- Right-click Start and open Command Prompt (Admin).
- Paste the following command and press Enter:
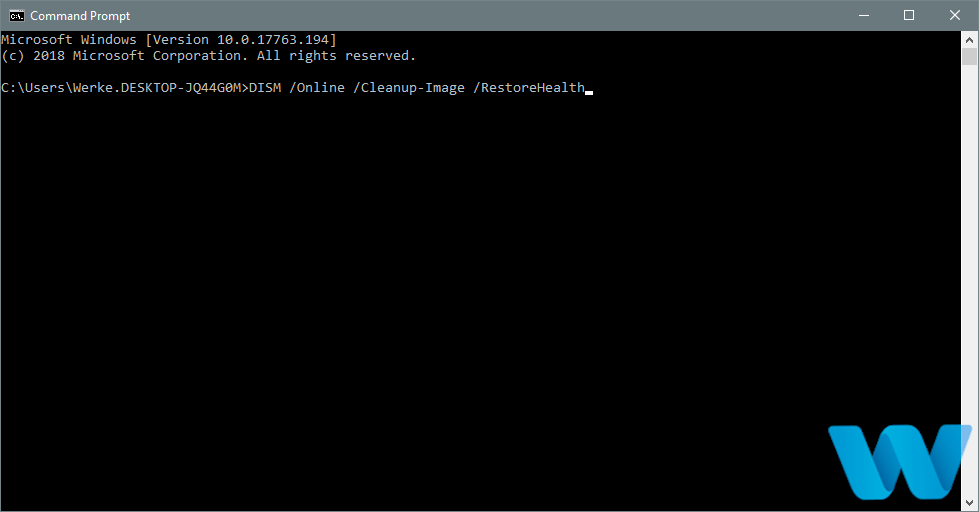
- DISM /Online /Cleanup-Image /RestoreHealth

- DISM /Online /Cleanup-Image /RestoreHealth
- Wait until the scan is finished.
- Restart your computer and try updating again.
- With the Windows installation media
- Insert your Windows installation media.
- Right-click the Start menu and, from the menu, choose the Command Prompt (Admin).
- In the command line, type the following commands and press Enter after each:
- dism /online /cleanup-image /scanhealth
- dism /online /cleanup-image /restorehealth
- Now, type the following command and press Enter:
- DISM /Online /Cleanup-Image /RestoreHealth /source:WIM:X:SourcesInstall.wim:1 /LimitAccess
- Make sure to change an X value with the letter of the mounted drive with Windows 10 installation.
- After the procedure is finished, restart your computer.
Error 0x80010108 can cause problems while updating Windows, but it can sometimes affect other applications as well. This error can be troublesome, but we hope that you fixed it by using one of the solutions from this article.