How do You Take Screenshots on a Toshiba Laptop?
Use the keyboard combination described below right away
6 min. read
Updated on
Read our disclosure page to find out how can you help Windows Report sustain the editorial team. Read more
Key notes
- Screenshots help you save a great amount of information without having to note them manually.
- If you are using a Toshiba laptop, then this guide gives you a bunch of ways to take screenshots on it, including making use of the Snipping Tool.
- You can also take advantage of the good-ol' PrintScr button to capture screenshots.
Taking a screenshot helps you in a situation when you wish to save a good amount of information. In place of typing and saving the information, you can simply take a screenshot and be done with it.
If you have a Toshiba laptop, then there are a bunch of different ways to take screenshots on it. In this guide, we will show you exactly how to take a screenshot on a Toshiba laptop.
What are the benefits of taking a proper screenshot?
Here are a few advantages or benefits you get when you take a screenshot on your PC.
- You can report an issue: If you are facing an error on our PC, then you can quickly take a screenshot of the error message and report it to the support team to get further assistance in resolving it.
- Save important information: Say you wish to save flight information but it is too much to write down, you can simply take a screenshot and save all the information.
- Explain something to someone: You can take a screenshot and guide someone on how to navigate through a bunch of options with clear instructions, to make their life easier.
- Create instant and custom memes: You get meme templates on the internet, with screenshots, and you can personalize and customize them to match the situation that you wish to explain. We have a list of some of the best meme-creator software if you are interested.
How can I take a screenshot on a Toshiba laptop?
Take a screenshot on Windows 11
1. Use the PrintScr button
- Open the webpage, or app screen, you wish to take a screenshot of.
- Press the Fn + PrintScr button.
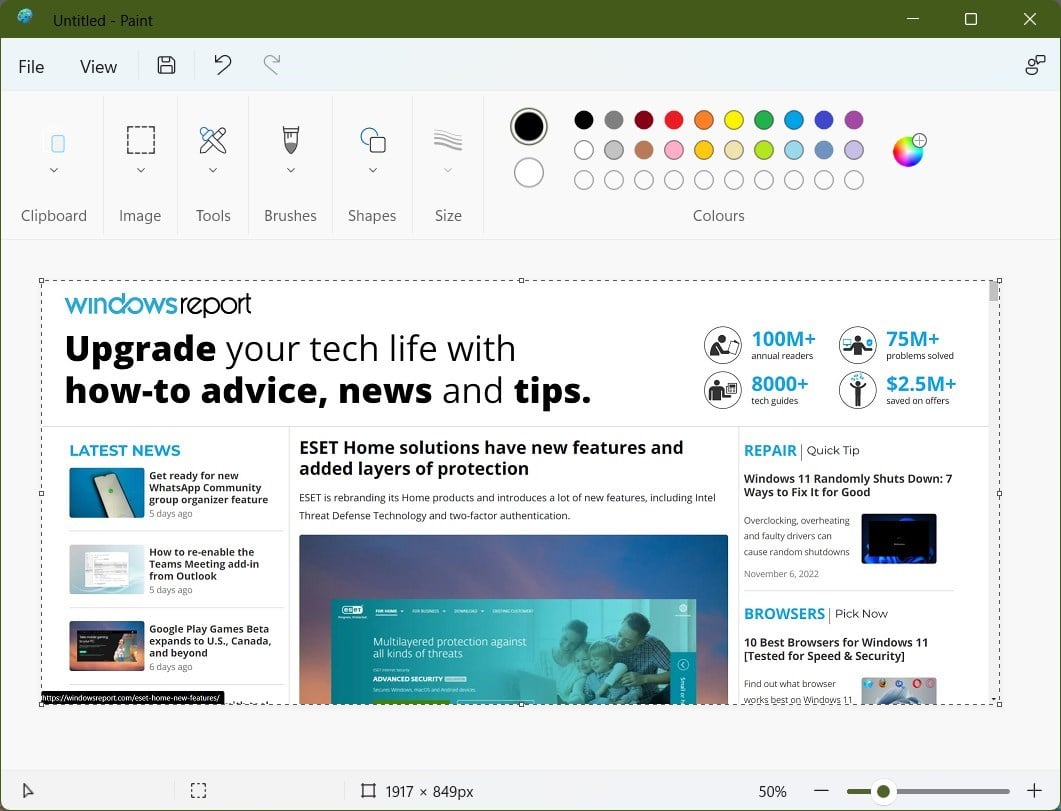
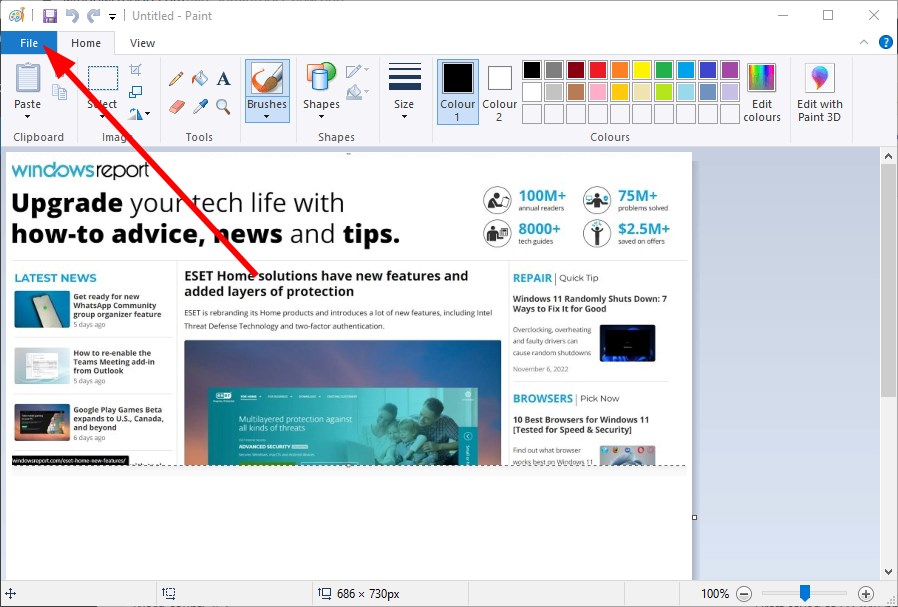
- Open the Microsoft Paint application.
- Press Ctrl + V on a new page in MS Paint.
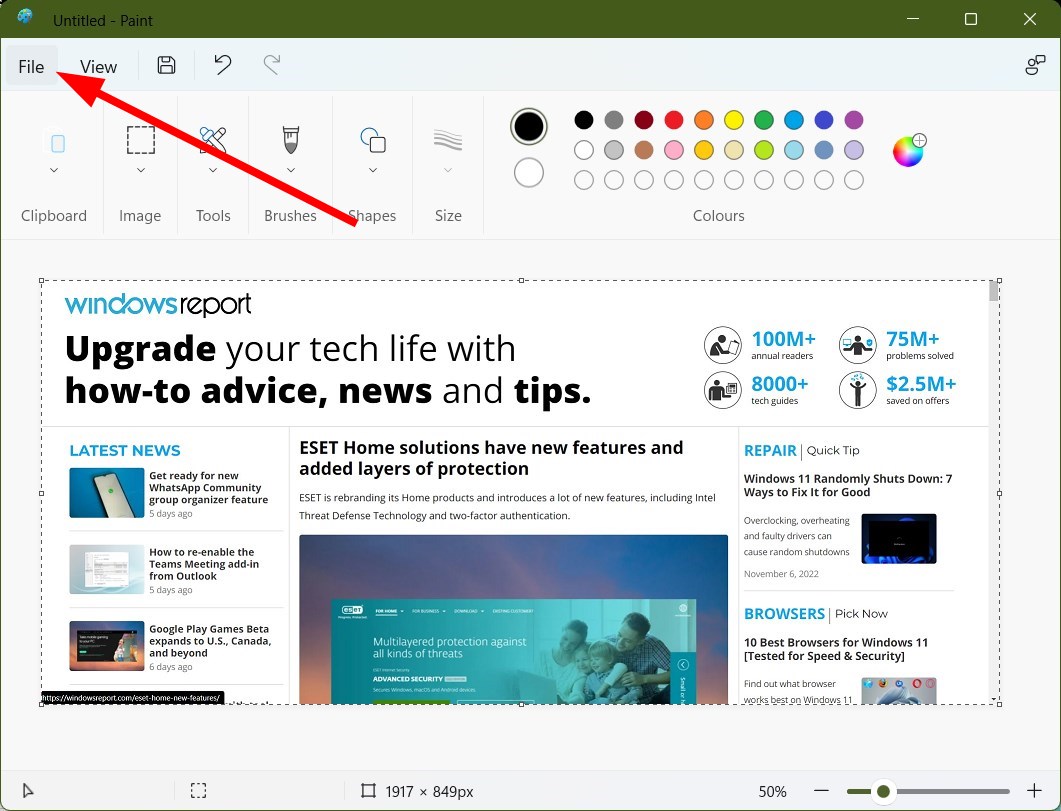
- Click on File.
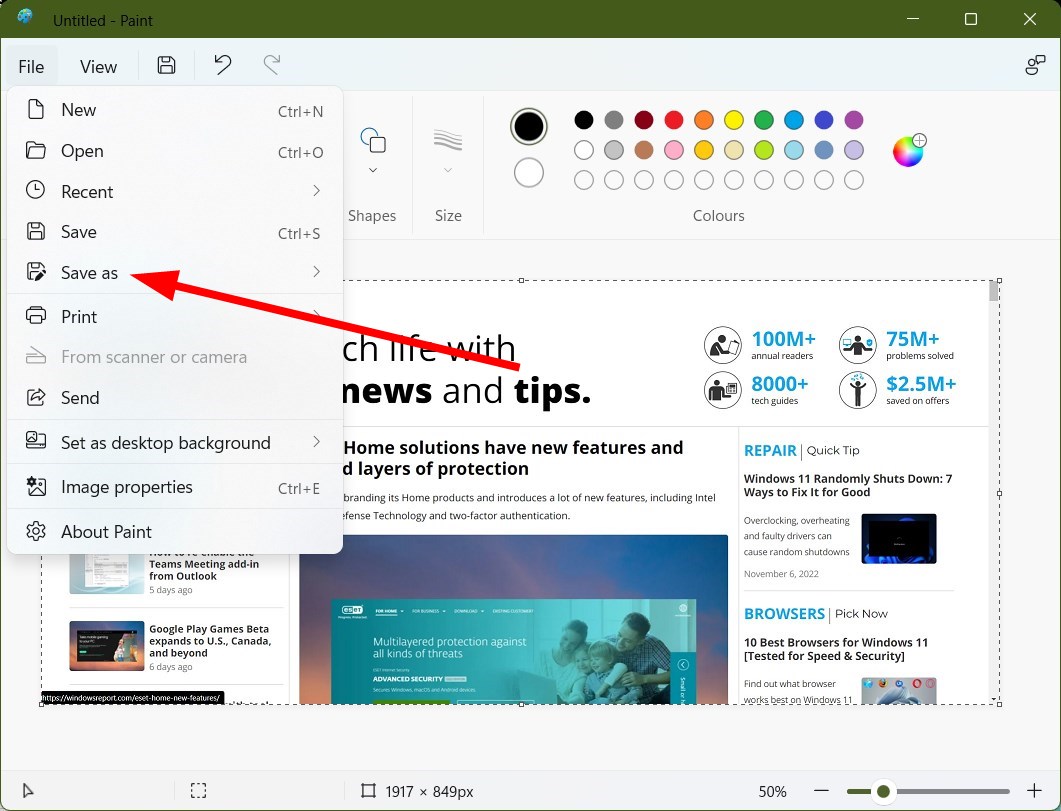
- Select Save As and select the file format.
- Enter the name of the file.
- Hit the Save button.
Taking about the usual way of taking a screenshot, you can make use of the PrintScr button on your keyboard.
Pressing the Fn + PrintScr button will take a screenshot of the entire screen. If you wish to take a screenshot of a particular window, then you need to press Alt + PrintScr.
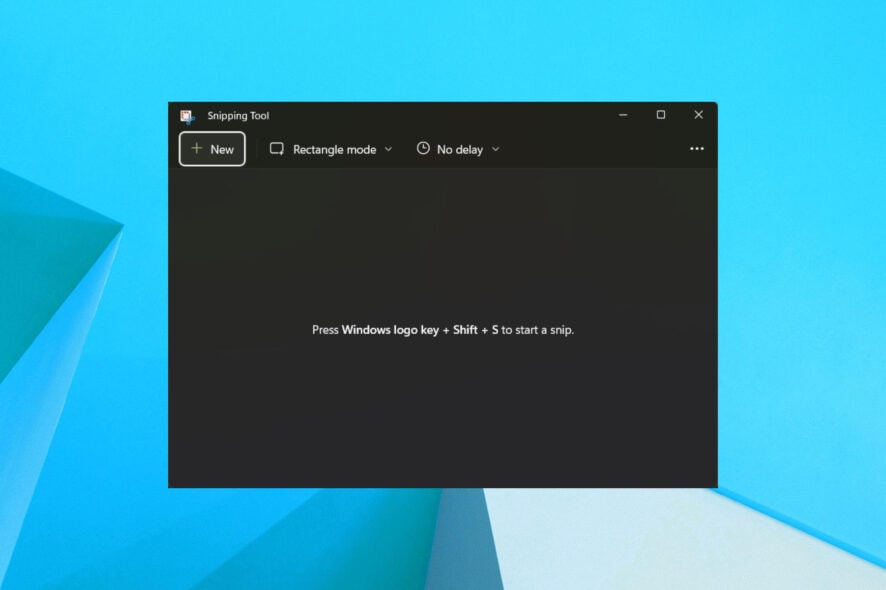
2. Use the Snipping tool
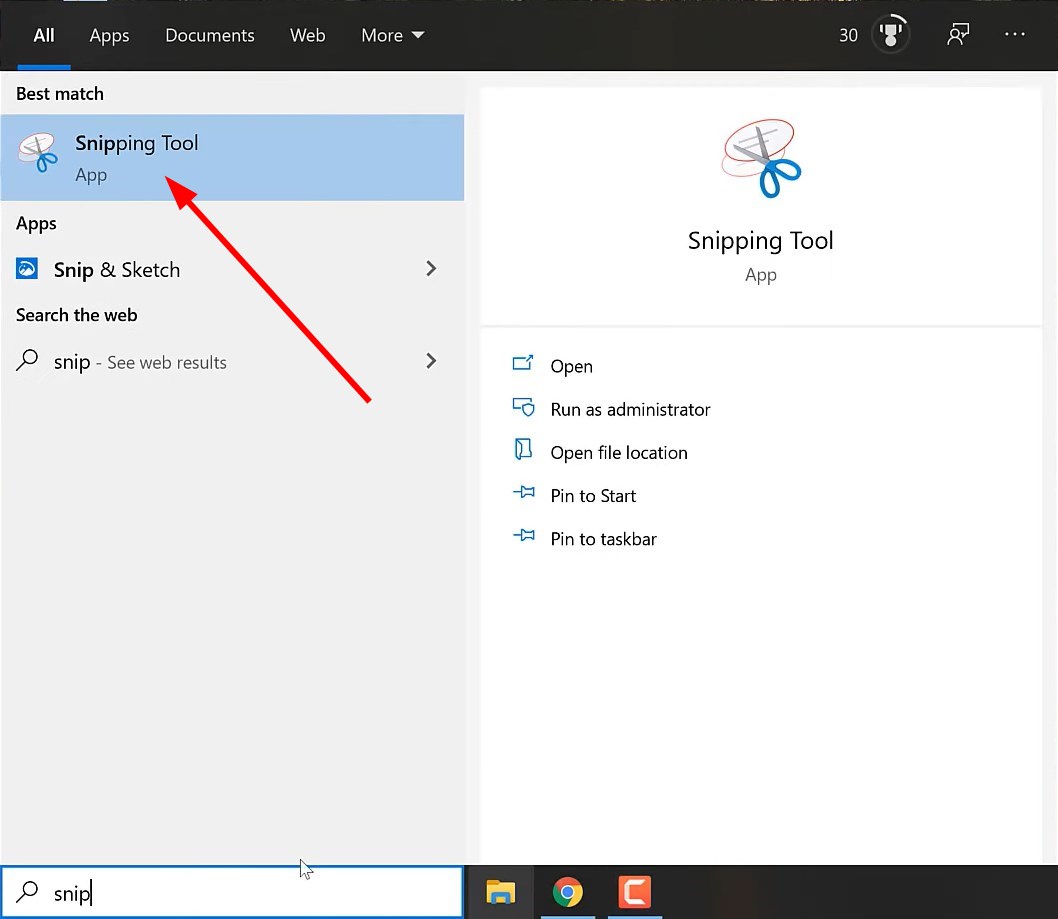
- Press the Windows button to open the Start menu.
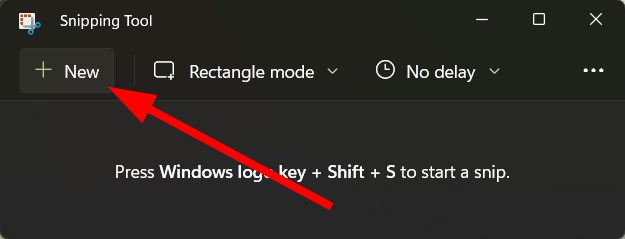
- Search for Snipping tool and open it.
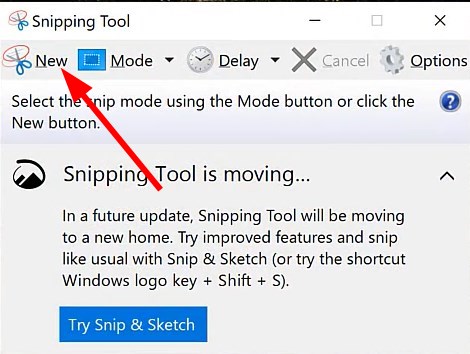
- Click on New.
- Drag your mouse over the region you wish to capture.
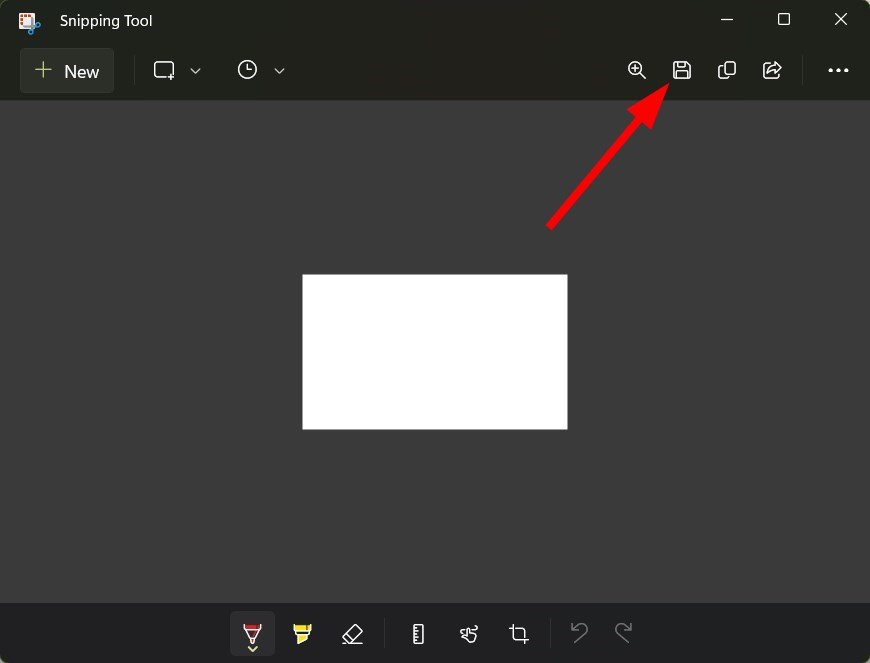
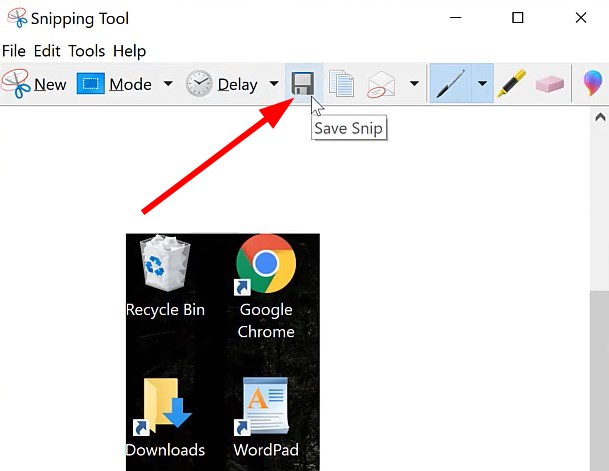
- Click on Save Snip.
- Choose the location to save your screenshot.
Windows operating system comes with a bunch of essential tools one of which is the Snipping Tool. Using this tool, you can easily capture a screenshot and save it on your PC.
It also features some other editing tools to finalize your screenshots and make them send-ready. You can choose the option to take a rectangle screenshot, an oval screenshot, etc., and also capture a part of the region you wish to capture.
Take a screenshot on Windows 10
 NOTE
NOTE
1. Use the PrintScr button
- Open the webpage, or app screen, you wish to take a screenshot of.
- Press the Fn + PrintScr button.
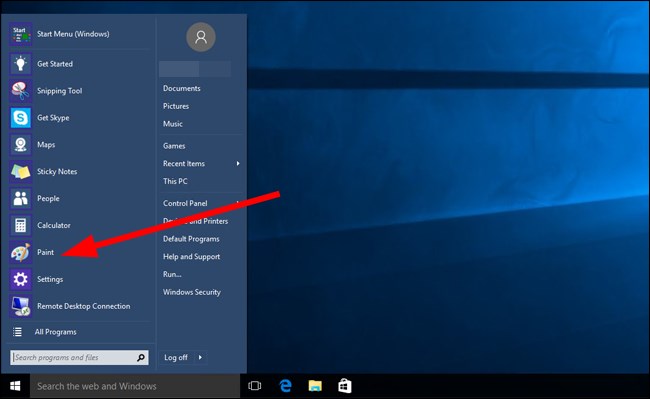
- Open the Start menu.
- Select Paint application from the list.
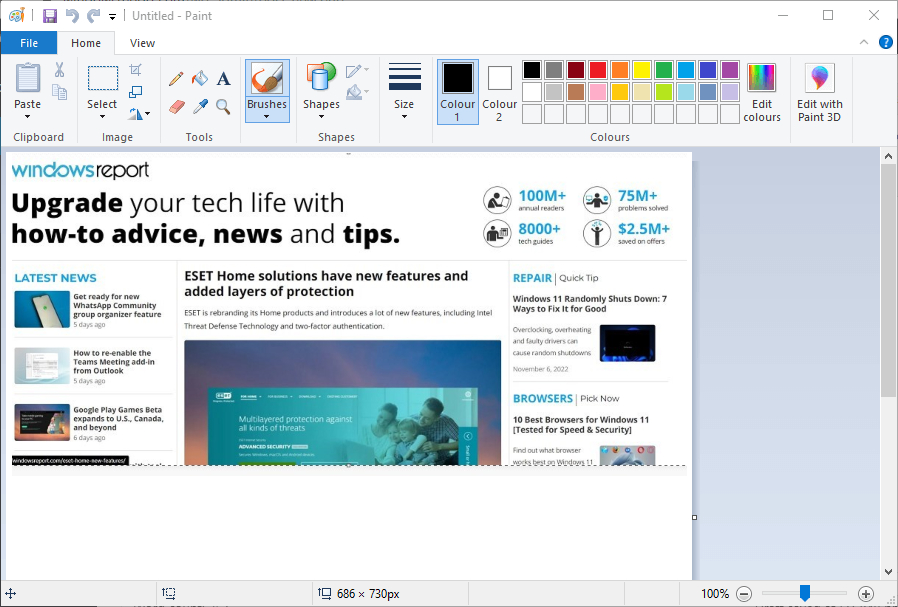
- Press Ctrl + V on a new page in MS Paint.
- Click on File.
- Select Save As and select the file format.
- Enter the name of the file.
- Hit the Save button.
Taking about the usual way of taking a screenshot, you can make use of the PrintScr button on your keyboard.
Pressing the Fn + PrintScr button will take a screenshot of the entire screen. If you wish to take a screenshot of a particular window, then you need to press Alt + PrintScr.
2. Use the Snipping tool
- Press the Windows button to open the Start menu.
- Search for the Snipping tool and open it.
- Click on New.
- Drag your mouse over the region you wish to capture.
- Click on Save Snip.
- Choose the location to save your screenshot.
Windows operating system comes with a bunch of essential tools one of which is the Snipping Tool. Using this tool, you can easily capture a screenshot and save it on your PC.
It also features some other editing tools to finalize your screenshots and make them send-ready. You can choose the option to take a rectangle screenshot, an oval screenshot, etc., and also capture a part of the region you wish to capture.
Take a screenshot on Windows 7
 NOTE
NOTE
1. Use the PrintScr button
- Open the webpage, or app screen, you wish to take a screenshot of.
- Press the Fn + PrintScr button.
- Click on the Start menu.
- Select Accessories.
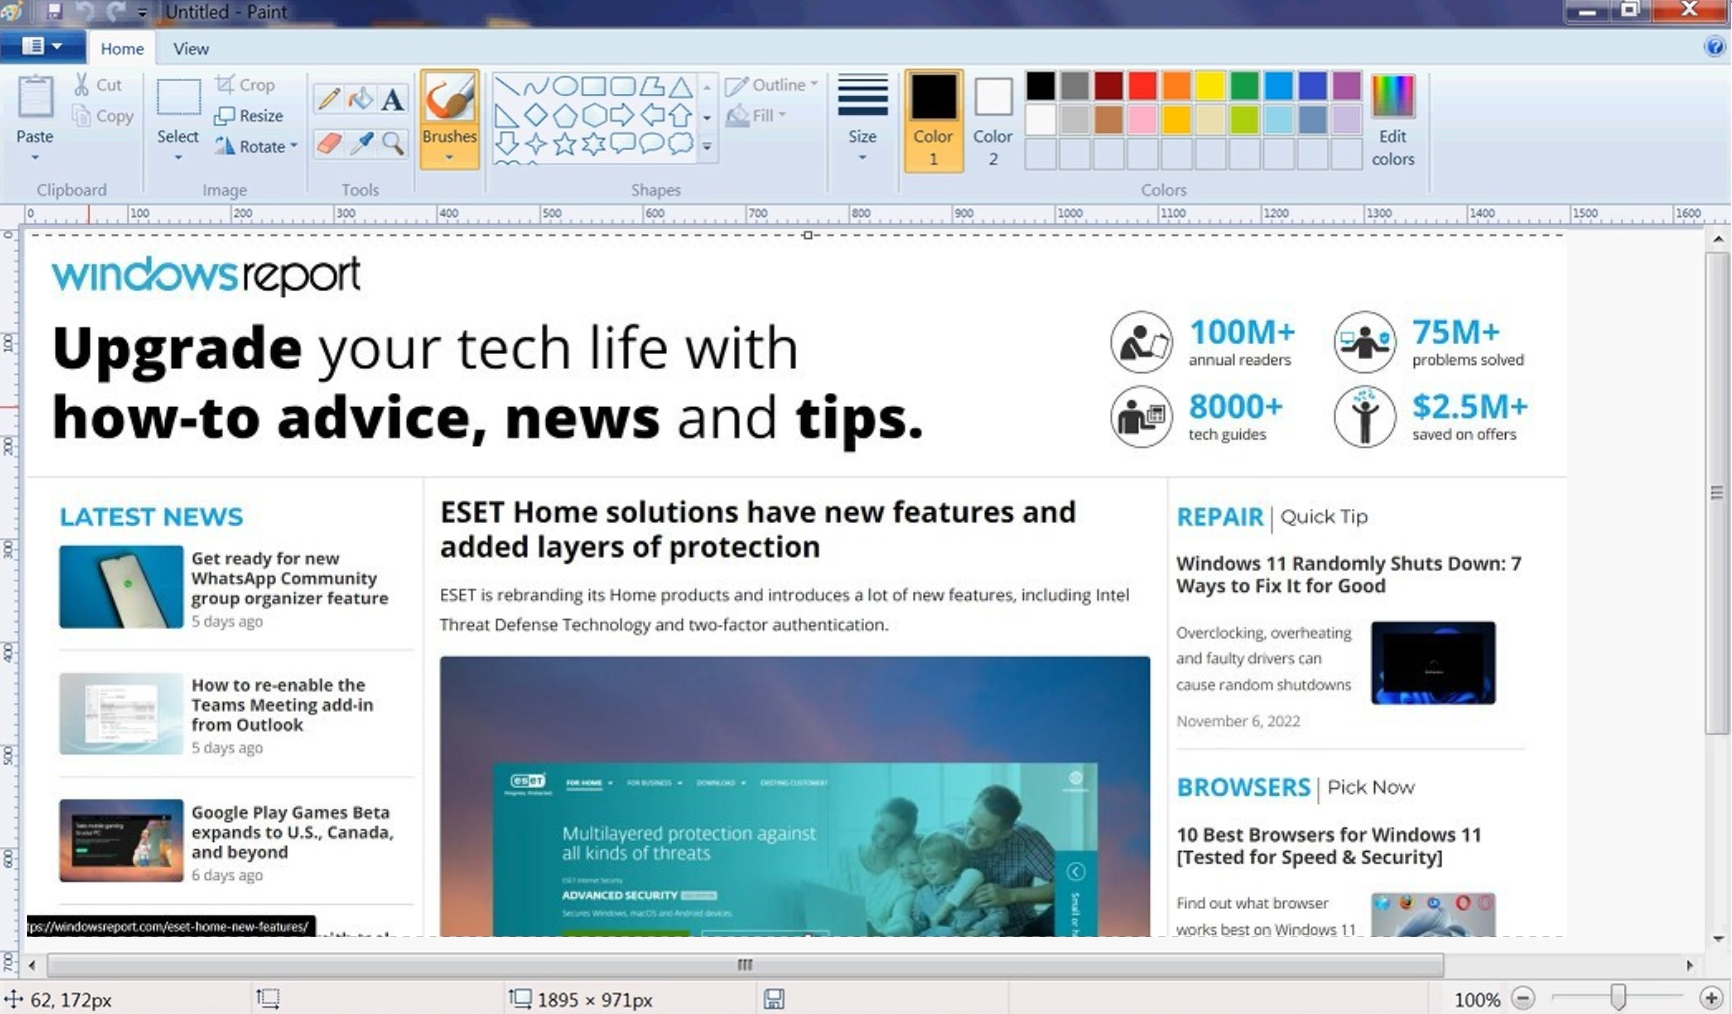
- Click on the Microsoft Paint application.
- Press Ctrl + V on a new page in MS Paint.
- Click on File.
- Select Save As and select the file format.
- Enter the name of the file.
- Hit the Save button.
Taking about the usual way of taking a screenshot, you can make use of the PrintScr button on your keyboard.
Pressing the Fn + PrintScr button will take a screenshot of the entire screen. If you wish to take a screenshot of a particular window, then you need to press Alt + PrintScr.
2. Use the Snipping tool
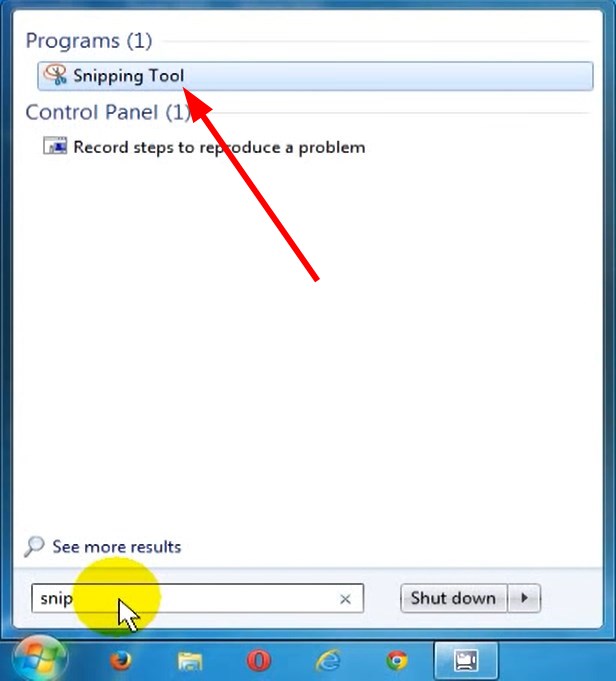
- Press the Windows button to open the Start menu.
- Search for the Snipping tool and open it.
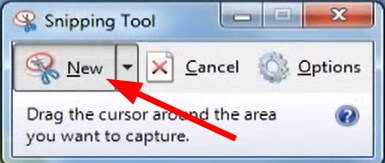
- Click on New.
- Drag your mouse over the region you wish to capture.
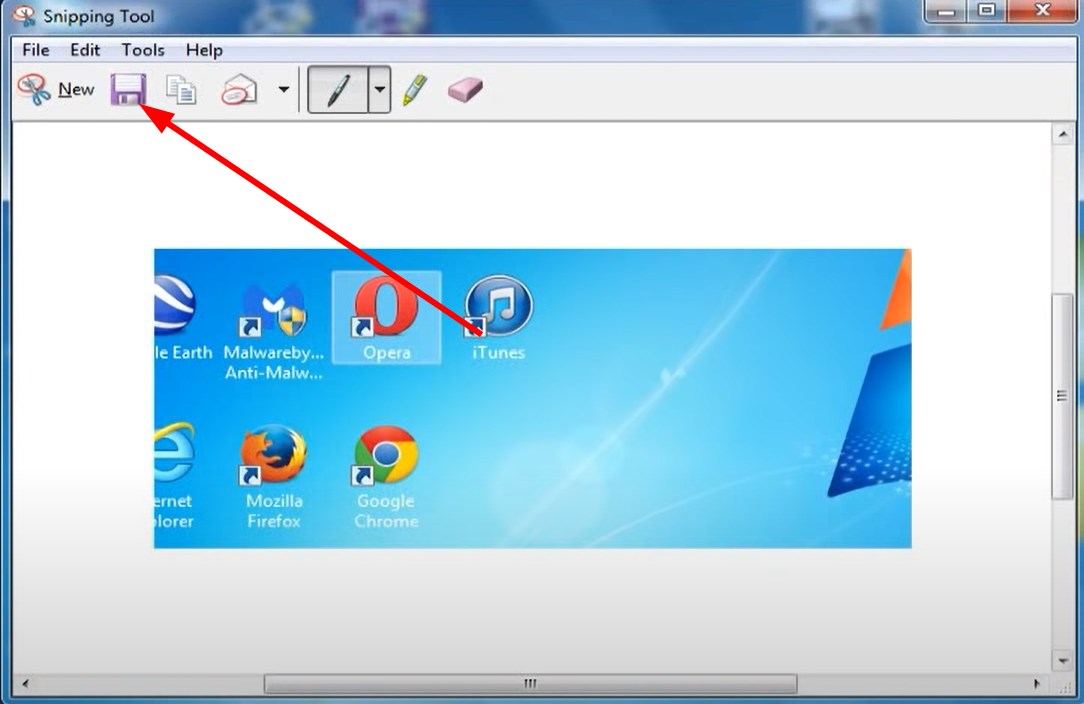
- Click on Save Snip.
- Choose the location to save your screenshot.
Windows operating system comes with a bunch of essential tools one of which is the Snipping Tool. Using this tool, you can easily capture a screenshot and save it on your PC.
It also features some other editing tools to finalize your screenshots and make them send-ready. You can choose the option to take a rectangle screenshot, an oval screenshot, etc., and also capture a part of the region you wish to capture.
If you are using Windows 11, then you can refer to our guide on how you can take screenshots on Windows 11 in 4 quick ways.
In case the PrintScr button on your Toshiba laptop isn’t working, we have a guide that lists some of the effective solutions to resolve the issue.
We also have a guide on the best and easy ways to convert screenshot into JPG format in Windows 10.
If you are facing issues where the Snipping Tool isn’t copying images to the clipboard, then you can refer to our guide which lists some dedicated fixes. Also, we have a list of some of the best snipping tools for your PC.
That is it from us in this guide. Let us know in the comments below, which one of the methods you are using to capture screenshots on your Toshiba laptop.






User forum
0 messages