How to Retrieve Files From a Damaged Windows Laptop
6 min. read
Updated on
Read our disclosure page to find out how can you help Windows Report sustain the editorial team. Read more
Key notes
- A broken laptop doesn't mean losing all your data. Even if it's not backed up in the cloud, you can still recover files from it.
- This article assumes that the physical hard drive still works. Software issues or not being able to boot from the drive apply here.
- The guides in the HDD/SSD section contain complete instructions on fixing common drive issues in Windows.
- For more recovery tips and software, check out the Data Recovery Software section available on the website.
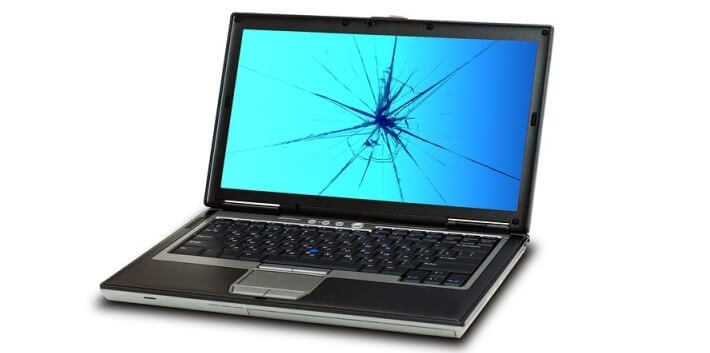
Let’s assume that your laptop broke down, but you want to recover your personal files from it. In this tutorial we will show you how to recover your files from a broken laptop, assuming that your hard drive is still working.
You can use this guide to recover your files if your laptop won’t turn on, or if your display is damaged, but we have to mention that this guide won’t help you recover your files if your hard drive isn’t working. Before we start, you’ll need an external USB enclosure for 2.5″ hard drives.
How to recover files from a broken laptop
- Install Stellar Data Recovery Professional
- Remove your hard drive
- Buy an external USB enclosure
- Install your HDD
- Connect your HDD to a functional PC
- FIX: Access is denied to external hard drive
STEP 1: Install Stellar Data Recovery Professional

Stellar Data Recovery software is a great tool that help you restore photos, videos and files that you accidentally deleted. It can even help you restore files from a lost Windows partition!
If your laptop can still be turned on and used, it’s the fastest way. Install the software, choose the location and then move all your recovered files on an external drive.
If that laptop is unusable, download and install this software on a different device, follow the next steps in this article to connect your old drive to your new device and run Stellar Data Recovery on the old drive to recover anything that you need.
It runs on Windows 10 as well as older versions of Windows and has very little system requirements (minim 2GB RAM, 250MB of disk space and a Pentium process are listed).
This means you can use almost any device, new or old, to recover data from the broken laptop.
Of course, you can use the software for even more things such as: recover emails from .PST files (Microsoft Outlook), recover files from other media such as SSD, USB sticks, CD/DVD or other optical media.
Download Stellar Data Recovery Professional here
STEP 2: Remove your hard drive
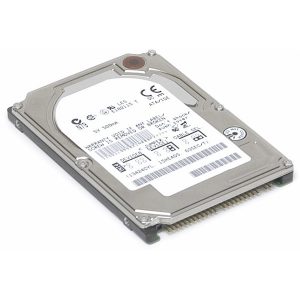
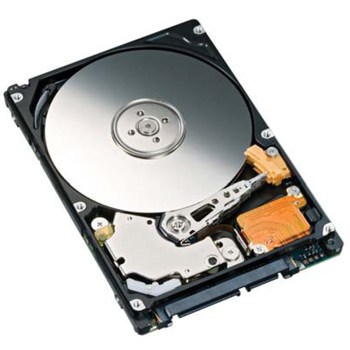
Firstly, you’ll need to remove the hard drive from the laptop. If the hard drive has mounting brackets or caddy you’ll have to separate them from the hard drive. As for the hard drive type, most laptops use 2.5” hard drives, and they can be IDE or SATA hard drives. We’ll show you the difference between the two in the following pictures.
2.5″ IDE HARD DRIVE
The IDE hard drive connector has two rows of pins.
2.5″ SATA HARD DRIVE
The SATA hard drive has two flat connectors. One of these connectors is used for data and one for power.
We also have to mention that same type of connectors are used in 3.5″ SATA desktop hard drives which means that you can connect a 2.5″ hard drive from your laptop directly to a desktop PC using same cables.
STEP 3: Buy an external USB enclosure
If you don’t have external USB enclosure for 2.5″ hard drive, you’ll have to purchase one, just keep in mind that your purchase IDE or SATA enclosure depending on the type of your hard drive, since IDE enclosures aren’t compatible with SATA hard drives and vice versa.
We recommend NexStar brand but any other brand should work too. For IDE hard drives you can use NexStar 2.5″ IDE HDD enclosure. For SATA hard drives you can use NexStar 2.5″ SATA HDD enclosure.
STEP 4: Install your HDD
Install your IDE or SATA hard drive into the enclosure.
STEP 5: Connect your HDD to a functional PC
Now you can connect your hard drive enclosure with a working PC via USB. After connecting hard drive enclosure with your PC, it should be detected by the computer automatically and the external hard drive will appear in My Computer/This PC.
Now you can access it, and save any files you need from your laptop. We have to mention that Windows XP, Vista and Windows 7 keep user files in different locations, so here are few tips how to find them.
In Windows XP, you’ll find user files using the following path:
-
C:Documents and SettingsUser Account
In Windows Vista and Windows 7 you’ll find user files using the following path:
-
C:UsersUser Account
Remember, C: is the main system drive, but the external hard drive will have a different letter, but the path to user files will remain the same.
Sometimes, you may also need a file recovery program as you may not have access to all the files stored on the hard drive. If you’re in this situation, remember our recommendation in Step 1. You can also check out this list of the best file recovery software to use on your computer. Obviously, if you can immediately access all the files and folders once you’ve connected the HDD to a functional computer, then you don’t need to install any file recovery software.
Damaged USB flash drive? Our guide help you recover files from it.
FIX: Access is denied to external hard drive
While accessing user files you can get Access is Denied error message, this happens because your user account on the broken laptop was protected by a password, but there’s a way to fix that.
In order to get access to user files on the external hard drive you’ll have to take ownership over the user folder. In order to take ownership over Users folder (if you had Windows Vista or Windows 7 installed) or Documents and Settings folder (if you have Windows XP installed) you’ll need to follow these steps.
Solution: Replace the owner of the files
STEP 1
- Find the files located on the external hard drive and right click on the Users folder (if you have Windows Vista or Windows 7 installed) or right click on Documents and Settings folder (if you had Windows XP installed) and after that click on Properties.
- Head over to the Security tab in User Properties windows.
- Now click on Advanced button.
STEP 2
- Click on Owner tab in Advanced Security Settings for Users window.
- Now click on Edit button.
STEP 3
- Left click on Administrators group.
- Check the Replace owner on subcontainers and objects box.
- Click OK button.
STEP 4
When Windows Security pops up, click Yes. We have to warn you that the process of taking ownership might take a while. This depends on how many files you have in Users or Documents and Settings folder, so you might have to wait for a bit. After this process is done, you should be able access to all of your files.
User forum
0 messages